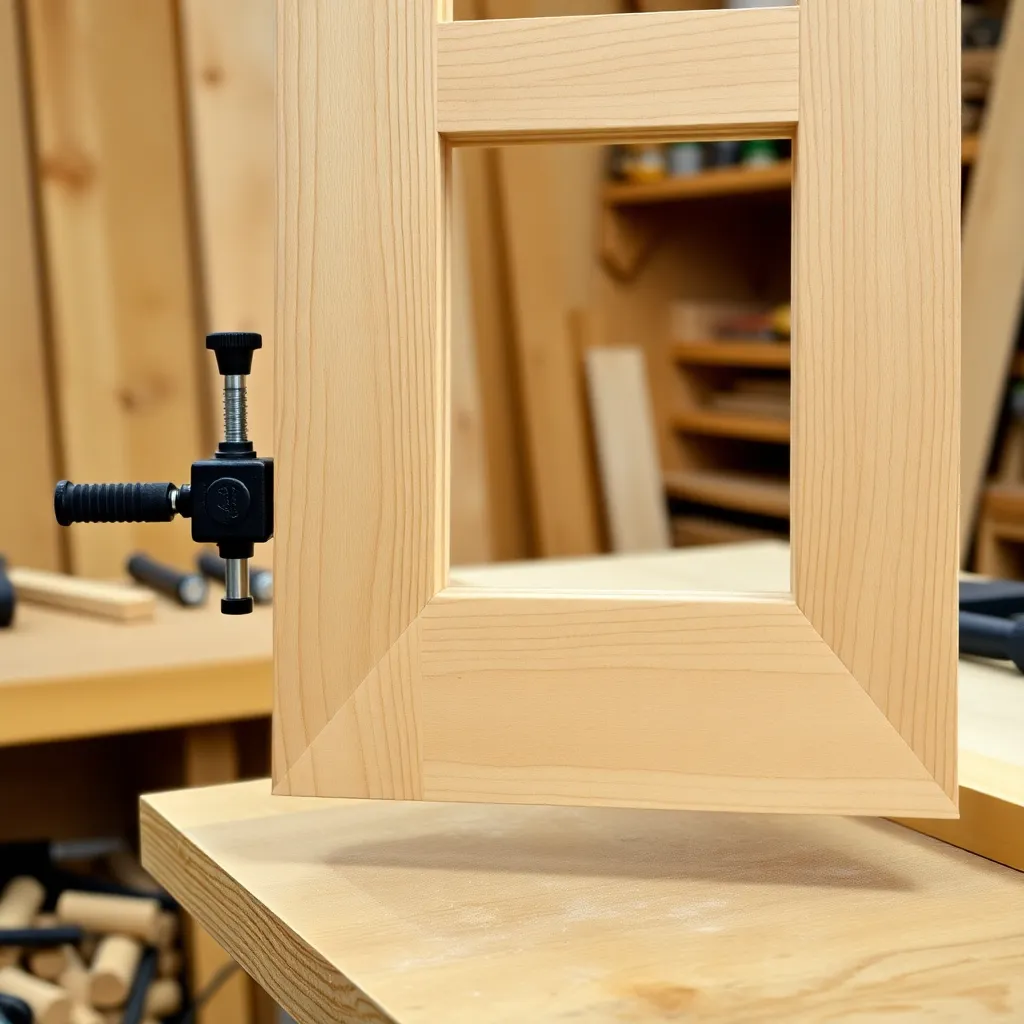
A picture frame is deceptively instructive — it looks simple but demands precision at every step: accurate miters, tight corners, a fitted rabbet, and a clean finish. These six builds cover the range from a basic mitered frame (an hour of shop time) to a gallery-quality floating frame that makes the art look like it’s suspended in mid-air. Each one teaches a skill that transfers to every subsequent furniture and millwork project.
Ted’s Woodworking has complete picture frame plans with miter angle guides and rabbet specifications. Browse Ted’s frame plans →
This guide is part of our complete Woodworking Project Plans resource — covering beginner builds, free plans, gift projects, box builds, picture frames, cutting boards, specialty projects, and closet systems.
Woodworking Picture Frame
A classic mitered frame from hardwood molding is the foundation of every other frame on this list. The 45° miter joint is one of the most common joints in woodworking and one of the trickiest to get right — small errors multiply across four corners, making the final fit depend on accuracy at the cutting stage.
What you’ll learn: setting a miter saw to exactly 45°, cutting consistent lengths, gluing miter joints without clamp slippage, and routing a rabbet for the glass and backing.
Build notes: use 1×2 hardwood (oak or walnut for a natural finish, poplar for a painted frame). Set the miter saw to exactly 45° — test on scrap and check with a square. Cut the longest piece first. Glue with corner clamps and reinforce with two ½-inch pin nails at each corner from the back. Route or chisel a ¼-inch rabbet after assembly.
DIY Picture Frame
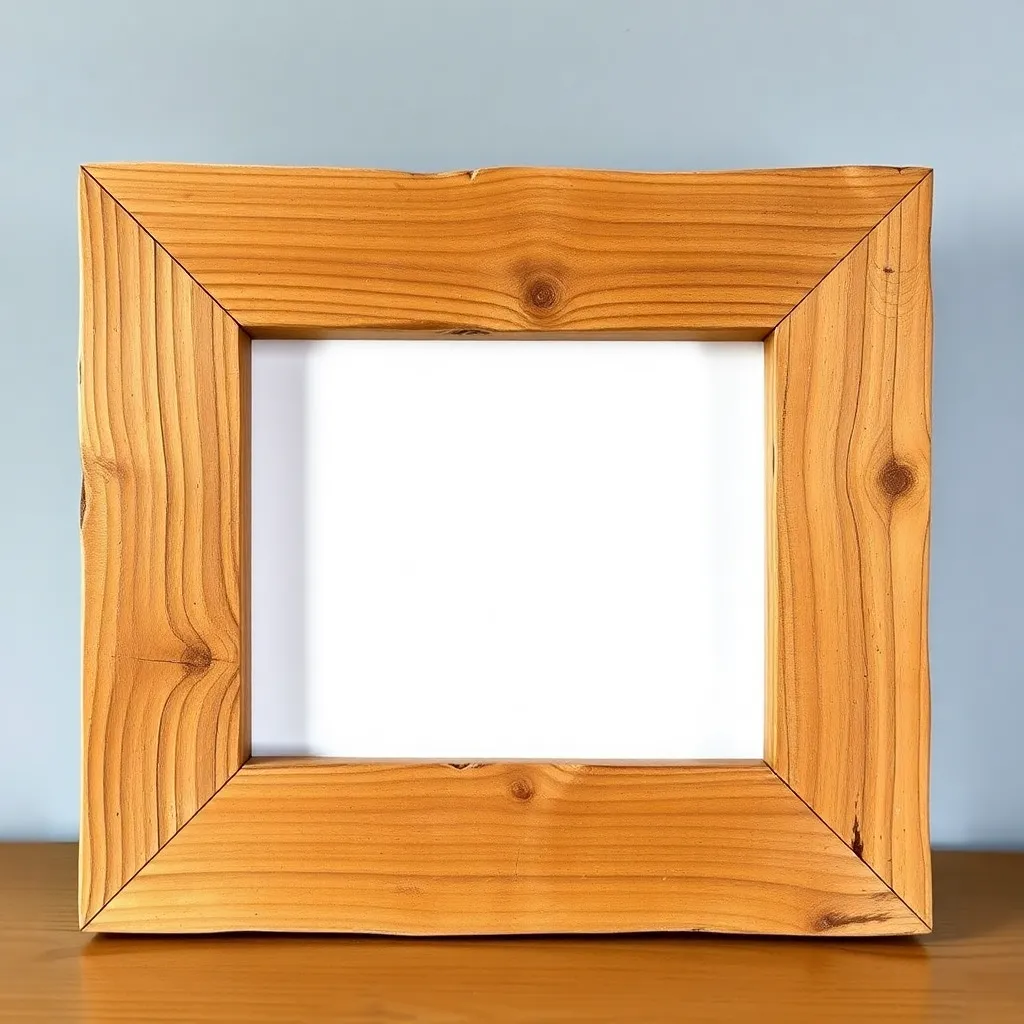
A DIY picture frame expands on the basic mitered frame by introducing molding profiles — cove, ogee, roundover — that transform a plain strip of wood into a shaped frame molding. Building your own molding on the router table means complete control over the profile depth, width, and species.
What you’ll learn: running molding profiles on a router table, working with narrow stock safely, and combining multiple profile cuts for a complex molding.
Build notes: start with a 1×3 or 1×4 board at least 24 inches long (easier to run profiles on longer stock, then crosscut to frame lengths). Run the desired profile on the router table before ripping the molding to final width. A ¼-inch roundover + ¼-inch cove on the same edge produces a classic frame profile. After profiling, miter as usual.
Shadow Box Plans
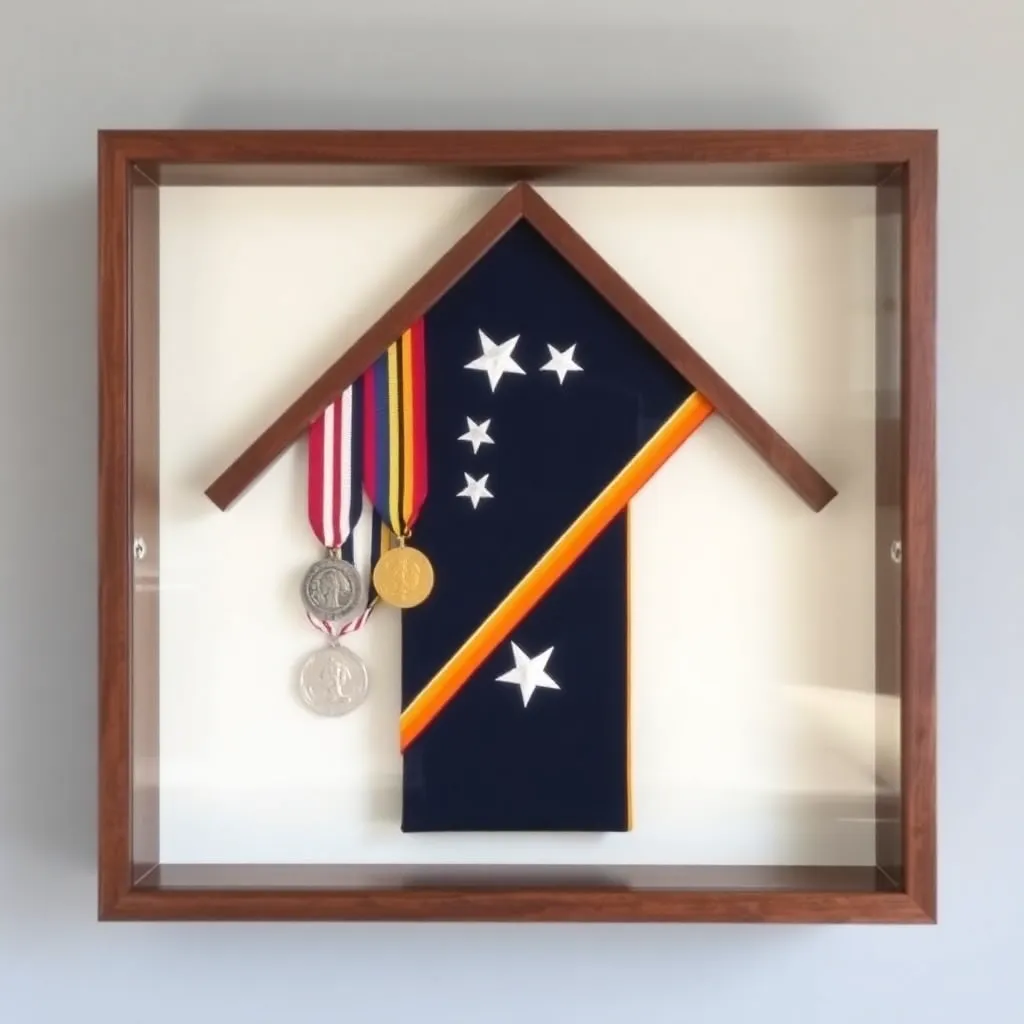
A shadow box is a deep frame — 2 to 4 inches deep — designed to display three-dimensional objects: medals, memorabilia, sports jerseys, shells, small tools. The construction is a box (not just a frame) with a glass or plexiglass front and a backing material that displays the objects.
What you’ll learn: building a box carcass, mounting objects on backing, and installing a hinged or removable glass front.
Build notes: build the carcass from ¾-inch hardwood: back panel + four sides. Route a ¼-inch rabbet on the inside front edge to receive the glass. Mount objects on the back panel using small pins, fishing line, or adhesive mounting putty. Install glass in a hinged frame (two small hinges on one side, two turnbutton clips on the other) so the box can be opened to change the display.
Floating Frame Plans
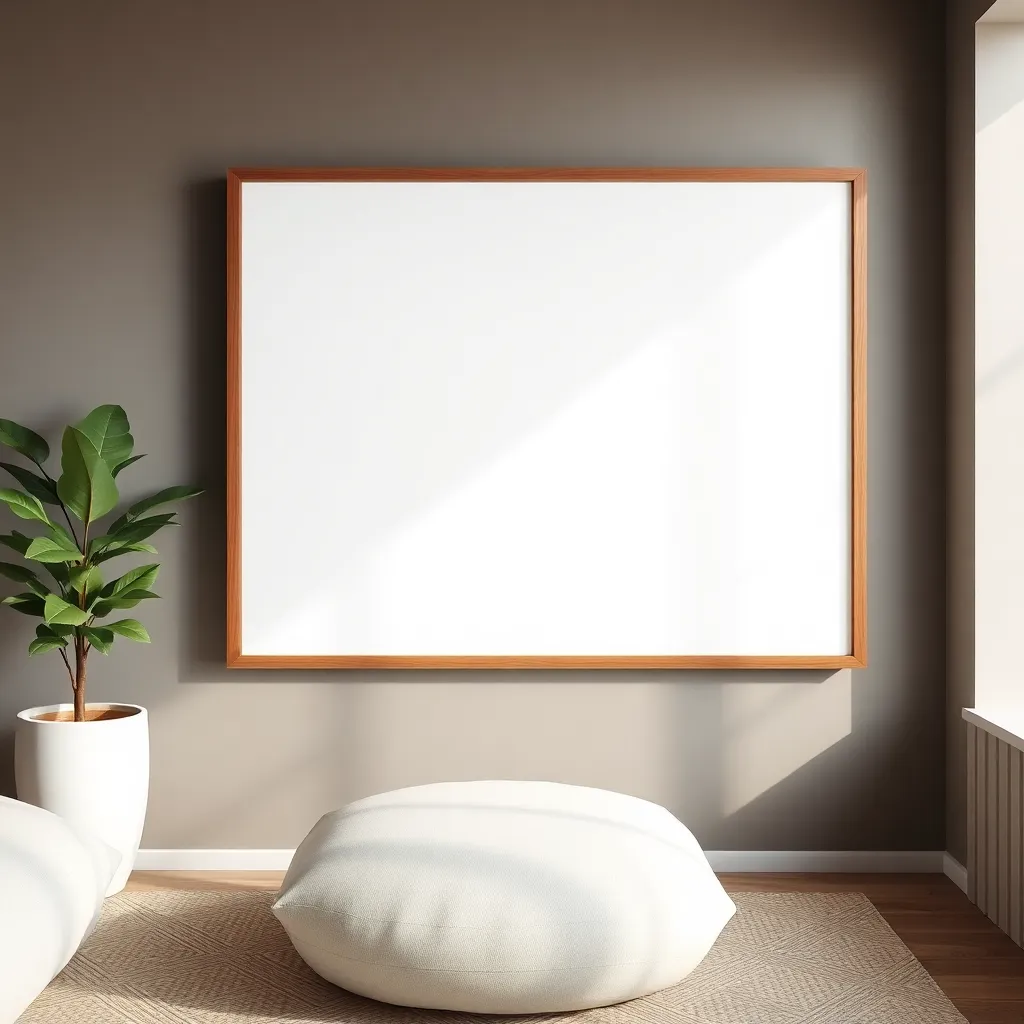
A floating frame creates a gap between the art and the frame — the canvas or print appears to float inside the frame rather than sitting behind glass. This is the standard presentation for gallery-wrapped canvas art. The build requires a different rabbet geometry: instead of the rabbet being behind the frame face (standard), the rabbet is a step that the canvas edge sits in, with the frame face extending forward of the canvas surface.
What you’ll learn: routing a floating frame rabbet, mitering thick stock, and the difference between standard and gallery-wrap frame geometry.
Build notes: the floating frame depth must match the canvas depth (typically ¾ inch for standard stretched canvas). Cut the rabbet to match: ¾ inch deep × ¾ inch wide on the inside back face of each rail. The canvas clicks into the rabbet from the front and sits recessed ¼ to ½ inch below the frame face.
Large Picture Frame Plans
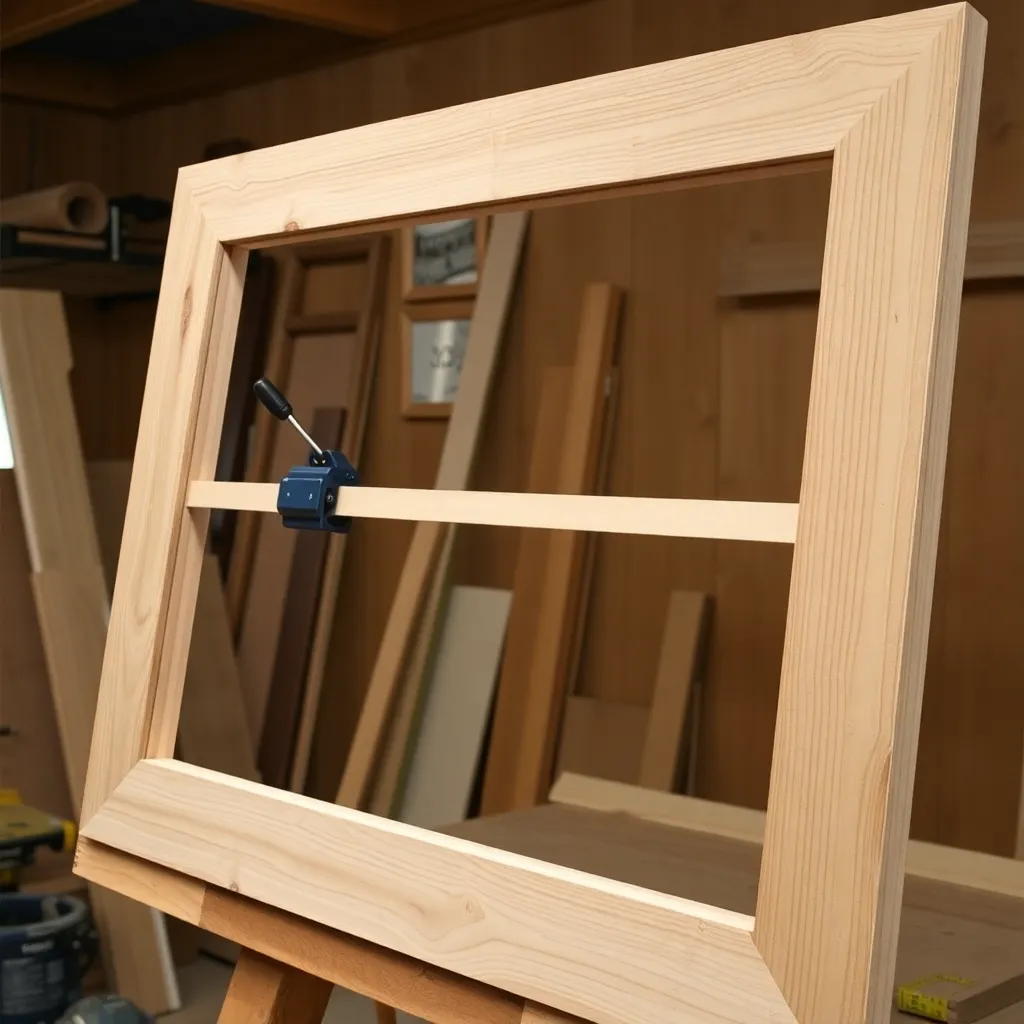
A large frame — 20×24 inches and above — introduces structural challenges that small frames don’t have: the miter joints carry more weight, the frame rails are harder to clamp without bowing, and the glass is heavy enough to require a separate support system. Large frames also expose small errors more clearly than small frames.
What you’ll learn: managing large assemblies at the miter saw, using a strap clamp for large frame glue-ups, and supporting glass in large frames.
Build notes: for frames over 20 inches on the short side, use ¾-inch thick × 2-inch wide molding instead of ½-inch — the added thickness prevents the rail from flexing under glass weight. Use a strap clamp (band clamp) for the glue-up rather than four corner clamps — it applies even pressure on all four miters simultaneously. For glass over 11×14 inches, use tempered glass or plexiglass (lighter and safer than standard glass at large sizes).
Rustic Picture Frame Plans
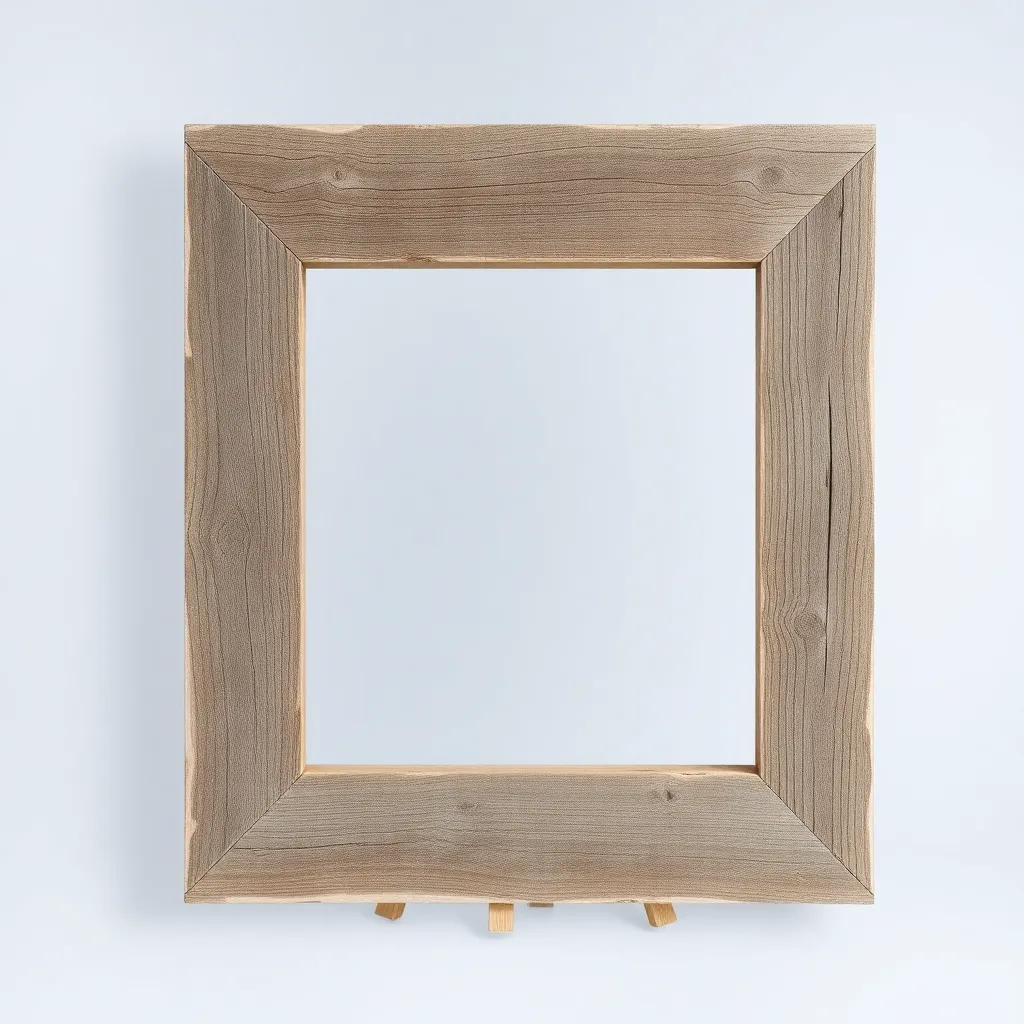
A rustic frame uses reclaimed wood, barn wood, or heavily distressed lumber to create a frame that looks aged, worn, and deliberately imperfect — in contrast to a precisely mitered hardwood frame. Rustic frames suit farmhouse décor, landscape photography, and vintage prints.
What you’ll learn: working with reclaimed or rough lumber, joining non-flat surfaces, and applying aged finishes.
Build notes: source reclaimed wood from a lumber salvage yard, old pallets (heat-treated, not chemically treated), or barn boards. Dress one face flat on the jointer for the frame back — the show face keeps its roughness. Join corners with pocket screws from the back rather than miter joints (irregular wood doesn’t miter cleanly). Apply grey wash (diluted grey paint) or leave natural and seal with matte wax. The “imperfect” look is the design — embrace gaps and texture variation.
Picture Frame Projects Quick Reference
| Project | Material | Skill Level | Build Time | Best For |
|---|---|---|---|---|
| Woodworking Frame | Hardwood molding | Beginner | 1 hour | Standard prints |
| DIY Molded Frame | Router-profiled stock | Intermediate | 2 hours | Custom profiles |
| Shadow Box | ¾-inch hardwood | Intermediate | 3 hours | 3D objects, memorabilia |
| Floating Frame | Thick hardwood | Intermediate | 2 hours | Gallery canvas |
| Large Frame | ¾ × 2-inch stock | Intermediate | 3 hours | 20×24 and larger |
| Rustic Frame | Reclaimed wood | Beginner | 1.5 hours | Farmhouse, vintage |
Picture Frame Projects FAQ
What angle do I cut for a picture frame?
All four corners of a standard rectangular picture frame are 45° miters. The miter saw is set to 45° and each rail is cut with opposite-facing miters at each end — the long point of each miter faces the outside of the frame. To confirm the cut is accurate, place two cut pieces together and check with a square — a perfect miter joint closes flush with no gap and measures exactly 90° at the outside corner. Even 0.5° of error at the miter saw produces a visible gap after assembly.
What is a rabbet and why do picture frames need one?
A rabbet is an L-shaped channel cut along the inside back edge of the frame — it’s the recess that holds the glass, mat, and backing. Without a rabbet, there’s no way to secure the glass and art inside the frame. Standard rabbet size for a picture frame is ¼ inch wide × ¼ inch deep (accommodating single-strength glass + mat + backing). For frames that hold canvas or thicker objects, the rabbet depth increases accordingly. Route the rabbet after the frame is assembled — routing individual pieces before assembly makes it difficult to align corners.
How do I prevent miter joints from opening up after gluing?
Three things keep miter joints tight long-term: (1) accurate cuts — a gap at gluing time becomes a larger gap after seasonal movement; (2) pin nails across the miter from the back face (two per corner, driven at opposing angles) — these mechanical fasteners prevent the joint from pulling apart even if the glue fails; (3) consistent finish on all faces — applying finish to only the front creates uneven moisture absorption and differential expansion that can open miter joints. For valuable frames, add a small piece of spline or biscuit in the miter joint for additional mechanical strength.
What wood species makes the best picture frame?
Oak is the most common choice for natural wood frames — it’s hard, machines cleanly, and has distinctive grain. Walnut is the premium choice for contemporary frames — its dark color complements modern art and photography. Poplar is the right choice for painted frames — it takes paint better than oak (oak’s grain shows through thin paint) and machines cleanly. Cherry produces the warmest toned frames and darkens with age. Avoid pine for frames — it’s too soft to hold miter joints under the stress of seasonal movement.

“DIY woodworking enthusiast who started with zero experience and a YouTube tutorial.
I build simple, practical projects for my home and share free plans
so other beginners can skip the guesswork.If I can build it, you can too.”