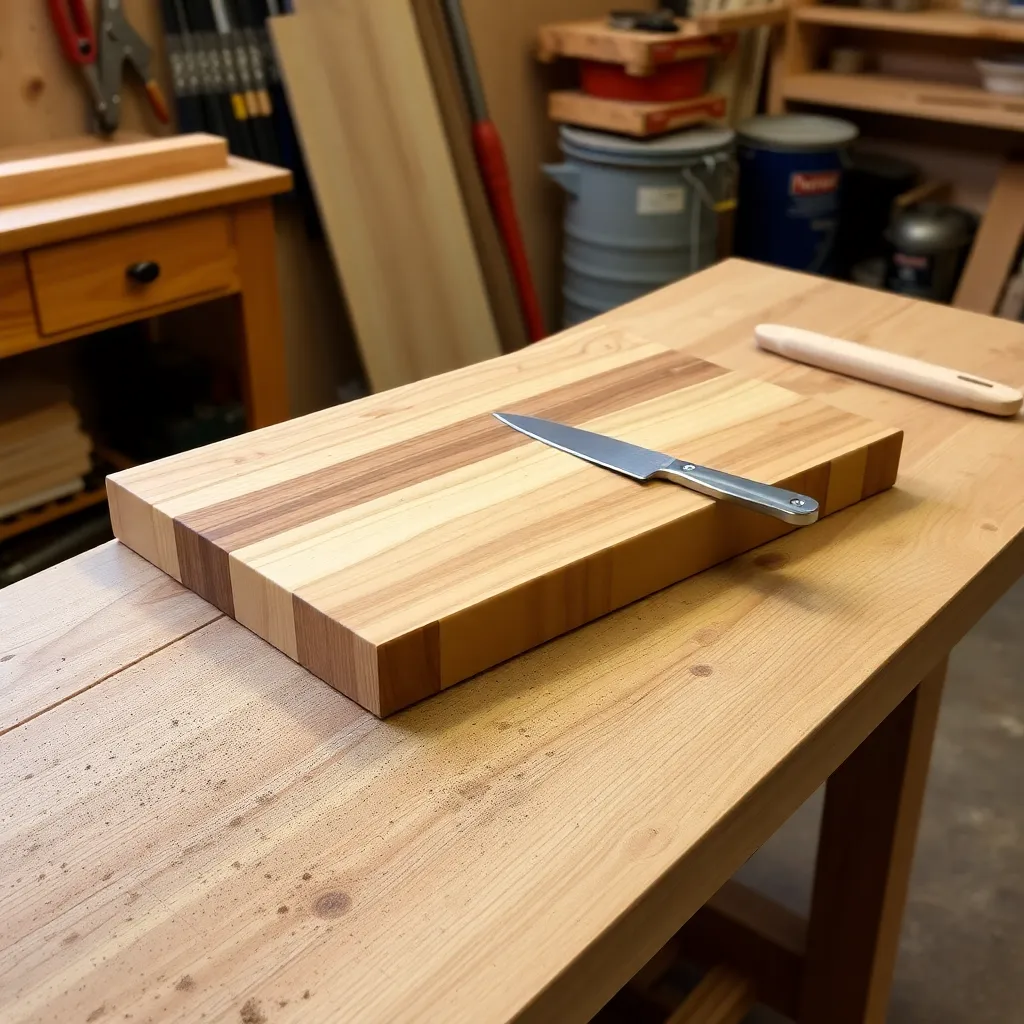
A cutting board is the most practical kitchen woodworking project — it gets used daily, makes an excellent gift, and teaches the core skills (panel glue-up, flattening, food-safe finishing) that transfer directly to furniture making. These eight builds progress from a single-board maple cutting board that takes two hours to a complex mosaic checkerboard that takes a full day.
Ted’s Woodworking has complete cutting board plans with wood species charts and finish application guides. Browse Ted’s plans →
Step 1: Build a Single-Board Maple Cutting Board
Goal: A 12 × 8-inch face-grain maple cutting board — the starting point for every cutting board builder.
Select a clear, flat 1×10 or 1×12 maple board (avoid boards with knots — knots pop out under knife pressure). Joint one edge flat. Rip to 8-inch width. Crosscut to 12-inch length. Joint both long edges to remove saw marks. Sand to 220-grit on both faces. Route a ¼-inch roundover on all top edges. Apply four coats of food-grade mineral oil (let each coat soak 30 minutes before wiping off excess). Finish with one coat of beeswax buffed to a shine.
Milestone: A board that lies completely flat on the counter with all edges smooth and the end grain sealed with oil.
Step 2: Build a Two-Tone Glued Panel Board
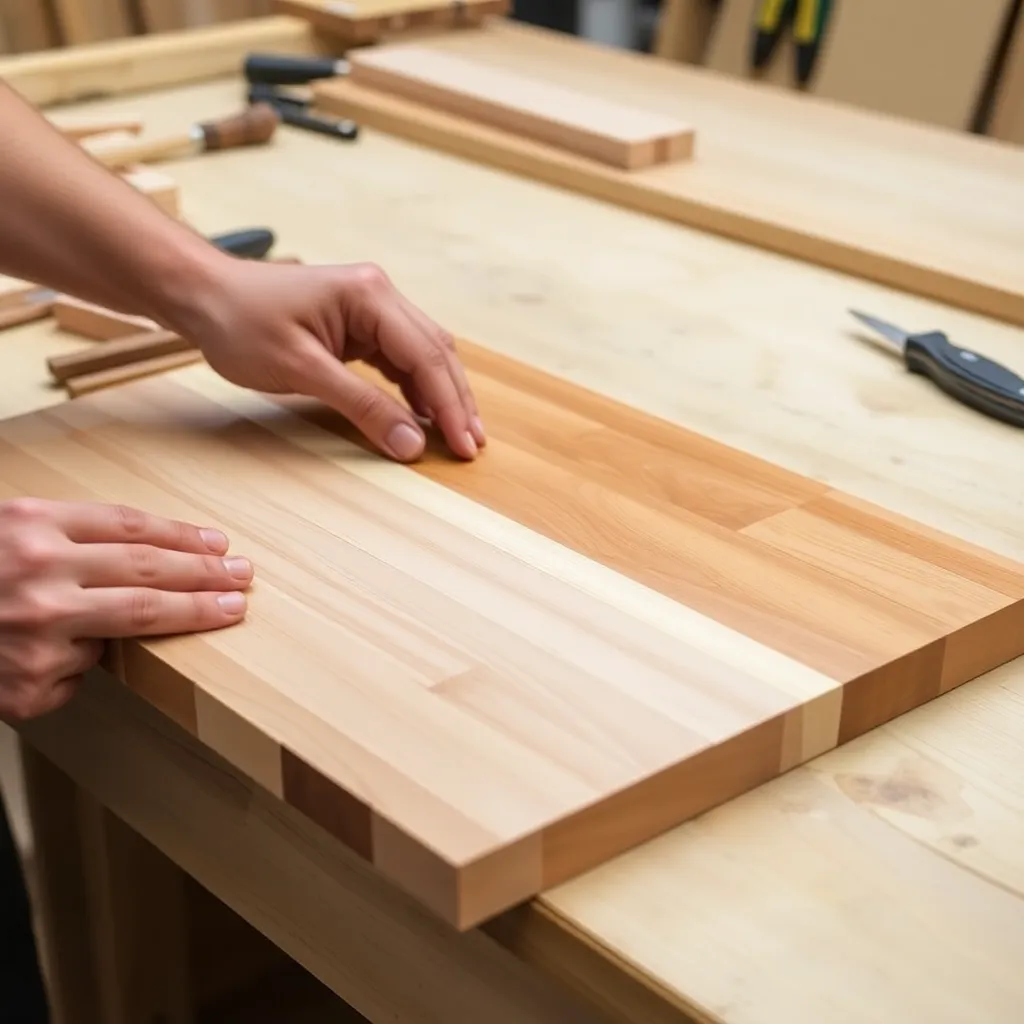
Goal: A 14 × 10-inch panel board from alternating maple and walnut strips — the first decorative board.
Rip three strips from maple (1½ inch wide) and two strips from walnut (1½ inch wide). Alternate: maple, walnut, maple, walnut, maple. Joint all edges. Glue up with wood glue and bar clamps — clamp every 6 inches with even pressure (curved panels result from uneven clamping). After curing, flatten on a drum sander or router sled. Sand to 220-grit. Route a ¼-inch roundover. Apply mineral oil.
Milestone: Glue joints invisible at the color transition between maple and walnut strips.
Step 3: Build an Edge-Grain Cutting Board
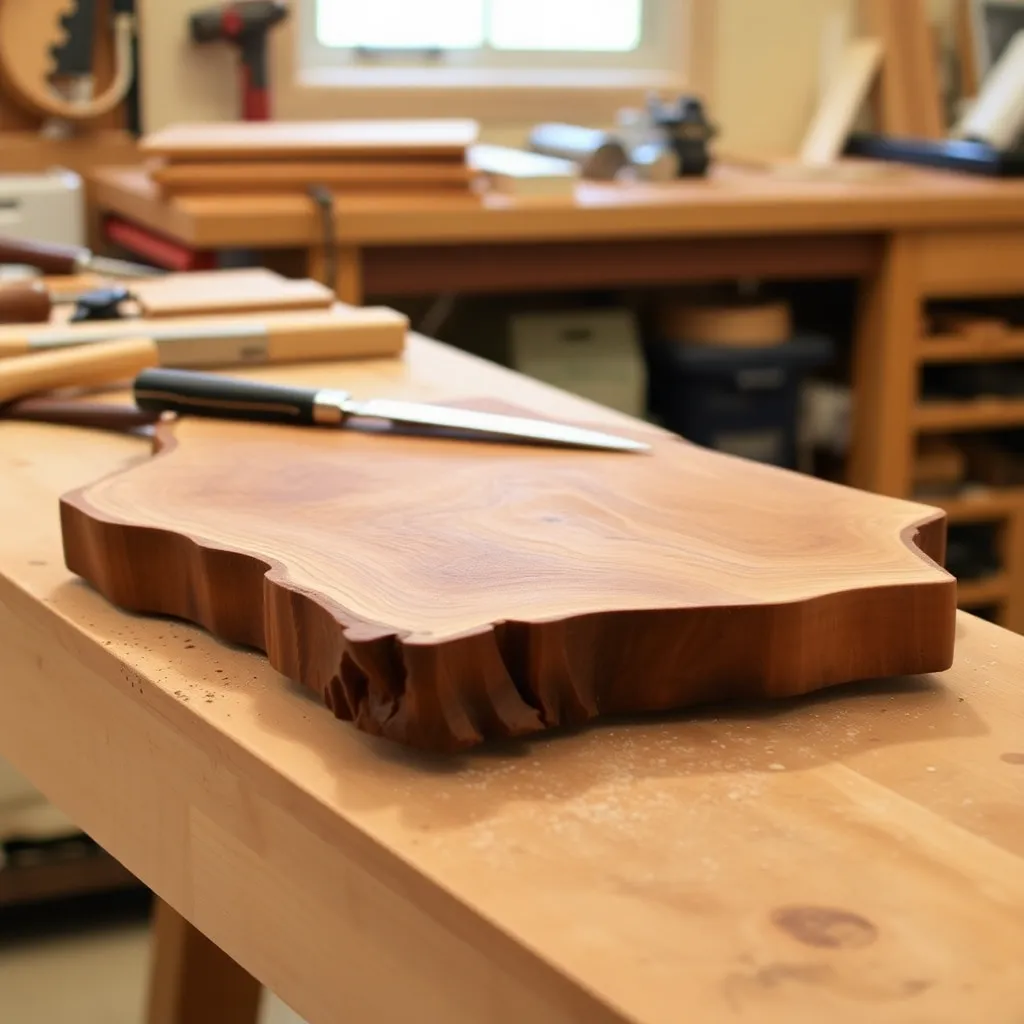
Goal: A 16 × 12-inch edge-grain board — harder surface and more durable than face-grain.
Edge-grain boards show the edge of the wood grain (not the face) and are harder than face-grain — the denser edge surface resists knife marks better. Build from ¾ × 2-inch maple strips glued edge-to-edge (long grain to long grain, edge face up). The assembled panel is ¾ inch thick with edge grain facing up on both surfaces. This builds faster than end-grain but more durably than face-grain.
Flatten with a hand plane, sand to 220-grit, apply mineral oil.
Milestone: A panel where all strips are flush within 0.5mm before sanding.
Step 4: Build a Board With Juice Groove
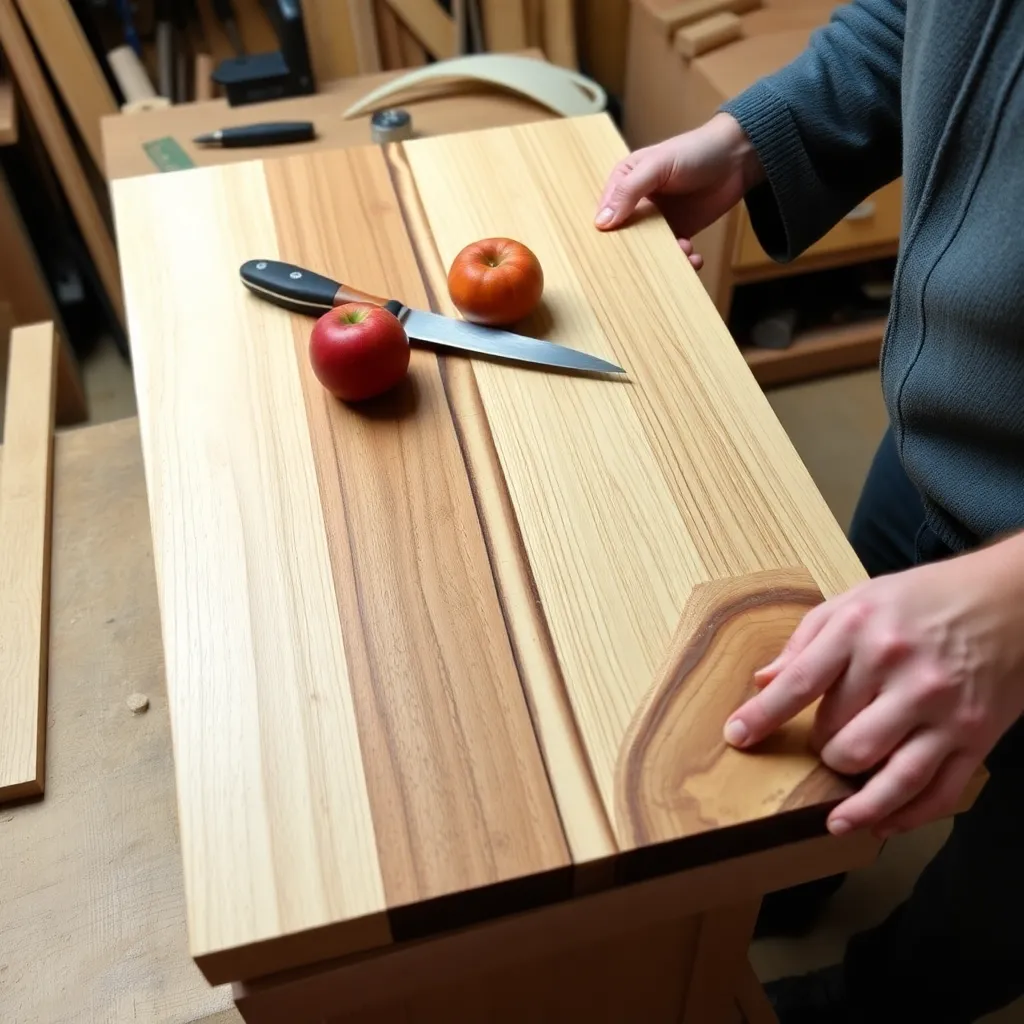
Goal: A 14 × 10-inch board with a routed juice groove — for meat cutting and juicy fruit.
A juice groove (also called a drip ring or carving groove) is a channel routed around the perimeter of the cutting surface, typically ¼-inch wide × ¼-inch deep. It catches juice from meats and fruit, preventing it from running off the board.
After building and flattening the board (any of the above techniques), mark a line ¾-inch from all four edges. Route the juice groove with a core box bit (produces a U-shaped profile) or a straight bit. Round the corners of the groove with a small gouge. Sand to 220-grit, apply mineral oil.
Milestone: A groove of consistent depth and width around the full perimeter with clean mitered corners.
Step 5: Build a Board With Finger Grooves
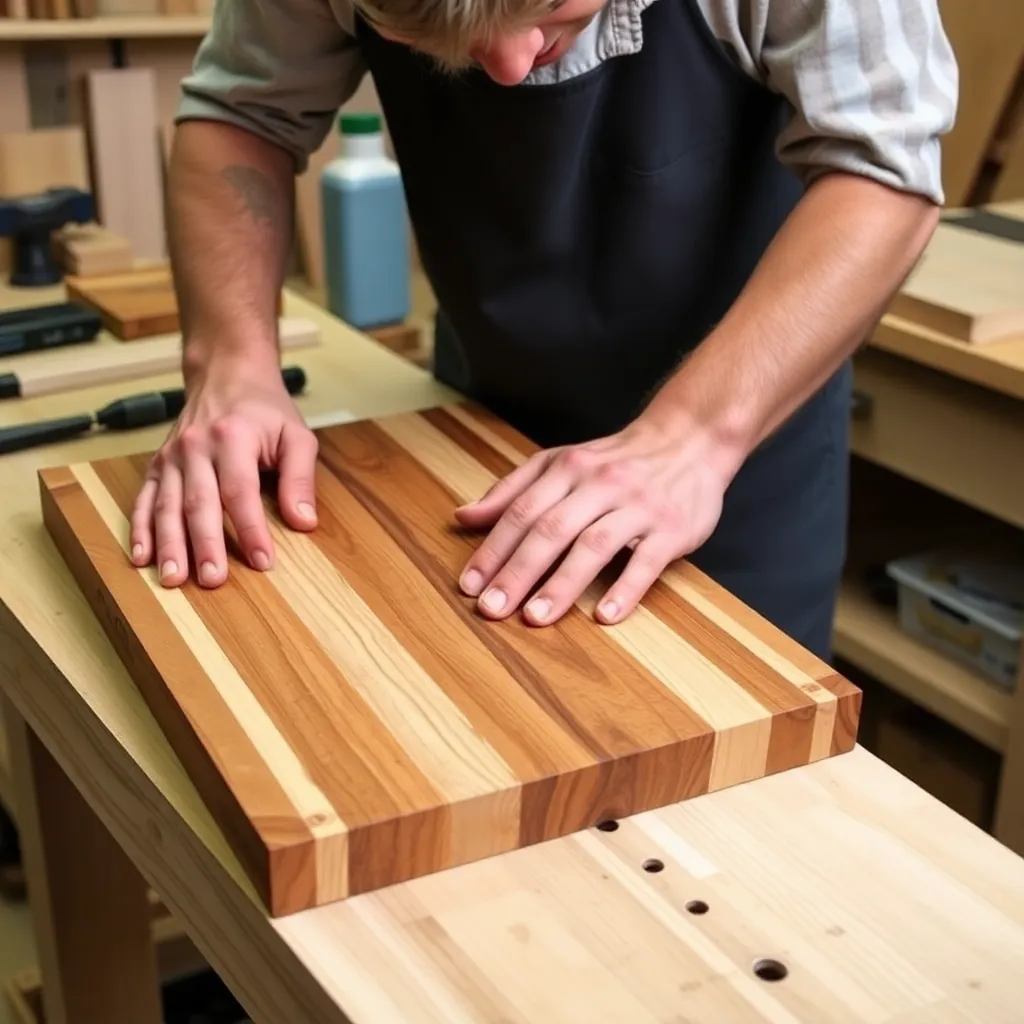
Goal: A 12 × 8-inch board with routed finger grooves on the underside — for grip and air circulation.
Routing three ¼-inch × ¼-inch grooves across the bottom face of the board accomplishes two things: it provides grip when the board is lifted, and it allows air circulation between the board and the counter (reducing moisture buildup). Route the three grooves parallel to the short axis, evenly spaced, stopping ¾-inch from each end. An alternative to routed grooves: four rubber non-slip feet (small adhesive rubber bumpers from the hardware store) — faster and equally effective.
Milestone: Three grooves of consistent depth that stop flush with the board end on both sides.
Step 6: Build a Personalized Engraved Board
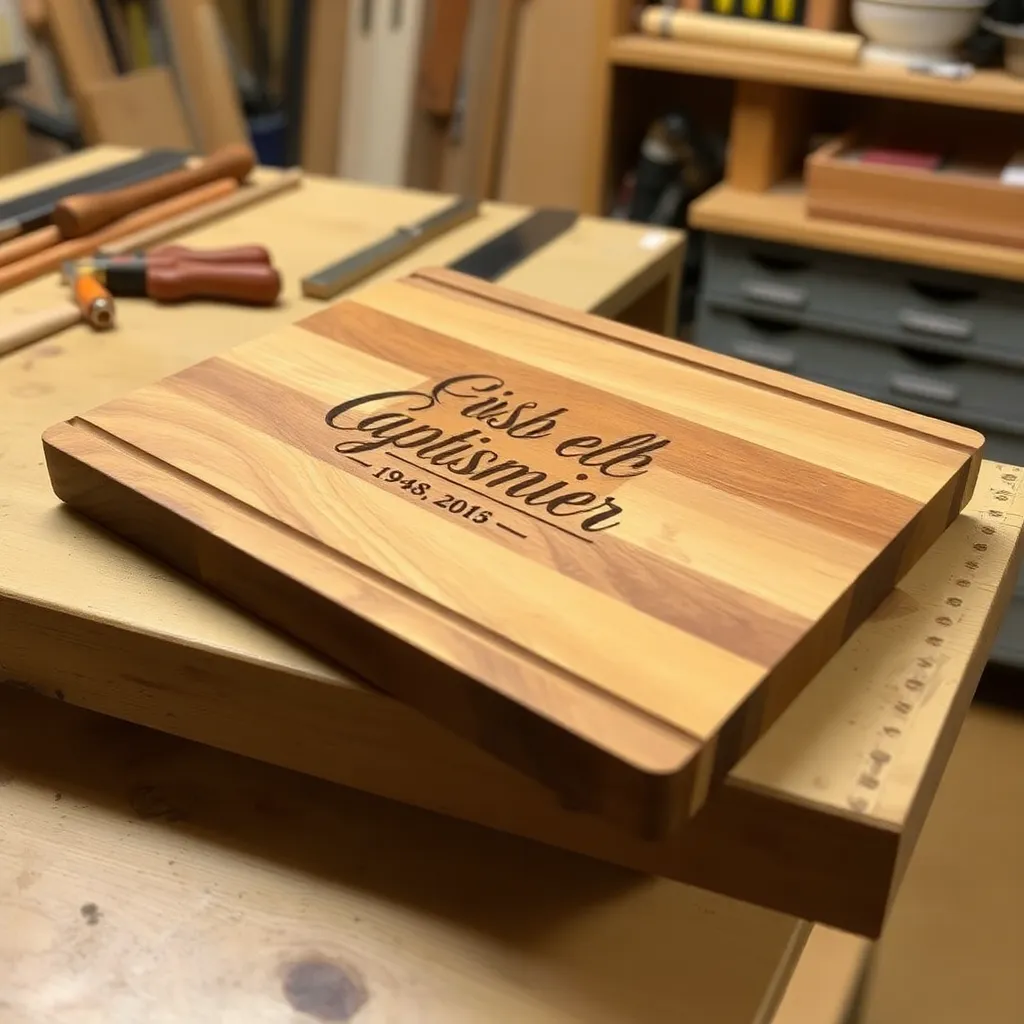
Goal: A 12 × 8-inch maple board with a laser-engraved name, monogram, or design.
After building and sanding the board to 220-grit, apply the mineral oil finish before engraving — the oil seal prevents the laser from burning the wood unevenly. Engrave the design after the third coat of oil has dried for 24 hours. The laser removes material from the oiled surface, leaving a clean, dark engraving. Apply the remaining oil coats over the engraving.
For those without a laser: a woodburning pen (pyrography tool) achieves the same effect by hand. Transfer the design with graphite paper and trace with the burning tool.
Milestone: An engraving that reads clearly from 12 inches with no bleeding or uneven depth.
Step 7: Build a Large Prep Board With Handle
Goal: A 20 × 14-inch board with a routed handle cutout — for a prep board that stays on the counter.
At 20 × 14 inches, this board is large enough to be a permanent counter fixture rather than a storable board. Build the panel from maple or cherry (a wood with visual interest at this scale). After flattening, mark the handle cutout: two parallel lines, 1-inch apart and 4 inches long, centered on one short end, ¾-inch from the edge. Drill two 1-inch holes at each end of the handle lines. Jigsaw out the material between the holes. File smooth and sand to 220-grit. This handle allows the board to be hung on a wall hook.
Milestone: A handle cutout with smooth inside edges that passes hand through without catching.
Step 8: Build a Mosaic Checkerboard End-Grain Board
Goal: A 12 × 12-inch checkerboard end-grain board in two species — the showpiece build.
The checkerboard end-grain board is the most visually striking cutting board and the most technically demanding. It requires two species (maple and walnut for maximum contrast), precise rip cuts, and two separate glue-up stages.
Stage 1: Rip 12 strips each of maple and walnut, ¾ × ¾ inch × 14 inches. Alternate and glue into a banded billet (12 maple + 12 walnut alternating). Let cure fully.
Stage 2: Cross-cut the billet into ¾-inch thick slices (each slice is a row of alternating ¾ × ¾ end-grain squares). Rotate alternating slices 180° — this offset produces the checkerboard pattern. Glue the slices edge-to-edge.
Flatten on a router sled. Sand to 220-grit. Apply mineral oil.
Milestone: A checkerboard pattern where all squares align in both directions with no visible offset.
Cutting Board Plans FAQ
What is the ideal thickness for a cutting board?
Face-grain and edge-grain boards: ¾ inch to 1 inch thick. Thinner than ¾ inch flexes under knife pressure and warps easily. Thicker than 1 inch is unnecessary weight for a face-grain board. End-grain boards: 1½ to 2 inches thick — end grain requires more depth to be durable (thin end-grain boards split along glue lines under stress). A juice groove board should be at least 1 inch thick to accommodate the ¼-inch groove depth while leaving ¾ inch of solid material below.
How do I prevent a cutting board from warping?
Warping happens when one face absorbs or loses moisture faster than the other. Three prevention strategies: (1) finish all six faces equally with mineral oil — including the bottom and end grain — not just the cutting face; (2) alternate grain direction when gluing panels (cup up/cup down), which creates counterbalancing tension; (3) store upright, not flat, so air circulates equally on both faces. A board that has already warped can often be flattened by wetting the concave (cupped) face with a damp cloth and leaving it face-down on a flat surface for 24 hours — the moisture swells the concave side, flattening the cup. Then oil immediately.
Can I use any wood for a cutting board?
No. Food-safe choices: hard maple, walnut, cherry, teak, acacia (acacia is technically a hardwood but often used for inexpensive cutting boards — it works but is hard on knife edges). Avoid: open-grain woods (red oak, ash) whose large pores trap bacteria; softwoods (pine, cedar) that scar too easily; exotic species with unknown allergen profiles (some tropical woods contain toxic compounds); plywood and MDF (not food-safe). Never use wood with metal inclusions (reclaimed lumber may have hidden nails).
How long does a cutting board last?
A properly maintained hard maple or walnut cutting board lasts decades — some heirloom boards are 50+ years old. The failure mode is cracking at glue joints (caused by dishwasher heat, soaking, or not oiling the board for extended periods) or deep knife grooves that harbor bacteria and can’t be sanded out. A board with deep grooves can be resurfaced: sand the entire surface flat to below the deepest groove, starting with 80-grit and working up to 220-grit, then re-apply mineral oil. This restoration can be done every few years as needed.

“DIY woodworking enthusiast who started with zero experience and a YouTube tutorial.
I build simple, practical projects for my home and share free plans
so other beginners can skip the guesswork.If I can build it, you can too.”