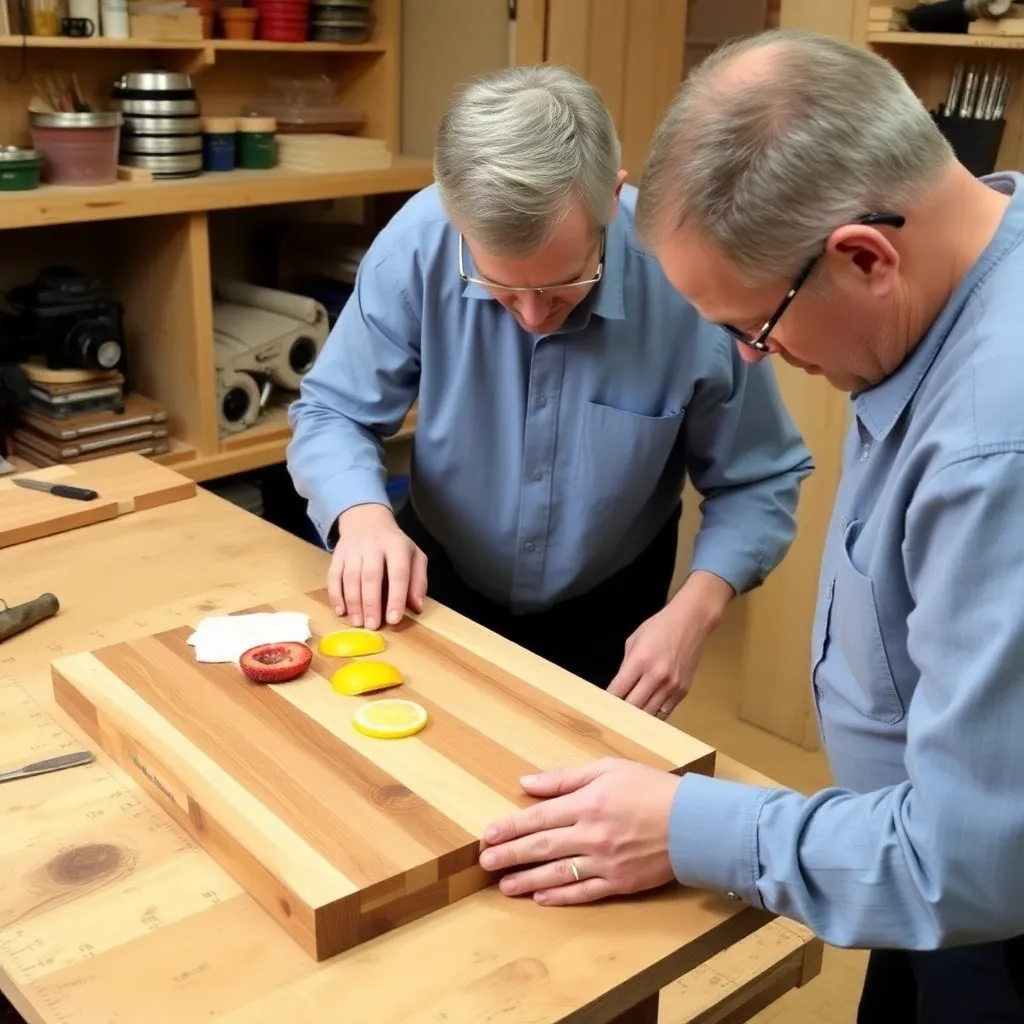
A wooden serving tray is a frame-and-panel project that introduces dadoes, handle hardware, and surface finishing for a piece that sees regular use. These six builds range from a simple two-handle breakfast tray to an upholstered ottoman tray that doubles as a decorative centerpiece. Each build teaches a practical skill and produces a tray that’s immediately useful.
Ted’s Woodworking has complete serving tray plans with hardware lists and finish guides. Browse Ted’s plans →
Step 1: Build a Classic Breakfast Tray
Goal: A 20 × 14-inch breakfast-in-bed tray with two metal handles — the most versatile tray build.
Build from ¾-inch oak or cherry:
- 2 long rails: 20 × 2½ inches
- 2 short rails (with handle holes): 14 × 2½ inches
- Bottom panel: ¼-inch oak plywood, 18½ × 12½ inches (floats in ¼-inch dadoes)
Route a ¼-inch wide × ¼-inch deep dado on the inside bottom face of each rail, ¼-inch from the bottom edge. The panel floats in these dadoes — do not glue. Join the four corners with glued rabbet joints. Drill two ¾-inch handle holes on each short rail, centered 1½ inch from the top edge. Fit rope handles or wire handles through the holes. Apply two coats of wiping varnish.
Milestone: A tray that sits flat with no wobble and a panel that slides freely in the dadoes without rattling.
Step 2: Build a Rustic Farmhouse Tray
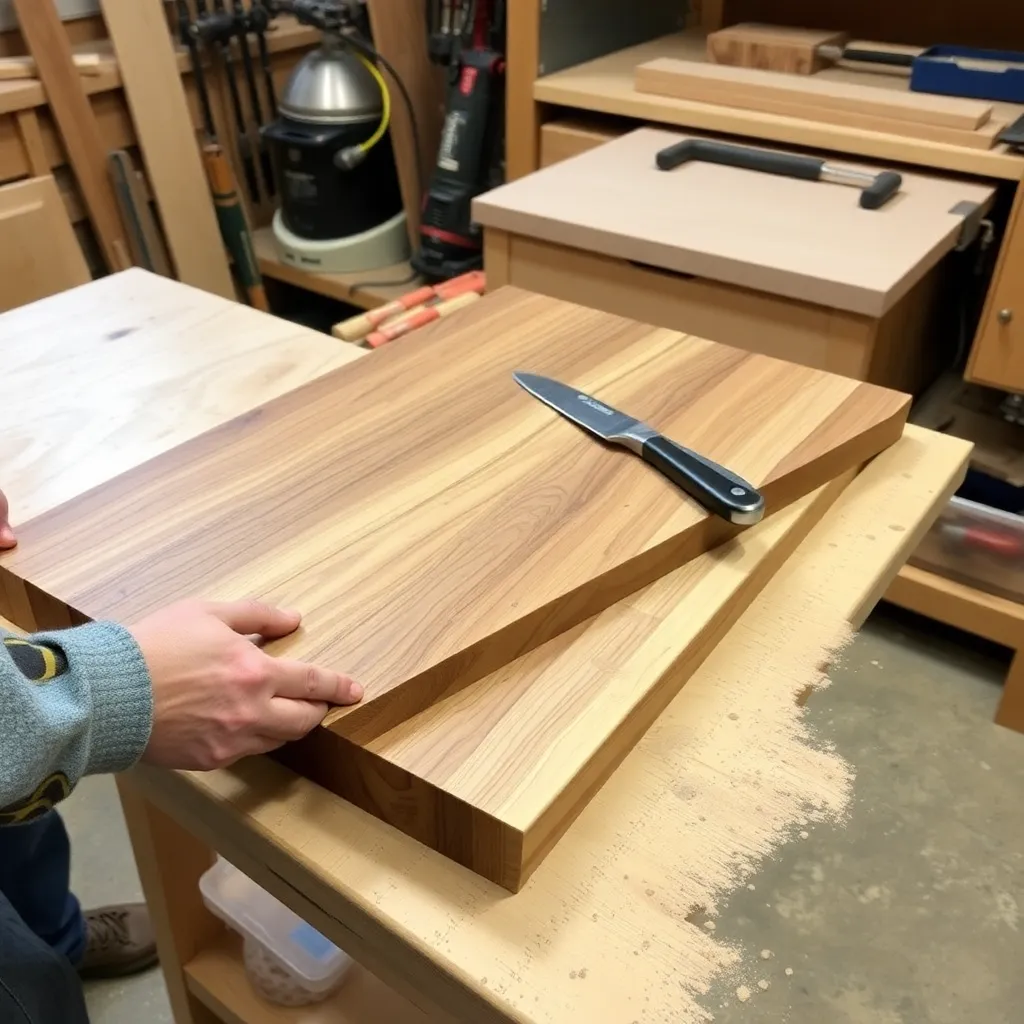
Goal: A 18 × 12-inch tray from shiplap or reclaimed pine — a farmhouse-style serving piece.
Use ¾-inch tongue-and-groove pine or shiplap for the bottom panel — the overlapping joint lines add character. The rails are 1×3 pine, cut with a jigsaw handle shape on the short ends (a simple curved cutout rather than metal handles). Assemble with pocket screws from the bottom — no dado needed, the bottom panel is simply pocket-screwed to the bottom edge of the rails. Apply whitewash paint (1:3 white latex and water) on the outside of the rails. Leave the inside natural. Apply matte wax.
Milestone: Shiplap or T&G panel assembled flat inside the rails with no warping.
Step 3: Build a Bar Tray With Raised Sides
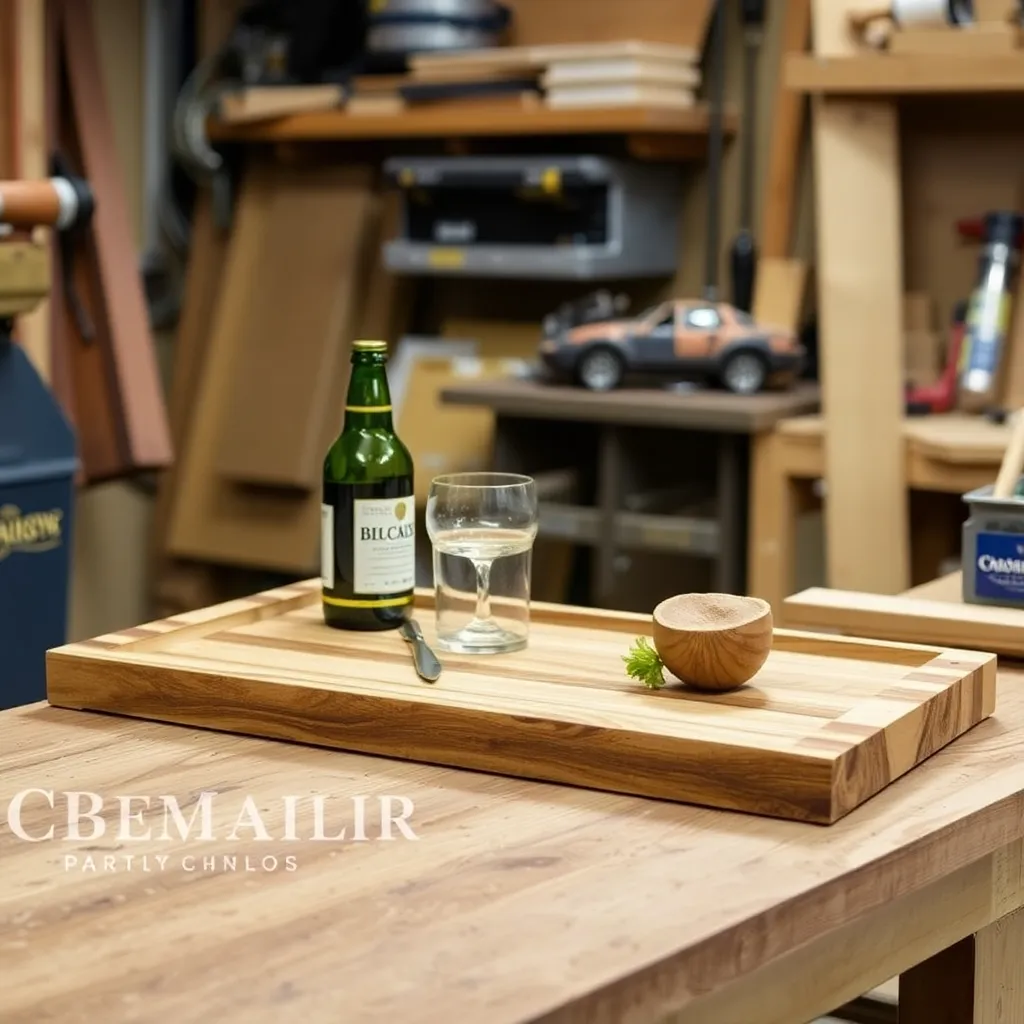
Goal: A 16 × 12-inch bar tray with 3-inch sides — for holding bottles and glasses securely.
A bar tray has taller sides (3 inches vs 2½ inches) to contain bottles and prevent glasses from sliding. Build the same way as the breakfast tray but with 3-inch-high rails. Add a non-slip mat on the inside: cut a piece of PVC shelf liner to the panel size and lay it loose on the bottom — it prevents glasses from sliding. Install two short rope handles through holes on the long rails (not the short rails — this makes the tray easier to carry when loaded).
Milestone: Sides high enough to contain a wine bottle when the tray is carried level.
Step 4: Build a Tiered Bathroom Tray
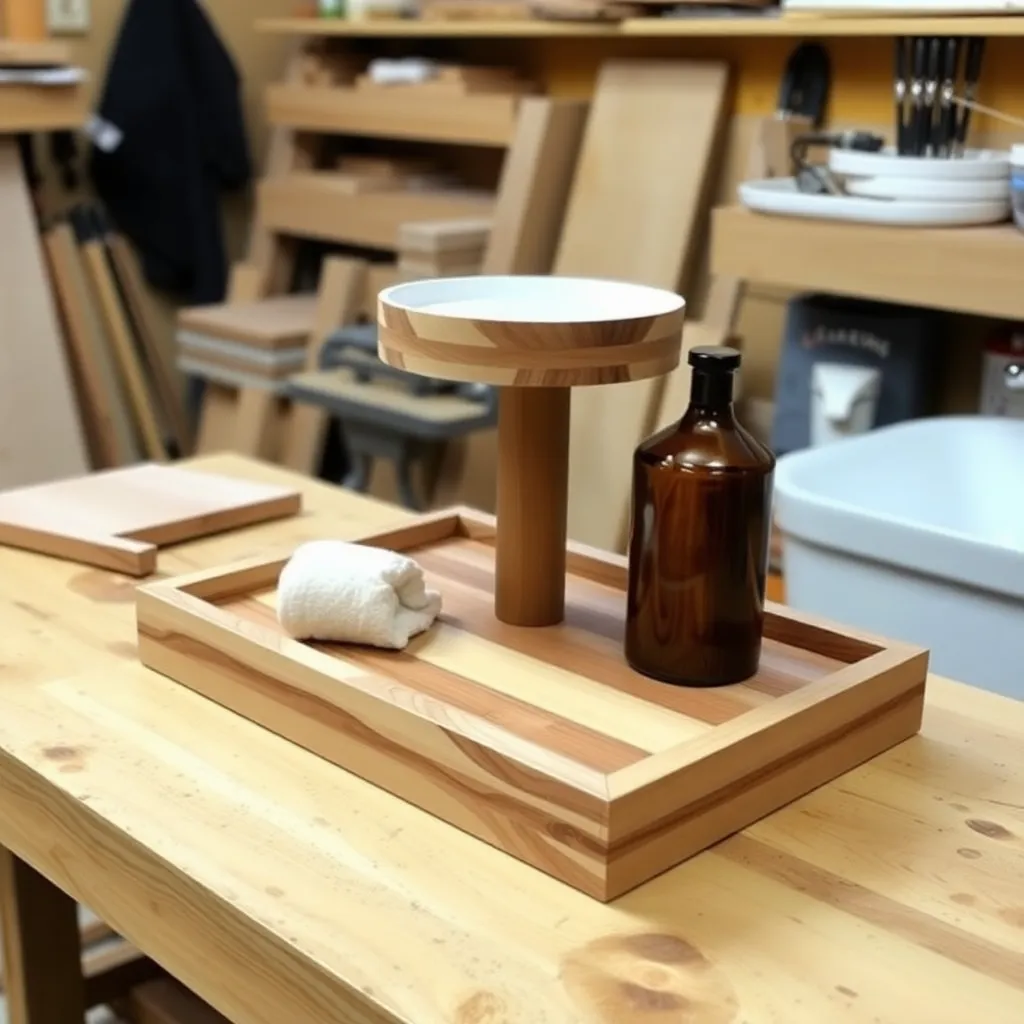
Goal: A small 12 × 8-inch tray with one riser for a tiered display — for soap, candles, and bathroom accessories.
This tray has no handles. Instead of two rails of equal height, the back rail is 6 inches tall and the front rail is 2 inches tall — this creates a terraced display so items in the back row are visible above items in the front. Build from ½-inch maple. Apply a waterproof topcoat (two-part epoxy or oil-based polyurethane — bathroom conditions demand water resistance).
Milestone: A back rail that’s exactly 4 inches taller than the front rail, both plumb.
Step 5: Build a Large Entertaining Tray
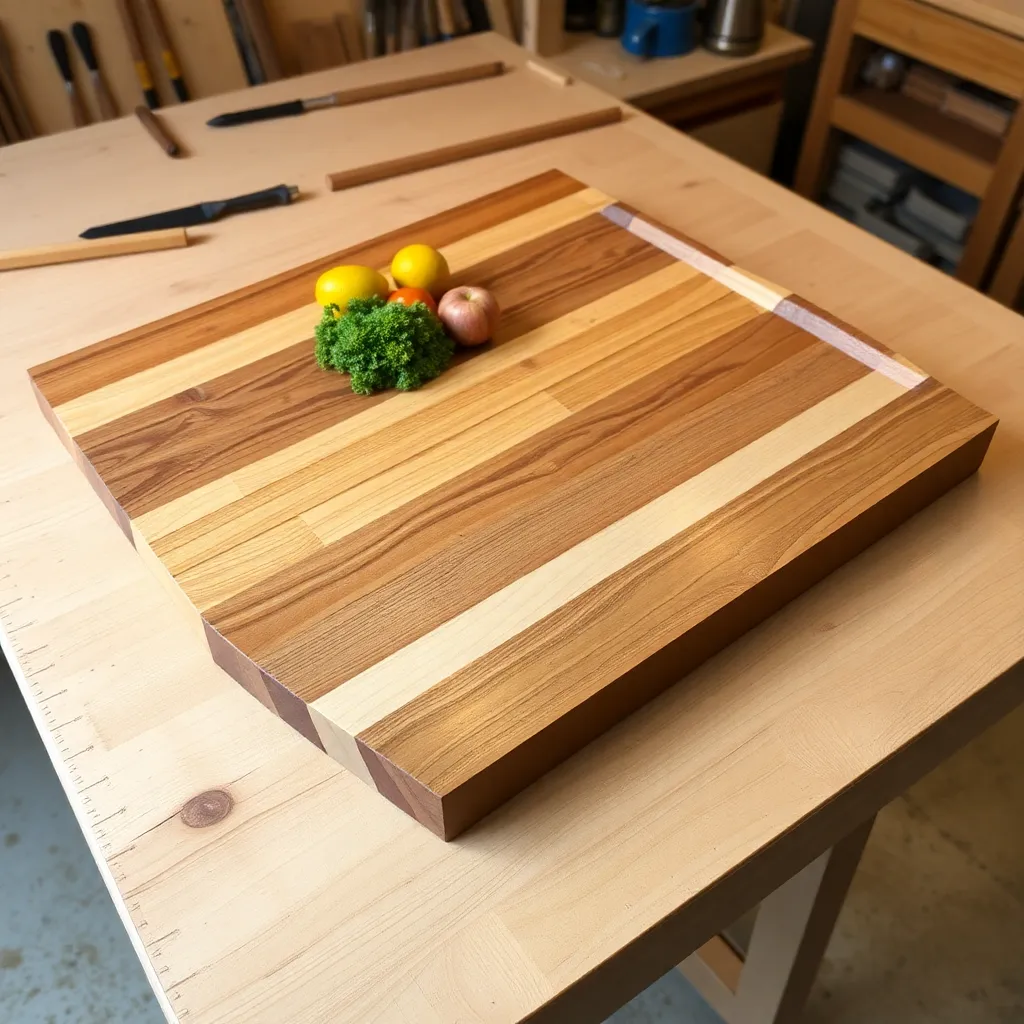
Goal: A 28 × 20-inch tray for entertaining — large enough for a full appetizer spread.
At this size, structural integrity matters — a ¼-inch plywood panel sags under the weight of food and plates. Use ½-inch plywood for the bottom panel. Widen the rails to 3 inches to be proportional at this scale. Add a stiffening batten across the center of the panel underside (a ¾ × ¾-inch strip glued perpendicular to the panel grain). Install two 8-inch brass pull handles on the long rails. Apply two coats of oil-based polyurethane (most durable for a surface that will hold food and wet glasses).
Milestone: A panel that doesn’t flex visibly when a 10-lb weight is placed in the center.
Step 6: Build an Upholstered Ottoman Tray
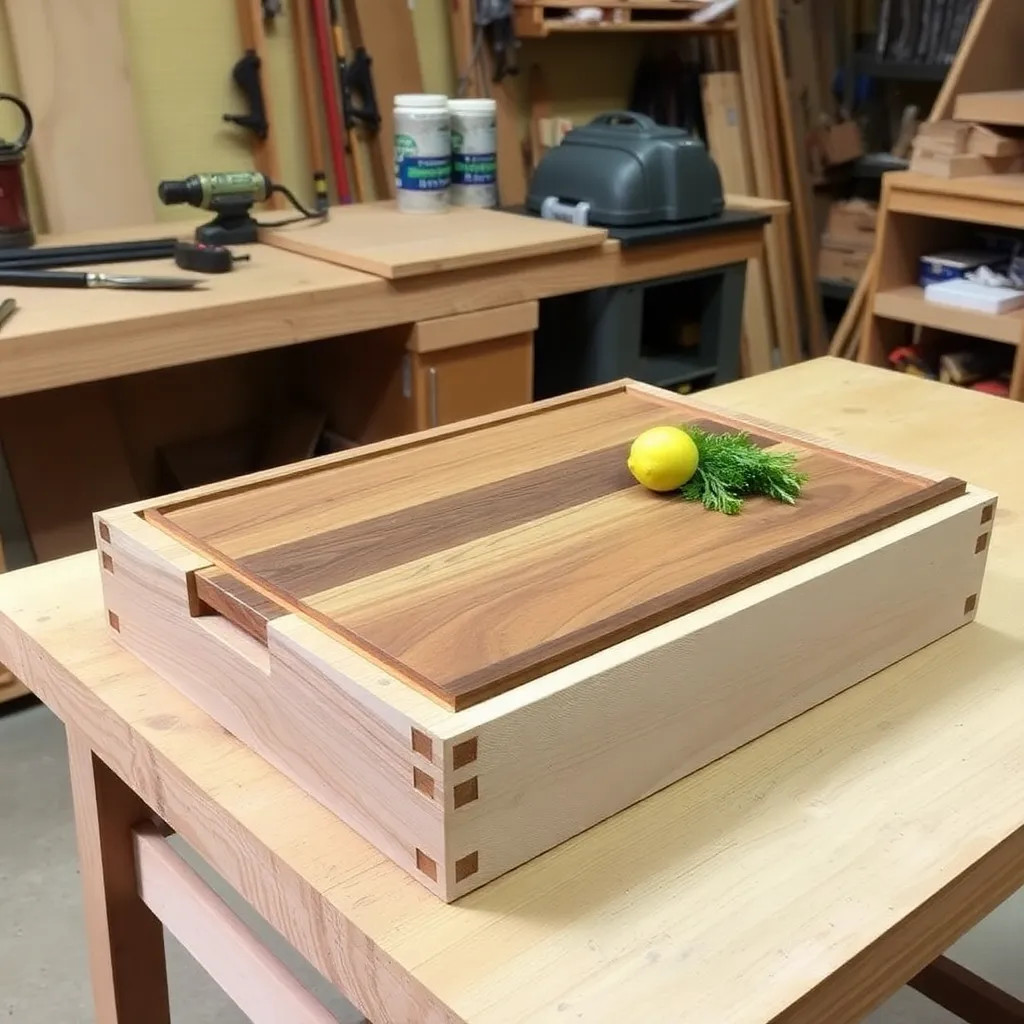
Goal: A 20 × 14-inch tray with a fabric-covered bottom panel — designed to sit on top of an ottoman.
An ottoman tray has a decorative function — it sits on top of an upholstered ottoman to create a stable surface for drinks and remotes. The key difference from a functional serving tray is the fabric bottom panel (for aesthetic cohesion with the ottoman) and the non-slip bottom on the underside of the rails (to keep the tray from sliding off the upholstery).
Build the rails from walnut or painted poplar. The panel is ½-inch plywood covered with fabric: stretch a 22 × 16-inch piece of linen or cotton canvas over the panel, staple every 2 inches on the underside, and miter the corners flat. The fabric panel floats in a ½-inch wide × ½-inch deep dado (wider than standard to accommodate the fabric-wrapped panel thickness). Apply non-slip furniture pads on the underside of all four rails.
Milestone: A fabric-wrapped panel that installs flat without wrinkles visible from the top face.
Wooden Serving Tray Plans FAQ
What wood is best for a serving tray?
Oak and cherry are the most popular choices — both are hard enough to resist daily use, machine cleanly, and accept stain or natural oil finish. Walnut is the premium choice for a dark-toned, contemporary look. Maple is ideal for a painted tray (takes paint evenly, no grain telegraph-through). For a rustic look: pine with a whitewash or grey wash. Avoid softwoods for the rails (they dent under glass impact); the bottom panel can be plywood regardless of the species used for the rails.
Should a serving tray panel be glued into the dadoes?
No. The panel should float — glue it in place and it will crack when the wood moves seasonally. A 20-inch walnut panel can move ¼ inch across the grain between summer and winter. The floating panel accommodates this movement. If the dado is sized correctly (snug but not tight), the panel sits without rattling but moves freely. For panels that rattle: add a small bead of silicone caulk (not wood glue) at one end of the dado — the silicone is flexible and allows movement while preventing rattle.
What finish is best for a serving tray?
For trays that contact food and liquid: oil/varnish blends (Danish oil, Waterlox) provide a good balance of penetrating protection and surface durability. For trays that will hold wet glasses frequently: two-part polyurethane or oil-based polyurethane provides the hardest film and best water resistance. For decorative trays (bathroom, ottoman): shellac or water-based polyurethane (faster dry, low odor). Avoid wax-only finishes for functional trays — wax is not water-resistant and requires frequent reapplication.
How do I make a serving tray with rope handles?
Drill two holes on each short rail, ¾-inch diameter, centered 1 inch from the top edge and 1½ inches from each long rail (this positions the handles so they don’t interfere with carrying). Cut a 14-inch piece of ½-inch manila or jute rope for each handle. Thread through the holes, tie a large knot on the inside end of each hole, and trim the knot flush with the inside face of the rail. The knots prevent the rope from pulling through under load. Alternative: drill the holes before assembly and thread the rope through before gluing the corner joints — this makes it impossible for the rope to pull out even if the knot slips.

“DIY woodworking enthusiast who started with zero experience and a YouTube tutorial.
I build simple, practical projects for my home and share free plans
so other beginners can skip the guesswork.If I can build it, you can too.”