Specialty wood projects are the builds that don’t fit into any furniture category — the decorative lanterns that flicker on a patio table, the wall clock cut from a slab, the perpetual calendar that never needs a battery, the folding sewing table that collapses flat when not in use. These six builds cover the most popular specialty categories, with each one teaching a technique that applies to a broader range of future projects.
Ted’s Woodworking has complete plans for specialty builds including clocks, lanterns, and folding tables. Browse Ted’s plans →
This guide is part of our complete Woodworking Project Plans resource — covering beginner builds, free plans, gift projects, box builds, picture frames, cutting boards, specialty projects, and closet systems.
Corbel Plans
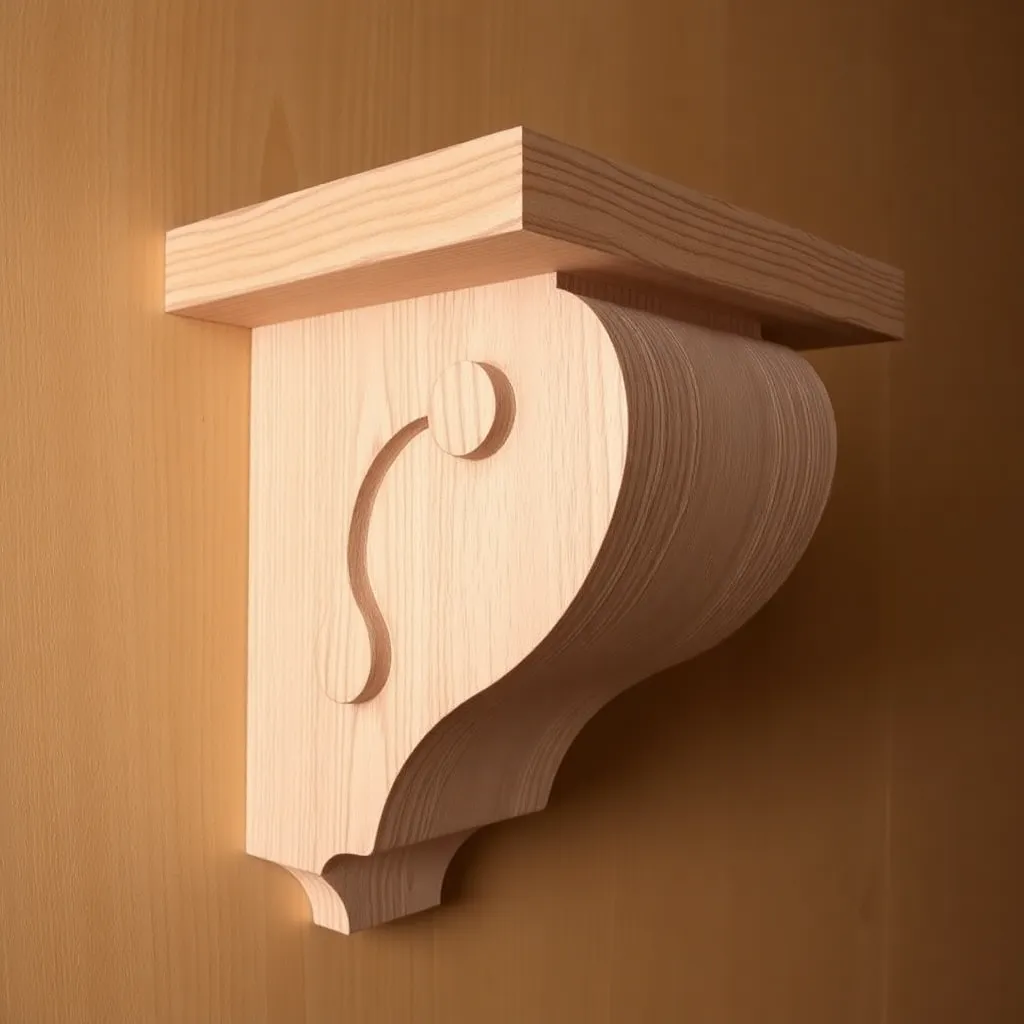
A corbel is a structural or decorative bracket projecting from a wall — it supports a shelf, a countertop overhang, or a mantel. Corbels are one of the most satisfying carving and shaping projects in woodworking: they start as a rough blank and end as a curved, classical architectural element. Building your own corbels produces a matched set with consistent dimensions at a fraction of the retail price.
What you’ll learn: rough shaping on the bandsaw, refining curves with a spokeshave or rasp, and mounting hardware for wall installation.
Build notes: start with a 3 × 4 × 12-inch blank in oak, pine, or poplar. Draw the corbel profile on the face (a simple S-curve from the wall to the shelf support point). Cut the profile on the bandsaw. Refine the curve with a rasp and spokeshave. Sand to 180-grit. Apply paint or stain to match existing millwork. Mount with two 3-inch screws through the back face into wall studs.
Folding Sewing Table Plans
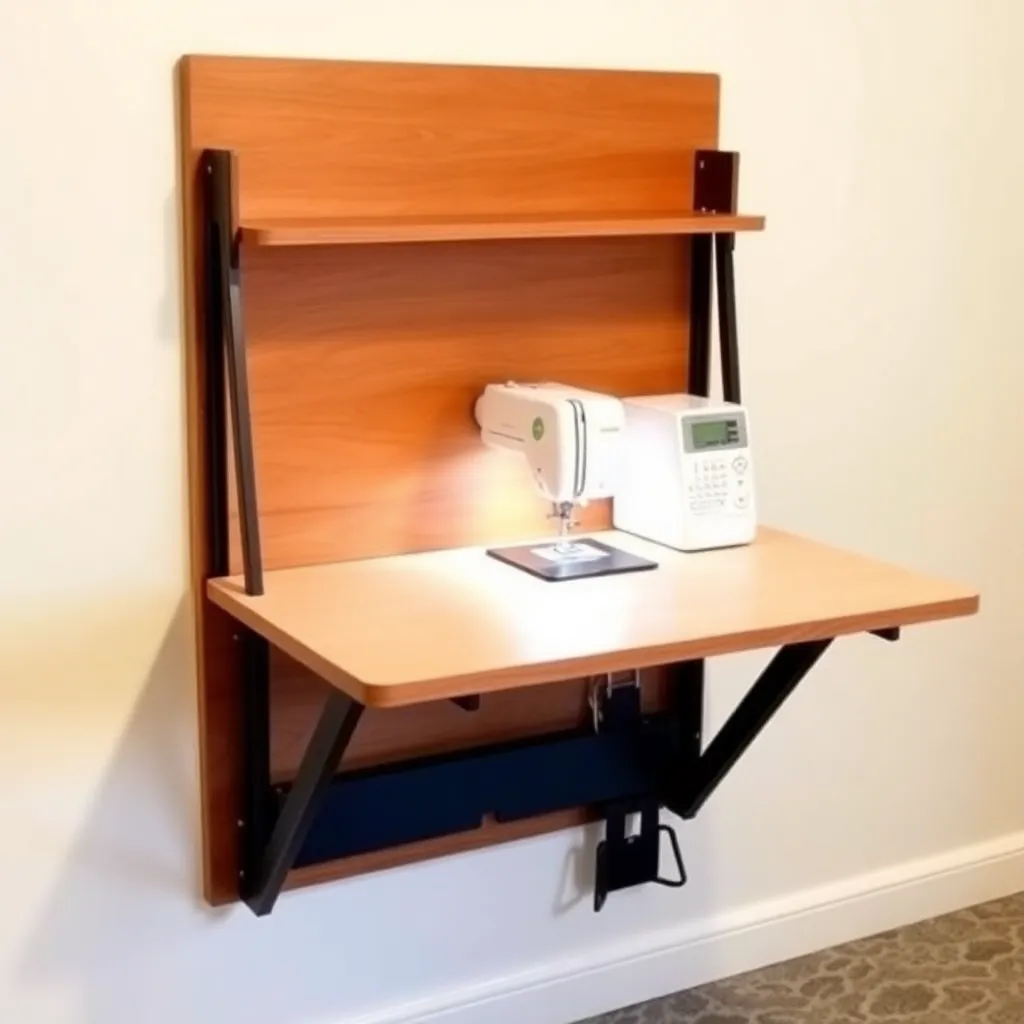
A folding sewing table stores flat against the wall and unfolds to provide a full work surface with storage for supplies. The woodworking challenge is in the folding mechanism — hinges, folding legs, and drop-leaf joinery that allow the table to collapse cleanly and open rigidly.
What you’ll learn: drop-leaf table construction, folding leg hardware, and building a flat-fold storage piece.
Build notes: build the top surface from ¾-inch birch plywood (31 × 24 inches — a generous sewing surface). Attach two folding legs (purchased hardware or shop-made from ¾-inch oak) on the front face using folding leg brackets. The table mounts to the wall via a piano hinge on the back edge — the top folds up flat against the wall when not in use. Add a simple latch to keep the table flat in the stored position.
Wooden Lantern Plans
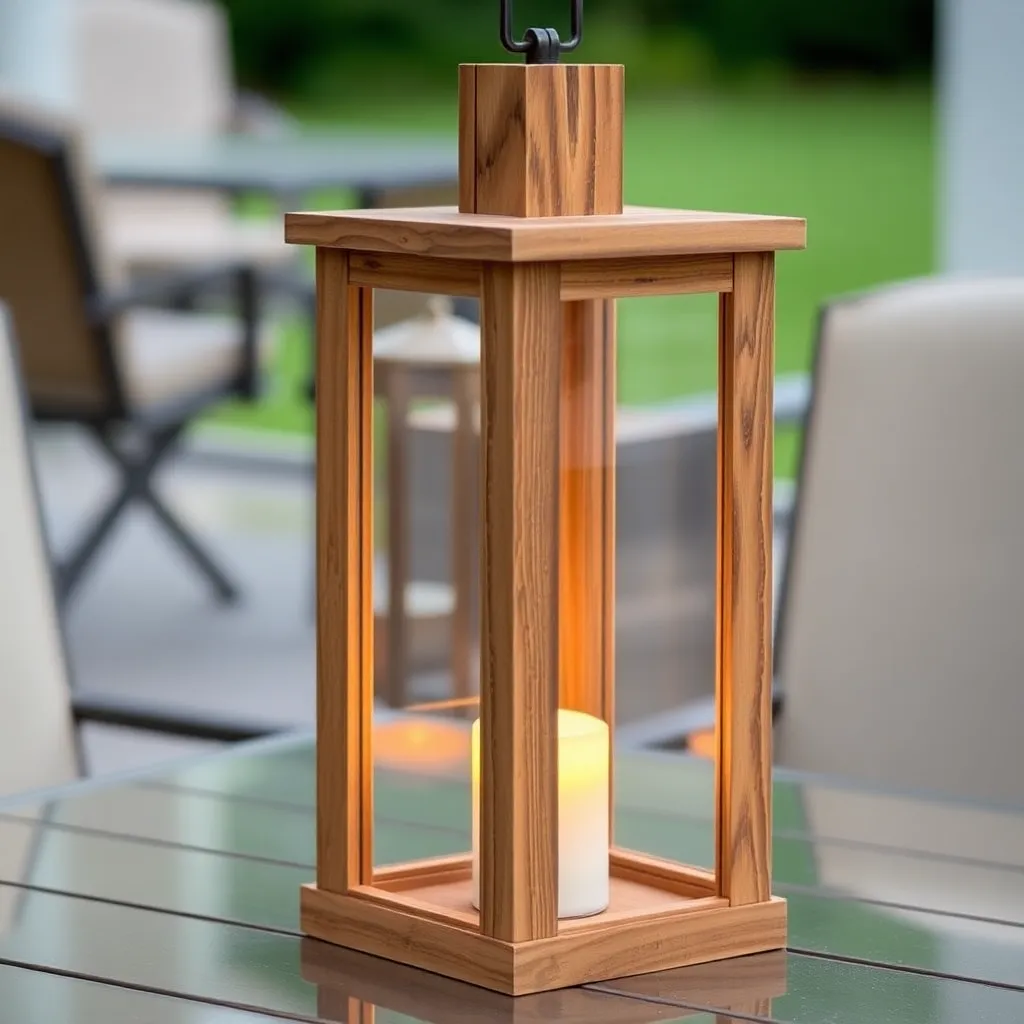
A wooden lantern is a decorative enclosure for a candle or LED light — four frame sides with glass or acrylic panels, a hinged door for access, and a top with ventilation. Lanterns are a rewarding project because the frame-and-panel construction scales from a small tabletop lantern to a large post lantern.
What you’ll learn: building a small frame-and-panel assembly, installing glass panels, and adding a hinged door.
Build notes: build four identical frame panels (¾ × 1-inch stiles and rails with ¼-inch grooves for glass). Assemble the four panels into a square enclosure. The top is a pyramid built from four mitered triangles. The door is one panel with a brass hinge and a simple turnbutton latch. Install tempered glass or clear acrylic in the panel grooves. Apply exterior varnish if the lantern will live outdoors.
Wooden Clock Plans
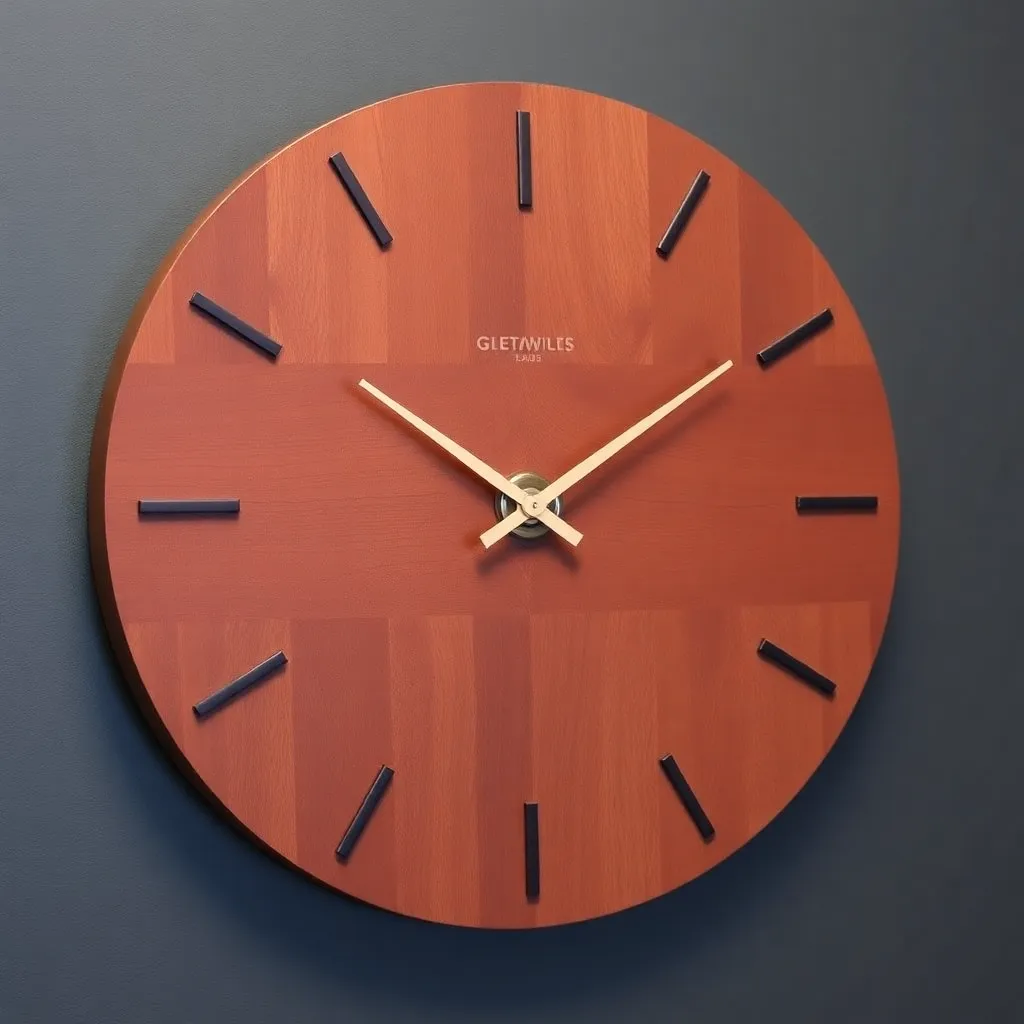
A wooden wall clock uses a purchased quartz clock mechanism (available for under $5) and a shop-made wooden face. The clock face is where the woodworking happens — a live-edge slab, a laser-engraved hardwood disc, or a frame-and-panel clock face are all common approaches.
What you’ll learn: working with a clock mechanism, drilling a precise center hole, and numbering or indexing a circular face.
Build notes: cut a 10-inch circle from ¾-inch walnut or maple using a circle jig on the router. Sand to 220-grit. Apply Danish oil. Drill a ⅜-inch center hole for the clock shaft. Mark the 12 hour positions with a compass and protractor (every 30°). Add hour markers: brass pins, routed dots, or laser-engraved numbers. Install the clock mechanism from the back — the hands attach to the shaft from the front. Add a D-ring hanger on the back.
Wooden Lamp Plans
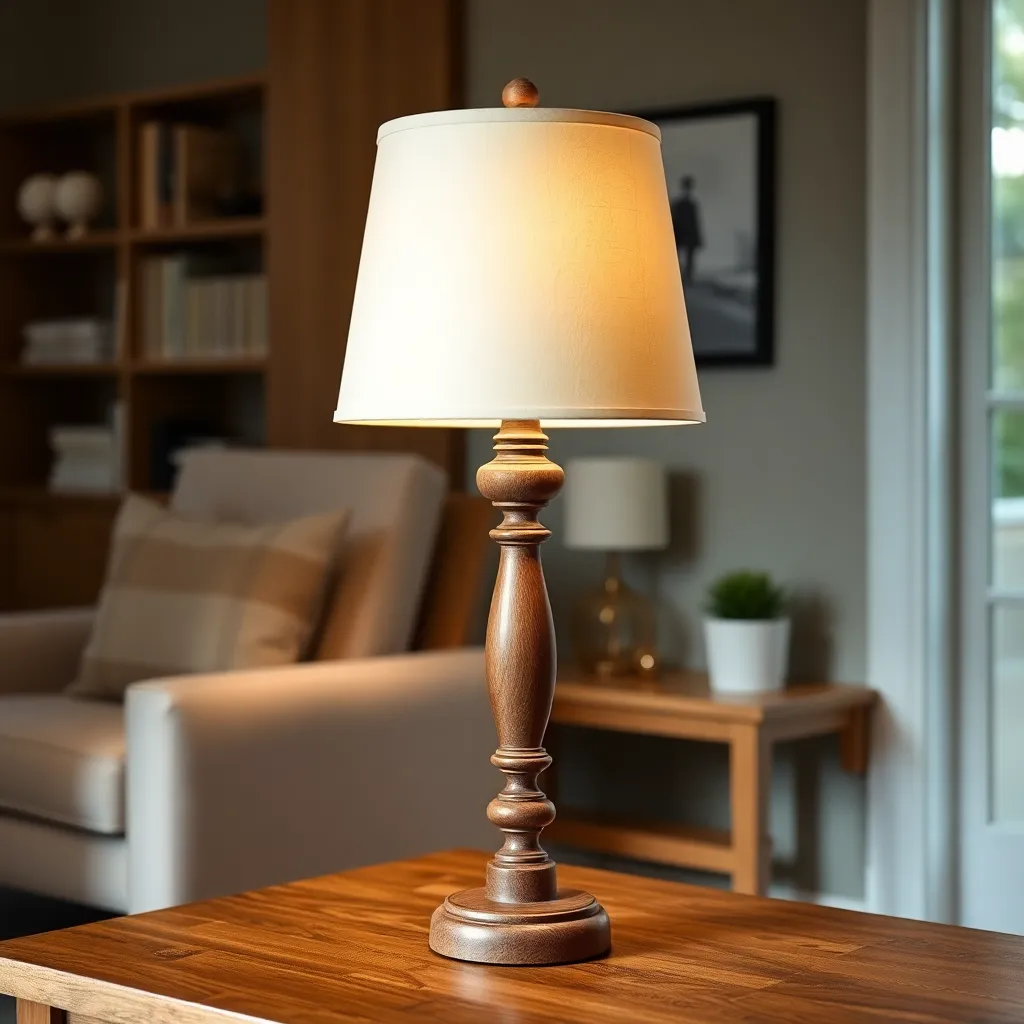
A wooden table lamp or floor lamp uses a shop-made wooden base with a purchased lamp kit (socket, cord, switch — available at hardware stores for under $15). The base can be a turned spindle on the lathe, a stacked geometric form from the table saw, or a simple rectangular block — the lamp kit handles all the electrical work.
What you’ll learn: drilling a straight through-hole for the lamp cord, building a stable lamp base, and assembling a lamp kit.
Build notes: turn or build the lamp base from dense hardwood (walnut, maple, or cherry — heavy enough to be stable). Drill a ¾-inch hole through the center of the base from bottom to top for the cord. Install the lamp kit per instructions — the socket mounts to the top of the base, the cord runs through the center hole. Install a lamp shade using the standard spider fitting. Apply Danish oil to the base.
Wooden Calendar Plans
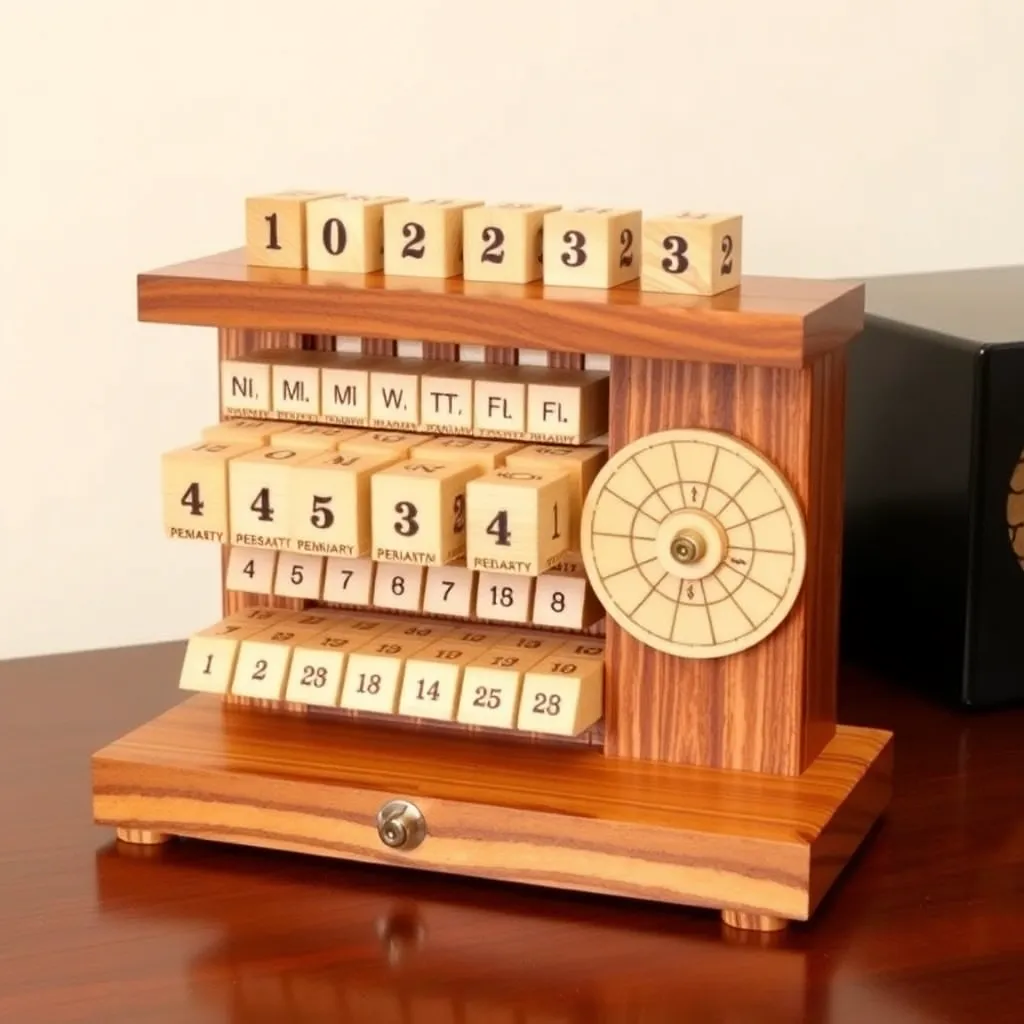
A perpetual wooden calendar is a mechanical display — individual cubes, tiles, or sliders that can be rearranged to show any date without batteries or electricity. The woodworking involves precision cutting of small identical parts and building a frame to hold and display them.
What you’ll learn: producing many identical small parts, building a display frame with consistent spacing, and finishing small pieces uniformly.
Build notes: a cube-style perpetual calendar uses two cubes (each 1½-inch square) showing two-digit dates (0–9 distributed across the faces), plus a month display block. Engrave or burn the numbers on each face. Build a frame to hold the three cubes in a row, with small recesses that keep each cube oriented correctly. The user rotates the cubes to display today’s date.
Specialty Wood Projects Quick Reference
| Project | Material | Skill Level | Build Time | Best For |
|---|---|---|---|---|
| Corbel | Oak or poplar | Intermediate | 3 hours | Shelf support, décor |
| Folding Sewing Table | Birch plywood | Intermediate | 5 hours | Small-space workstation |
| Wooden Lantern | Hardwood + glass | Intermediate | 4 hours | Décor, gifting |
| Wooden Clock | Walnut or maple | Beginner | 2 hours | Gift, wall décor |
| Wooden Lamp | Dense hardwood | Intermediate | 3 hours | Table or floor lamp |
| Wooden Calendar | Maple or cherry | Intermediate | 4 hours | Desk accessory, gift |
Specialty Wood Projects FAQ
What makes a specialty woodworking project different from furniture?
Specialty projects serve a single focused function (telling time, holding a candle, displaying a date) rather than the multi-use storage and seating functions of furniture. They’re typically smaller, faster to build, and more forgiving of small dimensional errors than furniture — a clock face that’s 10.1 inches instead of 10 inches is fine; a drawer that’s 0.1 inches too wide isn’t. Specialty projects are ideal for practicing techniques (carving on corbels, lathe work on lamp bases, frame-and-panel construction on lanterns) in a low-stakes context before applying those skills to larger furniture builds.
What tools do I need for specialty wood projects?
Most specialty projects require fewer tools than furniture: a saw (circular saw or miter saw), a drill, sandpaper, and a finish. The corbel adds a bandsaw and spokeshave. The lamp adds a lathe (optional — a rectangular lamp base requires only a drill). The clock and calendar are buildable with only a circular saw and drill. The lantern adds a router table for the panel grooves. Of all the specialty projects, the folding sewing table requires the most tools — table saw for the top, folding leg hardware, and a drill for the wall-mounting piano hinge.
Can specialty wood projects be sold?
Yes — specialty wood projects are among the most commercially successful small woodworking builds. Cutting boards and coasters sell through Etsy and local craft fairs for $25–$80. Wooden clocks sell for $45–$150 depending on the species and mechanism quality. Wooden lanterns sell for $30–$80 per pair. Perpetual calendars sell for $40–$120. The high perceived value relative to material cost (most specialty projects use under $15 of lumber) makes them excellent candidates for selling. The key differentiation: species choice (walnut and cherry command higher prices than pine), finish quality, and personalization (laser engraving adds $10–$25 in perceived value).
How do I choose a finish for specialty wood projects?
Match the finish to the use environment. For indoor display pieces (clocks, calendars, lanterns): Danish oil or shellac — beautiful appearance, easy to apply, and appropriate for non-contact surfaces. For outdoor pieces (post lanterns, patio lanterns): exterior spar varnish — UV-resistant and waterproof. For lamp bases: Danish oil or wiping varnish — the heat from the bulb won’t affect these finishes (LED bulbs run cool). For sewing tables: two-coat polyurethane on the top surface — durable against fabric friction and sewing machine vibration. Avoid wax-only finishes for functional pieces — wax is not durable enough for surfaces that get regular use.

“DIY woodworking enthusiast who started with zero experience and a YouTube tutorial.
I build simple, practical projects for my home and share free plans
so other beginners can skip the guesswork.If I can build it, you can too.”