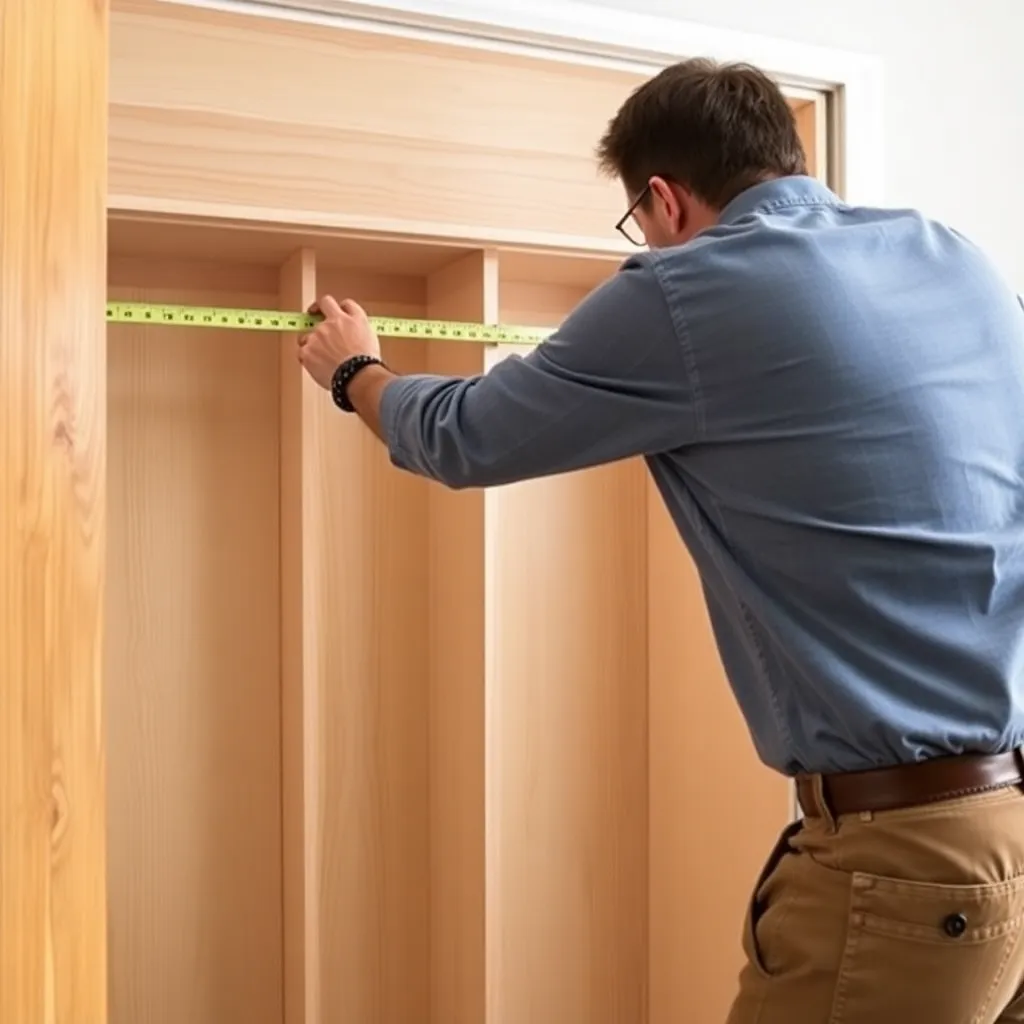
A do-it-yourself closet organizer is the best value in home improvement woodworking — the materials cost $150–$300, the installation takes a weekend, and the result equals or exceeds a $2,000 professional installation. This guide covers every step from measuring the raw closet to hanging the last piece of clothing in the finished system.
Ted’s Woodworking has complete closet organizer plans for every closet size and configuration. Browse Ted’s plans →
Step 1: Measure and Plan the Closet

Goal: A complete scaled drawing of the closet with zone assignments — the foundation of the build.
Measure the closet interior:
- Width: measure at the floor, middle, and top (closets are often not consistent)
- Depth: measure at the left, center, and right
- Height: measure at the front and back (sloped ceilings slope from the door forward)
- Note all obstacles: outlets, light switches, light fixtures, pipes
Record the narrowest width measurement — the system must fit at this dimension. Draw the closet footprint at 1 inch = 1 foot scale. Assign zones based on clothing inventory:
- Short hanging (shirts, jackets): 24–36 inches wide
- Long hanging (dresses, coats): 24 inches wide
- Shelves (folded items, accessories): 18–24 inches wide
- Shoes: 12–18 inches wide at the floor level
Milestone: A complete scaled drawing with all zone widths adding up to the closet width minus ½ inch (clearance).
Step 2: Create a Cut List

Goal: A complete materials list for all panels, shelves, and rods before purchasing materials.
From the scaled drawing, derive the cut list. Each zone boundary needs a vertical panel; each shelf needs a horizontal panel; each hanging zone needs a rod.
Example cut list for a 6-foot closet:
- 3 vertical panels: 16 × 72 inches (zone dividers)
- 1 top shelf: 16 × 70½ inches (spans full width)
- 4 adjustable shelves: 16 × 17½ inches (for center zone)
- 2 hanging rods: 22 inches each (for each hanging zone)
- 1 sheet ¾-inch melamine: main panels
- 1 sheet ¼-inch plywood: back panels (if using box construction)
Milestone: A cut list that accounts for every piece with dimensions, and a materials list with total board footage.
Step 3: Purchase Materials and Cut Panels

Goal: All panels cut to size before bringing them to the closet — set up the cutting station efficiently.
Purchase materials at the lumber yard or home center. Request sheet goods cut to rough width at the store if they offer this service (reduces handling of full 4 × 8 sheets). Bring to the shop and make final cuts.
Cutting order: (1) rip all panels to width (16 inches for standard closet depth); (2) crosscut each panel to its specific length. Label each cut piece immediately with a pencil mark on the back face.
Sand all cut edges to 120-grit. Apply iron-on edge banding to all visible front edges. Prime and paint before installation — painting assembled components in place is more difficult than painting flat panels.
Milestone: All panels cut, sanded, banded, primed, and painted before any installation begins.
Step 4: Remove Existing Closet Contents and Hardware

Goal: An empty closet with all existing hardware removed and walls patched.
Remove all existing wire shelves, brackets, and rods. Fill all screw holes with lightweight spackle (2 coats, sanded flat). Lightly sand any rough wall patches. Apply one coat of interior latex paint to the closet walls if needed (new paint on closet walls is one of the highest-impact improvements visible in the final result).
Milestone: Empty closet with smooth patched walls and a clean floor — ready for installation.
Step 5: Install the Base and Vertical Panels

Goal: All vertical panels installed plumb and at the correct positions.
Install the base first (a ¾-inch plywood strip, 3½ inches tall, running the full closet width — the toe kick). This gives all vertical panels a level starting point even if the floor is uneven.
Set each vertical panel in position. Check plumb with a 4-foot level on both faces. Attach to the wall with two screws through the back face into studs. If studs don’t align with panel positions: use toggle bolts rated for 50 lbs each, or build with a back panel on each module (the back panel spans studs even when the side panel doesn’t).
Milestone: All vertical panels plumb and at the correct horizontal positions, verified with a tape measure between panels.
Step 6: Install Shelves and Rods

Goal: All fixed and adjustable shelves installed, all rods mounted.
Install the top shelf first (the horizontal reference for the entire system). Set it on top of the vertical panels, verify level, and fasten with two pocket screws from below into each panel.
Install adjustable shelf standards on the center zone panels (or drill peg-hole rows at 1-inch intervals). Install fixed shelves in fixed positions with pocket screws or shelf pin clips.
Mount rods last: install rod cups at the correct height on each side of the hanging zone, verify height is equal on both sides (rods must be perfectly level or clothes slide to one side), insert the rod.
Milestone: All shelves level within 1/16 inch across their full span, all rods level.
Step 7: Add Finishing Details and Load the System

Goal: Trim, touch-up, and load the completed system.
Add trim details:
- Base molding (¾ × ¾-inch quarter round) at the wall-to-panel joints
- Door casing touch-up paint if disturbed during installation
- Rod end caps (plastic snap-on caps for the rod ends — optional but clean)
Apply touch-up paint to any scratches. Load the system: hang clothes in each zone, fill shelves with folded items, place shoes on shoe shelves. Verify everything fits. Make notes of any adjustments (a shelf height that needs to move, a rod that needs to be 2 inches lower).
Milestone: A fully loaded closet where everything has a designated place with no overflow.
Do It Yourself Closet Organizer FAQ
How long does it take to build and install a DIY closet organizer?
A standard 6-foot reach-in closet organizer takes: Day 1 (4–6 hours) — measure, plan, cut list, purchase materials; Day 2 (2–3 hours) — cut panels, edge band, paint; Day 3 (3–4 hours) — install. Total: 10–15 hours spread over 3 days. The biggest time driver is painting — if using prefinished melamine (no painting needed), the total drops to 8–10 hours. The biggest installation variable is the wall condition — perfect walls install faster; crumbling plaster or out-of-plumb walls add 1–2 hours of shimming and scribing.
What tools do I need to build a closet organizer?
Minimum tool list: circular saw (for sheet goods), drill/driver, level (4-foot minimum), tape measure, stud finder, iron (for edge banding). Helpful additions: miter saw (cleaner crosscuts than circular saw), pocket hole jig (for joining panels without visible fasteners), clamps (holds panels while screwing). Not required but useful: table saw (for ripping panels to exact width), router (for dado joints). The entire project is doable with just a circular saw, drill, level, and tape measure — the additional tools add quality and speed but aren’t prerequisites.
Should I build the organizer in the closet or pre-build and then install?
Pre-build in the shop, then install. Building in the closet requires working in a confined space, making precise cuts in awkward positions, and painting in a poorly ventilated area. Pre-building in the shop (or garage) allows accurate cutting on sawhorses, proper panel support, clean painting in an open area, and a much faster installation phase. The only tradeoff: panels cut in the shop need to fit through the closet door — verify that all panels can enter the closet before cutting to final size (most closets have 30–32-inch doors; a 16-inch deep shelf can always enter at an angle).
How do I handle a closet light when building the organizer?
If the light fixture is on the ceiling: plan the top shelf position so the shelf doesn’t block the light — typically the top shelf sits 2 inches below the fixture or the fixture is recessed slightly above shelf height. If a bare bulb: replace with a compact LED bulb (lower heat, less fire risk near wood) before the install. If a surface-mounted light on the back wall: the back wall is typically where shelves attach; route a notch in the back of each shelf to clear the light fixture housing. For new lighting during the build: LED strip lights on the underside of the top shelf (battery or plug-in) add closet illumination without involving an electrician.

“DIY woodworking enthusiast who started with zero experience and a YouTube tutorial.
I build simple, practical projects for my home and share free plans
so other beginners can skip the guesswork.If I can build it, you can too.”