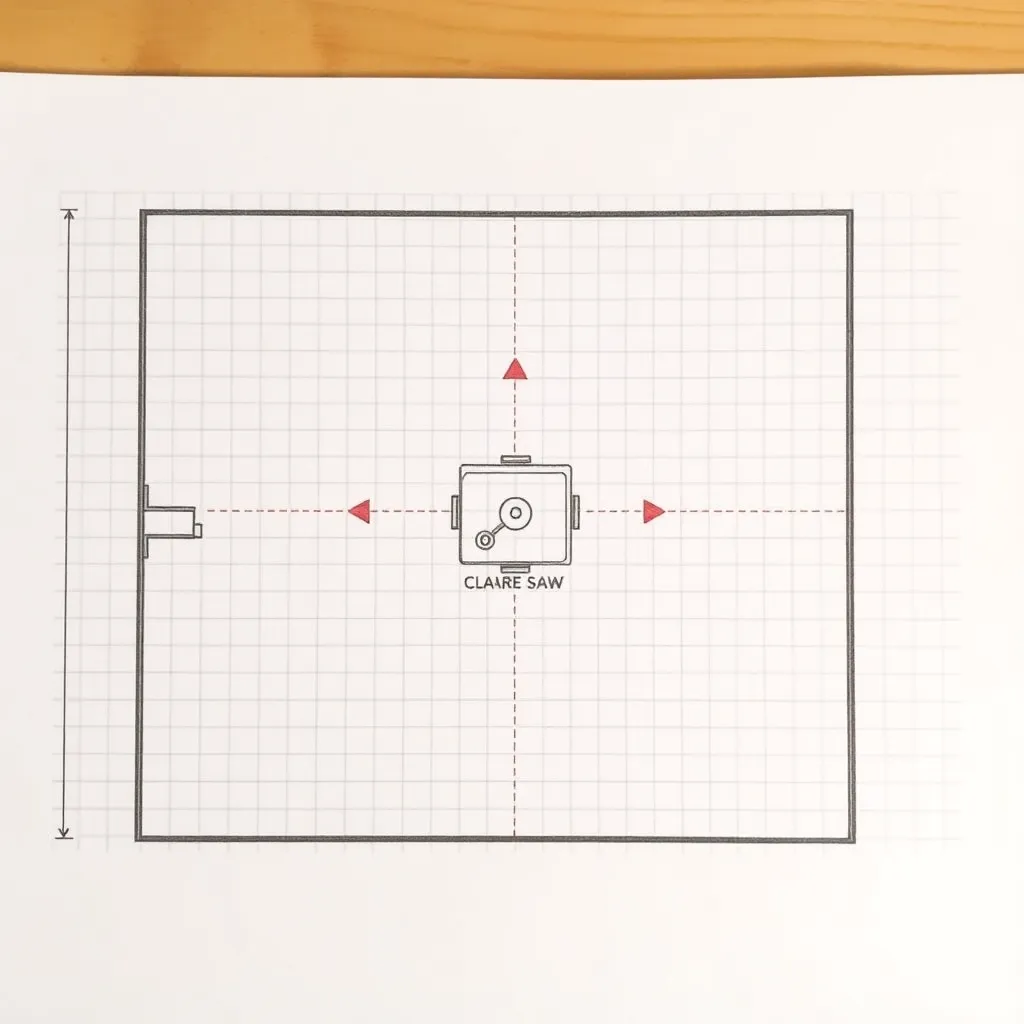
The most important decision in setting up a woodworking shop isn’t which tools to buy — it’s where to put them. A poor layout means constantly fighting your own shop: repositioning machines for clearance, carrying material across your own path, and working in cramped positions that cause both accidents and fatigue. A good layout makes the shop feel twice as large as it is, because the space works with you instead of against you.
Ted’s Woodworking has complete workshop setup guides alongside 16,000+ project plans. Browse Ted’s plans →
This guide is part of our complete Shop Layout and Dust Collection: Plan Your Workshop for Efficiency — covering workshop layout, dust collection systems, and shop organization.
Step 1: Understand the Three Workshop Zones
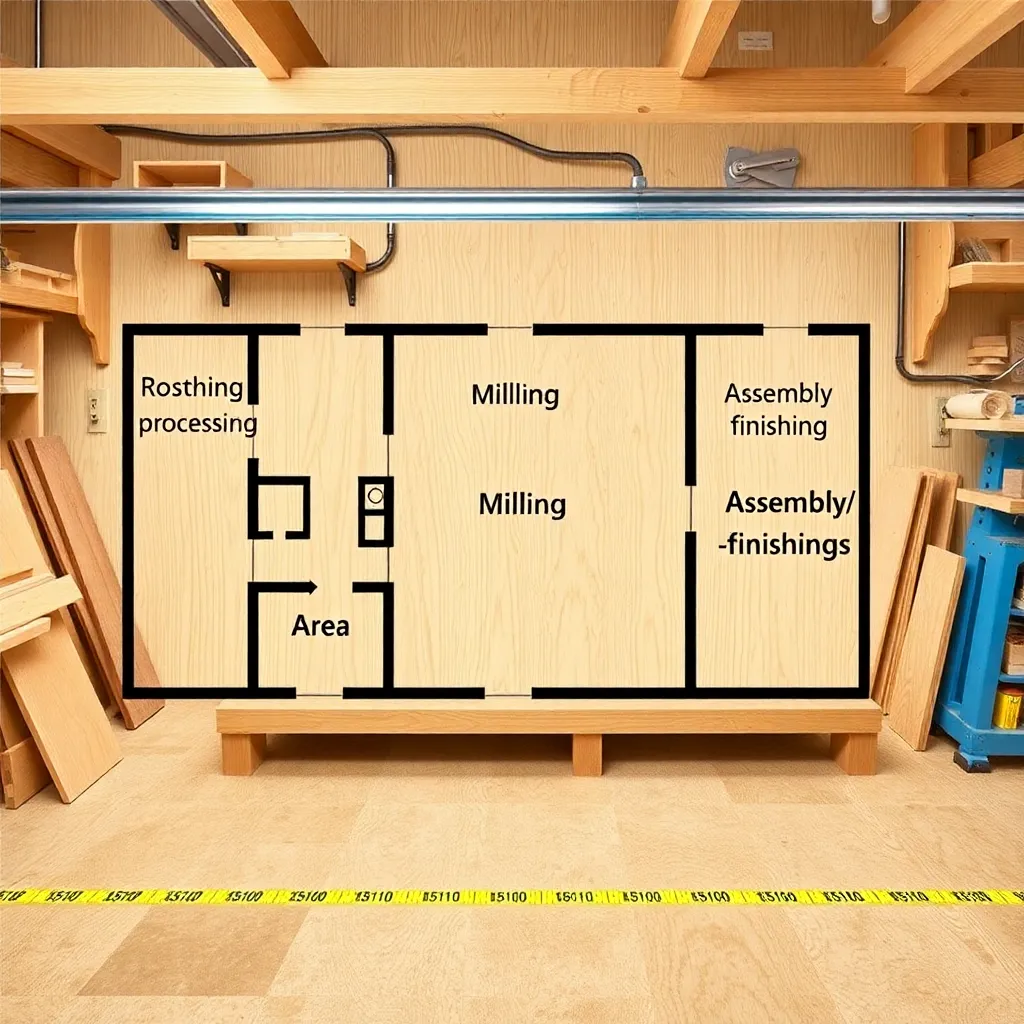
Goal: Divide your shop into logical zones based on workflow — rough processing, milling, and assembly/finishing.
Every efficient woodworking shop has three zones, even if the entire shop is a single-car garage. The zones correspond to the stages of converting rough lumber into a finished project.
Zone 1 — Rough processing: where lumber arrives and receives its first cuts. This zone is closest to the shop entrance for easy material loading. Tools: miter saw (for crosscutting to rough length), a place to stack incoming lumber, and often a bandsaw for breaking down wide or irregular stock.
Zone 2 — Milling and dimensioning: where lumber is made flat, square, and to exact dimensions. Tools: jointer (faces and edges), thickness planer (thickness), table saw (ripping to width), and the infeed/outfeed space each of these requires. This is the largest zone in terms of floor space required.
Zone 3 — Joinery, assembly, and finishing: where the dimensioned stock becomes a project. Tools: workbench (hand tool work and assembly), drill press, router table, band saw (for joinery cuts), and a finishing area (ideally separated or downwind from dust-generating tools).
Material flow: lumber enters at Zone 1, moves to Zone 2 for processing, then moves to Zone 3 for assembly. In an efficient layout, this movement is linear — from one end of the shop to the other — without backtracking.
Milestone: Mark these three zones on a floor plan of your shop (even a rough sketch on graph paper) before moving any equipment.
Step 2: Place the Table Saw First
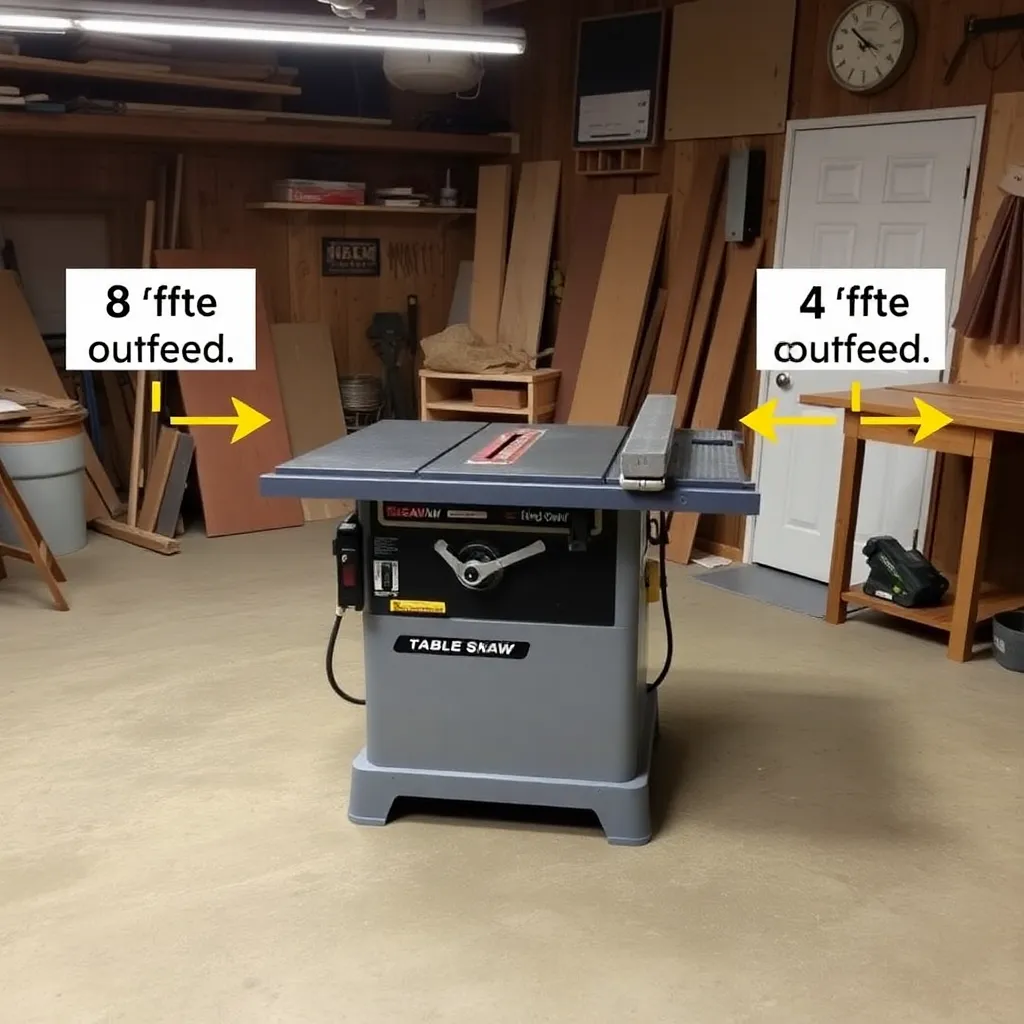
Goal: Position the table saw as the anchor point for the entire layout.
The table saw is the most-used machine in most woodworking shops and requires the most clearance. Where it goes determines where everything else goes.
Clearance requirements:
- Outfeed (behind the blade): minimum 8 feet for ripping full 8-foot boards; 10 feet is better
- Left side (off-feed side): 4–6 feet for wide crosscuts
- Right side: 2–3 feet minimum; more is better for installing a router table extension wing
- Infeed (in front): 4 feet minimum; 6 feet if you rip sheet goods frequently
Positioning options:
- Center of the shop: maximum flexibility, 360-degree access. The best position if space allows.
- Against the back wall: outfeed exits through the wall (add a door or window) or is supported by an outfeed table against the back wall.
- Offset from center: positioned so the blade aligns with the centerline of the garage door opening — full sheet outfeed exits through the open door.
The one non-negotiable: you must be able to stand at the front of the saw and feed a full sheet of plywood (4×8 feet) without the trailing edge hitting anything behind you.
Milestone: Stand in your shop with an 8-foot board and physically walk through the ripping motion to identify any obstructions before finalizing the table saw position.
Step 3: Position the Jointer and Planer
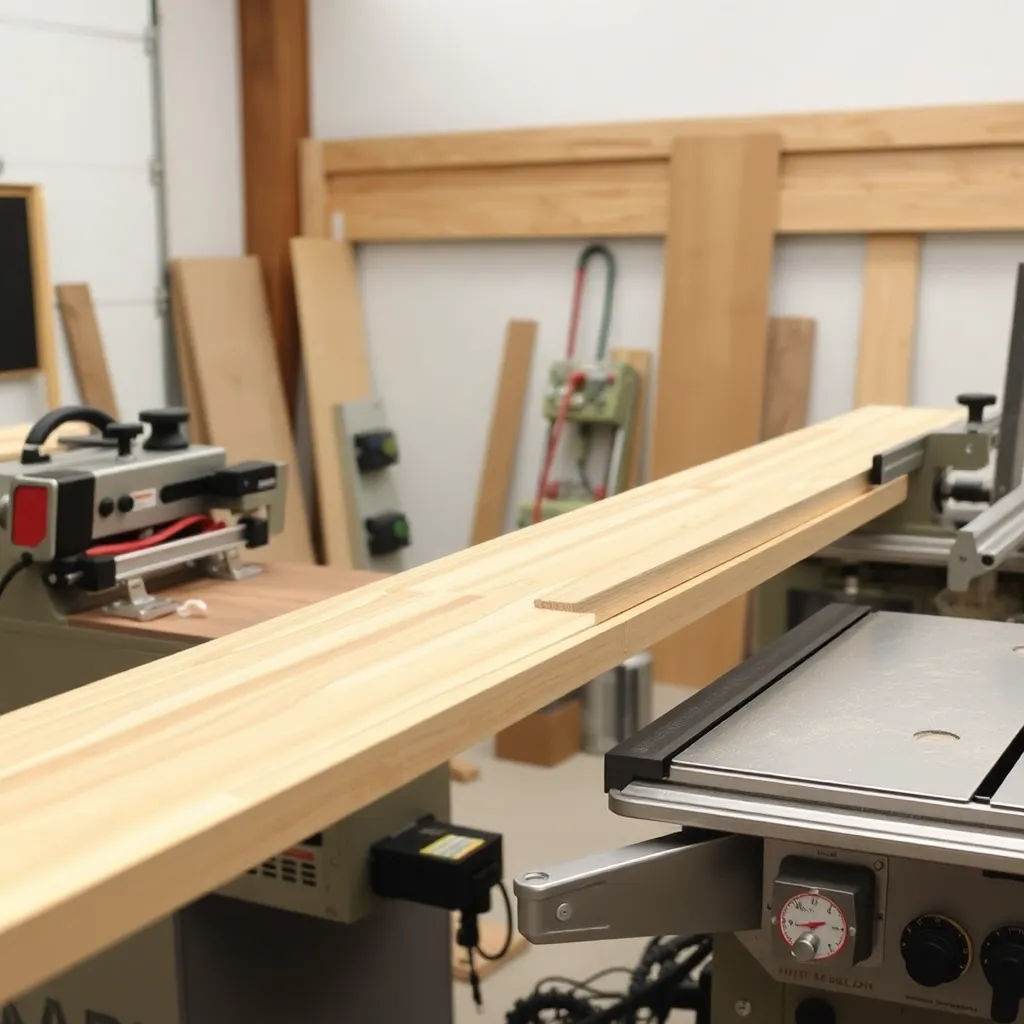
Goal: Place the jointer and planer in the material flow path between lumber storage and the table saw.
The jointer and planer work as a pair — lumber goes face-jointed, then to the planer for thickness, then to the table saw for width. They belong between the lumber storage and the table saw.
Jointer clearance:
- Infeed: 6 feet minimum (for jointing 6-foot boards without the trailing end hitting a wall)
- Outfeed: 6 feet minimum
- Orientation: position the jointer so the jointed stock feeds naturally toward the planer or table saw — not across the shop
Planer clearance:
- Infeed and outfeed: equal to the longest board you’ll process — minimum 8 feet each side
- Portable planers can be moved to the center of the shop when in use and stored against a wall; stationary planers require a permanent position with fixed clearance
Folding and portable solutions: if the shop is too small for permanent clearance, a portable planer on a rolling stand can be pushed into the cleared garage door area when in use. Not ideal, but workable in a very small shop.
Milestone: Measure and mark the jointer and planer positions with tape on the floor, then physically carry an 8-foot 2×4 through the simulated workflow (lumber → jointer → planer → table saw) to check for conflicts.
Step 4: Place the Workbench
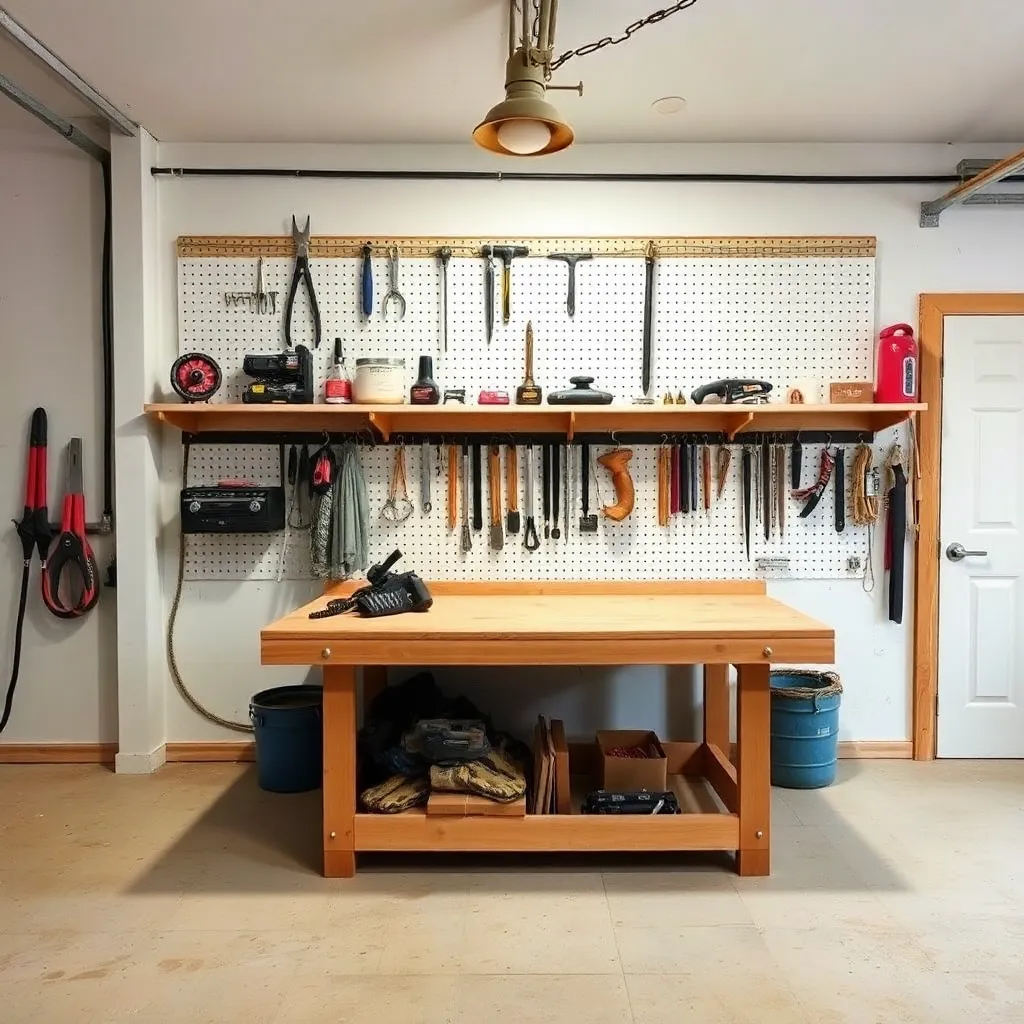
Goal: Position the workbench for easy access and adequate working clearance on all sides.
The workbench is the hand-tool center of the shop — it needs to be accessible from three sides (you stand at the front, work extends off the right end, and access from the left for planing stops and vise work).
Position: against a wall (typically the back or side wall), not in the center of the shop. A workbench in the center of the shop wastes the floor space between the machine zone and the bench.
Clearance: 3 feet in front of the bench for comfortable standing work and for carrying large assemblies past the bench.
Lighting: position the bench under a light source (window or dedicated shop light). Hand tool work requires good light to see layout lines, grain direction, and surface quality.
Storage: the wall behind the bench is prime real estate for tool storage — a French cleat system or pegboard for hand tools, with shelving above for supplies and consumables.
Milestone: Sit at the workbench (or stand at it) and verify you can reach the most-used tools on the wall behind it without moving your feet.
Step 5: Position Secondary Machines
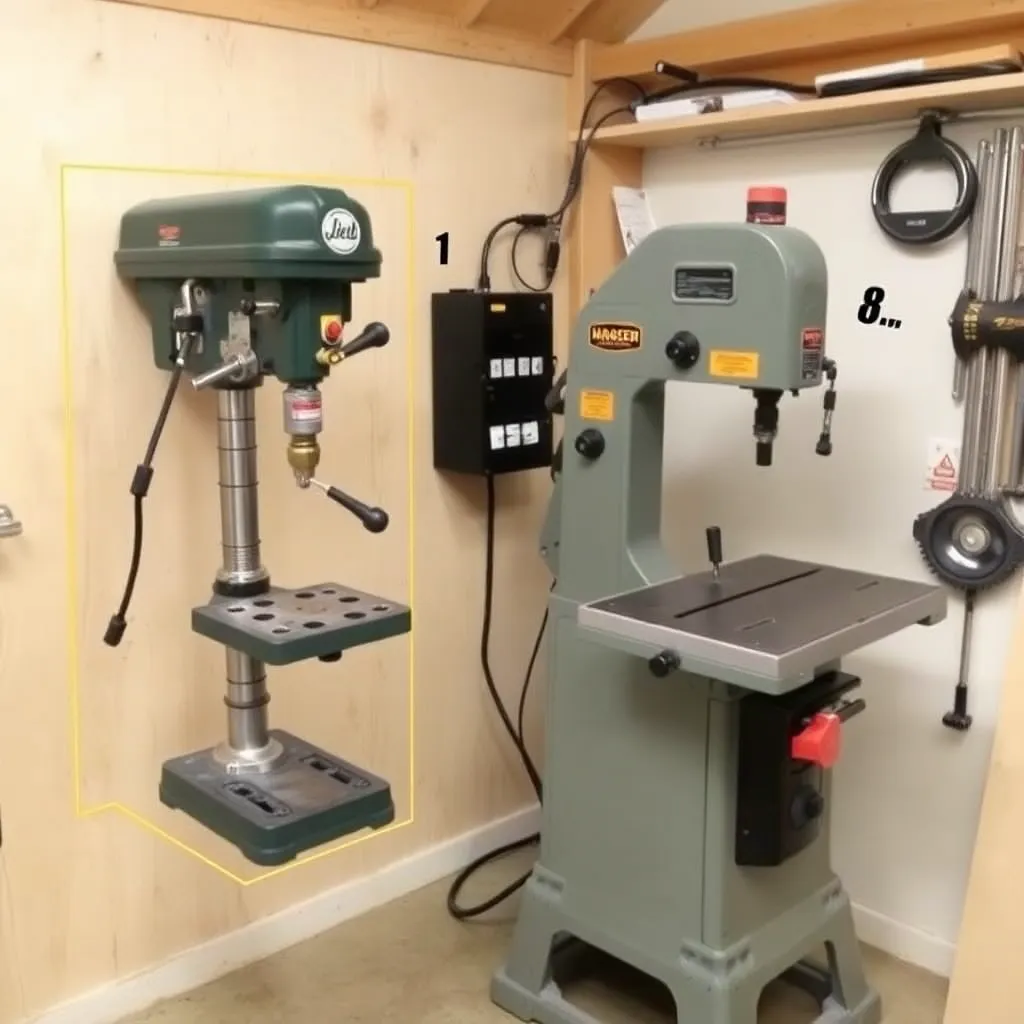
Goal: Place the drill press, band saw, router table, and other secondary machines where they support workflow without blocking primary machines.
Drill press: against a wall, perpendicular to the bench. Needs 3 feet of clearance in front for long work. Position near the workbench since drill press work often feeds from or to bench work.
Band saw: needs 4–6 feet of clearance to the left (for resawing wide boards) and 4 feet to the rear (for long cuts). Position it so the clearance doesn’t conflict with the table saw’s outfeed zone.
Router table: often built into a table saw extension wing (right side). If freestanding, position it near the table saw — many router table operations use the table saw fence. Needs 4 feet of outfeed clearance.
Finishing area: ideally in a corner or separate space away from chip-generating machines. Even a sheet of plastic curtain separating a 6×8-foot corner provides significant dust separation for finishing.
Milestone: Draw all machines on the floor plan at correct scale (use 1 inch = 1 foot) and verify that all clearance zones fit without overlap.
Step 6: Plan Electrical and Dust Collection
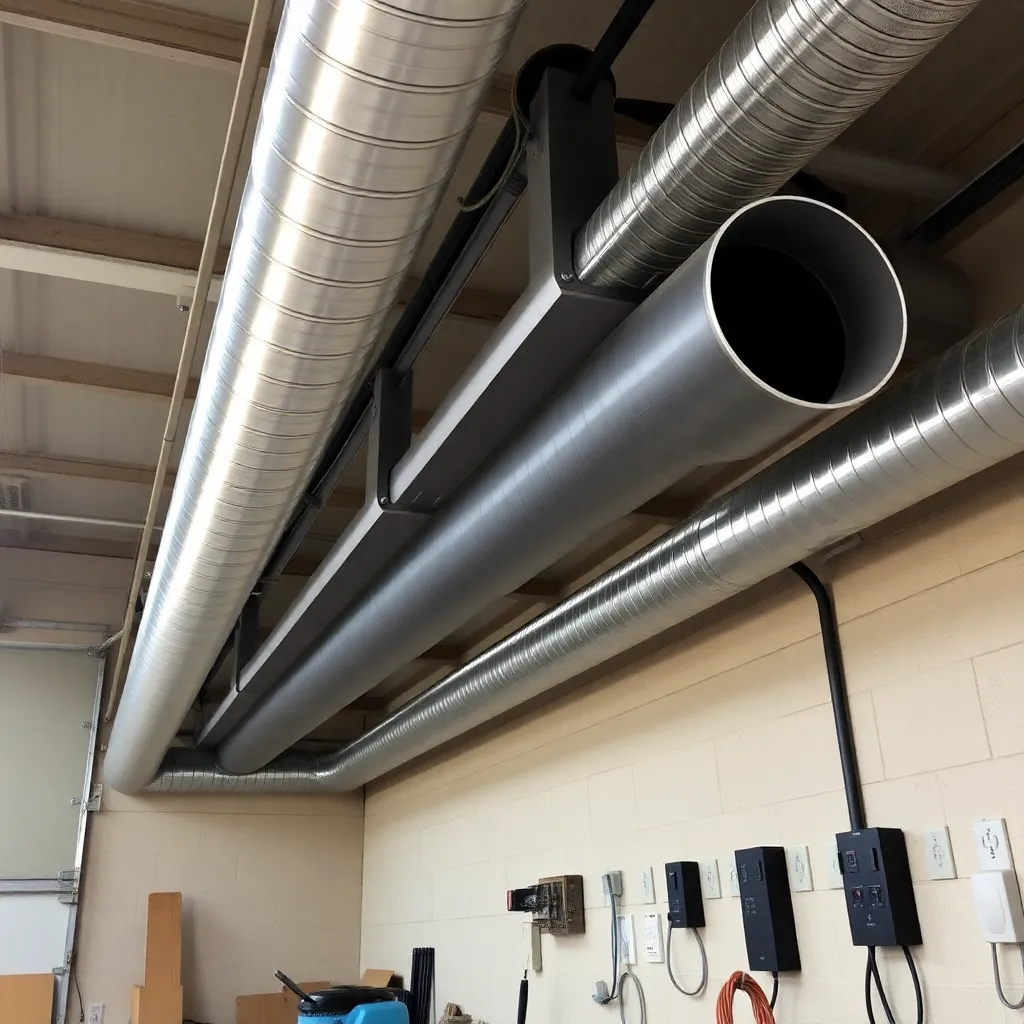
Goal: Design the electrical and dust collection infrastructure to serve the planned machine positions.
Electrical planning:
- Table saw, jointer, planer: each needs a dedicated 20-amp 240V circuit (for most 1.5–3 HP motors)
- Dust collector: dedicated 20-amp 240V circuit for 1.5 HP+ collectors
- General outlets: 20-amp 120V circuits every 6 feet along all walls (for lighting, battery chargers, shop vac, tools)
- Overhead lighting: separate circuit from outlets so a tripped outlet breaker doesn’t kill the lights
Dust collection ductwork: plan the main duct route based on machine positions. The main duct runs above head height (along ceiling joists) from the dust collector to the farthest machine. Branch lines drop down to each machine. Plan blast gates at each branch. The shorter and straighter the duct runs, the more CFM reaches each machine.
Ceiling height matters: an 8-foot ceiling is the minimum for an overhead duct system. Lower ceilings require wall-mounted or floor-level duct runs that are less efficient and more disruptive to the workflow.
Milestone: Mark the planned duct route and electrical outlet positions on the shop layout drawing before running any wire or cutting any duct.
Woodworking Shop Layout FAQ
How big does a woodworking shop need to be?
You can do serious woodworking in a one-car garage (approximately 20×20 feet = 400 square feet) with careful layout planning. The minimum viable shop for furniture-scale projects with a table saw, jointer, planer, and workbench: 300 square feet. Below 300 square feet, you’re constantly moving machines out of the way to create clearance, which is workable but frustrating. A two-car garage (20×24 feet or 20×22 feet = 440–480 square feet) provides significantly more workflow flexibility and is the most common serious home shop footprint. A dedicated shop of 600+ square feet allows permanent machine placement with full clearance on all machines simultaneously.
What machine should I buy first for a new shop?
The table saw is the most versatile machine in a woodworking shop and should be the first stationary machine purchased. It rips, crosscuts, cuts joinery (dadoes, rabbets, tenons), and with jigs handles dozens of additional operations. After the table saw: a jointer and thickness planer as a pair (they’re most useful together), then a workbench, then a band saw, then a drill press. The order after the table saw depends on what you’re building — furniture builders need the jointer/planer pair early; carvers and craftsmen who work primarily with hand tools need a workbench first.
Should my shop have a dedicated finishing area?
Yes, if possible — even a small dedicated area. Finishing generates fumes (from solvent-based finishes), requires a dust-free environment (wet finish attracts airborne dust), and is a fire hazard if solvent vapors reach ignition sources. A dedicated finishing area doesn’t need to be large: a 6×8-foot corner with a plastic curtain separator, good ventilation (a window or fan), and fire-safe storage for finishes is adequate. The plastic curtain keeps dust from the rest of the shop out of the finish while it cures. If a dedicated area isn’t possible, finish after the shop dust has settled (morning of the next day after a machining session) and keep solvent-based finishes away from all ignition sources.
How do I handle outfeed in a small shop?
Four solutions for limited outfeed space: (1) roller stand — a height-adjustable stand with a roller that supports the outfeed end of long boards; folds for storage ($30–$80); (2) folding outfeed table — a table that hinges to the back of the table saw cabinet and folds down when not in use; (3) garage door outfeed — position the table saw blade in line with the garage door opening; long boards exit through the open door; (4) mobile base — put the table saw on a mobile base and roll it to the center of the garage (moving the car out) when ripping long boards. The roller stand is the simplest and most flexible solution for a one-car garage shop.

“DIY woodworking enthusiast who started with zero experience and a YouTube tutorial.
I build simple, practical projects for my home and share free plans
so other beginners can skip the guesswork.If I can build it, you can too.”