This guide is part of our complete Joinery Techniques Guide — covering wood joints, fastening methods, and hand tool techniques for woodworkers at every level.
The French cleat is the most flexible tool storage system for a woodworking shop — a simple two-part wall mounting solution that lets you hang any tool, in any position, and rearrange everything without drilling new holes. Built from a single sheet of plywood and installed in an afternoon, a French cleat wall can hold hundreds of pounds of tools organized exactly the way you want them, with custom holders built for each specific tool.
Ted’s Woodworking has 16,000+ plans including shop storage and organization projects. Browse Ted’s plans →
Step 1: Understand How French Cleats Work
Goal: Know the mechanics of the French cleat system before building.
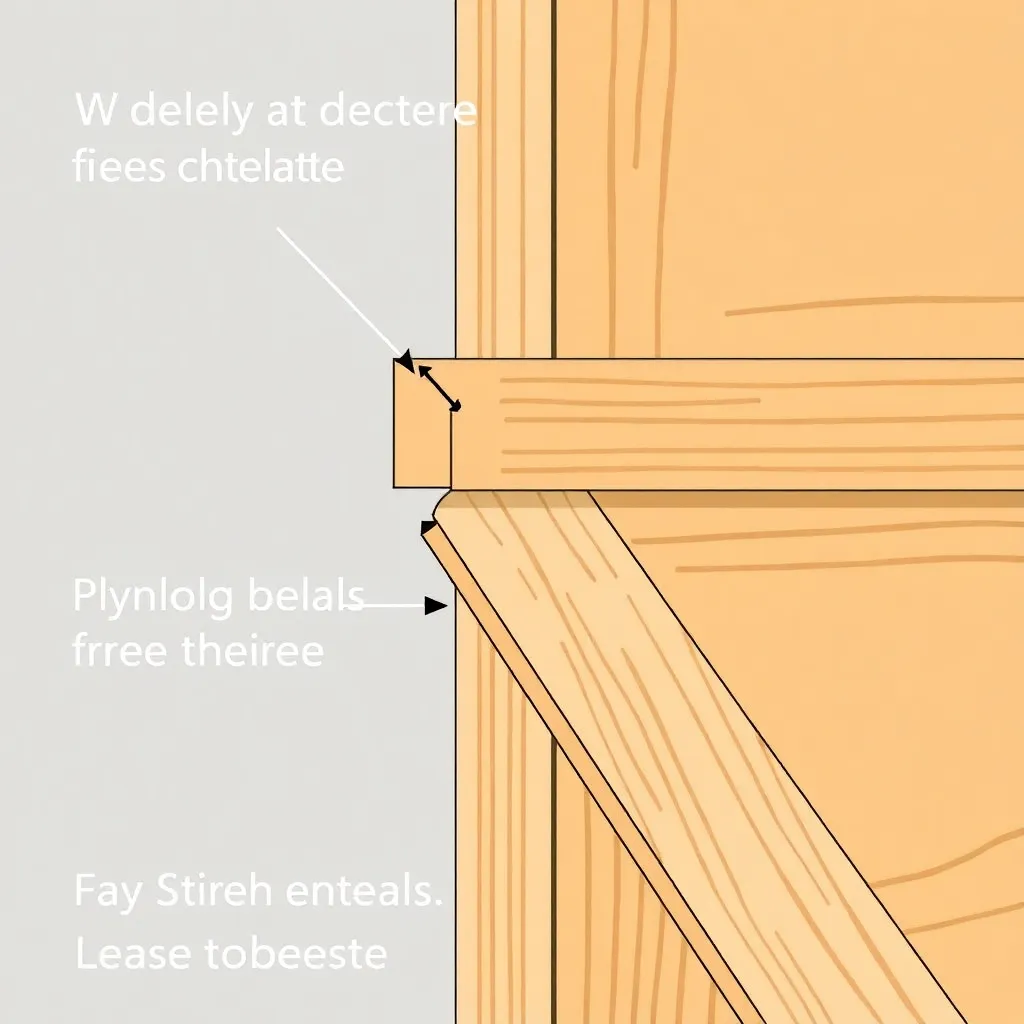
A French cleat consists of two interlocking pieces, each with a 45-degree bevel on one edge:
Wall strip: a strip of plywood (typically 3/4″ thick, 3–6 inches wide) mounted horizontally to the wall with the beveled edge pointing up and toward the room. The bevel faces outward at 45 degrees.
Object hook: a strip attached to the back of whatever is being hung, with a beveled edge pointing down and toward the wall. The bevel faces inward at 45 degrees.
The interlock: the object hook’s downward-pointing bevel drops over the wall strip’s upward-pointing bevel. Gravity holds the object in place — the hook can’t come off unless the object is lifted up and away from the wall. The heavier the object, the more firmly it seats on the cleat.
The flexibility advantage: multiple wall strips are installed horizontally across the full wall, every 4 inches on center. Any holder with a French cleat hook can hang at any horizontal position on any strip. Rearranging means lifting the holder off one cleat and setting it on another — no tools, no holes, no commitment to a fixed position.
Milestone: Before building anything, hang a test cleat strip on the wall and make a simple hook from scrap to verify you understand the geometry.
Step 2: Rip the Cleat Strips
Goal: Rip 3/4″ plywood into cleat strips with accurate 45-degree bevels.
Materials for a 4×8-foot cleat wall:
- One sheet of 3/4″ Baltic birch or cabinet-grade plywood (3/4″ is important — thinner plywood may not hold the screw engagement needed for heavy tools)
- 2.5-inch screws for mounting to studs
- A drill and bits
Ripping procedure:
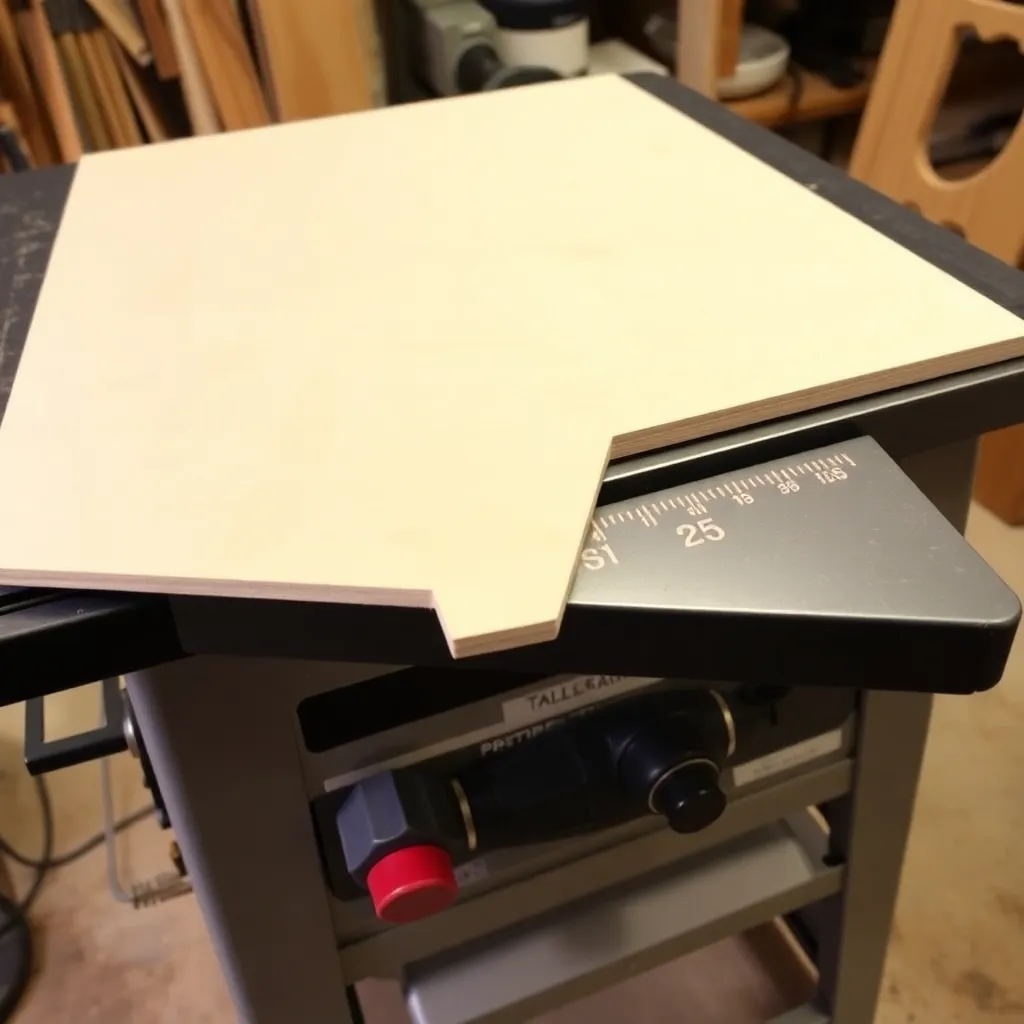
Set the table saw blade to exactly 45 degrees (verify with a reliable angle gauge — the saw’s tilt indicator is often inaccurate)
Set the fence to 4 inches (for 4-inch wide strips — the most common width)
Rip the plywood sheet into 4-inch strips, beveled on one long edge
Each 8-foot strip becomes one wall cleat row
Verify the bevel: hold two strips together bevel-to-bevel — they should lock together without any gap or rocking. If they rock, the bevel angle is not 45 degrees — readjust the blade and recut.
Number of strips needed: for a standard 8-foot high wall section, strips every 4 inches on center requires 24 strips for the full height. In practice, most woodworkers install strips from counter height (36 inches) to ceiling (96 inches) — approximately 15 strips for a typical 8-foot wall section.
Milestone: Rip one test strip and verify the 45-degree bevel is accurate before ripping the entire sheet.
Step 3: Mount the Wall Strips
Goal: Attach the cleat strips to the wall at the correct spacing, into studs.
Finding studs: French cleat tool walls are heavy — a fully loaded wall holds hundreds of pounds. Every strip must be screwed into wall studs (every 16 inches in most framing), not just into drywall. Locate studs with a stud finder or by tapping and probing with a nail.
First strip position: decide where to start the cleat wall (typically 36 inches from the floor — above a workbench or counter). The first strip establishes the reference — all other strips are parallel to and spaced from the first.
Mounting procedure:
Hold the first strip on the wall with the bevel edge pointing up and out
Level the strip
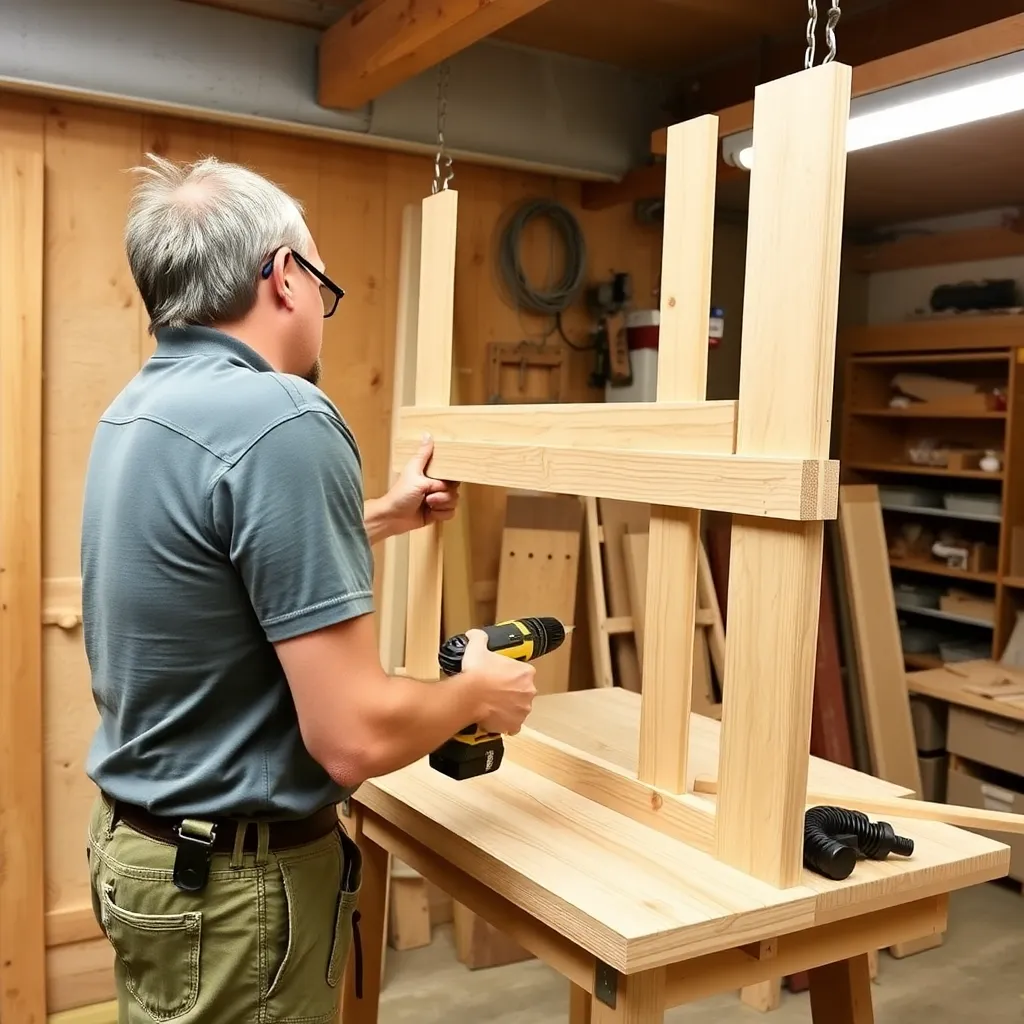
Drive 2.5-inch screws through the strip and into each stud (two screws per stud for heavy-duty tools)
Measure 4 inches down from the top of the first strip and mount the next strip
Repeat to the ceiling
Spacing options:
- 4-inch spacing (strip every 4 inches): the most common. Allows 1-inch adjustment increments vertically (any holder can rest on any strip with 4-inch vertical adjustments).
- 2-inch spacing: more adjustment flexibility, more strips, more cost.
The gap: between each cleat strip, there is a 45-degree recess. Tools with flat hooks can drop directly into this recess without a separate holder — the cleat edge itself becomes a hanging point.
Milestone: Mount three strips and hang a test hook — verify the hook seats solidly and the strip doesn’t flex under a 50-lb test load.
Step 4: Build Basic Holders
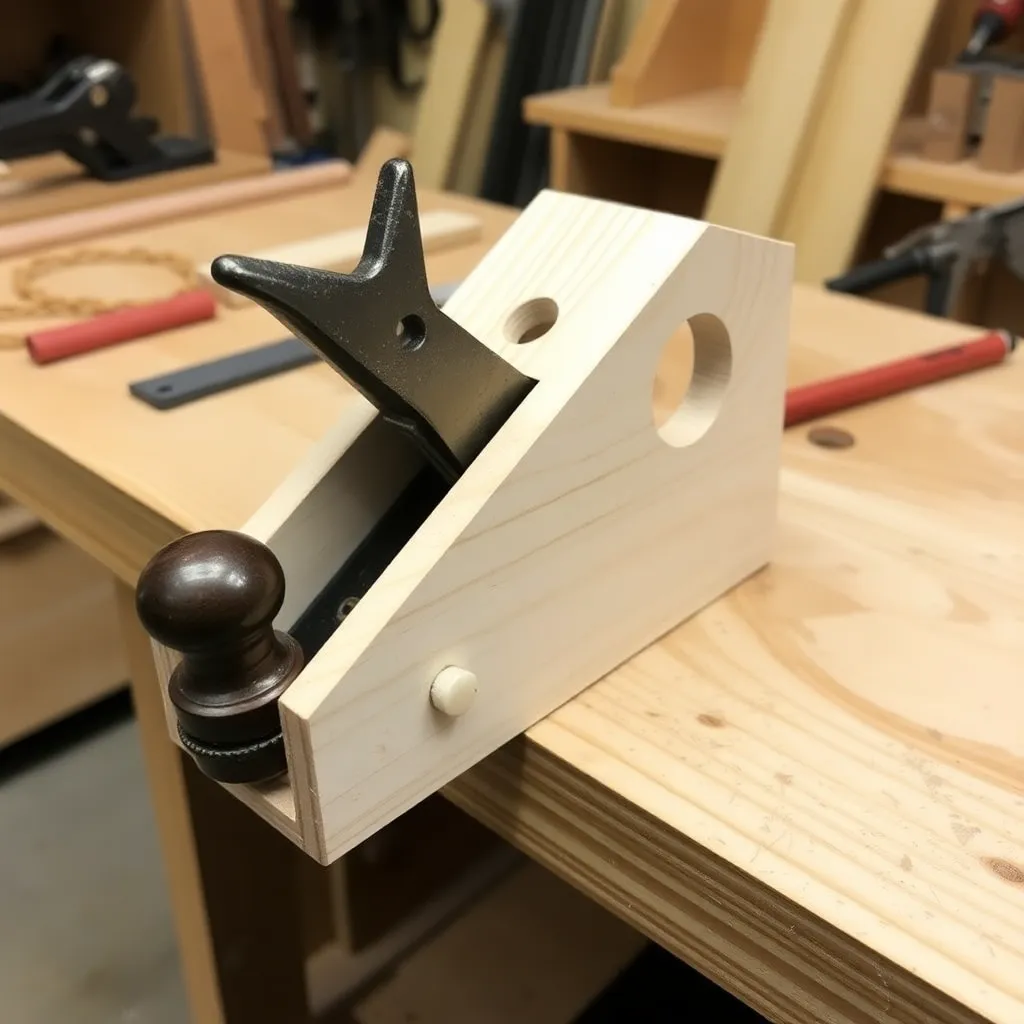
Goal: Build simple, effective holders for the most-used tools.
Every holder needs one feature: a back piece with a downward-facing 45-degree hook that catches the wall strip. This can be a separate strip of cleat material glued or screwed to the back of the holder, or it can be built into the holder’s back.
Simple plane holder (30 minutes to build):
Cut a back piece 4 inches wide × 8 inches tall from 3/4″ plywood
Glue a cleat strip (one strip of the 45-degree material) to the back of the back piece, positioned so the bevel hook catches the wall strip when hung
Cut two small ledges from 3/4″ stock and attach them to the front of the back piece — one near the bottom (for the heel of the plane) and one 2 inches above (for the toe)
The plane rests on the ledges with its sole facing the wall, blade down, handle accessible
Chisel holder:
Cut a strip of 3/4″ plywood 4 inches wide × the length needed for your chisel set. Drill holes sized for each chisel handle diameter at regular spacing. Attach a cleat strip to the back. Chisels hang by their handles through the holes, edges down and protected.
Power tool holder:
For drills, sanders, and circular saws: build a cradle from 3/4″ plywood shaped to support the tool’s base or battery end. The tool rests in the cradle at a natural retrieval angle. Attach a cleat strip to the back.
Saw holder:
Cut a horizontal ledge with a hook at one end (for the saw handle hang point) and a slot at the other (for the blade tip). The saw hangs at a slight angle, handle accessible for one-hand retrieval.
Milestone: Build holders for your five most-used hand tools and mount them on the cleat wall. Use the system for one week and identify which holder positions need adjustment.
Step 5: Build Advanced Holders and Shelves
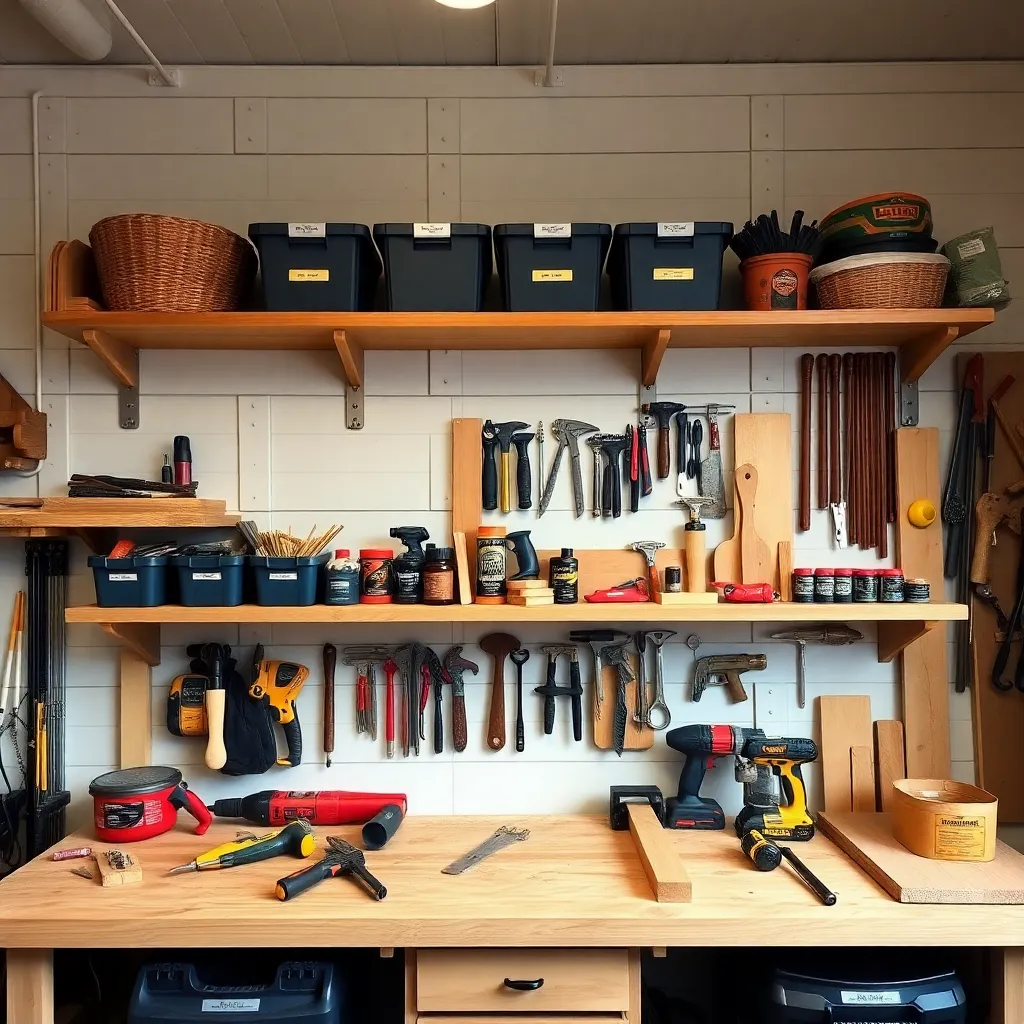
Goal: Add shelves, bins, and specialized holders that extend the system’s utility.
Floating shelf:
Cut a shelf from 3/4″ plywood to the desired depth (8–12 inches typical)
Cut a back piece the same width as the shelf and tall enough for two or three cleat strips
Attach the shelf to the back piece at 90 degrees
Attach two or three cleat strips to the back of the back piece (multiple cleats distribute the shelf’s load over more of the wall)
The result is a strong, repositionable shelf — adequate for heavy loads (finishing supplies, boxes of screws, power tool cases)
Bin holders:
Cut a simple angled front piece (like a document tray) and attach it to a cleat back. The angled front holds marking tools, pencils, and small squares at an angle for easy pickup.
Tool roll holder:
A pair of vertical pins on a cleat back holds a leather or canvas tool roll. The roll hangs by its ties on the pins — unroll to access the tools, reroll and retie to store.
Adjustable height drill holder:
Drill a series of holes at different heights in a vertical back piece and insert a horizontal peg at whatever height is needed for the current drill body. The peg can be moved as drill/driver models change.
Milestone: After 3 months of using the cleat wall, build holders for everything that’s currently stored elsewhere (on shelves, in drawers) that would benefit from wall storage.
Step 6: Maintain and Expand the System

Goal: Keep the cleat wall functional as the shop evolves.
Weight assessment: periodically check that all mounted strips are still firmly attached to studs. Pull down on the strips — there should be no movement. If any strip feels loose (usually from repeated heavy loading), add additional screws into the studs.
Holder updates: as your tool inventory changes, update the holders. Remove holders for tools you no longer own; build new holders for tools you acquire. The beauty of the French cleat system is that this update requires no modification to the wall — only new holders.
Finish options: many woodworkers leave the plywood natural; others apply a coat of shellac or clear finish to the strips and holders to seal the plywood and prevent splinters. Avoid heavy finishes that might change the bevel geometry.
Expanding the system: once the first wall section is fully utilized, extend the cleat wall to adjacent walls or add a second row of strips below the first. The system scales without limit — as long as there are studs in the wall, strips can be added anywhere.
Milestone: Once a year, remove everything from the cleat wall, clean the strips, and rehang everything in its optimal position — reorganizing the wall as your work patterns have evolved.
French Cleat FAQ
How much weight can a French cleat hold?
A properly mounted French cleat — 3/4″ plywood strip screwed into wall studs with 2.5-inch screws, two screws per stud — holds 200+ lbs per linear foot. The limiting factor is almost always the stud fastening, not the cleat itself. A 4-foot-wide cleat wall section with strips into four 16-inch spaced studs can theoretically hold 800+ lbs of tools distributed across the strips. In practice: plane collections, heavy chisels, saws, and clamps all weigh far less than the wall’s capacity. The system fails when strips are mounted only into drywall (which cannot hold significant loads) — always confirm screw engagement into studs.
What thickness plywood should I use for French cleats?
Use 3/4″ plywood for both the wall strips and the tool holders. Thinner plywood (1/2″) is adequate for light holders (pencil bins, small tool holders) but provides less screw engagement for heavy tools. Baltic birch plywood is the preferred material — it’s void-free (no hollow areas that weaken the bevel edge), dimensionally consistent (the 3/4″ thickness is actually close to 3/4″), and relatively flat. Construction-grade plywood works but has voids and inconsistent thickness that can weaken the bevel and produce uneven hook seating.
Is French cleat better than pegboard?
French cleats are better for most woodworking shop applications. The advantages: cleats hold much heavier tools without the hook pulling out (a French cleat hook supporting a #8 bench plane is completely secure; a pegboard hook would require a specialized heavy-duty hook with a locking clip); custom holders fit each tool exactly (pegboard hooks are generic sizes); the system is repositionable without any drilling; and the beveled strip design doesn’t accumulate the dust that fills pegboard holes. Pegboard’s advantages: lower initial cost, faster to install (no ripping required), and holders are immediately available commercially. For a permanent shop: French cleats. For a rental space or starter shop: pegboard gets you organized quickly at low cost.
Can I build a French cleat wall in a rented space?
Yes, with some planning. Wall strips must be screwed into studs — use toggle bolts only for very light holders if studs aren’t available where you need them. When you move: remove the strips, fill the screw holes with wood filler or drywall compound, and paint over them. The holes from 2.5-inch screws into studs are small and easy to patch. Alternatively: mount the French cleat strips onto a 4×8-foot sheet of 3/4″ plywood and lean the sheet against the wall, or attach the plywood sheet to the wall (fewer, larger attachment points) and put the cleats on the plywood. The plywood sheet comes off the wall as a single unit when you move.

“DIY woodworking enthusiast who started with zero experience and a YouTube tutorial.
I build simple, practical projects for my home and share free plans
so other beginners can skip the guesswork.If I can build it, you can too.”