Part of: Wood Finishing Techniques →
Wood warps because wood moves — it expands when it absorbs moisture from the air and contracts when it loses moisture. When this movement is uneven across a board (one face absorbs more than the other, or the wood dried unevenly in the first place), the board curves to accommodate the differential expansion. Understanding why wood warps is the key to preventing it: proper wood storage, adequate acclimation, correct finishing, and appropriate joinery design eliminate most warping in finished work.
Ted’s Woodworking has 16,000+ plans with complete wood movement guidance for furniture construction. Browse Ted’s plans →
Step 1: Understand the Types of Warp
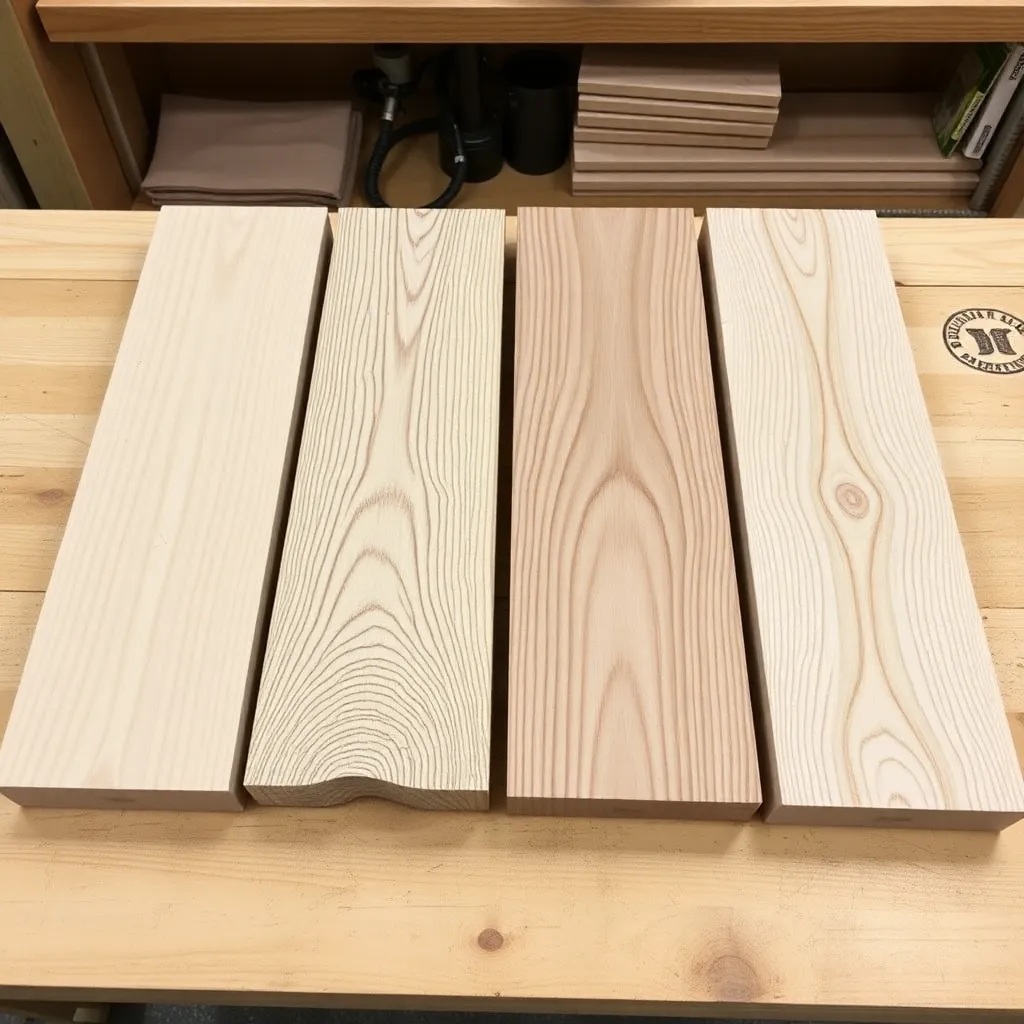
Goal: Identify which type of warp a board has before attempting to flatten or prevent it.
Cup:
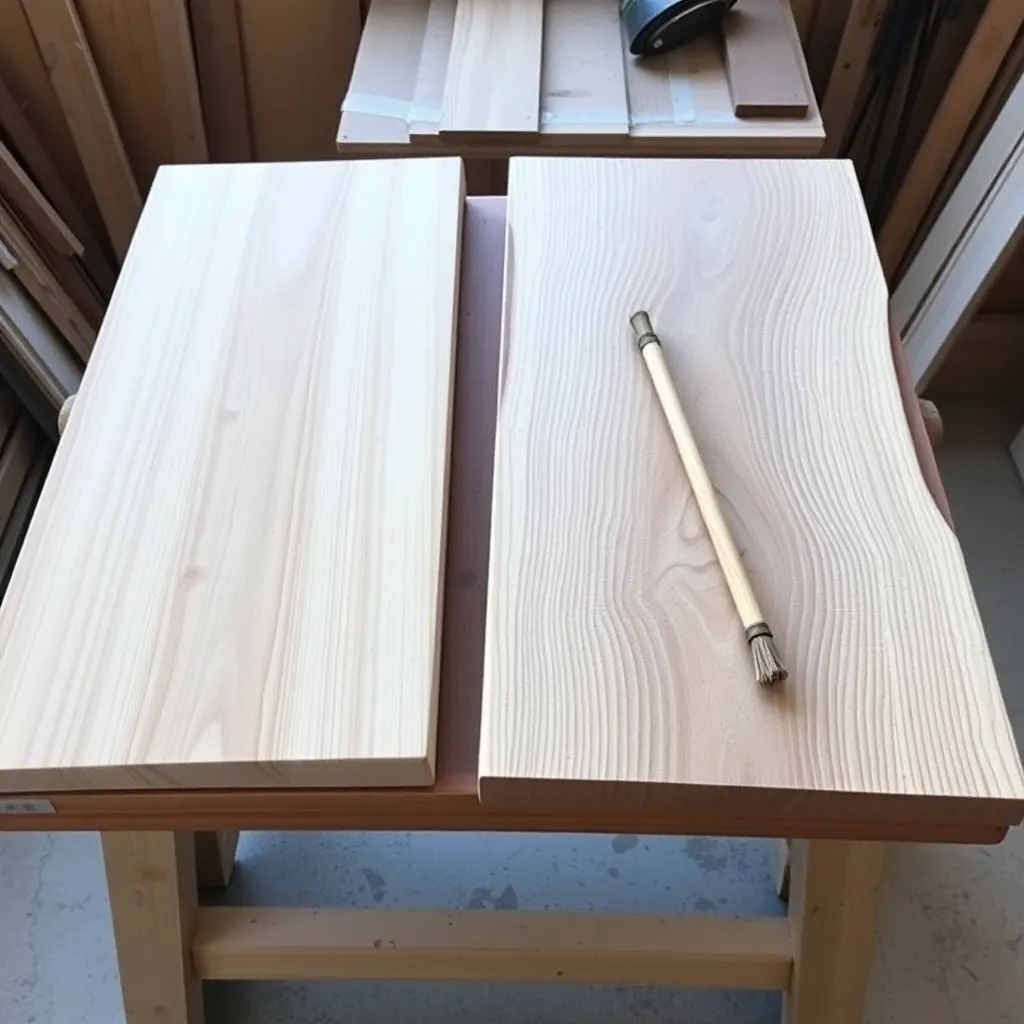
The board curves across its width — the edges are higher or lower than the center when the board lies flat. Cup is the most common warp type and happens when one face absorbs or loses moisture faster than the other. A board stored on a concrete floor cups as the bottom face absorbs moisture from the concrete while the top face stays dry. A board finished only on the show face cups as the unfinished back face moves freely with humidity changes while the finished face doesn’t.
Bow:
The board curves along its length — when lying flat, the center lifts off the surface. Bow is typically caused by the board supporting its own weight during drying (sags in the middle) or by being stored in a pile without adequate stickers (cross-pieces that lift boards above each other for airflow).
Twist (wind):
The board has a helical shape — opposite corners are high when the board lies on a flat surface. Detected by placing the board on a flat surface and observing that two diagonal corners are up. Twist results from uneven drying across the board’s width and length, often related to grain angle (a board with diagonal grain is more prone to twist than one with straight grain).
Crook:
The board curves along its length in the edge direction — the board is flat across its width but bent along the edge when viewed from above. Crook is typically caused by the outer growth rings on one edge drying differently than those on the other.
Milestone: Place a board on a known-flat surface (your tablesaw or jointer table) and identify which type of warp is present before planning how to address it.
Step 2: Prevent Warp with Proper Wood Storage and Acclimation
Goal: Store and prepare wood correctly to minimize moisture-induced movement.
Stickering for storage:
Wood in a pile needs airflow on all faces. Stickers (thin strips of wood, typically 3/4″ square) placed every 16″ along the pile length lift each layer above the previous, creating airflow channels. Stickers must be aligned vertically — a sticker that’s not directly above the sticker below creates an unsupported span that allows the board to sag and bow.
Storage environment:
Store wood in an environment as close as possible to the final installation environment. Wood stored in an unheated garage in winter will have elevated moisture content — when brought into a heated home, it will dry out and move. The ideal: store wood for at least 2–4 weeks in the shop or room where it will be used before working it.
Acclimation:
Bring wood into the shop and let it acclimate before milling. For thin stock (3/4″): 2–4 weeks. For thicker stock (8/4 and above): 4–8 weeks. Stack with stickers for airflow. Check moisture content with a moisture meter (target 6–8% for indoor furniture; 9–12% for outdoor pieces). Mill only after the moisture content is stable.
End grain sealing:
Dry lumber through the end grain much faster than through face or edge grain (end grain dries 8–12x faster). Rapid end grain drying while the interior remains wet creates moisture gradient — the end grain checks (cracks) and the board may warp near the ends. Seal cut ends with wax, shellac, or commercial end grain sealer immediately after cutting to slow the drying gradient.
Milestone: After bringing lumber into your shop, check the moisture content with a meter after 2 weeks and again after 4 weeks — if it’s still dropping, wait before milling.
Step 3: Mill Warp Out of Rough Lumber
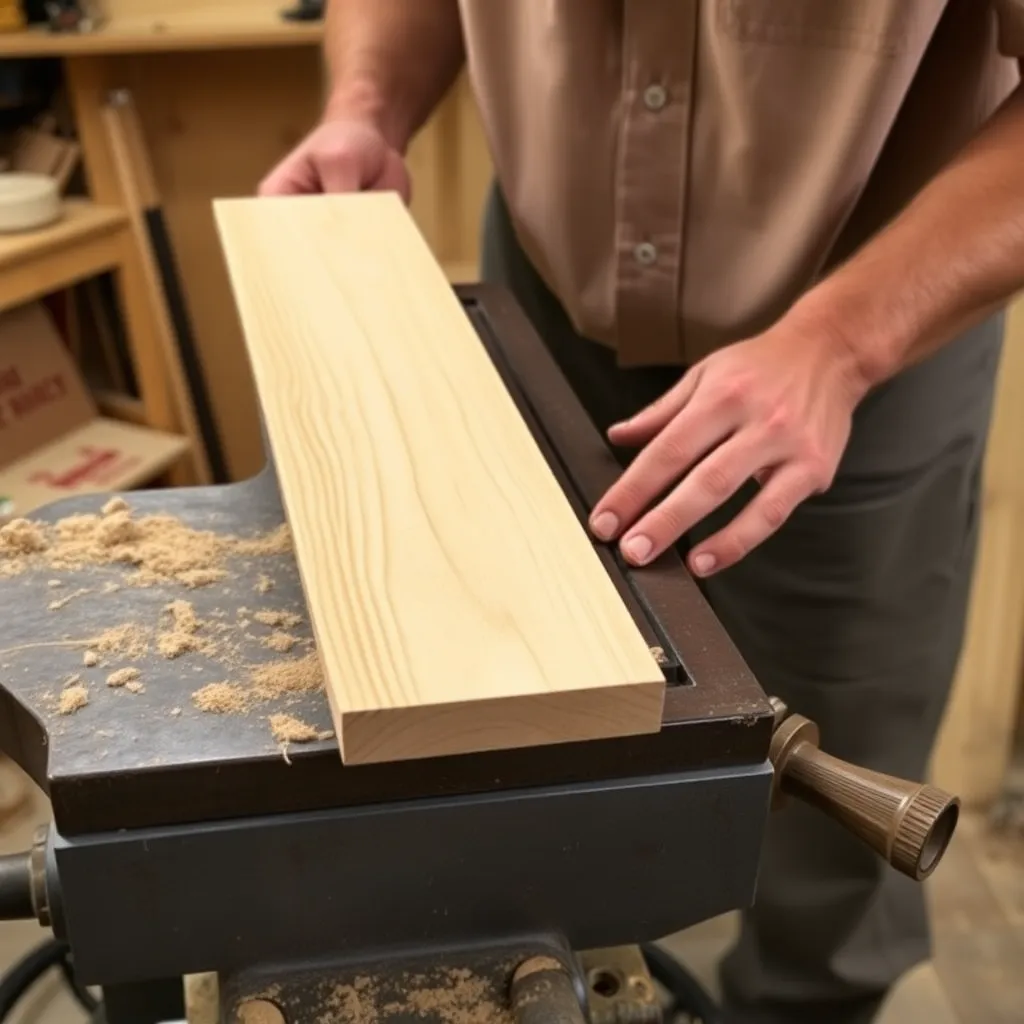
Goal: Use the jointer and planer to produce flat, square stock from rough or warped lumber.
The correct milling sequence:
- Face joint one face flat (jointer): place the concave face down on the jointer (this is stable — the two edges rest on the table). Take passes until the full face registers on the outfeed table consistently.
- Plane the opposite face parallel (planer): run the flat face down through the planer. The planer’s table is flat; the flat face registers on the rollers and table; the planer removes material from the opposite face until it’s parallel.
- Joint one edge perpendicular to the flat face (jointer): use the jointer fence to produce an edge at 90 degrees to the flat face.
- Rip the opposite edge parallel on the table saw.
- Cut to length.
This sequence is critical: if you plane the face before jointing, the planer will reproduce the warp (the planer roller presses the warp flat during the cut, but it springs back when it exits). The jointer is the first step because it creates a reference flat face against which all subsequent operations register.
Removing twist with winding sticks:
Place two parallel sticks across the board at each end (winding sticks). Sight across the sticks: if they’re parallel, the board is flat; if they converge at one end, that corner is high. Mark the high corners and take passes over the jointer — the jointer removes from the high points first, flattening the twist with each pass.
Milestone: After jointing and planing a twisted board, check it with winding sticks — both ends should sight parallel. If not, additional jointing passes are needed.
Step 4: Design for Wood Movement
Goal: Build furniture with joinery and design choices that accommodate seasonal wood movement without warping.
Wood movement calculation:
Solid wood moves approximately 1/4″ to 1/2″ across the grain per 4% change in moisture content per foot of width, depending on species and cut (flat-sawn moves more than quartersawn). A 12″ wide tabletop might move 3/8″ to 3/4″ between summer and winter — a significant amount that must be accommodated in the design.
Tabletop attachment:
Never glue a solid wood tabletop directly to the aprons with fasteners in fixed holes. The tabletop must be free to move across its width. Use: figure-8 tabletop connectors (allow rotation), wooden buttons that slide in a routed slot in the apron, or Z-clips. These fasteners hold the top down firmly while allowing it to slide seasonally.
Frame and panel construction:
The traditional solution for keeping large flat panels stable: a solid wood panel floats inside a grooved frame (door, cabinet side, chest lid). The panel shrinks and expands in the grooves without stressing the frame. Never glue the panel in the grooves — it must be free to move. This is why old frame-and-panel furniture survives generations without warping.
Wide solid wood panels:
A glued-up tabletop from wide boards is more stable than a single wide board (gluing multiple boards introduces grain direction variety, which partially cancels out individual board movement). Alternate heart face up/heart face down on adjacent boards — the cups of alternating boards cancel each other, keeping the panel flatter.
Milestone: Before building any solid-wood panel wider than 6 inches, calculate the expected seasonal movement and verify that your attachment method accommodates it.
Step 5: Prevent Warp Through Finishing
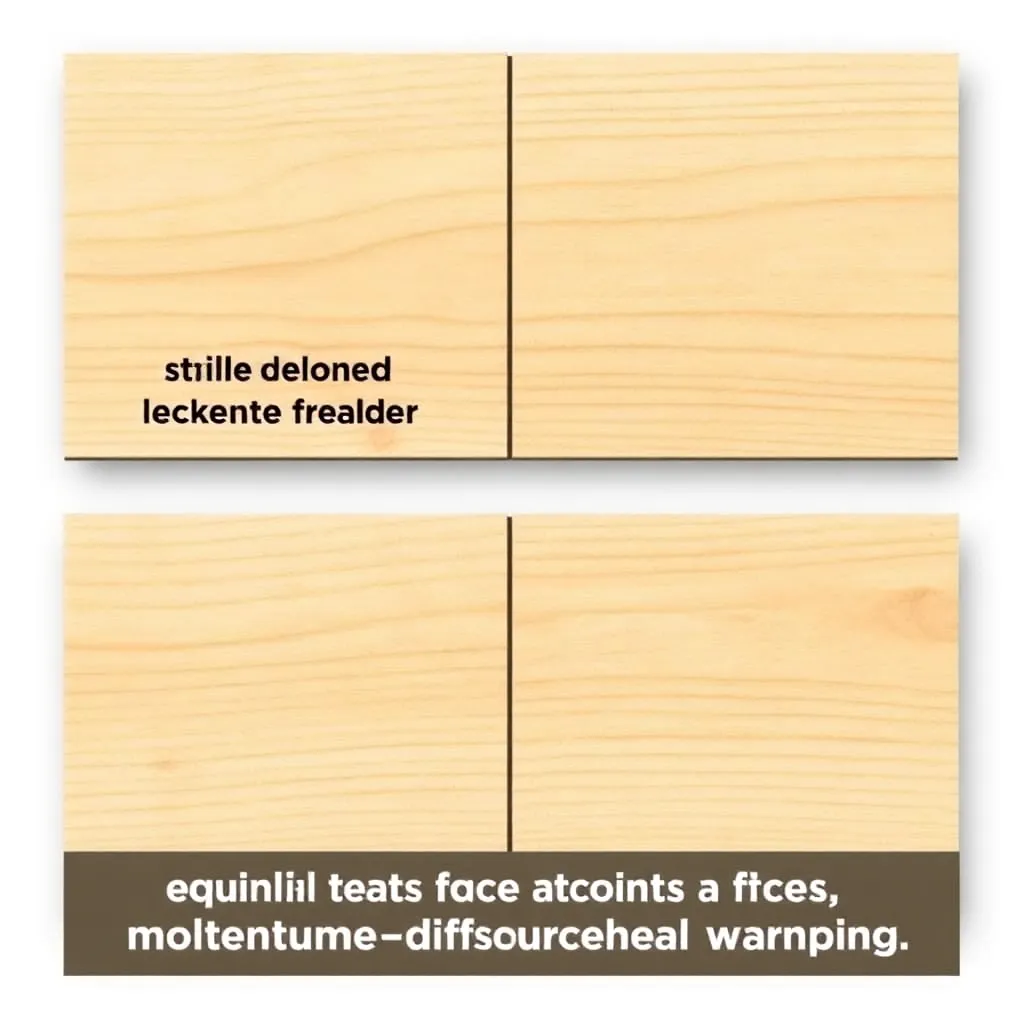
Goal: Apply finish to all surfaces of a panel to equalize moisture exchange and prevent post-finish warping.
The finishing rule: apply the same number of finish coats to all faces of a panel — front, back, edges, and inside surfaces. A panel finished only on the show face has unequal moisture barriers: the finished face exchanges moisture slowly; the unfinished face exchanges freely. As humidity changes seasonally, the two faces expand and contract at different rates, and the panel cups toward the unfinished face in dry conditions.
This is why furniture has finish on the underside: check any quality antique furniture — the underside, interior of drawers, and back faces will be finished. This isn’t about appearance; it’s about stability.
Even finish coat count matters:
If the show face gets 3 coats of polyurethane, the hidden back face should also get 3 coats (or equivalent). Two coats on the back and three on the front is better than nothing but still creates a differential. Match the vapor barrier as closely as possible on both sides.
Sealing end grain:
End grain is more porous than face grain and must be sealed to slow moisture exchange. Apply an extra coat of finish to end grain surfaces — the end grain soaks in more finish on the first coat anyway, but deliberately adding an additional coat to the ends of a panel reduces the moisture gradient along the board’s length.
Milestone: On the next panel project, deliberately finish both faces with equal coat count. Check the panel for flatness after one heating season — it should remain flat.
Step 6: Flatten a Warped Panel After Finishing
Goal: Correct minor warping that has occurred in a finished piece.
For cupped panels:
Wet the concave face (the face that has opened up from drying): dampen with a wet cloth and place the panel concave-face-down on a flat surface. The moisture swells the concave face; the flat surface and the weight of the panel press the panel flat as it dries. Heavy weights on top speed the process. This works well for thin panels; very thick or severely cupped panels may not fully flatten.
For bowed boards (still unmilled):
Joint the bow out on the jointer — this is the correct tool for removing bow. If the bow is too great for the jointer (more than 1/8″ over the full length), run the board through with a sled or wedge shims under the board ends to stabilize it during the first pass.
For twisted furniture components:
Twist in a glued-up component (a drawer side, a door panel) must be assessed: is the twist from poor milling (the stock was twisted before assembly) or from differential finishing (caused by uneven finish application)? If from finishing: remove the finish, re-flatten, and refinish all faces evenly. If from poor stock selection: this is difficult to fix after assembly — winding sticks during rough milling would have caught it earlier.
Milestone: Any time a finished panel warps, diagnose the cause (storage, finishing, grain selection, joinery) before attempting to flatten it — fixing the symptom without addressing the cause means it will warp again.
Wood Warping FAQ
Why does wood warp after I finish it?
Wood warps after finishing when the finish is applied unevenly — more coats on one face than the other. The face with more finish has a stronger moisture barrier; the less-finished face exchanges moisture with the ambient air more freely. As the humidity changes (heating season drops indoor humidity significantly), the less-finished face dries and contracts while the finished face changes less — and the panel cups. The fix: always apply equal coat counts to all surfaces. Secondary causes: inadequate acclimation (the wood was still adjusting when finished) or incorrect storage after finishing (flat on a surface that restricts airflow to one face).
What wood is the least likely to warp?
Quartersawn lumber from stable species warps the least. Quartersawing orients the growth rings perpendicular to the board face — this orientation moves primarily in thickness (which doesn’t affect flatness) rather than across the width (which causes cupping). Flat-sawn lumber from the same species will move 2–3x more across the width. The most dimensionally stable species: teak, white oak (quartersawn), ebony, mahogany, cherry, and walnut. The most unstable: flat-sawn pine, poplar, and any green or improperly dried lumber. For wide panels where stability is critical: use quartersawn white oak, quartersawn cherry, or teak.
How do I store lumber to prevent warping?
Stack it flat on a level surface, stickered (with 3/4″ spacing strips every 16″ along the length), in a covered area with airflow but not in direct weather. The stickers must be aligned vertically — a sticker not directly above the one below allows the board to sag. Weight the top of the stack to prevent the top boards from cupping. If storing in a garage or barn: expect the wood’s moisture content to follow the season — bring it inside to acclimate for 4+ weeks before using it for indoor furniture. Moisture content meters (Lignomat, General, or inexpensive pin meters from Amazon) let you track the drying process; don’t mill until the reading is stable at your target (6–8% for indoor furniture).
Can warped wood be straightened?
Minor cupping (less than 1/8″ across 12″) can often be flattened by wetting the concave face and pressing flat. Moderate cupping and bow can be milled out on the jointer and planer if there’s adequate thickness remaining after milling. Severe twist is the most difficult to fix — it requires either milling off a significant amount of material (losing thickness) or accepting the twist and working around it in the design. The best approach to warped wood: don’t buy or use it. At the lumber yard: sight down each board before buying; reject any with visible twist, bow, or cup that exceeds 1/4″ over the board’s length. Using straight stock from the start is vastly easier than flattening warped boards later.

“DIY woodworking enthusiast who started with zero experience and a YouTube tutorial.
I build simple, practical projects for my home and share free plans
so other beginners can skip the guesswork.If I can build it, you can too.”