Part of: Wood Finishing Techniques →
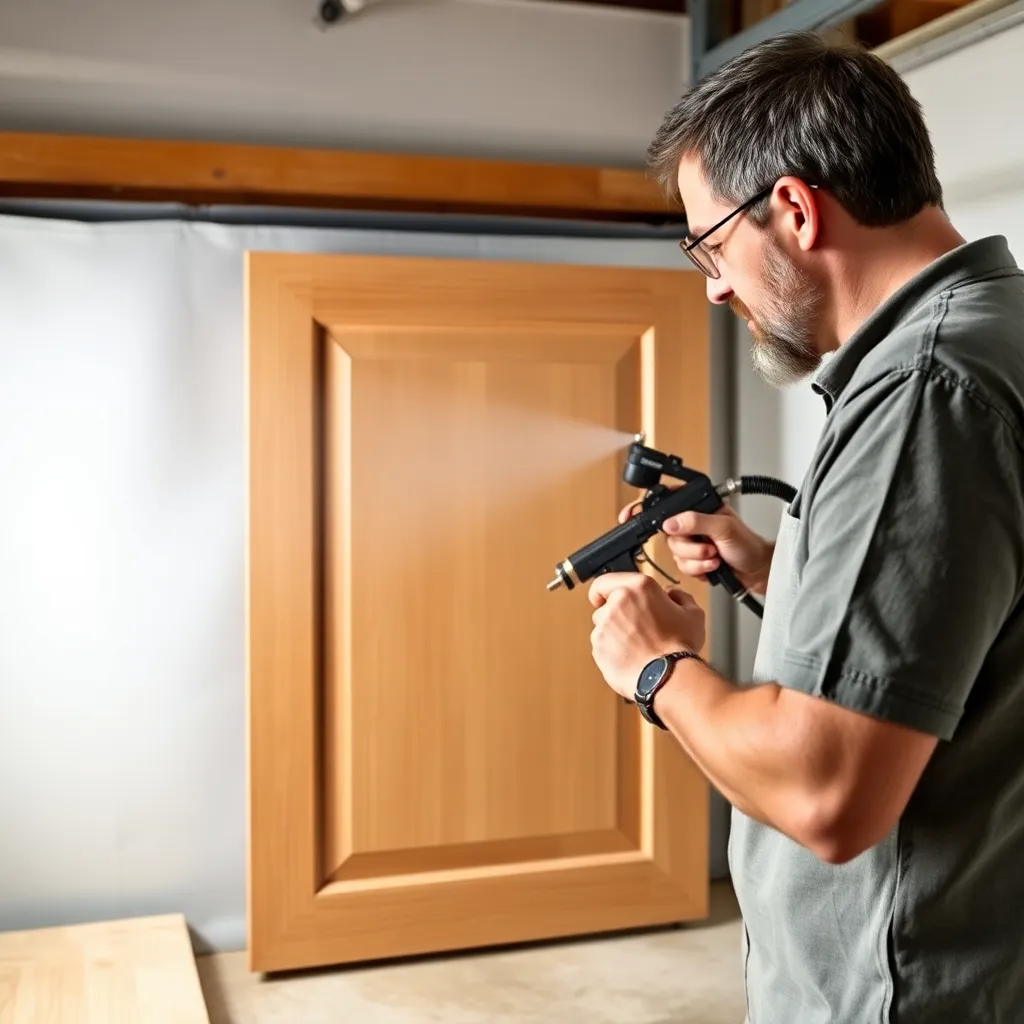
Lacquer is the finish of choice in professional furniture shops — it dries in minutes, builds quickly with multiple coats, sands beautifully between coats, and produces the smoothest, hardest surface of any commonly used finish. Walk into any furniture manufacturer and the spray room smells of lacquer; production runs depend on its fast turnaround. For the amateur woodworker, lacquer represents a step up in finish quality but also a step up in technical demands: it requires spray equipment, good ventilation, and the right technique to avoid the common problems of runs, blushing, and orange peel.
Ted’s Woodworking has 16,000+ plans with professional finishing guidance for every project. Browse Ted’s plans →
Step 1: Understand Lacquer Types
Goal: Know which lacquer formulation is right for your equipment, space, and project.
Nitrocellulose lacquer (NC lacquer):
The traditional standard. Fast-drying (touch-dry in 5–10 minutes; recoat in 30–60 minutes), clear, hard, and excellent sandability. Each coat partially re-dissolves into the previous — the coats integrate into a single film rather than sitting as separate layers. Highly flammable; requires explosion-proof spray equipment or careful management with standard equipment in well-ventilated spaces. Not as hard as catalyzed finishes.
Catalyzed lacquer (CV or conversion varnish):
A two-component system — the lacquer is mixed with a hardener (acid catalyst) before use. The mixed material cures chemically (cross-links) rather than purely by solvent evaporation, producing a much harder, more chemical-resistant finish than NC lacquer. Used in commercial kitchen cabinet production. More demanding to mix correctly (the ratio matters), has a pot life after mixing (typically 8–24 hours), and doesn’t sand as easily between coats.
Water-based lacquer:
Low VOC, non-flammable, fast dry (handles in 30–60 minutes; recoat in 1–2 hours). Less clarity than NC lacquer (slight bluish cast on light woods). Requires thorough cleaning between color changes. The choice for shops where solvent-based finishes are prohibited or impractical.
Brushing lacquer:
A nitrocellulose lacquer formulated with slower-evaporating solvents (retarders added) to allow brush application. The slower evaporation gives the coating time to level before it sets. Results aren’t as smooth as sprayed lacquer but are better than brushed polyurethane. Available at better paint stores and woodworking suppliers.
Milestone: Assess your setup — do you have a spray gun and adequate ventilation? If yes: NC or water-based lacquer. If brushing only: brushing lacquer. If building kitchen cabinets professionally: catalyzed lacquer.
Step 2: Set Up the Spray Area
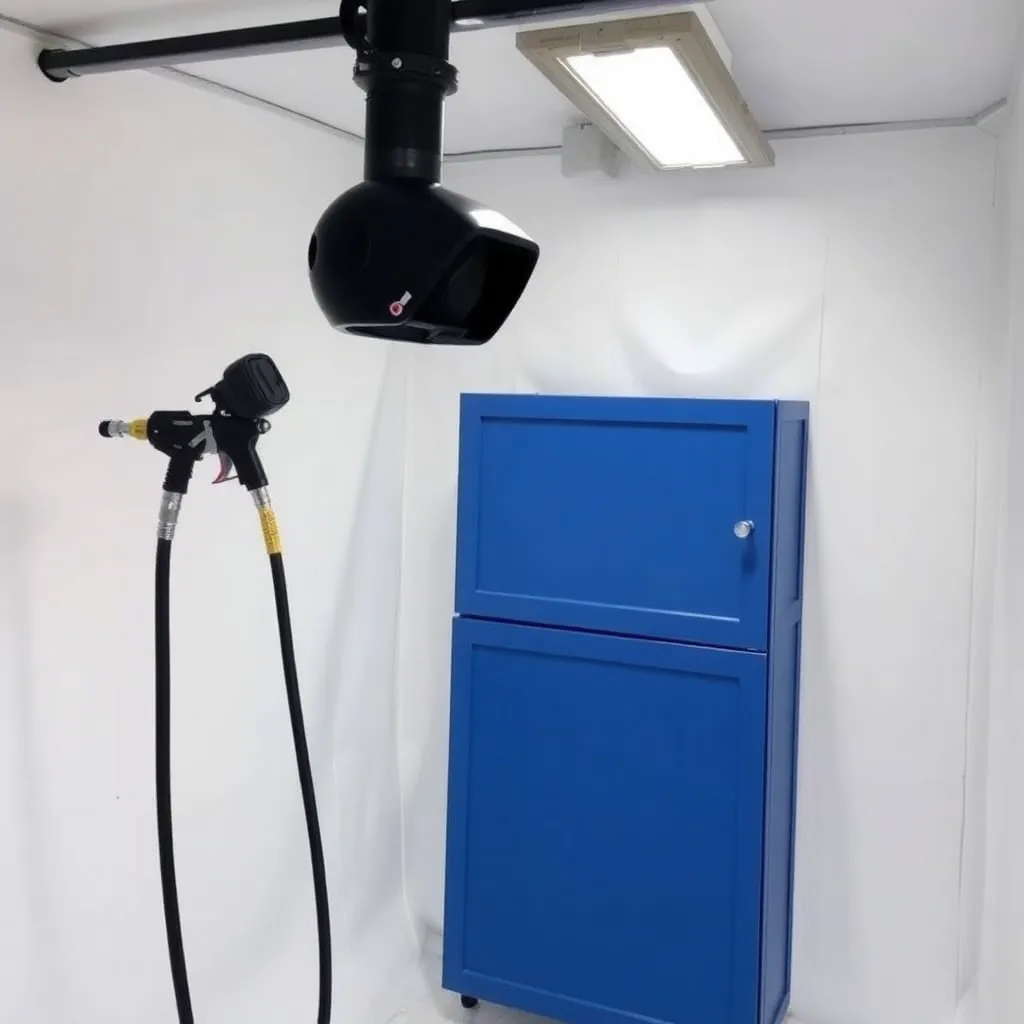
Goal: Create a safe, dust-free spray environment for lacquer application.
Ventilation requirements:
Solvent-based lacquer vapors are heavier than air and accumulate near the floor — they are explosive at concentrations of 1–7% in air. The spray area must have exhaust ventilation that pulls air across the work and exhausts it outside. Minimum: a fan that creates airflow through the spray area and out an exterior opening. No open flames, pilot lights, or spark-producing equipment anywhere near the spray area.
Dust control:
Lacquer dries fast enough that dust contamination is less problematic than with slow-drying finishes, but the spray itself creates overspray that settles back onto the work. Spray in a separate area from the shop; wet down the floor (water on concrete captures overspray dust); spray in the direction of airflow (work positioned downwind of the exhaust fan).
Temperature and humidity:
Lacquer sprays best at 65–80°F and 40–60% humidity. Below 60°F: lacquer dries too slowly and may stay tacky or sag. Above 80°F and/or high humidity: risk of blushing (the finish turns milky as moisture is trapped in the drying film). If blushing occurs: add lacquer retarder (a slow-evaporating solvent) to slow the dry time and allow moisture to escape before the film sets.
Spray gun setup:
HVLP (high volume, low pressure) spray guns are the standard for lacquer — they atomize the finish finely and waste less material than conventional guns. Set the air pressure at the gun cap (7–10 PSI for most HVLP guns), thin the lacquer to the correct viscosity (NC lacquer typically needs 10–20% thinning with lacquer thinner for HVLP application), adjust the fan pattern to cover the work in 2–3 overlapping passes.
Milestone: Test the spray setup on cardboard first — the spray pattern should be a uniform, even fan with no dry spots (too little material or too far away) or wet drips (too much material or too close).
Step 3: Prepare the Surface
Goal: Sand and clean the surface to the standard required for a lacquer finish.
Final sanding: sand to 150–180 grit for most hardwoods; 220 grit for fine work. Lacquer is a film finish that reveals every sanding scratch that goes below the surface — an even sanding scratch pattern from 180 grit is invisible; an inconsistent scratch pattern from mixing 120 and 220 in patches will show.
Remove all surface contamination:
Lacquer reveals wax, oil, grease, and silicone contamination as fish-eyes (craters where the lacquer can’t wet the surface). Clean with naphtha or mineral spirits and a clean cloth before finishing. Don’t use furniture polish or any product containing silicone anywhere near project parts before finishing.
Raise and knock down grain (water-based lacquer only):
Water-based lacquer raises wood grain on the first coat. Apply a thin coat of water to the sanded surface, allow to dry, and sand lightly with 220-grit to remove the raised fibers. Now the first coat of water-based lacquer won’t raise the grain significantly.
Stain compatibility:
NC lacquer over oil-based stain: allow the stain 24+ hours to dry fully. NC lacquer over water-based stain: allow 4 hours. Test for bleed-through on scrap. If stain bleeds into the first lacquer coat: seal the stain with a coat of dewaxed shellac before lacquering.
Milestone: Wipe the sanded surface with naphtha on a clean white cloth — the cloth should stay clean. Any color transfer indicates contamination that will cause adhesion problems.
Step 4: Apply Lacquer Coats
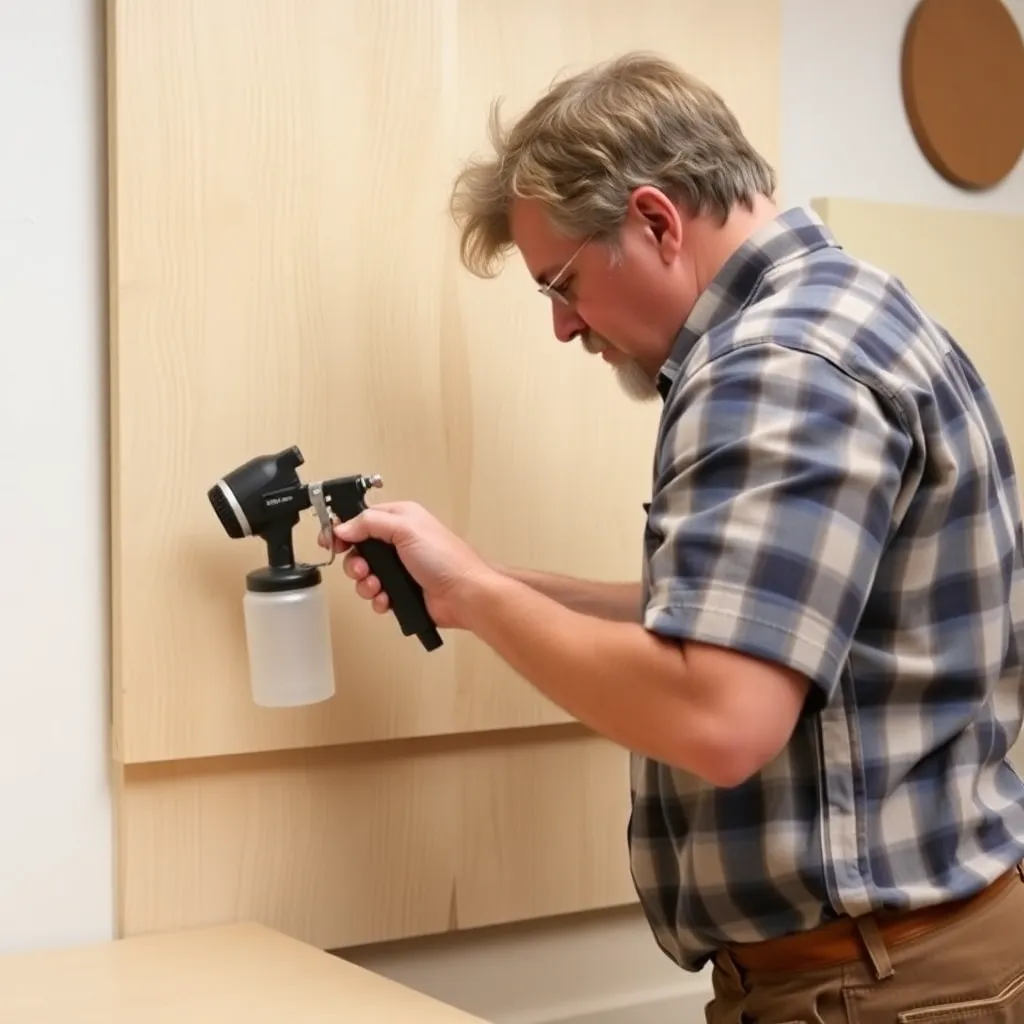
Goal: Apply multiple thin coats of lacquer, sanding between each, building toward a smooth film.
Spray technique:
Maintain a consistent 6–10 inch distance from the work (HVLP); move the gun parallel to the surface at a consistent speed (approximately 12″ per second for typical lacquer viscosity). Overlap each pass by 50% — the center of the spray pattern is heavier than the edges; overlapping ensures even film build. Start each stroke before the work and end it after the work (trigger on before the part, trigger off after the part).
Thin coats are essential:
Each coat of lacquer should be thin enough to dry completely in 20–30 minutes without sagging. A thick wet coat that drips when touched is too heavy. The goal is to build the film through multiple thin coats rather than trying to get full coverage in one or two heavy coats. For NC lacquer: 5–8 coats is typical for a good film build; brushing lacquer: 3–4 coats.
First coat application:
The first coat should be a sealer coat — thin (add 20% thinner), applied to seal the wood pores and establish the base for subsequent coats. This coat raises grain slightly (even on hardwoods) and may look slightly uneven. That’s expected.
Sanding between coats:
Sand lightly with 320-grit between every coat — the goal is to level the surface (remove dust nibs) and provide a tooth for the next coat’s mechanical adhesion. Sand until the surface feels smooth and consistent, wipe off all dust, and apply the next coat. Don’t sand through to bare wood.
Milestone: After 3 coats and sanding between each, run your fingertip across the surface. It should feel noticeably smoother than after the first coat — the film is building and leveling.
Step 5: Sand and Rub Out the Final Coat
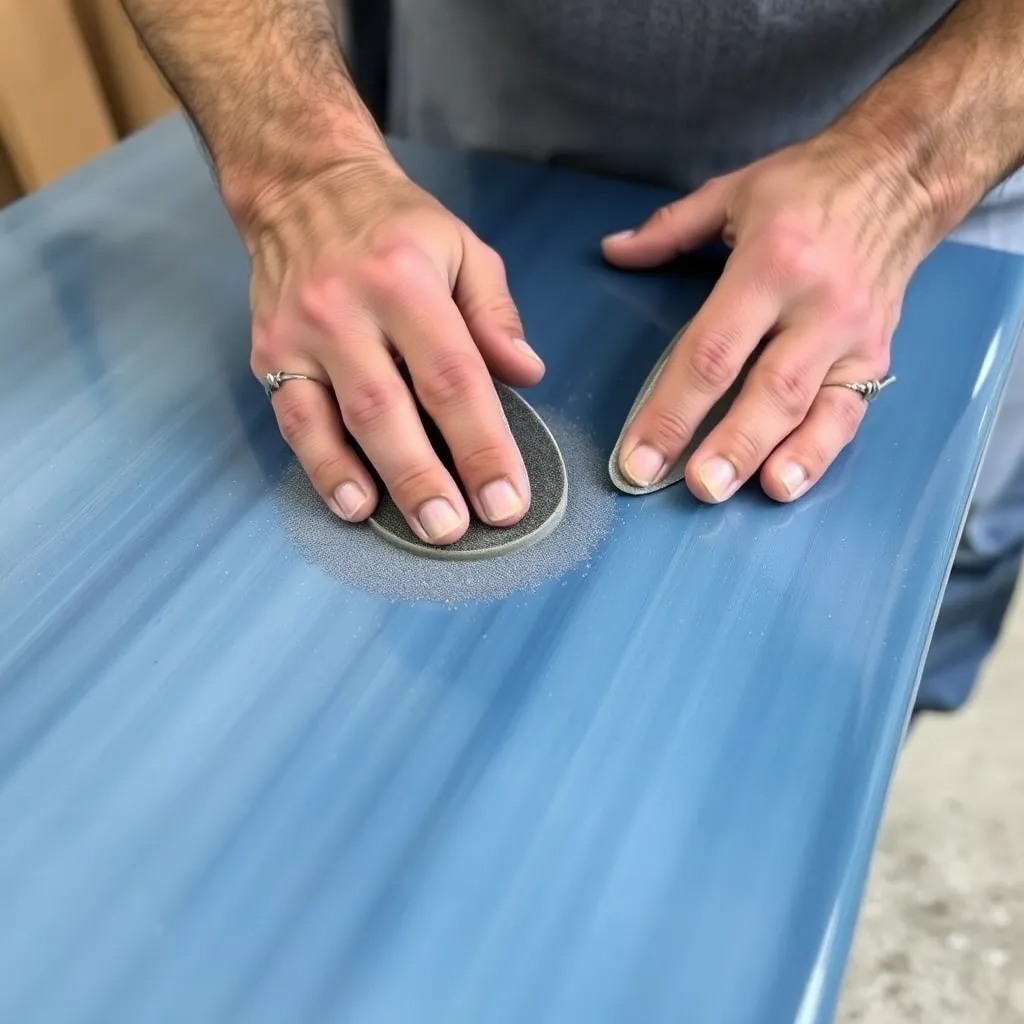
Goal: Achieve a factory-smooth, consistent sheen through sanding and polishing the final lacquer coat.
The final coat of lacquer rarely looks perfect straight from the gun — there’s always slight orange peel texture, dust nibs, or slight unevenness. The rub-out process sands and polishes the cured final coat to a uniform, smooth surface with the desired sheen level.
Allow full cure time:
Before rubbing out, allow the final coat to cure 24–48 hours (longer for very humid conditions). Lacquer dries fast but full hardness develops over time — rubbing out before full hardness scratches the film more deeply than desired.
Sanding the final coat:
- Sand with 400-grit wet/dry paper (used wet with water) to level the surface — this removes orange peel and dust nibs and flattens the surface
- Progress to 600-grit wet to remove the 400-grit scratches
- Wipe dry and evaluate — the surface should be uniformly dull and smooth
- Satin finish: apply automotive rubbing compound (medium cut) with a cloth using circular motions. This leaves a consistent satin sheen. Wipe off the residue.
- Semi-gloss: after the rubbing compound step, follow with automotive swirl remover (fine polishing compound). The result is a semi-gloss surface.
- High gloss: after swirl remover, apply automotive finishing polish (finest cut) and machine polish with a random orbital buffer. This produces a mirror-like high-gloss finish.
Polishing to the desired sheen:
Milestone: Compare the rubbed-out area to an unrubbed corner — the difference in smoothness and sheen uniformity should be immediately apparent.
Step 6: Troubleshoot Common Lacquer Problems
Goal: Identify and correct the most common lacquer application problems.
Blushing (milky white areas in the finish):
Cause: humidity too high (moisture trapped in the film as it dries). Fix while wet: apply a coat of lacquer retarder (a slow-evaporating solvent blended into the lacquer) — this re-opens the blushing area and allows moisture to escape before the film sets. Fix when dry: sand back and refinish under better conditions (lower humidity or higher temperature).
Orange peel (bumpy texture resembling orange skin):
Cause: lacquer viscosity too high (not thinned enough) or spray distance too far (material dries before hitting the surface). Fix: thin the lacquer 10–15%, reduce spray distance, or increase air temperature. Already cured orange peel: rub out with 400-grit wet and polishing compound.
Fish-eye (craters where finish won’t wet):
Cause: silicone contamination on the wood surface. Fix: clean with naphtha, add a few drops of fish-eye eliminator (a silicone product added to the lacquer) to the finish, recoat. Prevention: never use silicone-containing products (many furniture sprays, some wood conditioners) near bare wood before finishing.
Runs and sags:
Cause: too much material applied in one coat. Fix when wet: brush out immediately with a soft brush. Fix when dry: sand flat with 320-grit after full cure; refinish.
Poor adhesion (lacquer peels or lifts):
Cause: previous coat not fully dry when recoated (especially with catalyzed finishes), contamination, or incompatible previous finish. Fix: sand back to a sound layer, clean, and recoat.
Milestone: If any problem appears on the test piece, diagnose and fix it before applying to the actual project — most lacquer problems are caused by environmental conditions (humidity, temperature) that you can control.
Lacquer Finish FAQ
What is the difference between lacquer and polyurethane?
Both are clear protective topcoats but they have fundamentally different chemistry and application methods. Lacquer is a fast-drying solvent-based finish that dries by solvent evaporation (spray-applied typically); it re-dissolves in its own solvent, which is why coats integrate and why spot repairs are nearly invisible. Polyurethane is a cross-linked polymer that cures by chemical reaction (harder to repair — spot repairs show clearly); it’s typically brush-applied and dries slowly (24 hours). Lacquer builds faster (multiple coats in a day), sands more easily between coats, and produces a smoother final surface. Polyurethane is tougher (more abrasion-resistant), easier to apply without spray equipment, and better for tabletops that will see heavy use without professional-grade spray facilities.
Can you brush on lacquer?
Yes — brushing lacquer is a specific product formulated with retarder (slow-evaporating solvent) so it doesn’t dry before you can spread and level it. Apply with a good-quality bristle brush in long, slow strokes with the grain. The slower evaporation gives it time to flow out and self-level. Brushing lacquer produces results between standard brushed polyurethane and sprayed lacquer — better leveling than polyurethane, but not quite as smooth as sprayed. Sand between coats with 320-grit. It’s a good option for woodworkers who want a finer finish than polyurethane without investing in spray equipment.
How many coats of lacquer do you need?
For furniture: 5–8 coats of sprayed NC lacquer (each coat very thin), or 3–4 coats of brushing lacquer, sanded between each. The film build is the goal — each coat adds a few thousandths of an inch to the total film thickness. A full build of NC lacquer is approximately 3–5 mils (0.003″–0.005″) dry film thickness; thinner than polyurethane but adequate for furniture protection. For the final surface quality: the number of coats matters less than the total film thickness and the quality of the rub-out — a perfect 5-coat build that’s been properly rubbed out beats a rough 10-coat build that wasn’t sanded between coats.
Is lacquer food safe for cutting boards?
No — lacquer (whether NC or water-based) is not appropriate for cutting boards or food-prep surfaces. Lacquer forms a surface film that will be cut by knives and scratched by daily use, and the scraped film particles are not food-safe. For cutting boards: use food-safe penetrating finishes (mineral oil, pure tung oil, beeswax, or FDA-approved cutting board oils). For bowls and serving platters: food-grade hard wax oil or pure tung oil (fully cured). The “food-safe once cured” designation applies to penetrating finishes that become part of the wood; it does not typically apply to film-forming finishes like lacquer or polyurethane.

“DIY woodworking enthusiast who started with zero experience and a YouTube tutorial.
I build simple, practical projects for my home and share free plans
so other beginners can skip the guesswork.If I can build it, you can too.”