Part of: Wood Glues and Adhesives →
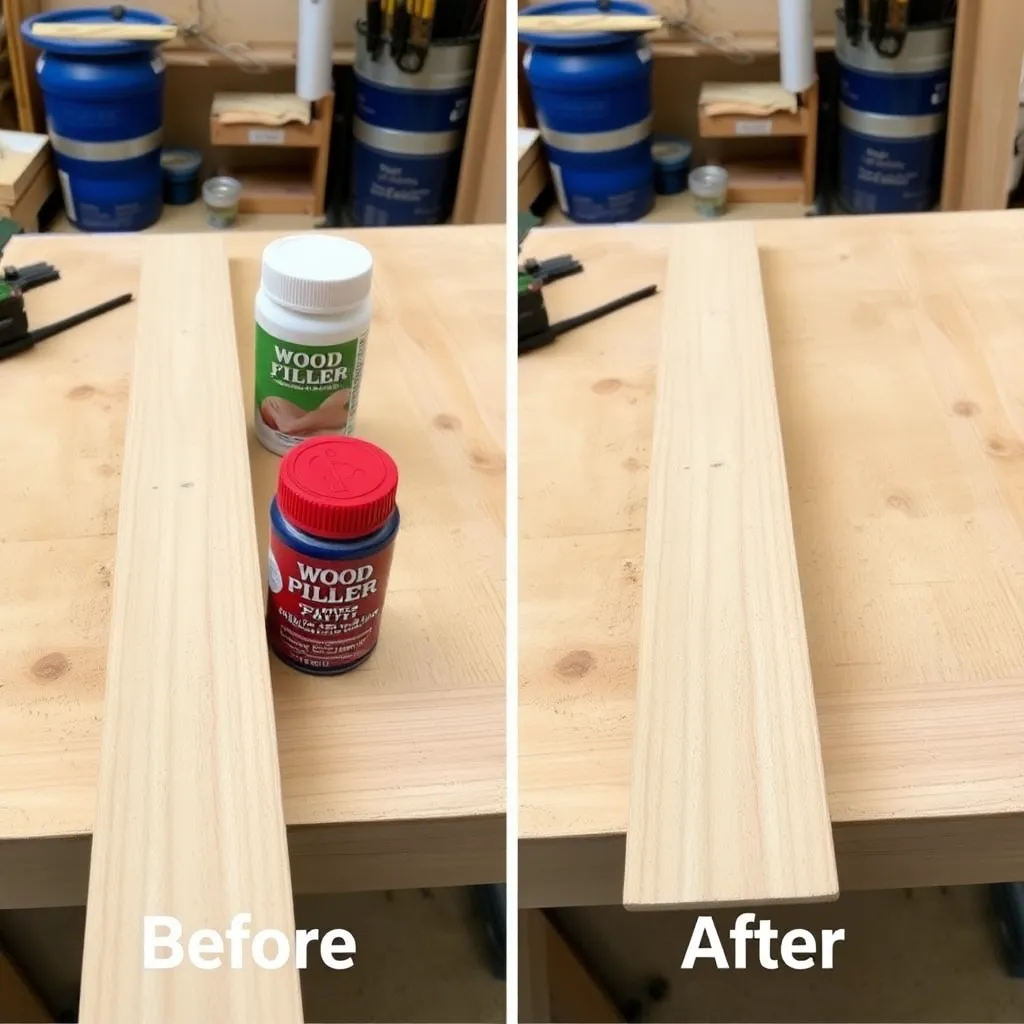
Wood filler and wood putty are often confused, sold side by side on the same shelf, and frequently used incorrectly — with results that range from barely acceptable to project-ruining. The distinction matters because they’re designed for different situations: wood filler is used before finishing (on bare wood), hardens, can be sanded, and accepts stain and paint; wood putty is used after finishing (on already-finished surfaces), stays slightly flexible, and is designed to match the finish color. Using wood putty before finishing produces a surface that won’t sand cleanly; using wood filler after a stain coat produces a patch that looks completely different from the surrounding wood.
Ted’s Woodworking has 16,000+ plans with complete finishing and repair guidance for every project. Browse Ted’s plans →
Step 1: Understand the Difference
Goal: Know which product to use before picking one up at the store.
Wood filler:
A thick paste (water-based or solvent-based) used to fill holes, cracks, voids, and imperfections in bare or unfinished wood before applying stain or paint. Hardens when dry. Can be sanded flush with the surrounding surface. Most wood fillers accept stain, though stainable fillers (specifically marketed as stainable) absorb stain more evenly than standard fillers. Used for: nail holes in unfinished trim, cracks and splits in raw lumber, knot voids, sanding scratches that are too deep to sand out, large gaps between joined boards.
Wood putty:
A flexible, oil-based paste designed to fill nail holes and small defects in already-finished surfaces. Doesn’t harden completely — retains some flexibility to move with the wood as it expands and contracts seasonally. Doesn’t accept stain or paint well (the oil base resists water-based finishes). Available in dozens of pre-mixed colors to match common wood stain colors and species. Used for: nail holes in painted or stained and topcoated trim, small dings in finished furniture, filling fastener holes that were forgotten before finishing.
The rule:
- Bare wood, before finishing → wood filler (sand flush, then finish)
- Already finished surface, after finishing → wood putty (color-match to existing finish)
Milestone: Before purchasing, determine: is the surface finished (has stain and/or topcoat been applied)? If yes: wood putty. If no: wood filler.
Step 2: Choose the Right Wood Filler
Goal: Select the wood filler formulation for the specific application.
Water-based wood filler (most common):
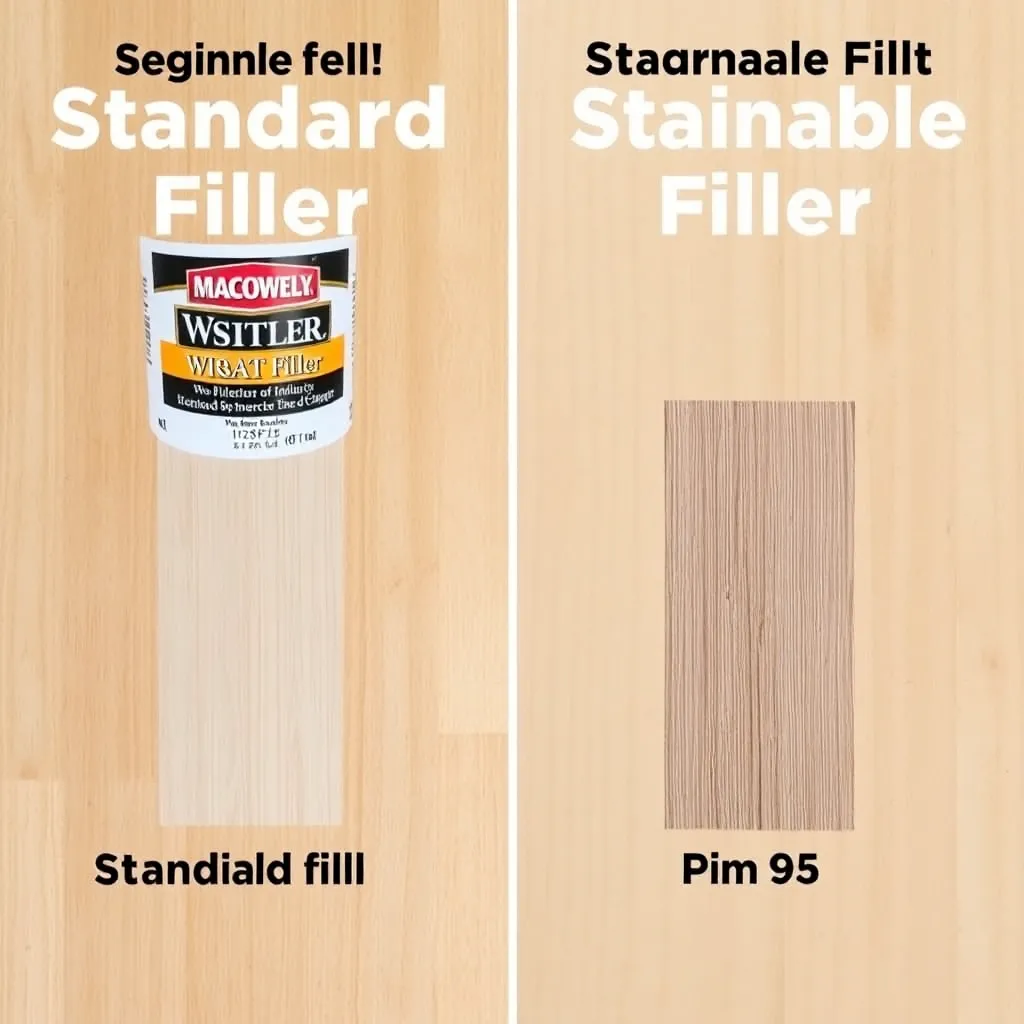
Minwax Wood Filler, Elmer’s Wood Filler, DAP Plastic Wood — these are the standard hardware store options. Water cleanup, low odor, dries in 15–60 minutes depending on fill depth. Accepts paint well. Accepts stain inconsistently — most water-based fillers don’t absorb stain the same as wood, producing a lighter or different-color patch after staining. For painted finishes: any water-based filler is adequate. For stained finishes: look for “stainable” on the label.
Stainable wood filler:
Formulated to absorb stain more similarly to wood fiber. Minwax Stainable Wood Filler, Famowood Latex Wood Filler. The pigment absorption is better than standard fillers but no filler perfectly matches stained wood — always test on scrap of the same species with the same stain before using on the actual piece. Result: the patch will be visible on close inspection but much less obvious than a non-stainable filler.
Two-part epoxy filler:
Extremely hard when cured, doesn’t shrink, fully sandable, paintable. Used for large repairs — rotted wood sections, large voids, structural repairs. Mixing required (resin + hardener). More expensive than standard fillers. Best for exterior wood repair and large voids where other fillers would crack or shrink significantly during cure.
Solvent-based wood filler (Bondo, automotive body filler):
Very fast cure (10–15 minutes), extremely hard, no shrinkage. Used for large fills and repairs where fast turnaround matters. Strong solvent odor — use outdoors or with ventilation. Sands well. Not ideal for stained finishes (doesn’t accept stain). Best for: shop projects, painted exterior wood, situations where speed matters more than stain compatibility.
Sawdust + glue filler (DIY method):
Mix fine sawdust from the exact species being repaired with PVA wood glue or CA glue to create a custom filler. The color match is better than any commercial filler because the sawdust is from the same wood. Works best for small voids and nail holes. Not as hard or gap-filling as commercial fillers for large voids. Best result: mix the sawdust from sanding the actual piece with the stain already applied, then mix with glue — the filler matches both the species and the stain color.
Milestone: For any stained project, test the chosen filler on a scrap piece of the same species with the same stain, applied the same way. Compare the filled area to unstained surrounding wood after topcoating.
Step 3: Apply Wood Filler to Bare Wood
Goal: Fill defects cleanly so they’re invisible after finishing.
Preparation:
Sand the area around the defect to the final pre-finish grit (120–150 for most projects). Remove all dust. The wood around the defect should be in finished-sanding condition before filling — don’t fill first and then do major sanding, which would require re-filling.
Application for small holes (nail holes, small fastener holes):
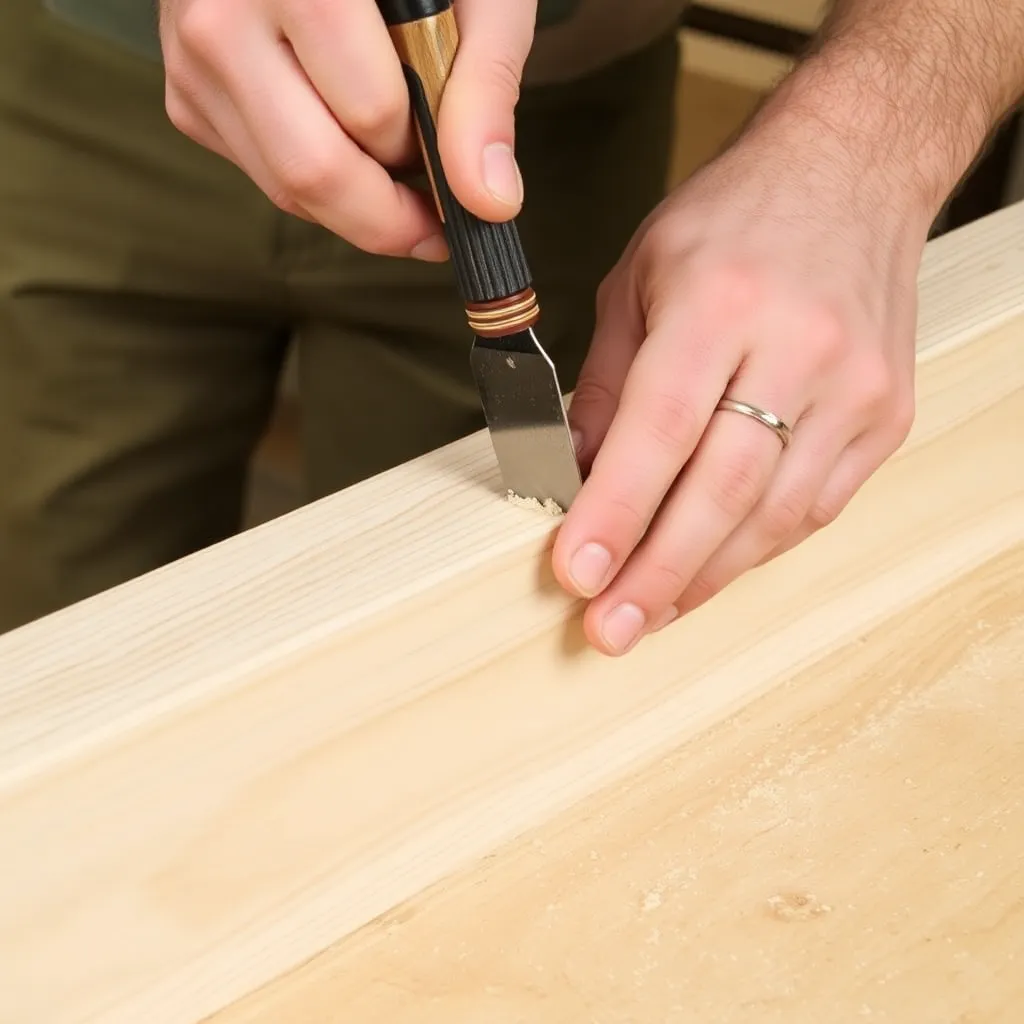
- Press a small amount of filler into the hole with a fingertip or small putty knife
- Slightly overfill — filler shrinks slightly as it dries
- Allow to dry completely (15–30 minutes for small holes; longer for deep fills)
- Sand flush with 120-grit, then 150-grit
Application for larger voids and cracks:
- For voids deeper than 1/4″: apply filler in layers — fill 1/4″ deep, allow to dry, sand lightly, fill again. Deep single applications shrink unevenly during drying, leaving a depression.
- Use a putty knife to press filler firmly into the void, removing air pockets
- Overfill by 1/8″ above the surrounding surface
- Allow full dry time for the depth of fill (deep fills can take 2–4 hours)
- Sand flush with a sanding block (not just sandpaper held by hand — sanding blocks prevent rounding the edges of the fill)
For long cracks:
Apply filler into the crack and work it in with a stiff brush or putty knife, ensuring full penetration. Wipe the excess off the surrounding surface with a damp cloth before it hardens. Allow to dry, then sand.
Milestone: After sanding the dried filler flush, run a raking light across the surface (hold a light at a very low angle). Any depression or proud area shows up clearly. Re-fill if needed before proceeding to stain or paint.
Step 4: Apply Wood Putty to Finished Surfaces
Goal: Conceal nail holes and small defects in finished wood without disturbing the surrounding finish.
Color selection:
Wood putty comes in pre-mixed colors — Natural (off-white, for paint), Golden Oak, Dark Walnut, Ebony, Cherry, and many others. Choose the color closest to the finished wood color. It’s better to go slightly lighter than the wood and let the putty darken slightly after application than to choose a color that’s obviously darker than the surrounding finish.
Application technique:
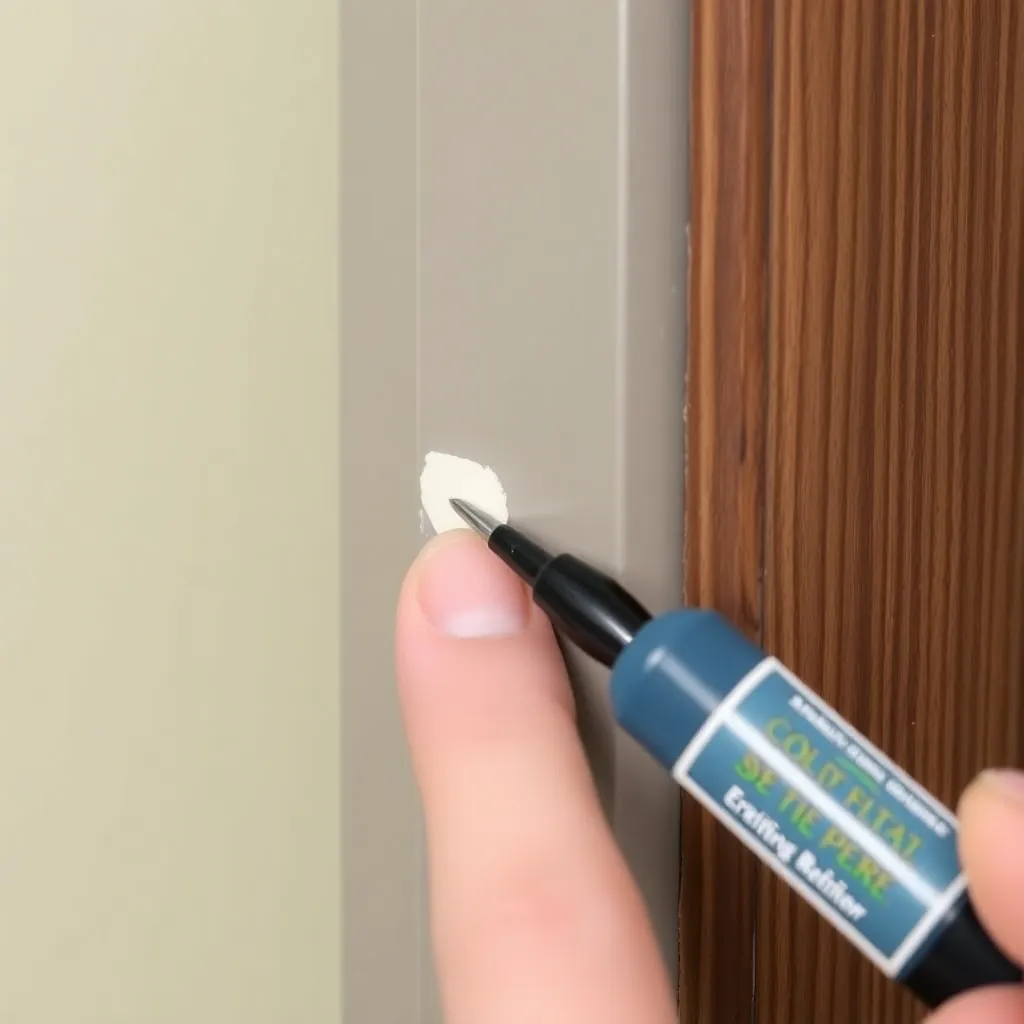
- Press a small amount of putty into the nail hole with a fingertip, the tip of a putty knife, or a commercial color pen applicator
- Slightly overfill the hole
- Wipe the excess off the surrounding surface immediately with a clean cloth — wood putty doesn’t sand off a finished surface cleanly (it tends to smear)
- The putty remaining in the hole will be slightly proud and will settle to flush as it dries (unlike wood filler, which shrinks below flush — this is why wood putty is slightly overfilled rather than underfilled)
For deep holes:
Apply in two applications — first fill to near flush, allow to partially set (5–10 minutes), then apply a second application to the remaining depression. This reduces overfill and smearing.
Blend into the finish:
After the putty is dry, lightly buff with a clean soft cloth. For clear-finished wood: a small amount of paste wax on the cloth helps blend the putty patch into the surrounding finish. For lacquered surfaces: a small dab of clear lacquer over the patch (applied with a cotton swab) seals it and blends the sheen.
Milestone: Step back and view the repaired area at the same angle as a viewer would see the finished piece. Minor color mismatch is acceptable; the patch should not be immediately obvious from normal viewing distance (3+ feet).
Step 5: Alternatives for Specific Situations
Goal: Use the best repair method for situations where standard filler/putty don’t apply.
Wax fill sticks:
Pre-colored wax sticks (Mohawk, Briwax, Fil-Stik) for filling nail holes and small dings in finished surfaces. Similar to wood putty but wax-based — slightly more flexible, slightly more color-accurate if the right shade is chosen. Applied by pressing the stick directly into the hole and wiping flush. Best for high-end furniture repair where color matching is critical.
Burn-in sticks (shellac sticks):
Melted into the void with a burn-in knife (a small knife heated with a butane torch). The melted shellac flows into the void and fills it completely. When cool, it’s hard and sandable (unlike wax). Professional furniture repair standard. The color selection and melting technique require practice but produce the most invisible repair on clear-finished furniture.
Sanding dust + CA glue:
Sand the wood to generate fine dust. Apply thin CA glue to the void, then dust the sanding dust over the wet CA immediately. The CA wicks into the dust, binding it into a solid fill. Multiple applications build up the fill. This produces a fill that’s the exact color of the surrounding wood and is rock-hard. Best for small voids and scratches in unfinished or oil-finished wood.
Dutchman patch:
For large voids, knot holes, or damage too large for filler: cut a precisely-fitted patch of matching wood (a Dutchman) and glue it in. The patch grain must match the surrounding grain direction for the best blend. A well-made Dutchman patch is nearly invisible after finishing. Requires a router or chisels to cut the mortise for the patch.
Milestone: Match the repair method to the defect size: nail hole → filler or putty; large void → two-part epoxy filler or Dutchman; finish surface scratch → wax stick or burn-in; structural damage → epoxy consolidant + filler.
Wood Filler vs Wood Putty FAQ
Can I use wood filler on finished wood?
Technically yes, but the results are poor. Wood filler is designed to be applied to bare wood — it doesn’t adhere well to most finish surfaces, it’s hard to color-match over a stain coat, and it leaves a visible patch that’s a different sheen than the surrounding finish. For finished surfaces, use wood putty (oil-based, pre-colored) or a wax fill stick. If the defect is large enough that putty won’t work, the best approach is to sand back to bare wood in the repair area, re-fill with filler, re-stain, and re-finish.
Does wood filler accept stain?
Standard wood filler (most water-based fillers) doesn’t absorb stain the same way wood does — the filler patch will appear lighter or a different color than the surrounding stained wood. For stained projects: use a specifically marketed “stainable” wood filler. Even stainable fillers don’t perfectly match stained wood — always test on scrap first. The best color match for stained wood repairs: mix fine sawdust from the same species (collected while sanding) with a small amount of PVA glue to make a custom filler, then apply the stain over the patch along with the rest of the surface.
How long does wood filler take to dry?
Water-based wood filler dries in 15–30 minutes for shallow fills (under 1/8″). Deep fills (1/4″ or more) can take 2–4 hours and should be applied in layers. The surface of the filler may appear dry while the interior is still soft — sand too early and the filler compresses rather than cutting flush. Test dryness by pressing firmly with a fingernail — if it leaves a mark, the filler needs more time. Full hardness develops over 24 hours, though the filler can be sanded and finished after initial drying.
What is the best wood filler for large holes?
For large voids (over 1/2″ in any dimension): two-part epoxy wood filler is the best choice. Products like Abatron WoodEpox, System Three SilverTip, or generic two-part epoxy putty mix to a working consistency, don’t shrink, and cure very hard. For exterior wood rot repair: Minwax High Performance Wood Filler (two-part epoxy) is specifically formulated for exterior use and consolidates the surrounding degraded wood as it penetrates. For interior large voids where stain compatibility matters: a Dutchman patch in matching species produces the most invisible repair, though it requires more woodworking skill.

“DIY woodworking enthusiast who started with zero experience and a YouTube tutorial.
I build simple, practical projects for my home and share free plans
so other beginners can skip the guesswork.If I can build it, you can too.”