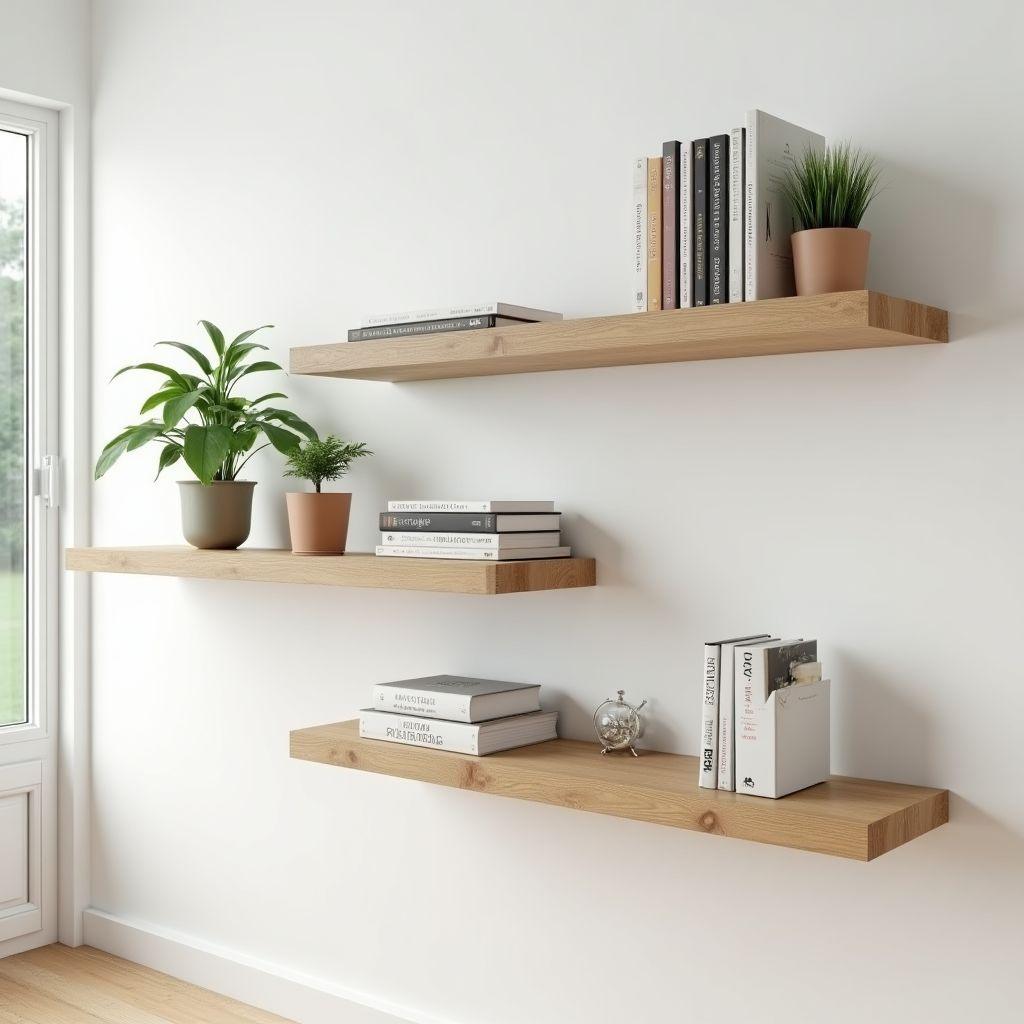
Picture a floating shelf that has bowed into a slow smile across its middle, or worse, one that tore clean out of the drywall and dumped a row of hardcovers onto the floor. That failure is louder than the crash. On a 48″ shelf, even a 1/16″ dip is visible to anyone standing in the room. Part of our best DIY furniture plans guide. Part of our bookshelf and shelving plans guide.
Most floating shelf failures trace back to three causes: the wrong wood, a weak mount, or anchoring into drywall alone. Get those three right and the shelf disappears into the wall the way it should, holding weight without a sign of strain.
Woodworking floating shelves are one of the most satisfying weekend builds you can take on, and they are more forgiving than they look once you understand the physics. By the end of this guide you will know how to pick the right wood species, match a mounting method to real weight capacity data, and build shelves that hold 75 or more pounds per linear foot.
The proof that this works on a budget: DIY Derek built a pair of kitchen shelves for around $91 using a simple 2×2 frame skinned with maple plywood. Six years later they are still dead solid, still level, still loaded with plates.
This guide covers choosing wood by species, picking a mount method by weight, mounting with no studs, a full cut list with 2026 costs, building the hollow box, mounting and leveling, finishing, and a bonus variant for permanent built-in book shelving. Start with the wood, because that choice drives everything after it.
Step 1: Choose the Right Wood for Your Shelves
Looking for more furniture ideas?
This guide is part of our complete best DIY furniture plans series — compare all options by skill level, cost, and build time.
Want 16,000+ woodworking plans?
Ted’s Woodworking has step-by-step plans for every skill level. Browse Ted’s plans.
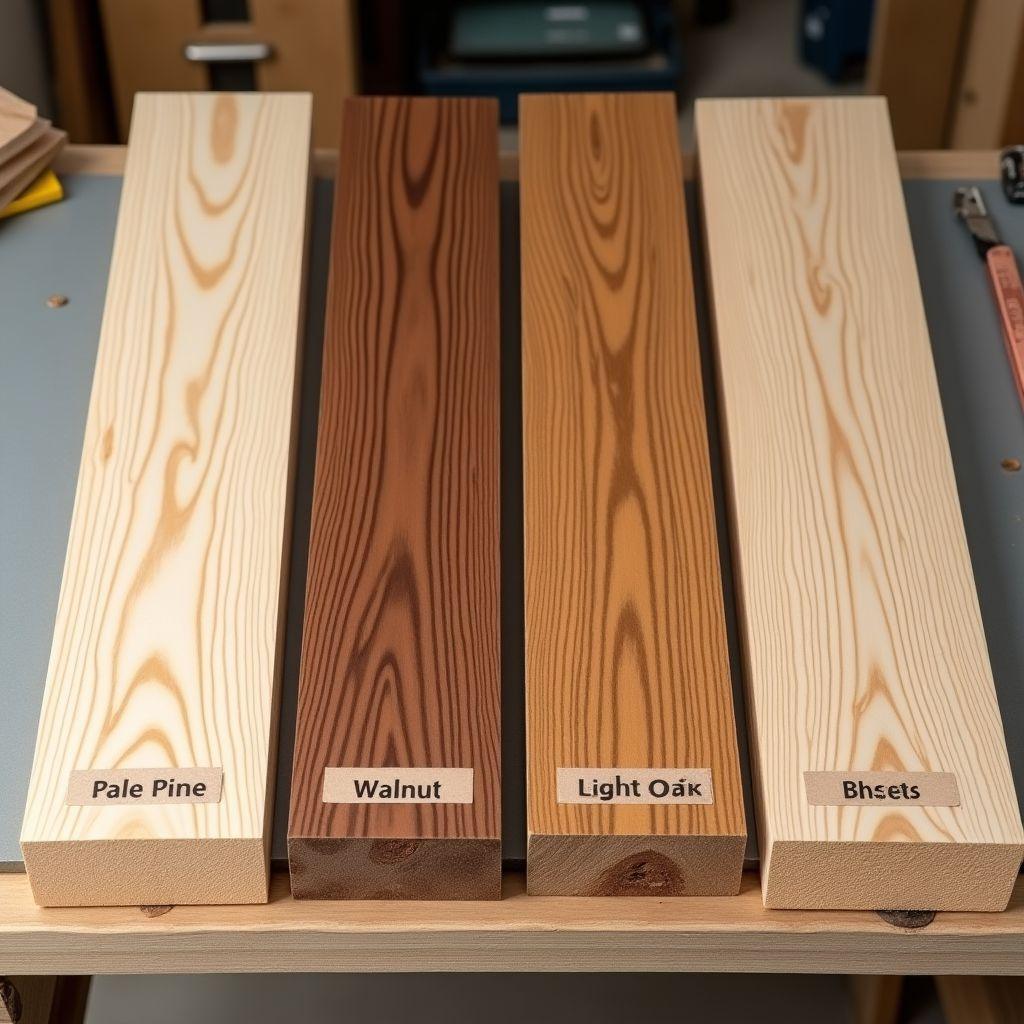
Pine rates 870 lbf on the Janka hardness scale. White oak rates up to 1,360 lbf. That gap of nearly 500 pounds of force is the difference between a shelf that dents when you set down a ceramic mug and one that shrugs it off, and it maps directly onto how far your shelf can span before it sags.
Species choice drives both sag resistance and how far apart your supports can sit. Pine wants a support every 24 to 30 inches. Hardwoods and quality plywood stretch that to 32 to 36 inches. Push past those spans with the wrong wood and you get the bowed smile.
Your woodworking floating shelves will only be as stiff as the material you start with, so match the species to the load and span you actually plan to carry.
Wood Species Comparison
| Species | Janka (lbf) | Sag resistance | 2026 cost | Best for |
|---|---|---|---|---|
| Pine | 870 | Sags at 24-30″ spans, dents easily | $2.40-3.00/linear ft (1×8) | Beginner-friendly, cheapest, paint-grade |
| White oak | 1,360 | Best sag resistance, 0.04″ deflection at 36″ span, holds 75+ lbs/linear ft | $6-10/bf | Premium 2026 favorite, stains rich |
| Walnut | 1,010 | Good, workable | $10-15/bf | Rich dark color, show pieces |
| Baltic birch plywood | MOE 2.2M psi | 36×12″ deflects just 0.08″ under 100 lbs, warps less | $55-80/sheet | Strong and stable, edges need covering |
For long spans or heavy books, choose white oak or Baltic birch plywood. Oak gives you the best sag resistance of any common shelf wood, deflecting just 0.04″ across a 36″ span and holding 75 or more pounds per linear foot. Baltic birch fights back with a modulus of elasticity around 2.2 million psi, so a 36″ by 12″ shelf drops only 0.08″ under a 100-pound load.
For a budget or paint-grade display shelf under 30 inches, pine is perfectly fine and easy on both your wallet and your tools. Just respect its limits.
Baltic birch has one catch: the exposed plywood edges show their layers, which looks unfinished on a display shelf. The fix is a solid hardwood front cap glued over the front edge, covered in Step 5.
The most common material mistake is reaching for pine on a long, heavy span. It sags in the middle and dents under point loads, and no finish will hide either problem. Choose the stiffest wood your budget allows for the span you plan to build, then size the shelf and pick the mount.
Step 2: Size Your Shelf and Pick a Mounting Method by Weight
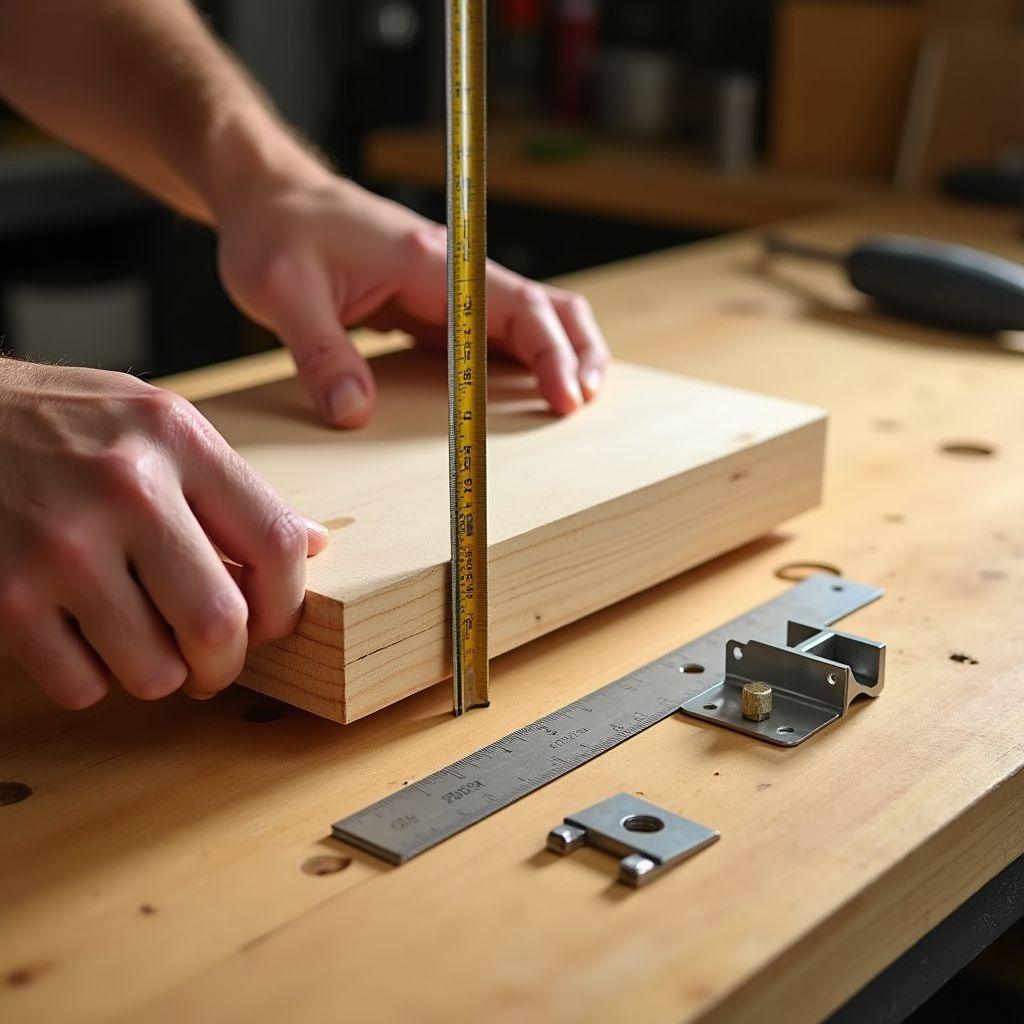
Double the thickness of a shelf and you increase its stiffness roughly eight times. Stiffness scales with the cube of thickness, so a 2-inch shelf is not twice as stiff as a 1-inch shelf, it is eight times stiffer. That makes thickness the single cheapest way to beat sag.
Part A: Size the shelf
The accepted limit for sag is 1/360 of the span. On a 36″ shelf that works out to about 1/8″, which is roughly the point where the eye starts to notice a dip. Design to stay under it.
For thickness, aim for a finished shelf 1.5 to 2.5 inches thick for anything holding real weight. Keep depth between 8 and 12 inches for most display and book uses. Deeper shelves cantilever farther off the wall, which multiplies the leverage on your mount and stresses it harder.
Hold to the support spacing from Step 1: pine every 24 to 30 inches, hardwood or plywood every 32 to 36 inches. If your shelf runs longer than a single span allows, add another anchor point.
Part B: Mounting Method vs Weight Capacity
| Method | Capacity | Look | Trade-off |
|---|---|---|---|
| French cleat | 110-220+ lbs into studs | Less clean, thicker reveal | Highest capacity, adjustable and removable |
| Hidden steel rod bracket | 25-50 lbs/shelf | Cleanest look | Needs precise hole alignment, wavy walls cause problems |
| All-thread rod (DIY) | Moderate | Clean-ish | Affordable, wavy walls fight you, DIY only |
| Toggle bolt (no stud) | 1/8″ = 30-55 lbs, 1/4″ = up to ~300 lbs | Hidden | No-stud option, see Step 3 |
| Molly bolt | Up to 50 lbs | Hidden | Removable, light loads |
The decision logic is simple. For books or anything heavy, use a French cleat driven into studs, which gives you 110 to 220 or more pounds of capacity and lets you lift the shelf off later. For a light display shelf where you want the cleanest possible look, a hidden steel rod bracket (Federal Brace and Sheppard both make good ones) carries 25 to 50 pounds per shelf. If you have no studs where you need them, jump to the toggle bolts in Step 3.
Two mistakes sink most builds here. First, hidden rod brackets demand precise hole alignment, and a wavy wall turns that into a frustrating fight to get the shelf to sit flush and level. Second, anchoring a heavy shelf into drywall alone lets the whole thing pull away from the wall over time. If you have studs, use them. Readers working a stud-free wall, the next step is for you.
Step 3: How to Mount Floating Shelves Without Studs
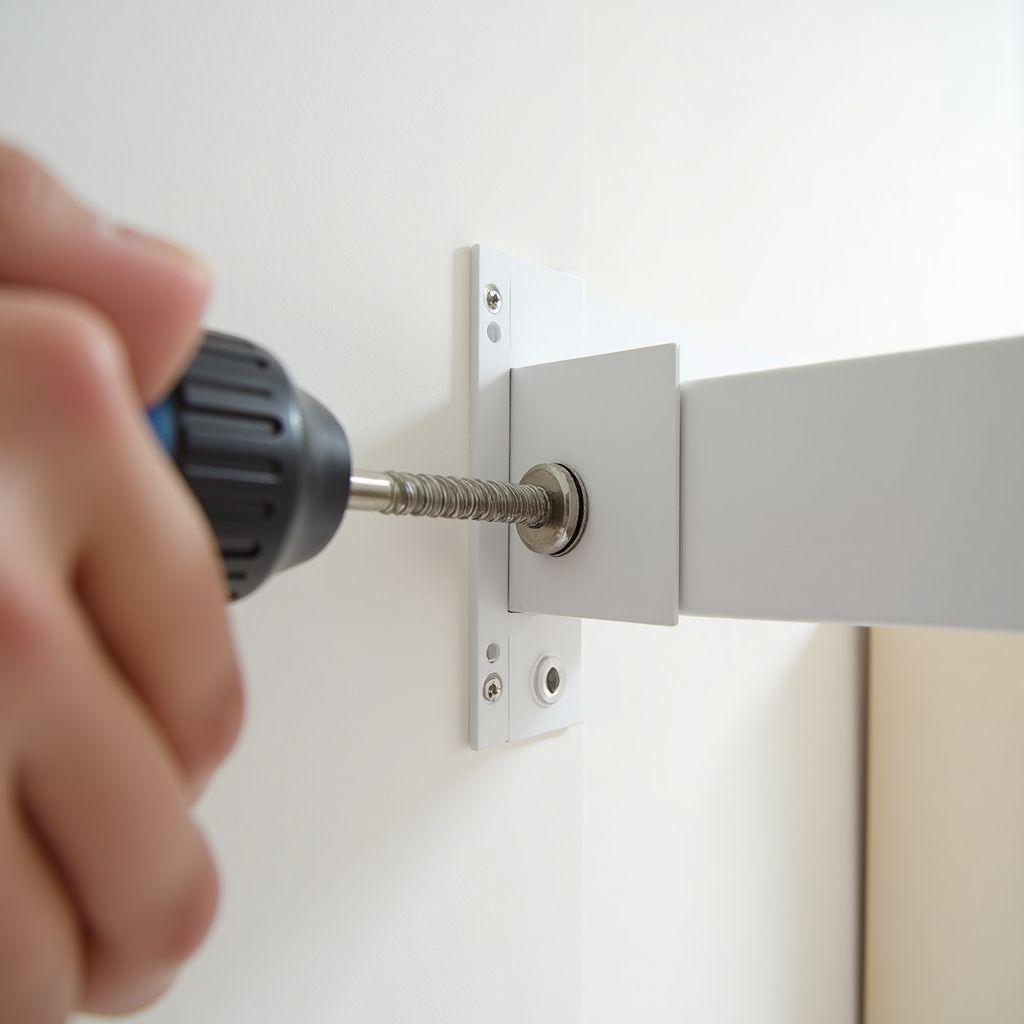
No stud does not mean no strong shelf. The right toggle bolt driven into plain drywall holds far more than most people expect, enough for a real load of books on many walls.
Toggle bolts are the workhorse here. A 1/8″ toggle holds 30 to 55 pounds, and a beefier 1/4″ toggle can hold up to roughly 300 pounds depending on your drywall thickness. They work by folding spring-loaded wings through a drilled hole. Once through, the wings snap open and clamp against the back of the drywall, spreading the load across a wide area instead of a single crumbly point.
Molly bolts are the lighter-duty cousin, good for up to 50 pounds and fully removable, which makes them a smart pick for lighter display shelves in a rental.
Best practice is still to catch at least one stud when you can, then supplement with toggles across the gaps where no stud lands. A mix of stud screws and toggles beats either one alone.
Match the toggle to the load. For a light display shelf under 20 pounds, two 1/8″ toggles are enough. For a shelf of books, step up to 1/4″ toggles and run one every 16 inches along the mount so no single anchor carries more than about 40 pounds. Drill the hole to the exact bit size on the toggle package. A hole that is too large lets the wings pull through, and a hole that is too small will not let them pass.
The number one no-stud failure is using plastic expansion anchors for loads they were never rated to take. Those cheap conical anchors pull straight back out of drywall under weight. Skip them for shelving and use toggles or mollies.
A few practical habits keep you safe. Distribute the load across several anchors rather than trusting one point. Do not overload any single fastener. Before you drive an anchor, check that the drywall around the hole is solid and not already cracked or crumbling. With your anchors sized and spaced, you have a no-stud mount rated for the load. Now price out the materials.
Step 4: Cut List and 2026 Lumber Cost Breakdown
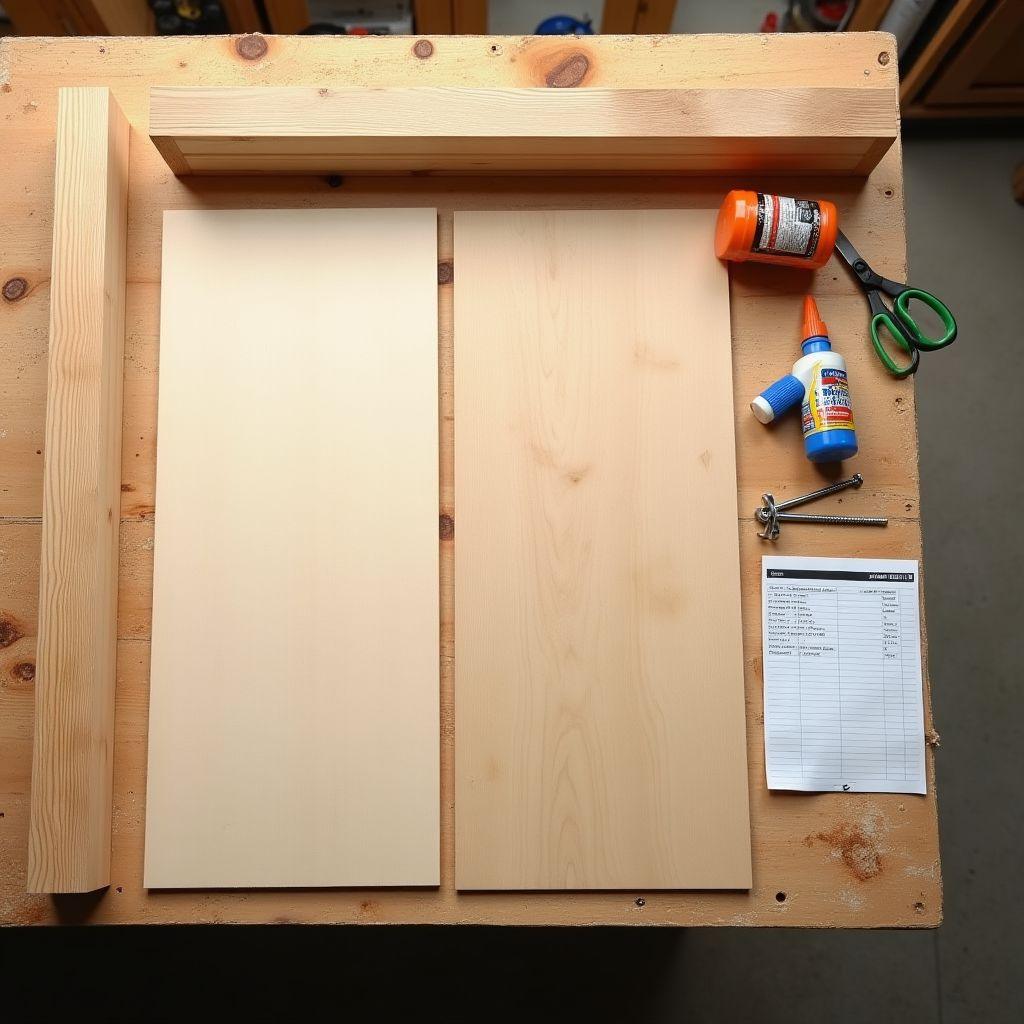
A solid pair of floating shelves can be built for around $91 total. That is the DIY Derek kitchen build: a 2×2 internal frame skinned with 1/4″ maple plywood, still holding strong after six years of daily kitchen use.
The cut list below builds one standard 36″ long, 12″ deep, 2.5″-thick floating shelf using the 2×2 frame plus plywood skin method.
Cut List (one 36″ x 12″ x 2.5″ shelf)
| Part | Material | Dimensions | Qty | Notes |
|---|---|---|---|---|
| Back cleat/ledger | 2×2 | 36″ long | 1 | Anchors to wall or receives French cleat |
| Front rail | 2×2 | 36″ long | 1 | Front edge of frame |
| Side pieces | 2×2 | 9″ long | 2 | Set depth (12″ minus skin and cap allowance) |
| Internal cross supports | 2×2 | 9″ long | 3 | One every ~12″ to fight sag |
| Top skin | 1/4″ or 1/2″ plywood | 36″ x 12″ | 1 | Glue and nail to frame |
| Bottom skin | 1/4″ or 1/2″ plywood | 36″ x 12″ | 1 | Glue and nail to frame |
| Front edge cap | Solid hardwood | 36″ x 2.5″ | 1 | Hides plywood edges |
2026 Cost Breakdown
| Item | Unit price 2026 | Qty (per shelf) | Line cost |
|---|---|---|---|
| Budget: pine 2×2 frame stock | ~$3.00/linear ft | ~10 linear ft | ~$30 |
| Budget: birch/maple plywood skins | $55-80/sheet | 1/4 sheet | ~$16 |
| Budget: pine front cap | $2.40-3.00/linear ft | 3 ft | ~$8 |
| Budget: fasteners, glue, anchors | flat | 1 | ~$8 |
| Budget build total (per pair) | ~$91 | ||
| Premium: white oak | $6-10/bf | ~5 bf | ~$40 |
| Premium: Baltic birch plywood | $55-80/sheet | 1/4 sheet | ~$18 |
| Premium: fasteners, glue, hard wax oil | flat | 1 | ~$25 |
| Premium build total (per shelf) | ~$83+ |
The budget build lands right at the $91 anchor for a matched pair, and the premium oak build runs higher per shelf but delivers the sag resistance and grain that justify it on a show wall.
Two buying tips save you grief. Buy one extra board beyond your cut list to cover the inevitable measuring or cutting error. And remember that a single full sheet of plywood yields skins for several shelves, so the per-shelf plywood cost drops fast once you build more than one. With materials in hand, build the box.
Step 5: Build the Floating Shelf Box
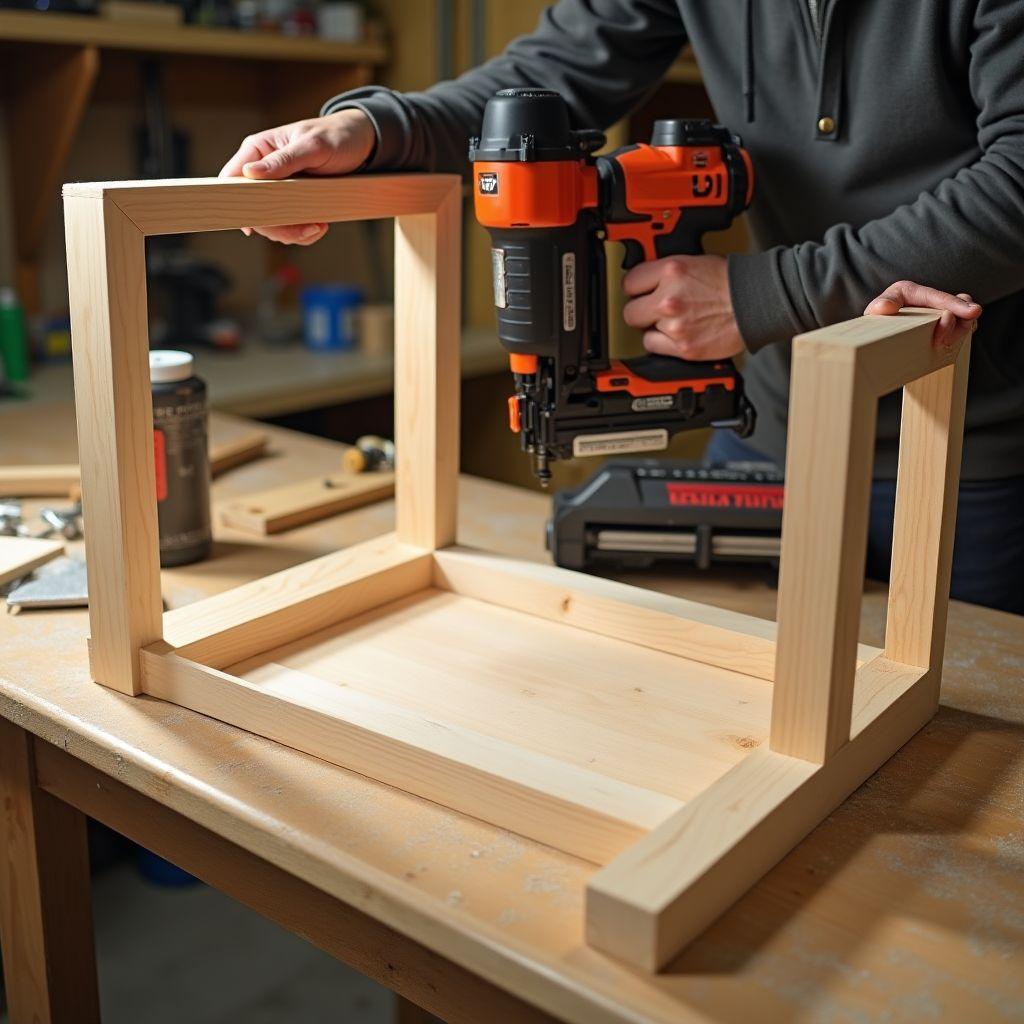
Frame it hollow, skin it solid. The box method builds a light internal skeleton, wraps it in plywood, and leaves a hidden cavity where the mount lives. Done right, it hides the bracket completely and resists sag from the inside.
Work through these steps in order:
- Build the internal 2×2 frame first. Join the back ledger, front rail, and two side pieces into a rectangle, then add cross supports every 12 inches. This skeleton is what the skins attach to and what your mount anchors into, so build it square and tight. Check the diagonals with a tape measure. When both corner-to-corner readings match, the frame is square.
- Attach the top and bottom plywood skins. Run a bead of wood glue along every frame edge, then fasten with brad nails or pocket-hole screws spaced about every 6 inches. Glue does most of the structural work here, so do not skip it. Clamp until the glue grabs.
- Add the solid hardwood front edge cap to hide the raw plywood edges. This matters most with Baltic birch, whose layered edges look unfinished otherwise. Glue and clamp it, then flush-trim.
- Prepare for your mount. For a French cleat, cut the mating 45-degree cleats and confirm the box’s back cavity clears the wall-side cleat. For hidden rods, drill the receiver holes into the back framing to match your bracket spacing exactly.
- Dry-fit the box over the mount before you finish anything. This is your last easy chance to fix a fit problem.
Two mistakes show up again and again. First, the box will not slide over the cleat because the internal cavity is too tight or a cross support blocks the wall cleat’s path. Leave at least 1/2 inch of deliberate clearance behind the back ledger. Second, skimping on internal cross supports lets the shelf sag over time, so keep them at that 12-inch spacing.
Pro tip from the Sawdust Sisters method: sand and pre-fit everything before finishing, and finish before final install. It is far easier to coat all sides on a workbench than reaching around a mounted shelf. With the box built, squared, and dry-fit over its mount, you are ready to hang it dead level.
Step 6: Mount and Level Your Shelves
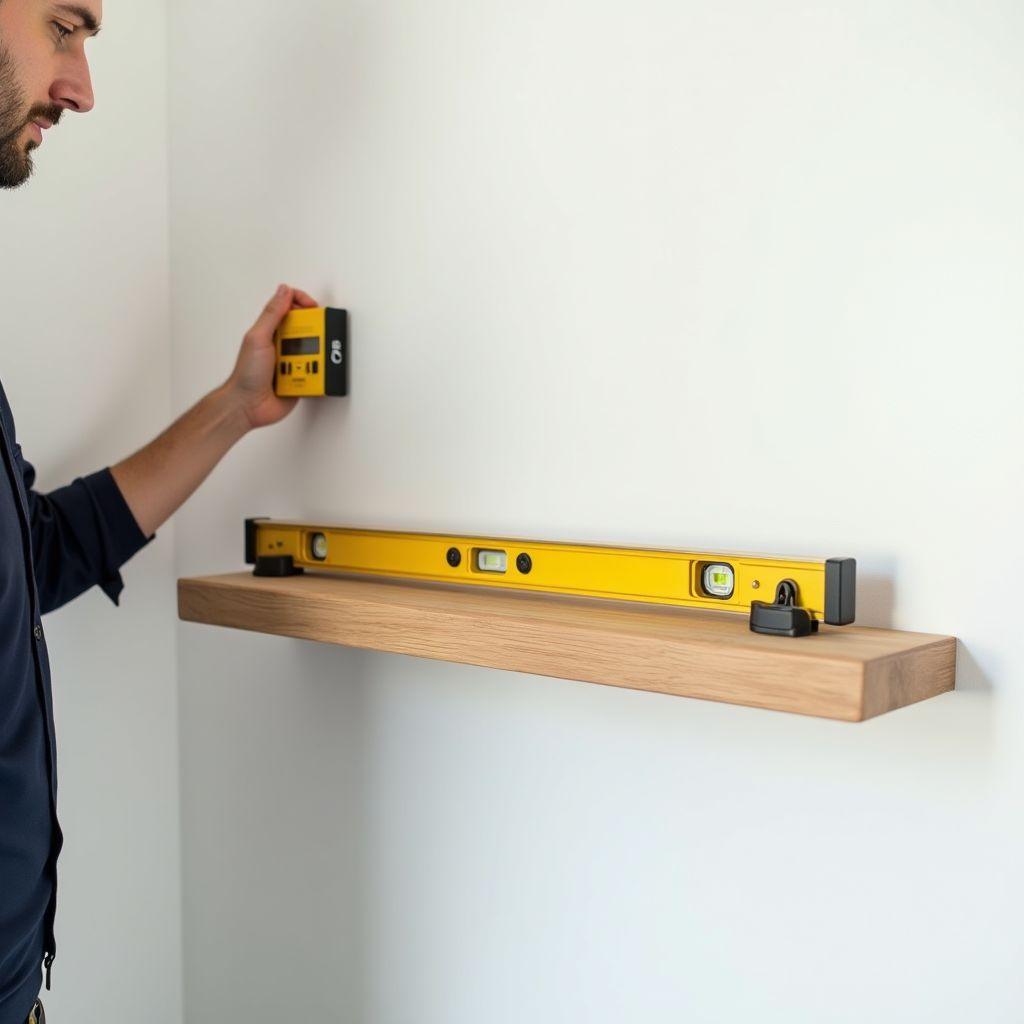
Even a 1/16″ tilt is obvious on a 48″ shelf, and it is the easiest mistake in the whole build to make. The good news is that one habit prevents it: measure from a leveled line, never from the floor.
Install in this order:
- Find and mark your studs with a stud finder. Decide stud versus no-stud based on your mount and load, using the guidance from Steps 2 and 3.
- Mount the wall component, whether that is a French cleat, a rod bracket plate, or a ledger board. First draw a level pencil line with a long level, then measure up from that line. Floors are rarely level, so measuring off the floor bakes in a tilt from the start.
- Check level along the length of the mount, and confirm the shelf will sit level front-to-back too. Shim behind the mount to correct for a wavy wall.
- Drive your fasteners into studs wherever they land, and supplement with toggle bolts across the stud gaps for a longer shelf.
- Slide the box over the mount and secure it. Drive a set screw up from underneath into the cleat or frame so the shelf cannot be lifted off by accident.
Three failures to guard against: a shelf that reads out of level because you measured off the floor, a box that lifts off its cleat with no locking screw, and hidden rods thrown off by a wavy wall. Shim and recheck with a level before you commit any fastener.
Before you load the shelf fully, gently test it with roughly the weight you plan to store. Set the weight on in stages rather than all at once, and watch the wall connection for any sign of pull-away or gap opening at the top edge. If it holds without movement, you are clear to load it. With the shelf mounted and reading level end to end, give it a finish.
Step 7: Finish Your Floating Shelves
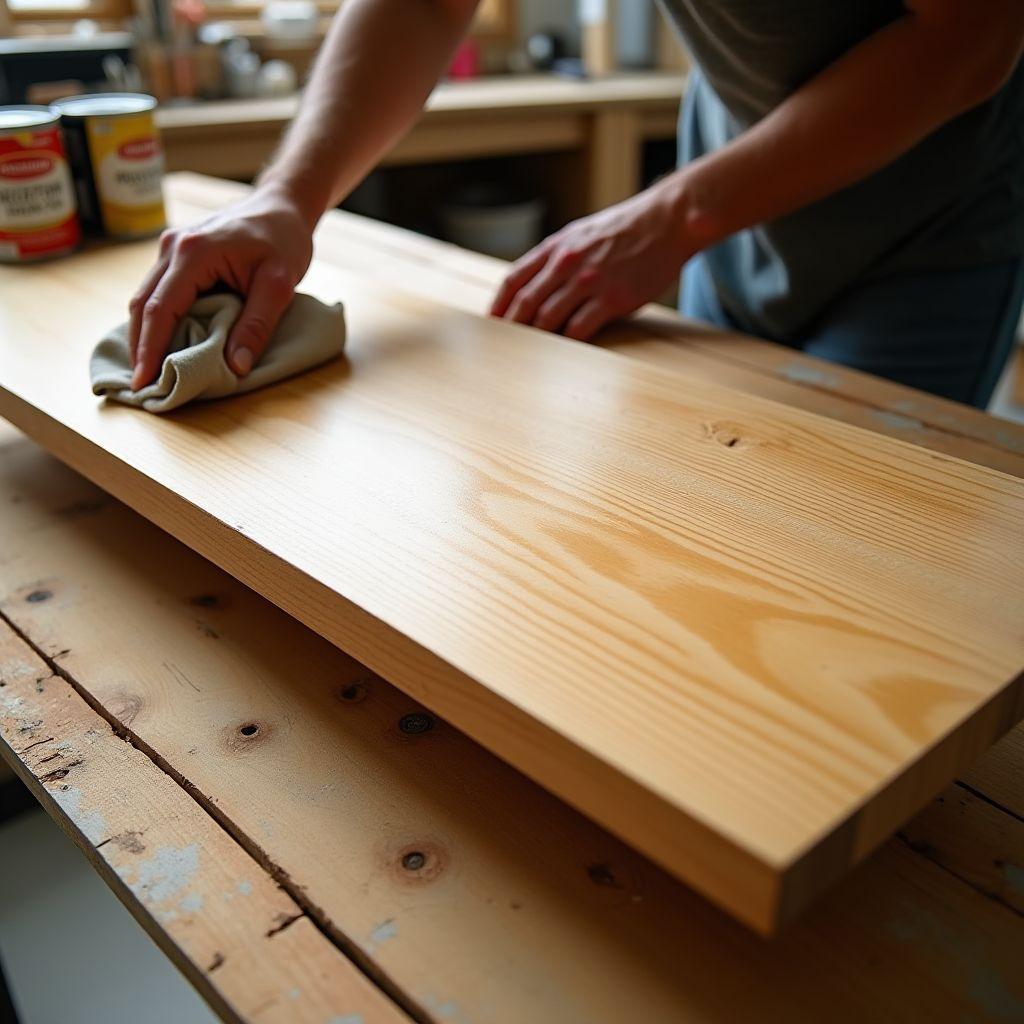
The most durable finish cannot be spot-repaired, and the most repairable one wears fastest. Pick your finish by how the shelf will actually get used, not by which looks best in the can.
Finish Comparison
| Finish | Durability | Repairability | Look | Best for |
|---|---|---|---|---|
| Polyurethane | Best scratch and wear resistance | Cannot spot-repair, must recoat whole area | Slight sheen | High-use, kids, kitchens |
| Hard wax oil | Good, 5-7 year lifespan | Spot-repairable | Natural matte | Show pieces, oak and walnut grain |
| Wax | Least durable | Easy but needs yearly reapplication | Soft natural | Low-use display only |
Polyurethane wins on raw toughness, which makes it the right call for kitchen shelves or any spot where kids and daily wear are in play. The trade-off is that you cannot fix a single scratch. You recoat the whole surface.
Hard wax oils like Rubio Monocoat and Osmo strike a middle path. They last 5 to 7 years, wear into a natural matte look that suits oak and walnut grain, and best of all they spot-repair. You can blend a fix into one worn patch without redoing the shelf.
Wax is the softest and least durable, fine only for low-use display shelves you are willing to rewax about once a year.
Application comes down to a few habits. Sand progressively through 80, then 120, then 220 grit. Remove all dust before finishing. Finish before final install when you can, and coat both the top and the underside so moisture cannot enter one face and warp the shelf. Oak and walnut glow under hard wax oil, while paint-grade pine wants primer and poly. Shelves done. For a permanent wall of storage, look at built-in book shelving.
Step 8: Building Built-In Book Shelving
Floating shelves are removable and load-limited by their cantilever. Built-ins are permanent, face-framed, and carry the load through their side panels, which means they have essentially no sag limit when the shelf sits on supports at both ends.
Here is the short comparison:
- Built-ins: floor-to-ceiling, face frames, adjustable shelf pins, permanent, higher cost, no cantilever sag issue.
- Floating: removable, cheaper, load-limited, renter-friendly.
If you want a permanent wall of storage, built-in book shelving is the upgrade. The essentials:
- Build boxes, called carcasses, sized to fit your wall. Scribe the outer edges to the wall so they meet it cleanly despite any waviness. Level each carcass front-to-back and side-to-side, shimming under the base until it sits true before you fasten it.
- Add a face frame to the front. Standard dimensions are 1.5″ stiles (the vertical pieces), 2.5″ rails (the horizontals), and a 3″ base for the toe kick. The face frame stiffens the whole unit and hides the plywood edges.
- Use adjustable shelf pins so shelves reposition as your storage needs change. Drill evenly spaced lines of holes with a jig, typically on 32mm centers, for clean, aligned pin placement.
- Anchor the carcasses firmly to wall studs. Because the side panels carry the load down to the floor, span and sag are not the constraint they are with floating shelves.
- Choose your shelf material from the Step 1 table. Even here, wide book spans still favor oak or plywood over pine. For spans over 36 inches, add a center support or a solid hardwood front edge to keep the shelf flat under a full row of books.
A built-in reads as part of the house, so treat the fit as finish carpentry. Caulk the scribe lines to the wall, and cap the top with crown or a simple filler strip to close the gap at the ceiling.
Want step-by-step plans for this build and thousands more? TedsWoodworking has over 16,000 woodworking plans with cut lists and diagrams for every skill level.
FAQ
How much weight can floating shelves hold?
It depends entirely on the mount. A French cleat driven into studs holds 110 to 220 or more pounds. A hidden steel rod bracket carries 25 to 50 pounds per shelf. In drywall alone, a 1/4″ toggle bolt can hold up to roughly 300 pounds, while a 1/8″ toggle holds 30 to 55 pounds. The wood and span set the practical ceiling.
What is the best wood for floating shelves?
White oak is the top pick for sag resistance, with a Janka rating of 1,360 and just 0.04″ of deflection over a 36″ span. Baltic birch plywood offers the best strength per dollar and warps less than solid wood. Pine works for budget, paint-grade shelves under 30 inches but dents and sags on longer, heavier spans.
Can you install floating shelves without studs?
Yes. A 1/4″ toggle bolt holds up to roughly 300 pounds in drywall, and molly bolts handle up to 50 pounds for lighter shelves. Avoid plastic expansion anchors for any real load, since they pull out of drywall under weight. Catch at least one stud when you can and supplement with toggles across the gaps.
Why do floating shelves sag and how do I fix it?
Sag comes from a weak bracket, low-density wood, or a span that is too long. Fix it by doubling the shelf thickness, which increases stiffness about eight times, adding a support, or switching to oak or plywood. Keep total sag under 1/360 of the span, roughly 1/8″ on a 36″ shelf.
What is the best finish for floating shelves?
Polyurethane gives the best durability for high-use kitchen and family shelves, though you cannot spot-repair it. Hard wax oil like Rubio Monocoat offers a repairable, natural matte look that lasts 5 to 7 years and suits oak and walnut. Plain wax is the least durable and needs reapplying about once a year.
What is the difference between floating shelves and built-ins?
Floating shelves are removable, load-limited by their cantilever, and renter-friendly. Built-ins are permanent, face-framed, and use adjustable shelf pins, and because their side panels carry the load to the floor they have no cantilever sag limit. Built-ins cost more and stay with the house.
How do I make sure my shelf is level?
Draw a level pencil line with a long level, then measure up from that line rather than from the floor, since floors are rarely level. Even a 1/16″ tilt is obvious on a 48″ shelf. Shim behind the mount to correct for wavy walls, and recheck level before driving your final fasteners.
How far apart should shelf supports be for books?
For pine, place a support every 24 to 30 inches. For hardwood or quality plywood, you can stretch supports to every 32 to 36 inches. Heavy book loads and long spans push you toward the tighter spacing and toward stiffer materials like oak or Baltic birch.
Is pine strong enough or do I need hardwood?
Pine works for light loads on spans under 30 inches, but it dents easily and sags on long or heavy spans because of its low 870 Janka rating. For a wall of books or any span past 30 inches, step up to white oak or plywood, which resist both denting and sag far better.
What tools do I need to make floating shelves?
You need a saw, a drill/driver, a good level, a stud finder, and a measuring tape at minimum. A pocket-hole jig or brad nailer speeds up assembling the box, and a sander gets the surface ready for finish. None of it is specialized, and most DIY toolkits already have the basics.
Related Articles

“DIY woodworking enthusiast who started with zero experience and a YouTube tutorial.
I build simple, practical projects for my home and share free plans
so other beginners can skip the guesswork.If I can build it, you can too.”