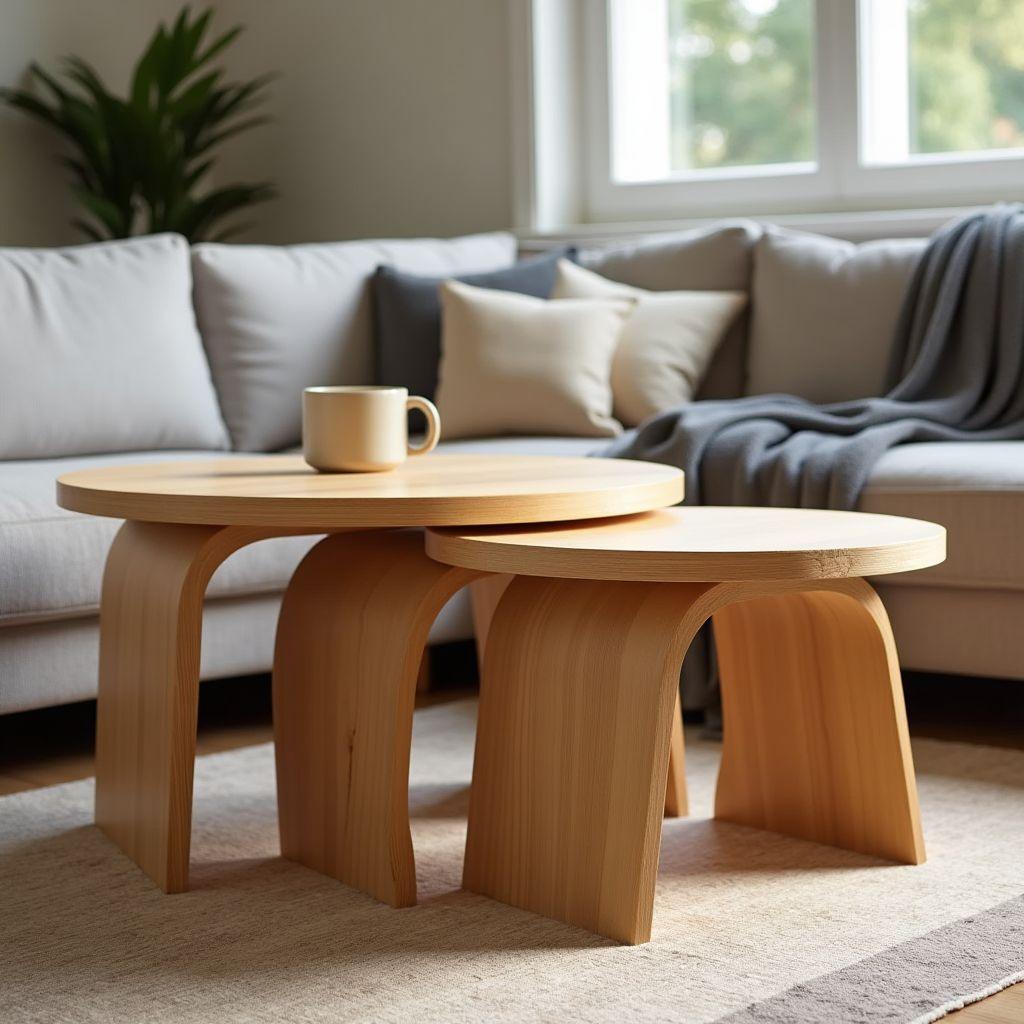
How to Build a Nesting Coffee Table Set (Space-Saving Plans + Cut List)
Looking for more coffee table ideas?
This guide is part of our complete coffee table furniture plans series — compare all options by skill level, cost, and build time.
Want 16,000+ woodworking plans?
Ted’s Woodworking has step-by-step plans for every skill level. Browse Ted’s plans.
A nesting coffee table set gives you two or three tables that tuck into a single footprint, and this guide is part of our full coffee table plans collection. The largest table works as your everyday coffee table, and the smaller tables slide out only when you need them, freeing floor space the rest of the time. That makes a nesting set one of the smartest builds for a small living room, a studio apartment, or any room where a permanent second surface would be in the way. Part of our coffee table furniture plans guide.
Most plans online skip the one detail that actually matters: the sizing formula that makes the tables nest. This guide gives you that formula, a full cut list, 2026 material costs, and a joinery comparison, with no PDF to download and no email gate. It is a beginner-to-intermediate build you can finish in a weekend or two with basic tools. If you would rather build a single standalone table, our DIY coffee table guide covers that instead. Otherwise, keep reading and build the whole set.
Why Build a Nesting Set (and Should You Make 2 or 3 Tables?)
Space is the whole point. A standard 48 x 24 inch coffee table permanently occupies about 8 square feet of floor. A nested 3-piece set collapses to a 42 x 20 inch footprint, just 5.8 square feet, recovering 2.2 square feet you can walk through instead of walk around. In a 400 square foot studio, that difference is real.
The set earns its keep in daily use. In a studio, pull the medium table out as a laptop stand or work-from-home desk beside the sofa. When guests arrive around a sectional, spread all three tables to give drink surfaces at multiple sofa zones instead of one dead center. The smallest table replaces a flimsy folding TV tray with something furniture-grade, and it retracts under the main table when you are done. In a guest or flex room, a nested pair stacks flat until the room switches roles. For a different take on functional storage, our lift-top coffee table with storage is another space-saving style worth comparing.
So build 2 or 3? Build 3 if you entertain, own an 84 inch or longer sofa, or want maximum flexibility. Build 2 if your space is under 300 square feet or budget comes first. The third table adds only $25 to $40 in materials, so if you are already buying lumber for two, three usually makes sense.
| Set | Nested Footprint | Material Cost (budget tier) | Best For |
|---|---|---|---|
| 2-piece | ~36 x 20 in (5 sq ft) | $60-90 | Rooms under 300 sq ft, occasional extra surface, budget builds |
| 3-piece | 42 x 20 in (5.8 sq ft) | $90-130 | Regular entertaining, sofas 84 in+, maximum flexibility |
Step 1: The Sizing Formula (Get This Right First)
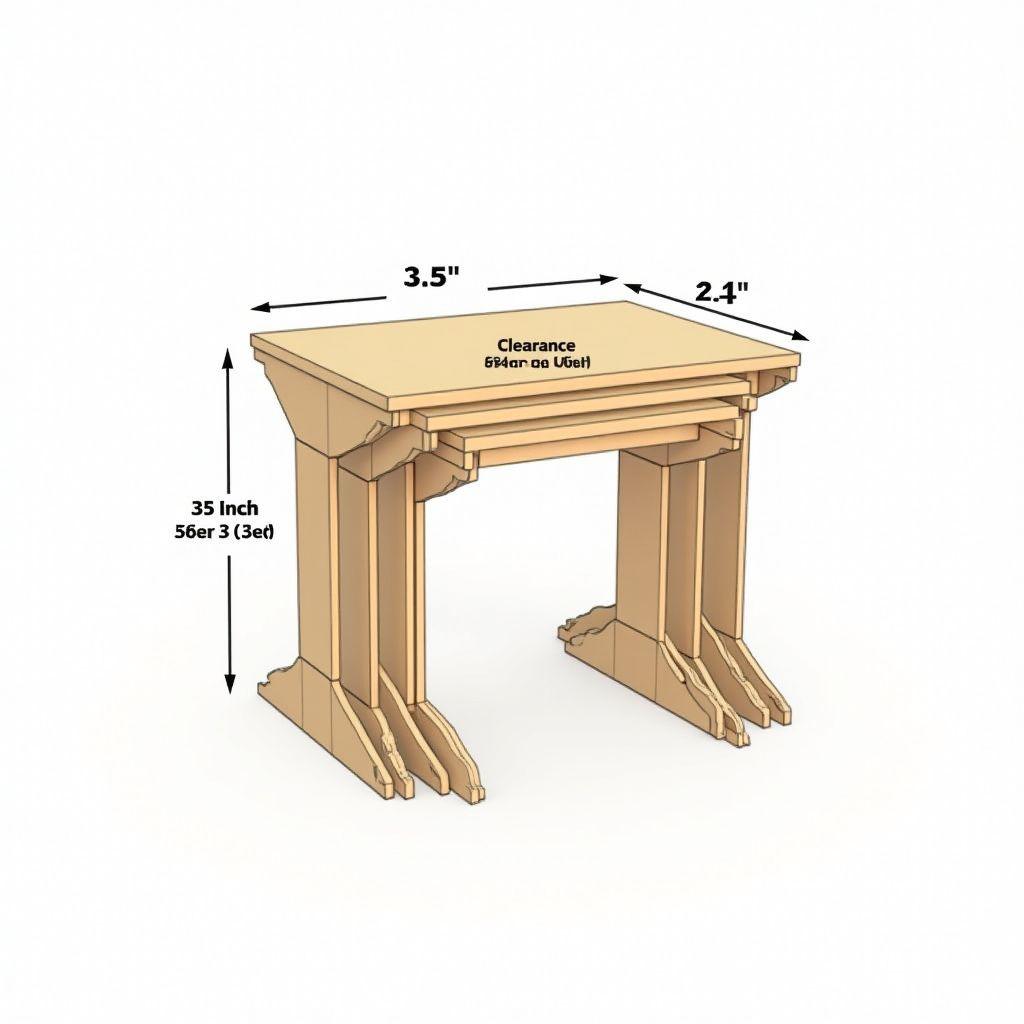
This is the single most important step, and it is the one most plans never cover. Get it wrong and your tables do not nest. Get it right and everything else is just careful cutting.
Here is the formula:
Width(n+1) = Width(n) – (2 x leg thickness) – clearance
Each table is narrower than the one outside it by twice the leg thickness plus a clearance gap. The standard clearance is 0.5 inch total, a quarter inch per side, which gives smooth sliding once the finish is on. Some builders drop to 3/8 inch total for a tighter fit, but a quarter inch per side is the safe target.
Leg stock drives the number. Nominal 2×2 lumber is actually 1.5 x 1.5 inches, so two legs plus clearance means each table steps down 3.5 inches (2 x 1.5 + 0.5). If you use 4×4 posts, which are 3.5 inches actual, the reduction jumps to 7.5 inches per table (2 x 3.5 + 0.5), so save those for wide farmhouse sets only.
Height steps down too, 2 inches per table, so the top of each nested table clears the underside of the one above it. Depth stays constant at 20 inches so the tables nest flush front to back. Run the formula on a 42 inch large table with 2×2 legs and you get the numbers below.
| Table | Width | Depth | Height |
|---|---|---|---|
| Large | 42 in | 20 in | 18 in |
| Medium | 38.5 in | 20 in | 16 in |
| Small | 35 in | 20 in | 14 in |
The apron trap. Aprons are the side rails that connect the legs. Where you mount them decides whether the formula above still holds. In this build the aprons sit inset between the legs, flush with or behind each leg’s inner face, so they never push into the nesting slot and the leg-only widths above stay valid. The trap catches builders who surface-mount aprons on the outside of the legs instead. Then the usable inner slot of the outer table equals its width minus twice the leg thickness minus twice the apron thickness. A 3/4 inch apron proud of each leg removes another 1.5 inches, so a 42 inch outer table with 1.5 inch legs and surface-mounted 3/4 inch aprons has an inner slot of only 37.5 inches (42 – 3 – 1.5). The medium table would then need to be about 37 inches wide to clear it, not 38.5. Keep your aprons inset and you avoid the problem entirely; mount them proud and you must subtract their thickness on both sides.
Before you cut a single board, write your three final widths on a sticky note and verify them against the formula. Two minutes here saves a rebuild later.
Step 2: Cut List and 2026 Material Costs
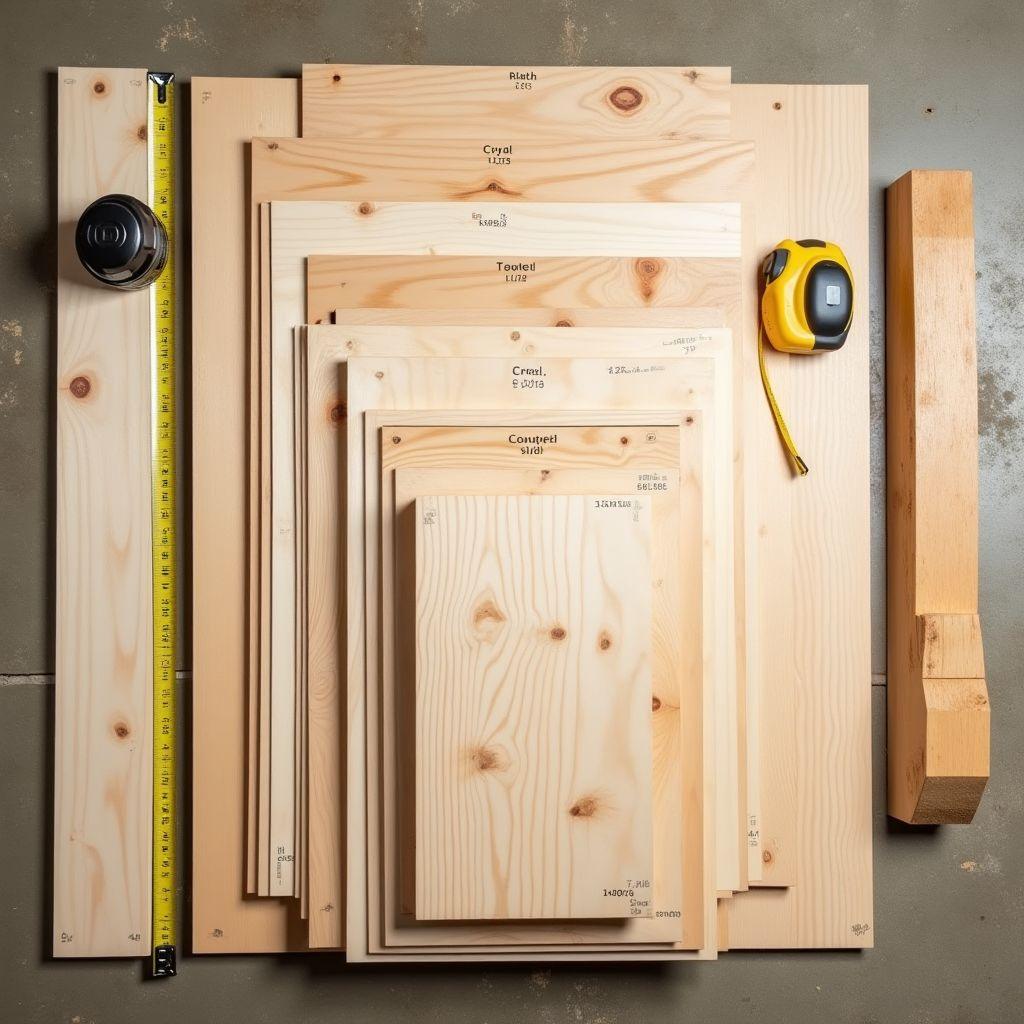
Here is the full cut list for the 3-table set built on the 42 / 38.5 / 35 inch example, inline and complete. Leg length is 18 inch height minus the 3/4 inch top minus about 1 inch of foot clearance. Aprons set back a quarter inch at each end, and they mount inset between the legs.
| Table | Part | Qty | Stock | Length |
|---|---|---|---|---|
| Large | Legs | 4 | 2×2 | 16.25 in |
| Large | Long aprons | 2 | 1×4 | 38.5 in |
| Large | Short aprons | 2 | 1×4 | 17 in |
| Large | Top | 1 | 3/4 plywood or glued panel | 42 x 20 in |
| Medium | Legs | 4 | 2×2 | 14.25 in |
| Medium | Long aprons | 2 | 1×4 | 35 in |
| Medium | Short aprons | 2 | 1×4 | 17 in |
| Medium | Top | 1 | 3/4 plywood or glued panel | 38.5 x 20 in |
| Small | Legs | 4 | 2×2 | 12.25 in |
| Small | Long aprons | 2 | 1×4 | 32 in |
| Small | Short aprons | 2 | 1×4 | 17 in |
| Small | Top | 1 | 3/4 plywood or glued panel | 35 x 20 in |
The short aprons stay 17 inches on all three tables (20 inch depth minus two 1.5 inch legs), which is why the tables nest flush front to back. Only the long aprons and the tops change width.
On 2026 pricing: lumber still carries a 35.9 percent combined tariff burden on Canadian softwood, and framing SPF is up about 17 percent year over year. Plywood has eased off its Q1 peak but remains elevated versus 2024. The prices below are big-box retail and can swing plus or minus 15 percent by region.
| Material | Qty | Unit Price (July 2026) | Total |
|---|---|---|---|
| 2x2x8 pine (legs) | 6 | $10.50 | $63.00 |
| 1x4x8 select pine (aprons) | 6 | $15.50 | $93.00 |
| 3/4 birch plywood half-sheet (tops) | 1 | $32.00 | $32.00 |
| Pocket screws 1-1/4 in (100 ct) | 1 | $9.00 | $9.00 |
| Wood glue | 1 | $5.00 | $5.00 |
| Sandpaper assortment | 1 | $10.00 | $10.00 |
| Paint or finish | 1 | $15.00 | $15.00 |
The line items above list full-package prices and total about $227 if you buy everything new. Most builders land in the $90 to $130 budget range by purchasing only the boards they need, cutting all three tops from one half-sheet, and using finish and glue already on the shelf.
By tier, plan on: budget (pine, pocket holes) $90 to $130; mid (select pine, full finish kit) $140 to $190; premium (poplar or oak, dado or mortise-and-tenon) $220 to $320. For wood choice, use select pine for painted budget builds, poplar for stained mid-to-premium builds, and red oak for a premium heirloom set. Avoid #2 common pine on visible parts, since the knots stain unevenly.
If you want done-for-you dimensioned plans across hundreds of projects, Ted’s Woodworking has you covered with 16,000+ plans, cut lists, and diagrams beyond this set.
Step 3: Choose Your Joinery
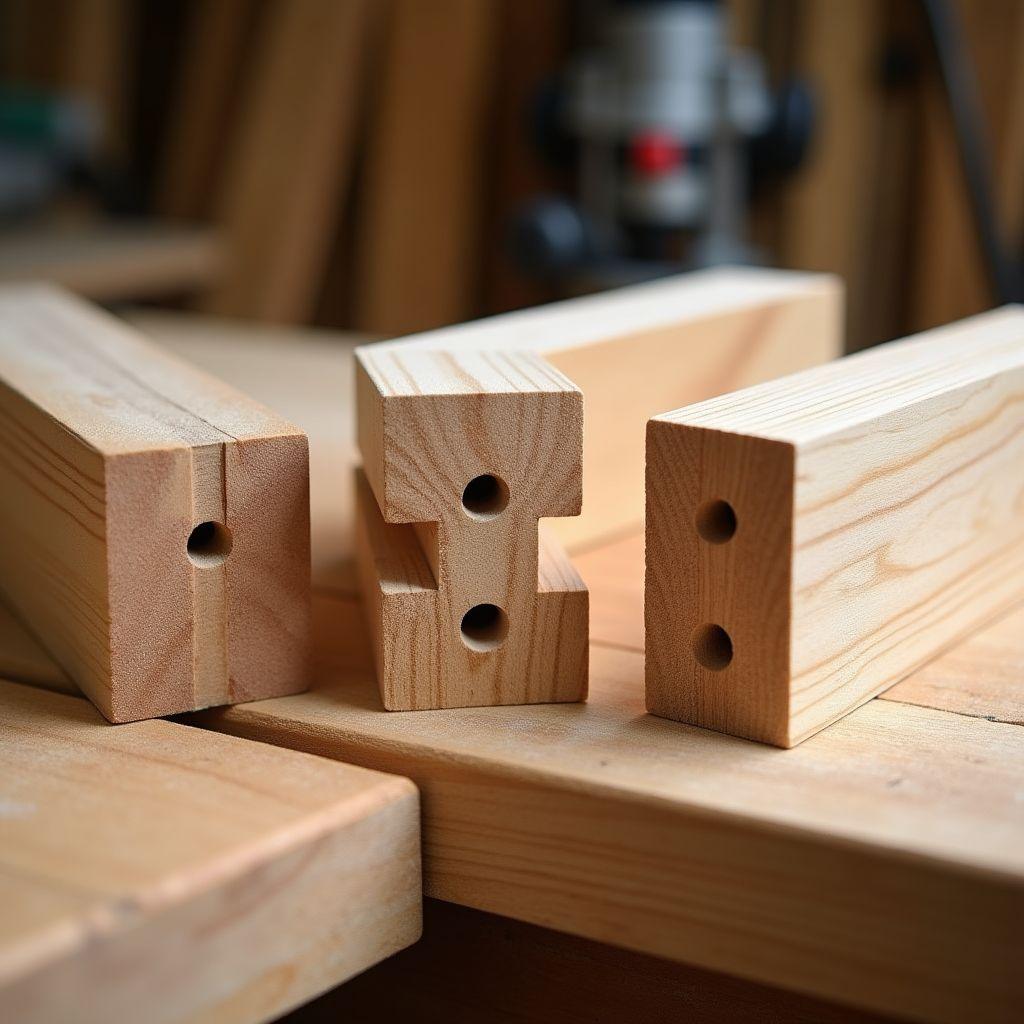
You have three solid options for the leg-to-apron joints, each a different trade of skill, strength, and time. All three need glue alongside the mechanical joint, not instead of it.
Pocket holes are the fastest and easiest. A Kreg jig ($35 to $130) drills an angled hole in the apron end, and a pocket screw pulls the apron face tight against the leg. Set the jig to 3/4 inch for apron stock and drive 1-1/4 inch coarse-thread screws. Skill level 1, about 3 minutes per joint, moderate strength, ideal for pine and painted sets.
Dado joints are stronger. You cut a groove across the leg equal to the 3/4 inch apron thickness, a third to a half of the leg deep, and seat the apron in it. That full-width seat gives excellent shear strength. Skill level 3, about 15 minutes per joint, and it needs a table saw with a dado stack or a router with a straight bit ($50 to $200).
Mortise-and-tenon is the strongest and slowest. Skill level 4, roughly 45 minutes per joint by hand, from $0 with hand tools to about $1,000 for a Festool Domino. A loose-tenon system like the Domino or a Beadlock lowers the skill bar considerably.
| Method | Skill (1-5) | Time per Joint | Tool Cost | Strength (1-5) | Best For |
|---|---|---|---|---|---|
| Pocket holes | 1 | 3 min | $35-130 | 2 | Pine/painted, beginners, speed builds |
| Dado joints | 3 | 15 min | $50-200 | 4 | Hardwood, intermediate, table-saw users |
| Mortise & tenon | 4 | 45 min | $0-1,000 | 5 | Heirloom hardwood, advanced builders |
For this build, pocket holes are fully adequate for normal coffee table use. If you want extra insurance, use dado or mortise-and-tenon joints on the smallest table, since its short aprons rack the most under load.
Step 4: Build the Table Frames
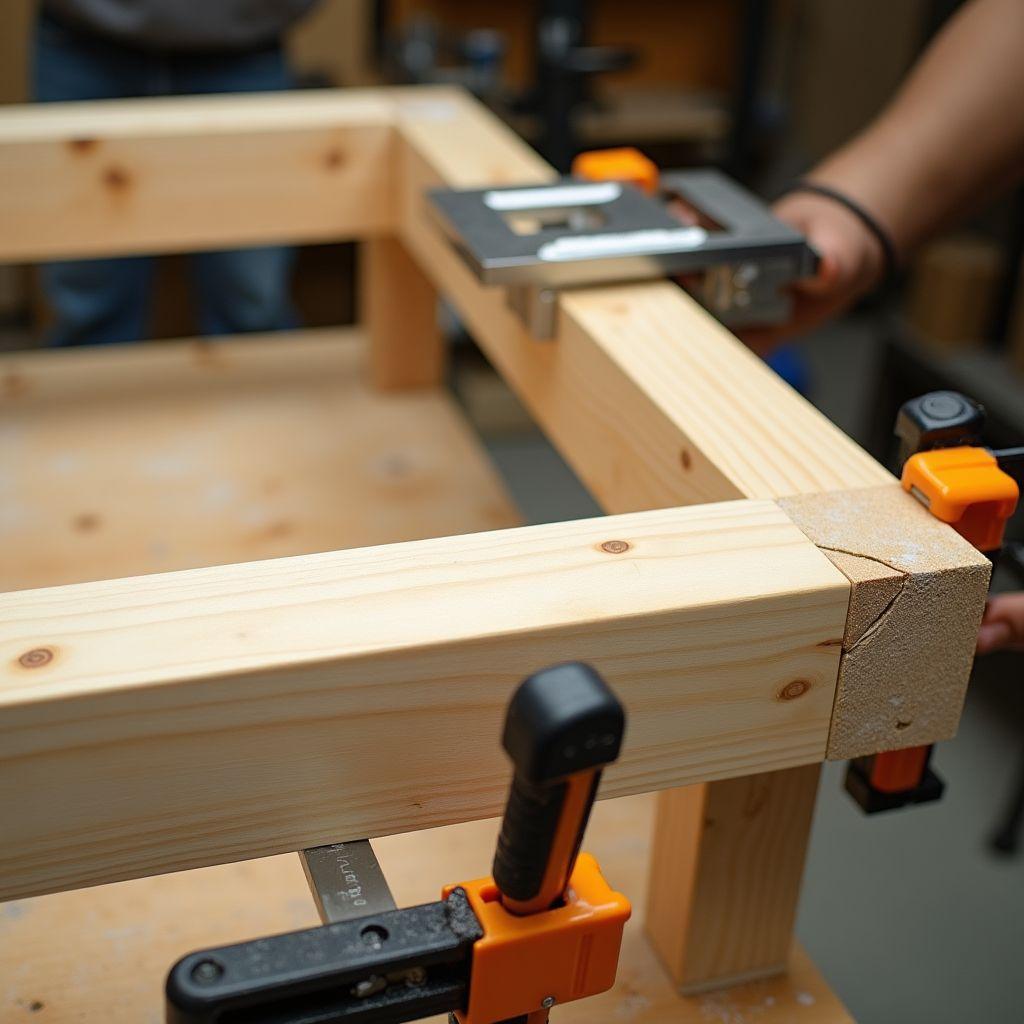
Build all three frames before you finish anything, so you can test-fit the nesting as you go. Work on one flat bench for every frame to keep your tolerances consistent across the set.
Assemble in this order:
- Build two end frames first, each with 2 legs and 2 short aprons.
- Drill pocket holes at both ends of each short apron, jig set to 3/4 inch.
- Apply glue to the apron ends, clamp the legs in place, and drive 1-1/4 inch pocket screws.
- Check each end frame for square by measuring both diagonals before the glue sets. The two diagonals must match.
- Stand the two end frames up and connect them with the long aprons using the same pocket-hole method.
- Clamp the whole frame on the flat surface, check all diagonals again, and give the glue about 30 minutes.
Squareness is everything for nesting. A leg just 1/16 inch out of parallel compounds to 1/8 inch of binding across the 20 inch depth, which is enough to make a table catch or slide in crooked. Use a square at every leg-to-apron joint, and clamp the legs against a straightedge or an MDF sled to hold them at a true 90 degrees during glue-up.
The smallest table needs extra attention. Its short, narrow legs put the center of gravity high, so keep the legs inset only 1 to 2 inches from the edge and add a lower 1×2 stretcher between the front and rear leg pairs. That stretcher resists racking and dramatically cuts the tip risk. Repeat the whole sequence for all three tables on the same bench, and your set will nest cleanly.
Step 5: Make and Attach the Tabletops
You have two good top options. Three-quarter inch birch or oak veneer plywood is flat, stable, and has no seasonal movement to plan around. Three-quarter inch edge-glued 1x stock (1×4, 1×6, or 1×8 boards) gives you a solid-wood look but moves with the seasons, roughly 1/8 inch per foot of width. Use plywood for the smallest table, where lighter weight means less tipping, and feel free to use solid wood on the large table, where the extra weight aids stability.
For plywood tops, pre-drill and countersink about 12 holes around the inner apron perimeter, roughly 3 inches from each corner and evenly spaced between. Drive 1-5/8 inch screws up through the apron into the underside of the top. Glue is optional here since there is no movement to fight.
For solid-wood tops, never glue the top rigidly across its width. A 20 inch pine top can move 1/8 to 3/16 inch seasonally, enough to crack the top or blow a joint apart. Use figure-8 fasteners, Z-clips, or elongated oval pocket holes so the top can float. Overhang the top 1 to 1.5 inches past the apron on all sides for visual balance, and add oak or birch edge banding to any exposed plywood edges before you finish.
Step 6: Dry-Fit and Nesting Test
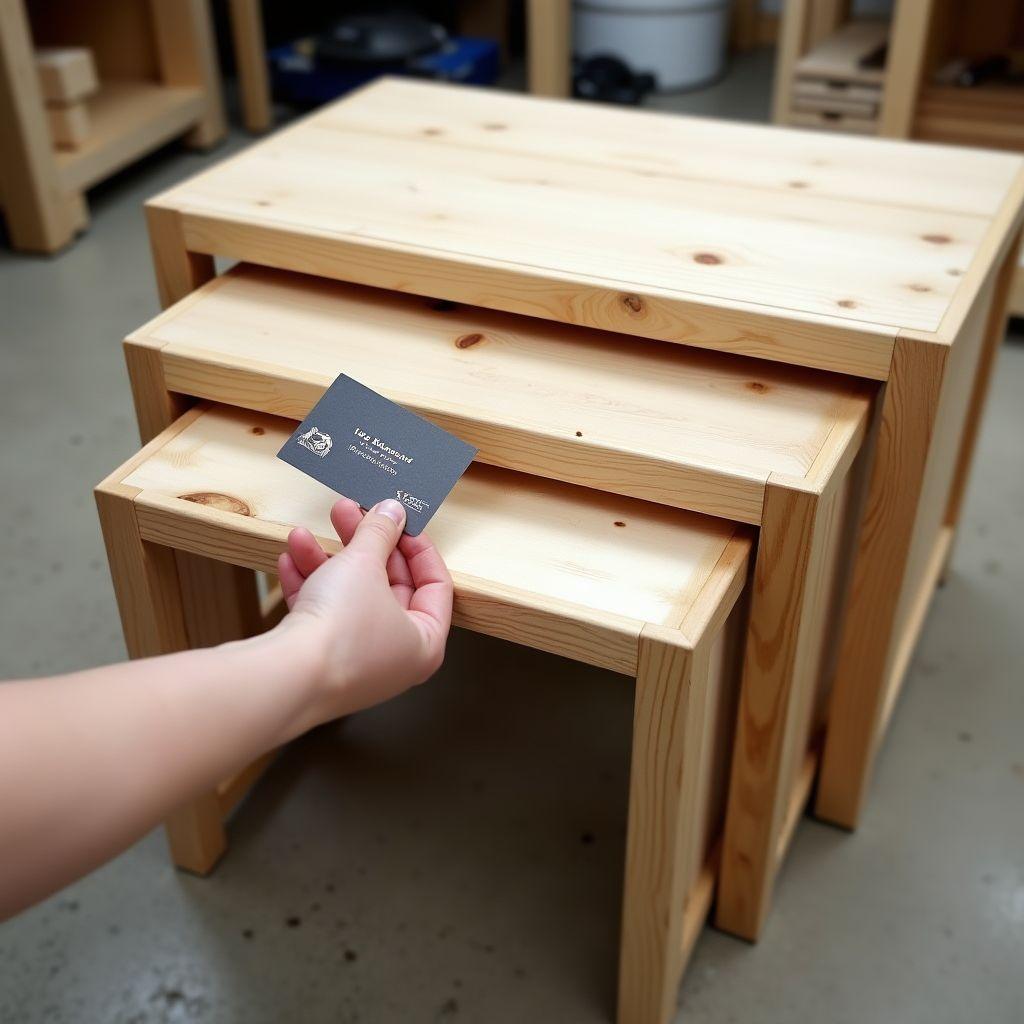
Do this before any finish touches the wood. Finish coats add clearance you cannot easily take back.
Slide the medium table under the large, then the small under the medium. On both sides you should be able to slip a business card between the leg faces, which confirms the quarter inch of clearance per side. Check that nothing binds against the apron faces. If it does, rout a shallow rabbet on the outer apron face or plane it back until it clears.
Confirm each table slides smoothly front to back over the full 20 inch depth, with an inch or two of pull-out room, and that all three sit level on a flat floor. Mark any binding points with chalk and fix them now, while the wood is still raw and easy to correct.
Step 7: Sand and Finish
Finish all three tables separately, not nested, so you can reach every face. Sand to 150 grit, then 220 grit, and wipe down with a tack cloth. On pine, brush on a pre-stain conditioner before any stain to prevent blotching.
Apply 3 coats of water-based polyurethane, with a light 320-grit sanding between coats. Here is the step people forget: after coat 1 dries, re-test the nesting fit. Each coat adds about 1/32 inch per surface, and on four interacting leg faces that adds up. If the tables start to bind, lightly sand the outer leg faces before coat 2. For extra-smooth sliding, buff the contact leg faces with paste wax.
Let the finish cure before heavy use, 72 hours for water-based poly and 7 days for oil-based. If you plan to lay on two or more heavy coats, build an extra 1/16 inch of clearance into your dimensions up front so the thick finish still slides.
Common Mistakes to Avoid
Cutting all three tables the same width. This is the number one beginner error, and it means none of the tables nest. Basic coffee table plans never mention the reduction formula, so builders make three copies and discover the problem too late. Apply the formula and write your three widths down before cutting.
Surface-mounting aprons and forgetting their thickness. Inset aprons sit between the legs and cost you nothing in the nesting slot. Surface-mount them proud of the legs and the inner table binds against them even though the legs clear. If you go proud, the usable slot = width – (2 x leg) – (2 x apron). A 42 inch outer table with 1.5 inch legs and 3/4 inch proud aprons has a 37.5 inch slot, so the medium table must be 37 inches max, not 38.5.
Finishing before the nesting test. Two or three coats add up to 1/8 inch total on interacting surfaces and can jam a fit that barely cleared raw. Always dry-fit unfinished first, mark binding points with chalk, and fix them before you pick up a brush.
Building the smallest table with unstable proportions. A wide top on short, narrow legs sits with a high center of gravity and tips under light lateral load. Keep the legs inset 1 to 2 inches, add a floor-level 1×2 stretcher, or step up to heavier leg stock on the small table.
Leg alignment drift. Small squareness errors compound across tables into binding. Assemble every frame on one flat bench and match the diagonals within 1/16 inch.
Gluing a solid top rigidly to the apron. Seasonal movement cracks the top or breaks the joint. Use figure-8 fasteners or elongated pocket holes so a solid top can float.
Nesting Coffee Table FAQ
How many tables come in a nesting set?
Most sets have 2 or 3 tables, and a few traditional sets include 4, called a quartetto. For a DIY coffee table set, 3 is the most practical: the largest is your permanent coffee table, and the two smaller ones store underneath for guest or overflow use.
What size should nesting tables be?
For a 3-piece rectangular set, start with a large table at 42 inches wide, 20 inches deep, and 18 inches high. Step down about 3.5 inches in width and 2 inches in height per table, which gives you a 38.5 x 20 x 16 inch medium and a 35 x 20 x 14 inch small. That 14 to 18 inch height range keeps every table in the functional coffee table zone.
How do I make nesting tables slide smoothly?
Three things. Build every frame square, matching the diagonals to within 1/16 inch. Finish the contact leg faces and buff them with paste wax. And build in a quarter inch of clearance per side before finishing, since finish coats add about 1/32 inch per surface.
Are nesting tables sturdy?
Yes, with proper joinery. Pocket holes plus glue handle normal coffee table use like drinks, books, and remotes just fine. For heavier daily use or a hardwood build, dado or mortise-and-tenon joints give furniture-grade durability. The smallest table is the most vulnerable to racking, so add a lower stretcher on that piece.
What wood is best for nesting coffee tables?
For a budget or painted build, use select pine, which is knot-free and takes paint well. For a stained or natural finish, poplar machines cleanly and runs $3.50 to $6 per board foot in 2026. For a premium set, red oak is durable and beautiful with a Janka rating of 1,290 lbf, though it costs $6 to $9 per board foot. Avoid #2 common pine on visible parts, since its knots stain unevenly.
What is the difference between nesting tables and side tables?
Both can serve the same function, but nesting tables are built specifically to stack under one another for compact storage. Side and end tables are usually standalone pieces at sofa-arm height, around 24 to 28 inches tall. Nesting coffee tables sit lower, 14 to 18 inches, and are designed to work as a set. A nesting side table set would use the same formula, just at taller heights.
What is the minimum clearance between nesting tables?
The minimum functional clearance is 0.5 inch total, a quarter inch per side, between the outer face of the inner table’s legs and the inner face of the outer table’s legs. Tighter than 3/8 inch total risks binding once the finish adds thickness. Looser than 3/4 inch leaves visible gaps that look sloppy when the tables are nested.
Related Articles

“DIY woodworking enthusiast who started with zero experience and a YouTube tutorial.
I build simple, practical projects for my home and share free plans
so other beginners can skip the guesswork.If I can build it, you can too.”