TL;DR:
- Proper joinery is essential for furniture strength, longevity, and aesthetic appeal.
- Beginners should start with simple joints like butt and lap and progress to more advanced types.
- Using the right materials, tools, and precise techniques ensures strong, durable woodworking projects.
Most woodworkers assume the secret to durable furniture lives in the wood itself. Pick a hard enough species, and your project will last forever, right? Not quite. The real foundation of strong, beautiful furniture is how the pieces connect. Joinery, the craft of joining wood parts together, determines whether your bookcase wobbles after six months or stands solid for decades. Whether you’re building your first side table or tackling a more ambitious project, understanding joinery gives you a genuine edge. This article walks you through what joinery is, the most useful joint types, how to choose the right materials and tools, and practical steps to put it all together.
Table of Contents
- Defining joinery: The backbone of woodworking
- Types of wood joints every DIYer should know
- Choosing the right wood and tools for joinery success
- Joinery techniques in action: Practical steps for DIYers
- Perspective: Why mastering joinery transforms your woodworking
- Unlock better results with step-by-step woodworking plans
- Frequently asked questions
Key Takeaways
| Point | Details |
|---|---|
| Joinery is essential | Mastering joinery is key to building strong, lasting DIY furniture. |
| Match joints to projects | The right joint type depends on the application and expected stress. |
| Right materials matter | Selecting the best wood and tools sets your joinery up for success. |
| Practice builds skill | Each join you make strengthens your woodworking confidence and results. |
Defining joinery: The backbone of woodworking
Joinery is one of those terms that gets thrown around in woodworking circles without much explanation. At its core, joinery is the art and science of connecting wood pieces for strength and function. It’s not just about holding two boards together. It’s about creating connections that resist pulling apart, twisting, and racking under real-world stress.
Many beginners lean on glue or screws and call it a day. And sure, those methods have their place. But relying on them alone is like building a house on sand. Screws can strip out over time, and glue joints can fail when wood expands and contracts with seasonal humidity changes. Proper joinery works with the wood’s natural movement, not against it.
It’s also worth clearing up a common mix-up: joinery and carpentry are not the same thing. Carpentry typically refers to structural work like framing walls or installing floors. Joinery, especially in the furniture-making world, is about precision connections that are both functional and visually refined. Understanding joinery’s role in furniture strength is what separates furniture that looks good in photos from furniture that lasts a lifetime.
Here’s why joinery matters so much for your DIY projects:
- Structural integrity: Well-made joints distribute load evenly across the connection, reducing stress on any single point.
- Aesthetics: Exposed joinery like dovetails or box joints adds visual character that no amount of paint or stain can replicate.
- Longevity: Properly joined furniture resists racking (side-to-side wobble) and seasonal wood movement far better than fastener-only builds.
- Skill progression: Each joint you learn opens the door to more complex and satisfying projects.
“The difference between furniture that lasts ten years and furniture that lasts a hundred often comes down to one thing: how the joints were made.”
Getting familiar with furniture terminology explained on our site can also help you read plans more confidently and communicate clearly when you’re asking for advice.
Types of wood joints every DIYer should know
With a foundation in what joinery means, you’re ready to discover the types of joints and where each excels. Different joints have strengths and ideal applications depending on the project, the wood, and the tools you have available. There are at least 7 essential joinery methods that every serious DIYer should have in their toolkit.
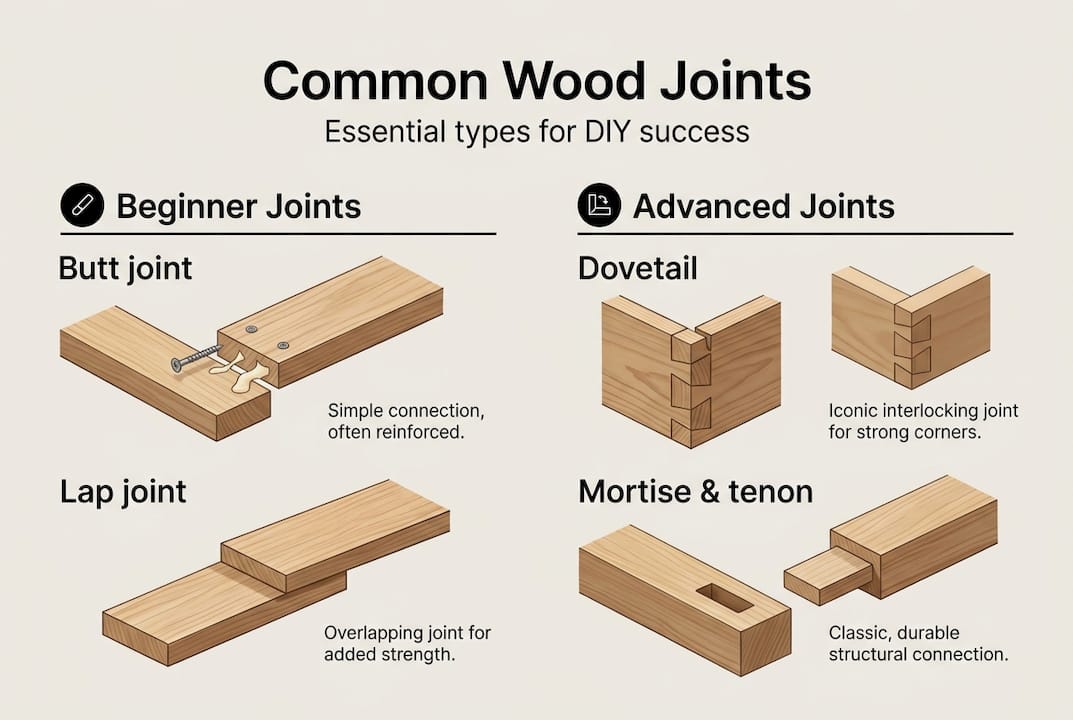
Here’s a quick comparison of the most common joints:
| Joint type | Difficulty | Best use | Key weakness |
|---|---|---|---|
| Butt joint | Beginner | Boxes, frames | Low strength alone |
| Lap joint | Beginner | Shelving, frames | Visible glue line |
| Dowel joint | Beginner/Intermediate | Cabinets, chairs | Requires alignment jig |
| Mortise and tenon | Intermediate | Tables, chairs, doors | Time-consuming to cut |
| Dovetail | Intermediate/Advanced | Drawers, boxes | Demands precision |
| Box/finger joint | Intermediate | Boxes, carcasses | Needs a jig or router |
Butt joint: Two pieces of wood meet end to end or end to face. It’s the simplest joint you can make, and it’s great for practice or low-stress applications like picture frames. Reinforce it with glue and screws for better holding power.
Lap joint: One piece overlaps another, with material removed from each so they sit flush. Strong in shear (side-to-side force), and easier to cut than it looks.
Dowel joint: Wooden pegs align and reinforce two pieces. Clean, invisible from the outside, and surprisingly strong when done right.
Mortise and tenon: A projecting piece (tenon) fits into a matching cavity (mortise). This is the workhorse of furniture joinery, used in chair legs, table aprons, and door frames for centuries.
Dovetail: Interlocking fan-shaped tails and pins create a mechanical lock that resists pulling apart. Gorgeous when exposed, and nearly impossible to pull apart along the grain.
Box/finger joint: Interlocking rectangular fingers, similar to dovetails but easier to cut with a jig. Ideal for boxes and small carcasses.
Pro Tip: Start with butt joints and lap joints to build confidence with your saw and chisel. Once those feel natural, move on to dowel joints before attempting mortise and tenon. Rushing into complex essential joinery techniques before mastering the basics leads to frustration and wasted wood.
Choosing the right wood and tools for joinery success
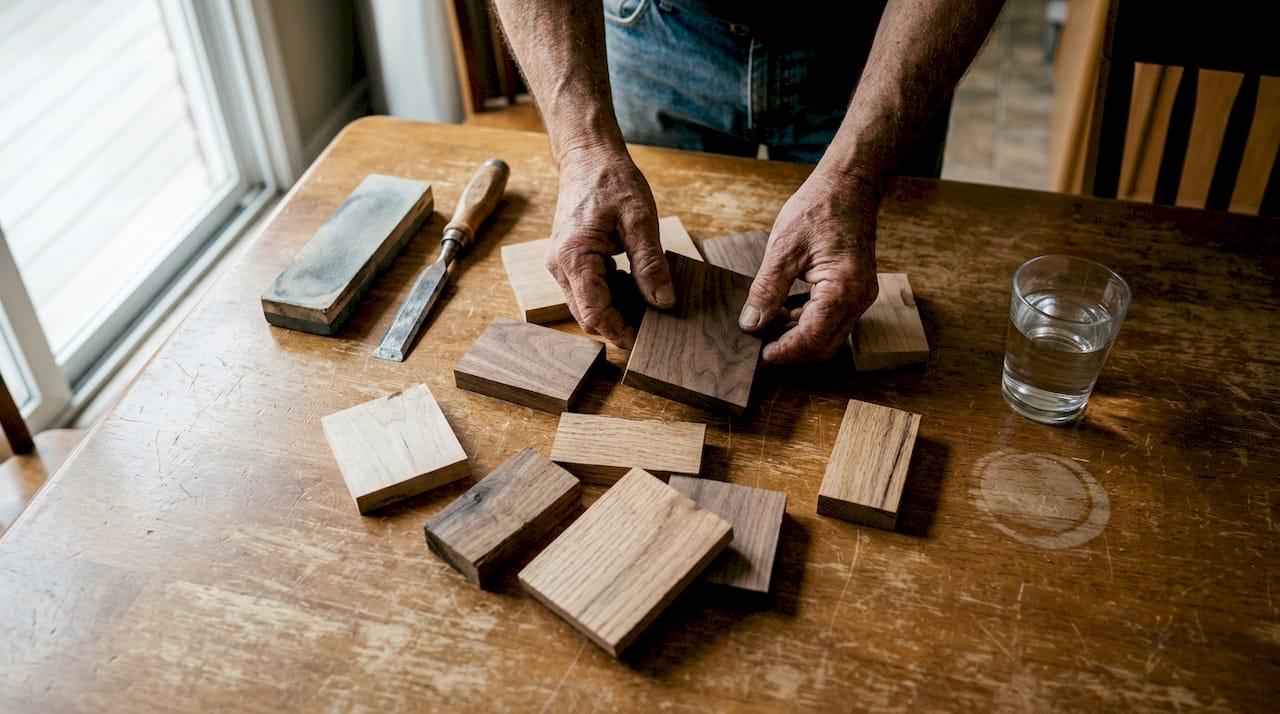
Understanding joint types is only half the battle. Choosing the right wood and tools is where great results begin. Matching the wood with joint type directly affects both strength and the quality of your finished surface.
Hardwoods like oak, maple, and walnut hold joinery better than softwoods because their denser grain resists compression and splitting. Softwoods like pine are easier to cut and great for practice, but they can crush under tight mortise and tenon fits if you’re not careful. Here’s a practical breakdown:
| Wood type | Janka hardness | Best joint types | Notes |
|---|---|---|---|
| Oak | 1,290 lbf | Mortise/tenon, dovetail | Excellent for furniture |
| Maple | 1,450 lbf | All joint types | Very stable, machines well |
| Walnut | 1,010 lbf | Dovetail, mortise/tenon | Beautiful grain, premium cost |
| Pine | 870 lbf | Butt, lap, dowel | Great for practice builds |
| Poplar | 540 lbf | Dowel, lap | Affordable, paints well |
For wood types for furniture projects, always consider how the wood will be finished and how much stress the joint will bear before you buy.
Now for tools. You don’t need a fully equipped shop to start making solid joints. Here’s a beginner-friendly list:
- Hand saw or miter saw for accurate crosscuts
- Chisels (set of 4) for cleaning out mortises and fitting joints
- Mallet for driving chisels without damaging handles
- Marking gauge and square for laying out precise cuts
- Clamps (at least 4) for holding joints while glue cures
- Drill and doweling jig for clean, aligned dowel joints
Pro Tip: A sharp chisel does better work than an expensive dull one. Invest in a basic sharpening stone early, and your joinery accuracy will improve dramatically. The beginner’s guide to making joints covers tool setup in detail if you want a deeper look.
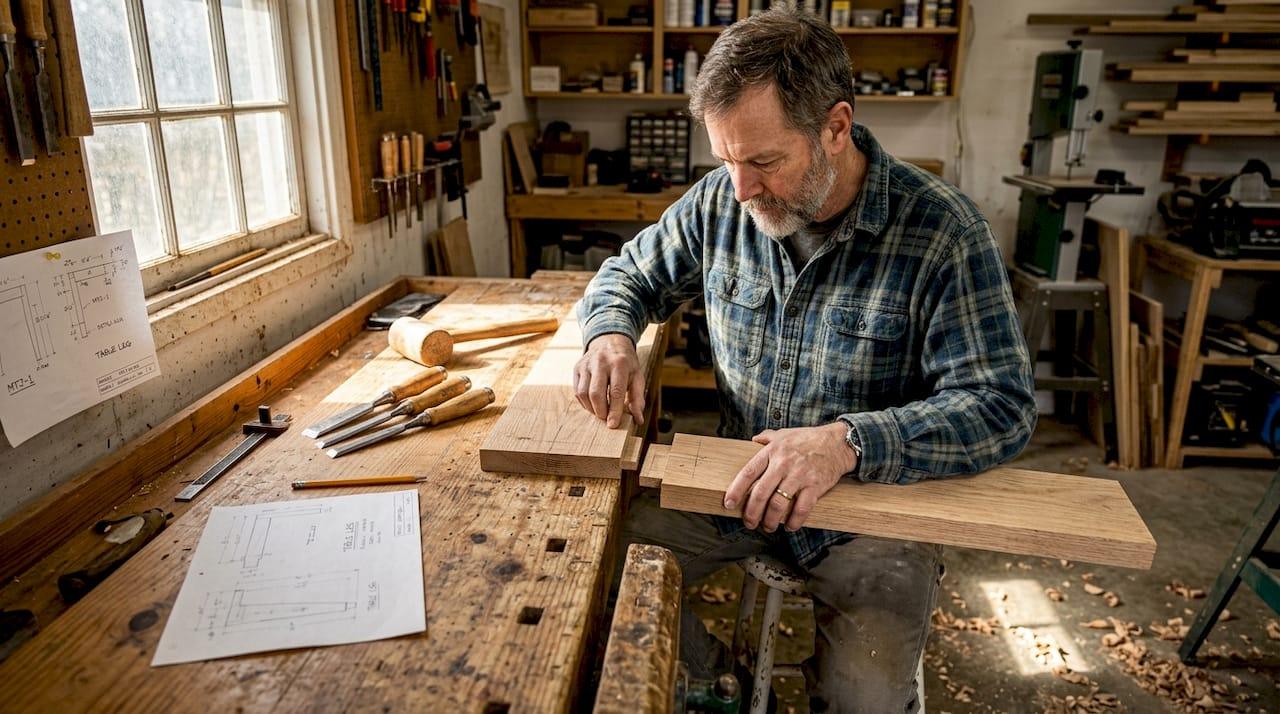
Joinery techniques in action: Practical steps for DIYers
Now let’s translate joinery understanding and selection into hands-on action with beginner-friendly instructions. Following a step-by-step approach consistently leads to better joinery results, especially when you’re still developing your feel for the tools.
Here’s how to cut and fit a basic mortise and tenon joint:
- Mark your layout. Use a marking gauge to scribe the tenon shoulders and cheeks onto your workpiece. Precision here saves you from sloppy fits later.
- Cut the tenon first. Saw along the waste side of your lines. A miter saw works for the shoulders; a hand saw or bandsaw handles the cheeks.
- Lay out the mortise. Transfer the tenon dimensions to the mortise piece using a square. Mark the depth clearly.
- Chop or drill the mortise. Drill out most of the waste with a bit slightly smaller than your mortise width, then clean the walls and corners with a sharp chisel.
- Test the fit. The tenon should slide in with hand pressure, not fall in loosely or require a mallet to seat. Snug is perfect.
- Check for square. Before gluing, dry-fit the joint and use a square to confirm the pieces meet at the correct angle.
- Glue and clamp. Apply a thin, even coat of wood glue to both mating surfaces. Clamp with moderate pressure and let cure fully before moving on.
“Measure twice, cut once. Then test the fit before you ever reach for the glue bottle.”
Common beginner mistakes to avoid:
- Cutting on the wrong side of the line (always cut to the waste side)
- Skipping the dry fit before gluing
- Over-clamping, which can squeeze out too much glue and starve the joint
- Rushing the cure time on glue
For a broader look at methods, the list of essential joinery methods is a great reference to bookmark as you build your skills.
Perspective: Why mastering joinery transforms your woodworking
Here’s something most beginner woodworking content won’t tell you: you don’t need to be advanced to make strong joints. You need to be patient. The biggest gap between a wobbly beginner project and a solid piece of furniture isn’t talent or expensive tools. It’s the willingness to slow down, mark carefully, and test before committing.
Most hobbyists underestimate how quickly joinery skills compound. Your first mortise will be rough. Your fifth will be noticeably better. By your twentieth, it’ll feel almost automatic. Each mistake teaches you something a tutorial can’t fully convey, like exactly how much chisel pressure is too much, or how a well-fitted joint feels different from a loose one.
We also believe that learning joinery changes how you see furniture entirely. You stop looking at a chair and seeing a chair. You start seeing the joints holding it together, and you start imagining how you’d build it differently. That shift in perspective is what turns a casual hobbyist into someone who genuinely loves the craft. Explore beginner woodworking tips to keep building that momentum from your very first project.
Unlock better results with step-by-step woodworking plans
Ready to put this new knowledge to work and take your builds up a notch? Having the right plan behind you makes all the difference when you’re applying joinery skills to a real project.

At Real Wood Work Plans, we’ve built a library of detailed guides designed specifically for DIYers who want to move from theory to sawdust. Whether you’re cutting your first lap joint or ready to tackle a full mortise and tenon table build, our woodworking plans for DIY success give you the structure to get it right the first time. Start with the wood joinery basics guide and build your confidence one joint at a time.
Frequently asked questions
What is the easiest wood joint for beginners?
The butt joint is recommended for beginners because it requires minimal tools and no complex layout. Reinforce it with glue and screws to improve its holding strength.
Do I need special tools for making joints?
Basic hand tools are enough to get started with beginner joinery. A saw, a set of chisels, a mallet, and a marking square will cover most simple joints.
How do I know if my joints are strong enough?
Testing joints for strength is a critical step. Apply firm hand pressure in multiple directions. A well-made joint should feel completely stable with no movement or flex.
Which wood is best for joinery projects?
Different woods have various strengths suited to different joints. Hardwoods like oak and maple are ideal for load-bearing joinery, while pine is a smart and affordable choice for practice.
Can wood glue replace traditional joinery?
Glue alone is not a substitute for proper joinery. It works best as a reinforcement alongside well-cut joints, not as the primary source of structural strength.
Recommended
- Wood joinery basics: 5 joints for DIY success
- Why Use Joinery Techniques? 50% Stronger Furniture
- Joinery techniques explained: 7 essential methods for DIY
- Wood joinery methods list: 9 essential DIY techniques

“DIY woodworking enthusiast who started with zero experience and a YouTube tutorial.
I build simple, practical projects for my home and share free plans
so other beginners can skip the guesswork.If I can build it, you can too.”