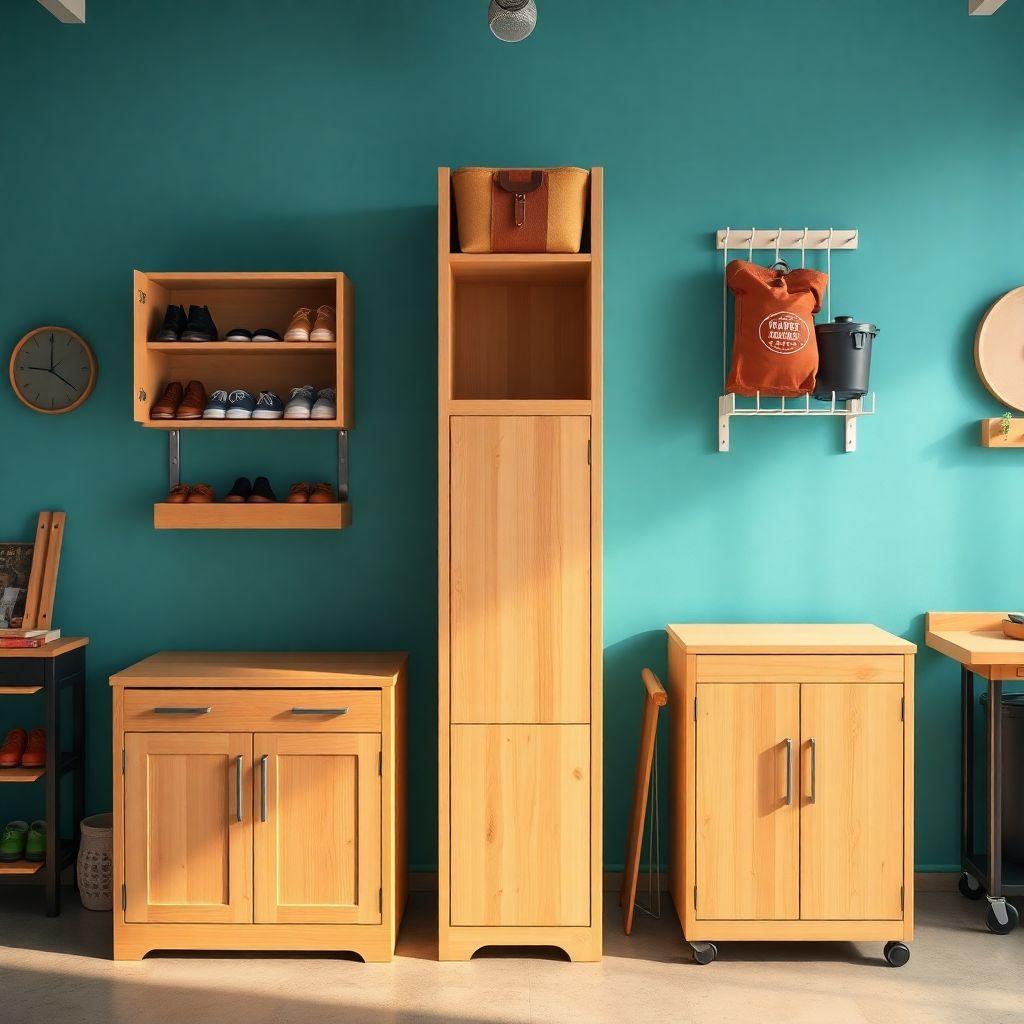
Every storage problem has a build that fixes it. The trick is matching the right project to your space, your budget, and your skill level before you buy a single board. This hub covers six proven storage furniture plans, from a one-day tote storage rack to a built-in mudroom locker that eats two weekends. Each one solves a specific problem: clutter by the front door, plastic bins stacked on the garage floor, trash cans baking in the sun. This guide is part of our complete woodworking furniture plans library.
Use this page to pick, not to build. Every type below gets a quick snapshot: skill level, cost, build time, and who it suits best. Skip the ones that do not fit your problem and click into the full plan for the one that does.
How to choose: start with the problem, not the project. If bins are your issue, the tote rack wins on speed and cost. If it is foot traffic and shoes at the door, a bench or locker earns its footprint. Match the skill level to your honest experience, then check whether you have a free weekend or just a free afternoon. Cost ranges below assume standard lumber and hardware at 2026 prices, so adjust for cedar, hardwood, or premium slides.
Shoe Storage Bench
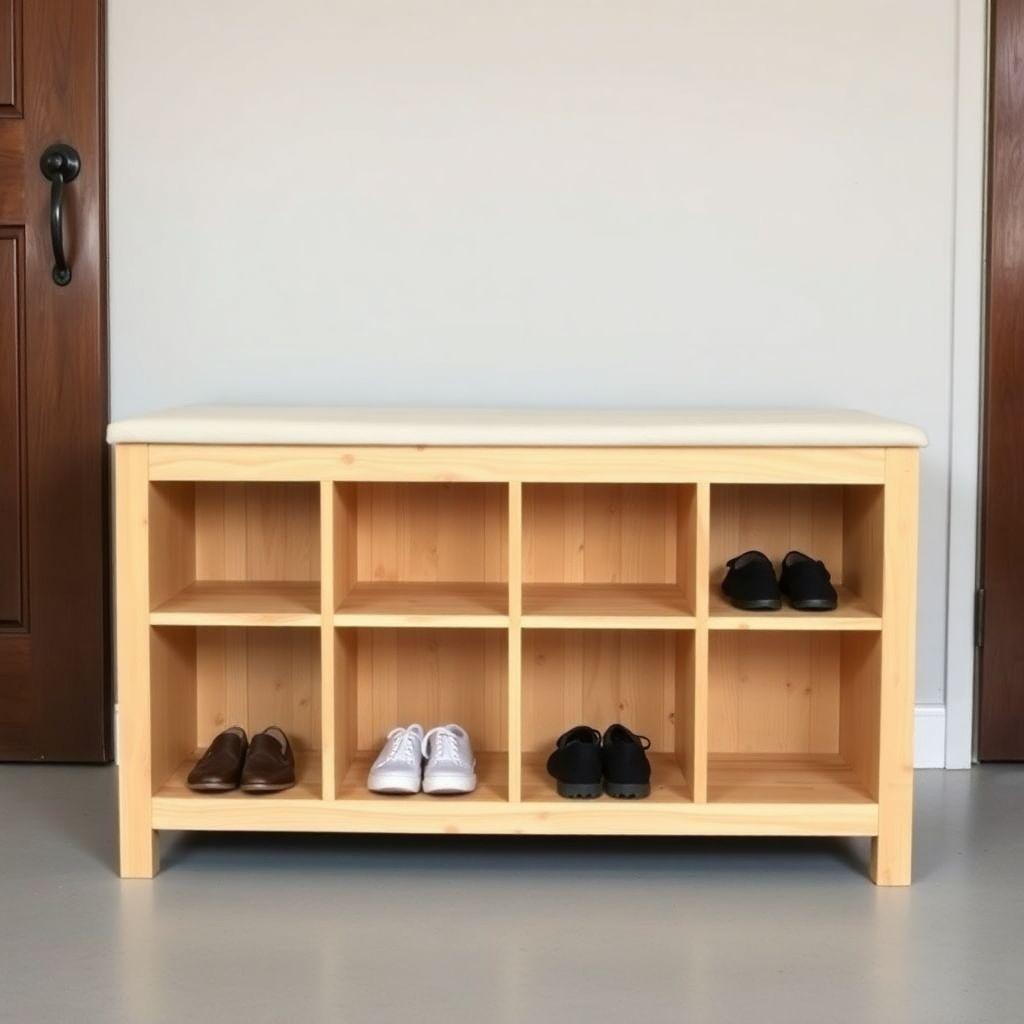
A shoe storage bench sits at the entryway and does two jobs at once: a place to sit and pull on boots, and cubbies or a drawer underneath to corral the pile of shoes that always ends up by the door. It is the most beginner-friendly seating build on this list because the joinery is simple and the parts count is low.
- Skill level: Beginner to Intermediate
- Cost estimate: $60 to $150
- Build time: 1 weekend
- Best for: Small entryways and households that want seating plus shoe storage in one footprint
What makes this type distinctive is the double duty. Most storage furniture only stores. A bench stores and seats, which is why it earns its spot in a tight entryway where a standalone shoe rack would feel like wasted floor. Open cubbies keep everyday shoes visible and airy, while a hinged-lid or drawer version hides the mess for a cleaner look. For a full build with cut list and assembly, see our shoe organizer with bench guide at /shoe-organizer-with-bench/.
Storage Tote Rack
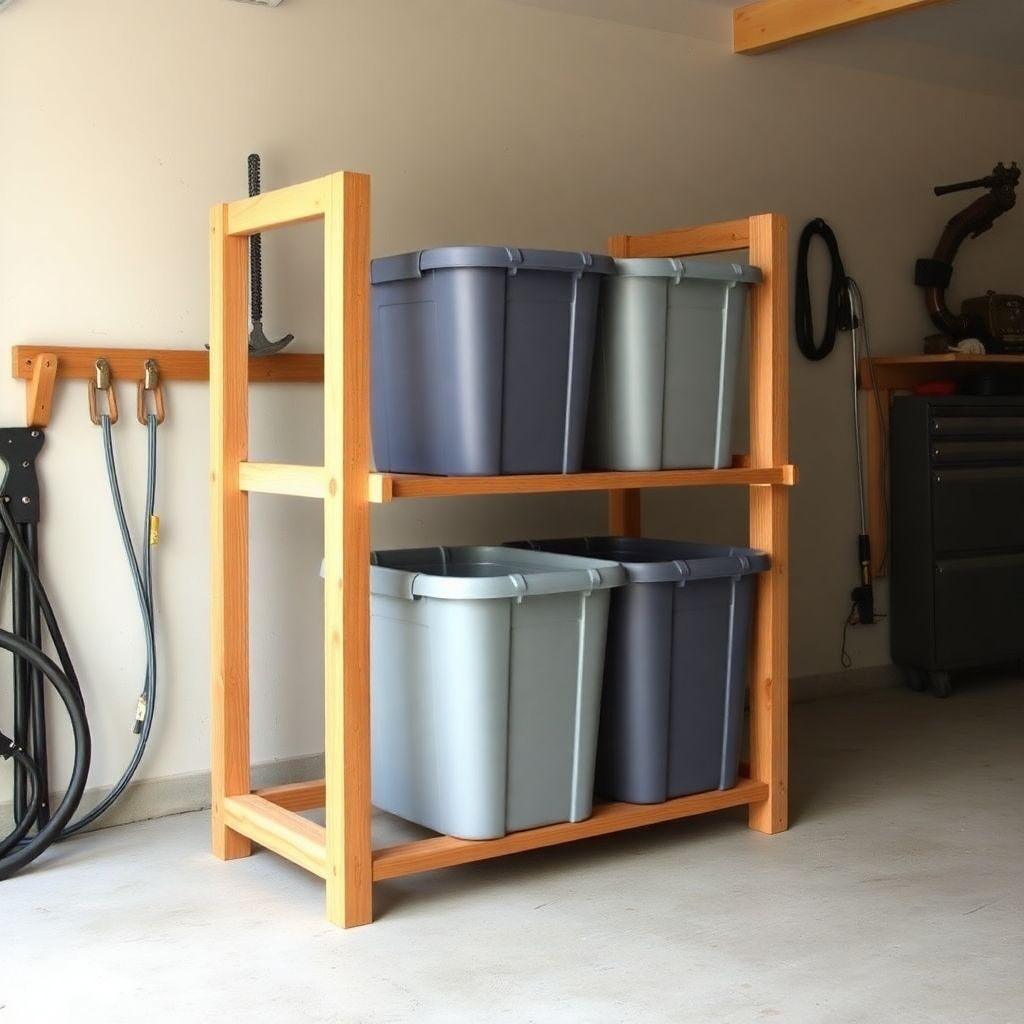
A storage tote rack is a freestanding frame sized to hold standard plastic storage totes, the 27-gallon and 18-gallon bins most people already own. Instead of stacking totes on the floor where you have to unstack the whole tower to reach the bottom one, the rack turns each tote into a pull-out drawer. It is the fastest, cheapest project on this list and the best entry point if you have never built furniture before.
- Skill level: Beginner
- Cost estimate: $40 to $80
- Build time: 1 day
- Best for: Garages and basements drowning in stacked storage totes
This is the purest tote storage solution here. The whole design exists to hold storage totes off the floor and make every bin accessible without lifting the ones above it. Build the frame to match your bin dimensions, leave a finger of clearance on each side, and the totes slide in and out like drawers. Because it is just a bolted or screwed 2×4 frame with runners, there is no fine joinery, no doors, and no finish required, which is what keeps a storage tote rack to a single afternoon and under a hundred dollars.
Garbage Bin Enclosure
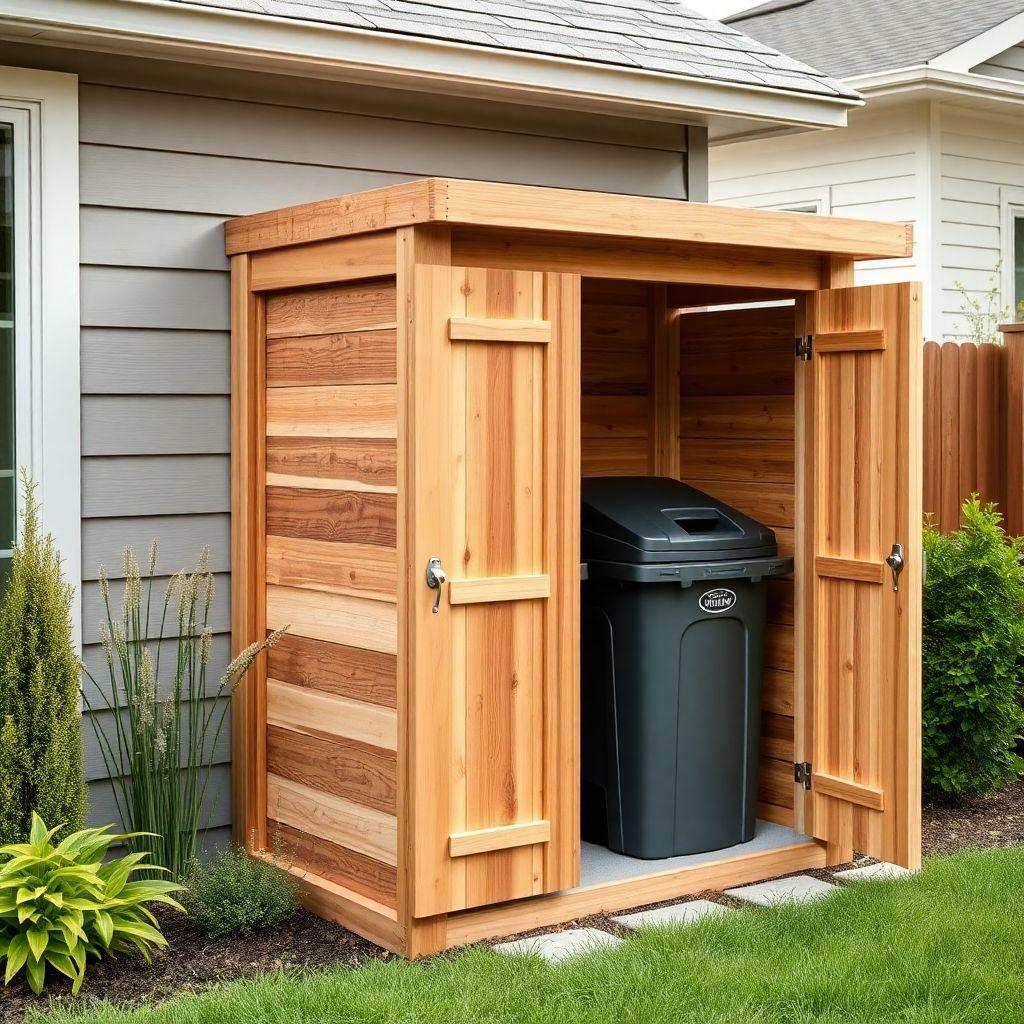
A garbage bin enclosure is an outdoor cabinet that hides one to three trash and recycling cans behind doors. Built from cedar or pressure-treated lumber so it survives weather, a garbage bin enclosure keeps cans from tipping in the wind, blocks the view from the street, and slows down animals that pry at lids.
- Skill level: Intermediate
- Cost estimate: $80 to $200
- Build time: 1 weekend
- Best for: Homeowners who want to hide curbside cans and stop them blowing over
The distinctive challenge here is that this is exterior furniture, so material choice matters more than joinery. A garbage can enclosure lives in rain, sun, and freeze-thaw cycles, which is why cedar or pressure-treated stock and exterior-rated screws and hinges are non-negotiable. Size it around your actual can dimensions plus room to lift the lids, add a hinged top or slatted roof for lid access, and leave the back open or vented so the interior dries out. Get the sizing right and the enclosure hides the eyesore without making trash day harder.
Mudroom Locker
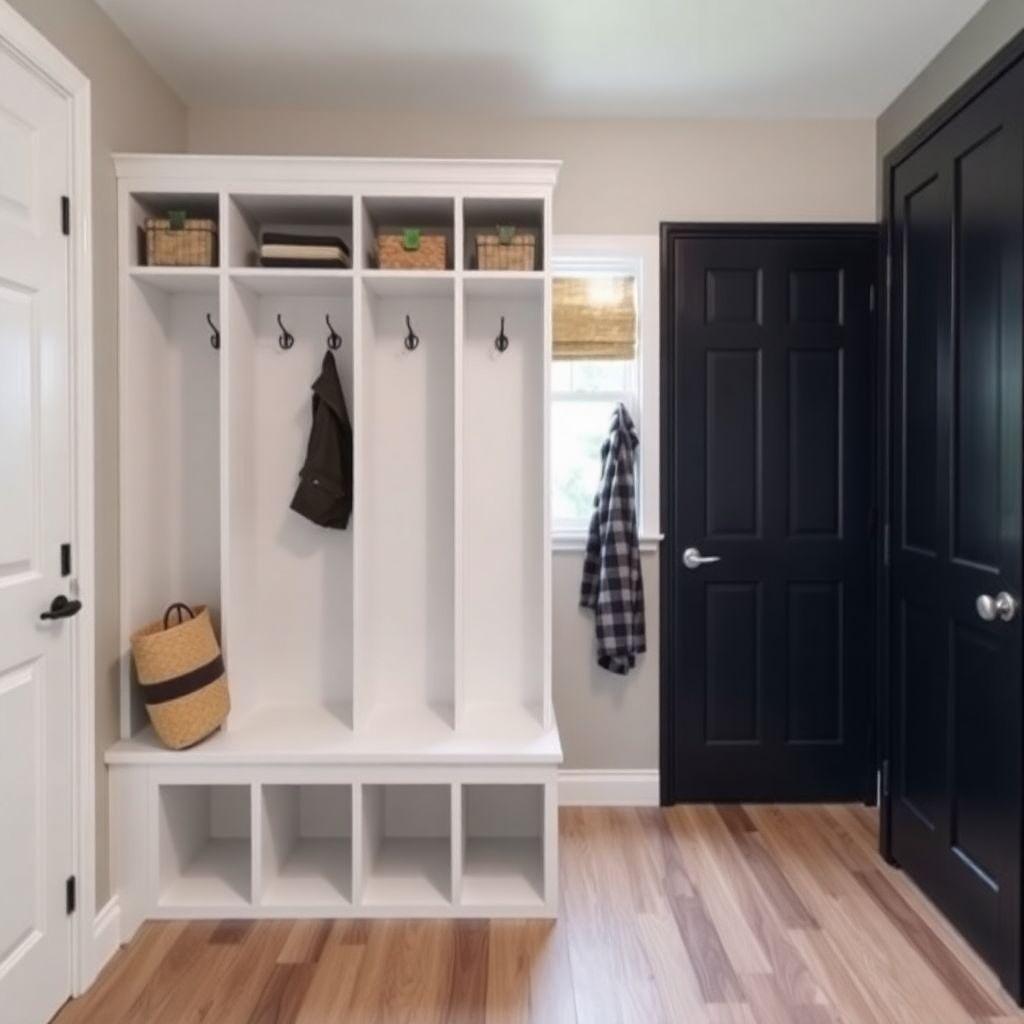
A mudroom locker unit gives each person their own vertical station: a cubby up top, hooks in the middle for coats and bags, a bench to sit on, and a shelf or drawer below for shoes. Often built in against a wall, it is the organizational anchor of a busy entryway or garage-entry mudroom.
- Skill level: Intermediate
- Cost estimate: $150 to $400
- Build time: 2 weekends
- Best for: Families who need a dedicated drop zone per person
This is the most involved build on the list, and the cost and time reflect it. A locker is really several storage types stacked into one cabinet, which means more material, more panels to keep square, and usually a built-in fit against an existing wall. The payoff is a system that assigns everyone a spot, so coats, backpacks, and shoes stop migrating across the house. Paint-grade plywood keeps material cost down versus hardwood, and building it as one to three side-by-side bays lets you scale it to your family and your wall.
Garage Storage Cabinet
A garage storage cabinet is a closed cabinet, wall-hung or freestanding, that puts tools, chemicals, and clutter behind doors instead of on open shelves. The doors keep dust off your gear and, with a lock added, keep sharp tools and hazardous chemicals away from kids.
- Skill level: Intermediate
- Cost estimate: $100 to $300
- Build time: 1 to 2 weekends
- Best for: Garages that need lockable, dust-free storage for tools and chemicals
What sets this apart from open shelving is the doors and the option to lock. Closed storage is the right call when the contents are either valuable, hazardous, or just ugly enough that you want them hidden. A wall-hung version frees up floor space and keeps chemicals off the ground; a freestanding version holds more and can be moved. Build it from plywood with a simple face frame, hang the doors on standard hinges, and add a hasp or cabinet lock where safety matters. Adjustable shelves inside keep it flexible as your storage needs change.
Rolling Storage Cart
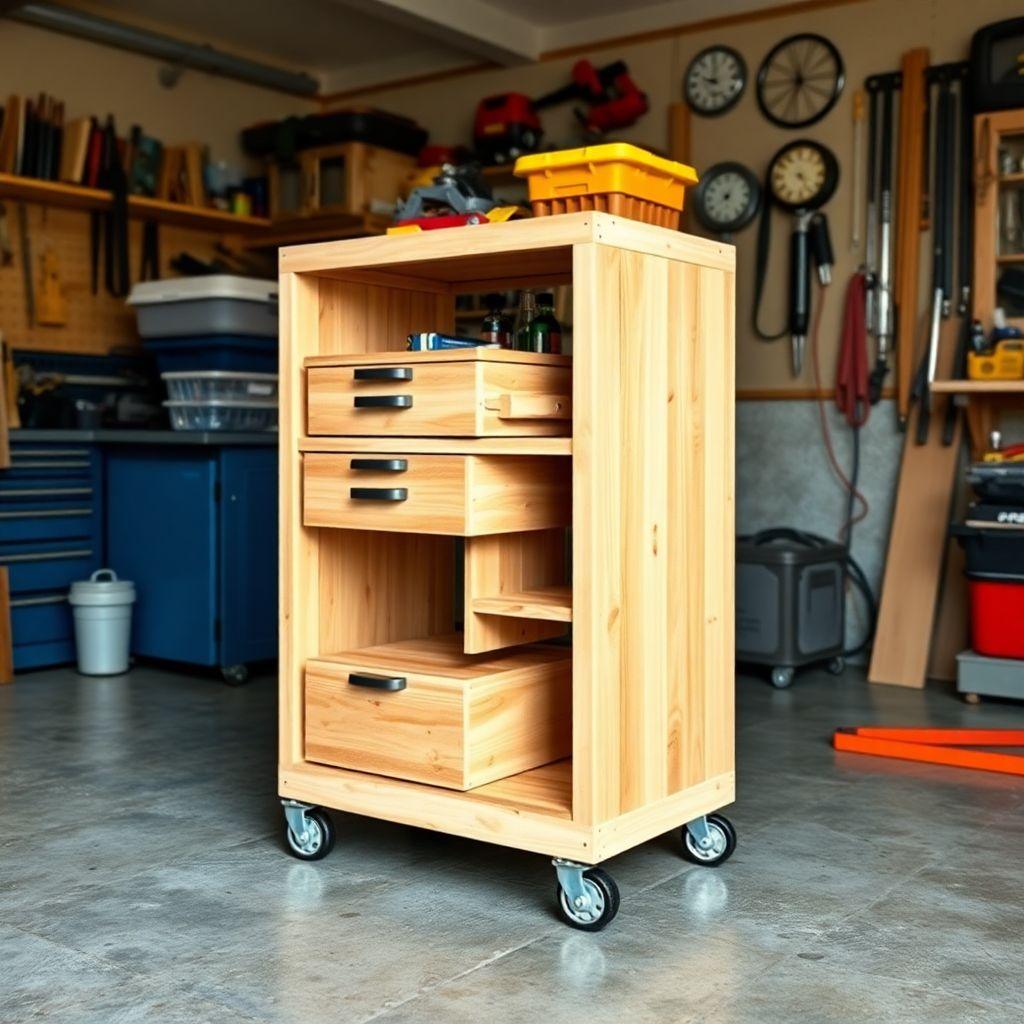
A rolling storage cart is a compact unit on casters that brings drawer or shelf storage wherever you need it, then rolls out of the way when you are done. In a workshop it holds tools beside the bench; in a kitchen it works as a movable island or pantry overflow. The casters are the whole point: storage that follows the work.
- Skill level: Beginner to Intermediate
- Cost estimate: $60 to $180
- Build time: 1 weekend
- Best for: Workshops and kitchens that need mobile, flexible storage
Mobility is the distinctive feature and also the one detail you cannot cheap out on. Undersized casters make a loaded cart hard to steer, so buy locking casters rated well above your expected load. Beyond that, the build is flexible: open shelves are the simplest and fastest, while drawers on slides add cost and a step up in difficulty but keep small items contained. A butcher-block or hardwood top turns a shop cart into a work surface, which is what pushes the upper end of the cost range.
Which Should You Build?
Match the build to your problem and your available time:
- Fastest and cheapest win: the storage tote rack. One day, under $80, and it clears the most floor per dollar. Start here if you are new to building.
- Best for a cluttered entryway: the shoe storage bench for a compact fix, or the mudroom locker if you have the wall space and want a spot for each person.
- Outdoor eyesore: the garbage bin enclosure is the only build here made to live outside, so it wins by default for hiding cans.
- Tools and chemicals: the garage storage cabinet, especially if you need it lockable and dust-free.
- Storage that moves: the rolling storage cart, for a shop or kitchen where you want the storage to follow the work.
If you only have an afternoon, build the tote rack. If you have a weekend and want the highest daily impact, build the shoe bench or the garage cabinet. Save the mudroom locker for when you have two weekends and are ready for a bigger project.
FAQ
What is the easiest storage furniture to build first?
The storage tote rack. It is a simple bolted frame with no doors, no drawers, and no finish work, so it suits a first-time builder and comes together in a single day.
What wood should I use for a garbage bin enclosure?
Cedar or pressure-treated lumber, because the enclosure lives outside through rain, sun, and freeze-thaw. Pair it with exterior-rated screws and hinges so nothing rusts or fails within a season.
How much does it cost to build storage furniture yourself?
It ranges from about $40 for a basic storage tote rack to $400 for a full built-in mudroom locker. Most single-weekend projects on this list land between $60 and $200 depending on lumber and hardware.
Can a beginner build a shoe storage bench?
Yes. A basic open-cubby bench uses simple butt joints and a short parts list. Adding a drawer or a hinged lid nudges it toward intermediate, but the open version is a solid beginner project.
Do I need drawers, or are open shelves fine?
Open shelves are cheaper, faster, and easier, so choose them when the contents are tidy or you want visibility. Add drawers or doors when you need to contain small items, hide clutter, or keep out dust and dirt.

“DIY woodworking enthusiast who started with zero experience and a YouTube tutorial.
I build simple, practical projects for my home and share free plans
so other beginners can skip the guesswork.If I can build it, you can too.”