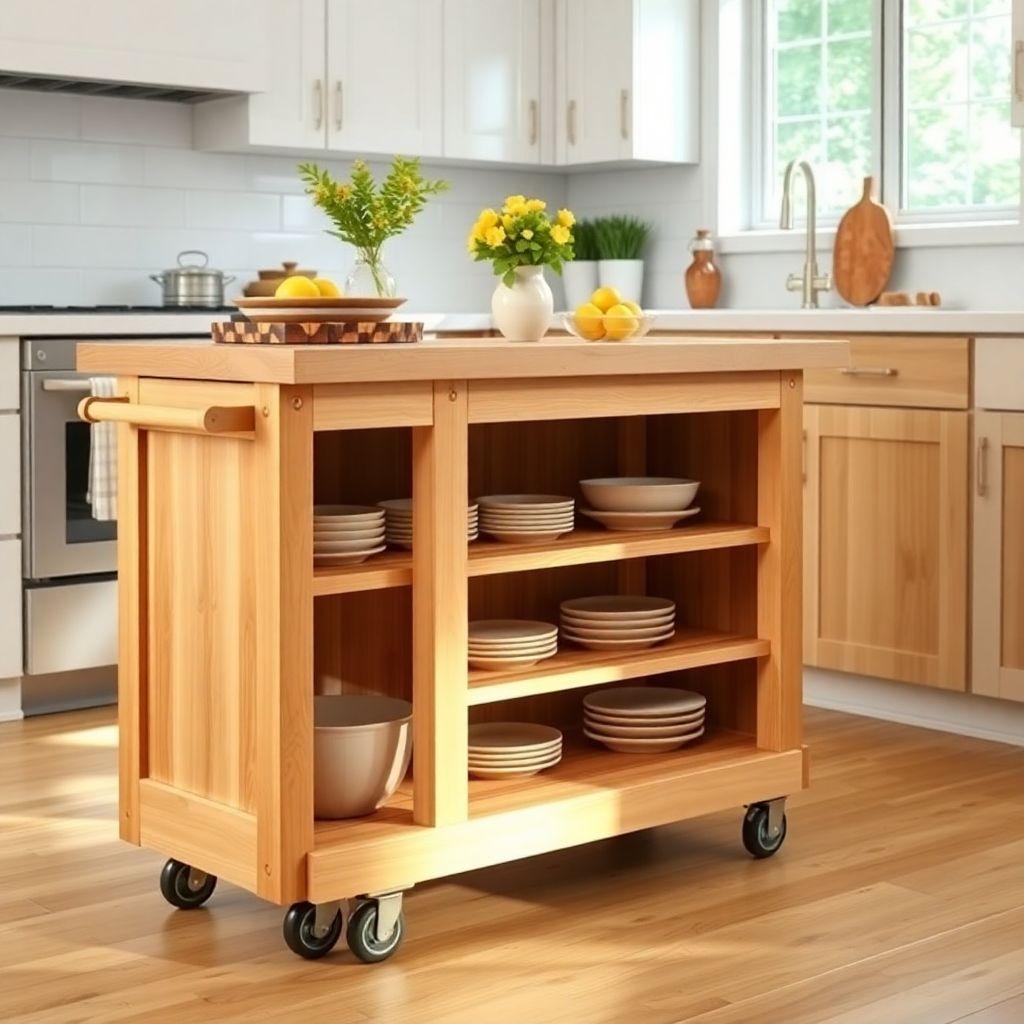
A kitchen island is one of the highest-value upgrades you can build in a weekend, but most plans skip the two things that actually determine whether yours works: clearance and height math. Get those wrong and you end up with an island you can’t walk around or a countertop that hits at the wrong height once the casters go on.
This guide walks you through building a rolling kitchen island that measures 36″ wide, 24″ deep, and 37.5″ tall with the casters and butcher block top installed. It has two open shelves below, a closed cabinet on one side, and four locking casters so you can push it against the wall when the kitchen gets tight. Expect to spend about $250 to $400 in materials depending on your butcher block choice, and plan for a full weekend of work.
This build is part of our kitchen and pantry projects series. If you are weighing this against other kitchen builds, start there.
Plan the Island: Size and Clearance
Looking for more kitchen ideas?
This guide is part of our complete kitchen and pantry projects series — compare all options by skill level, cost, and build time.
Want 16,000+ woodworking plans?
Ted’s Woodworking has step-by-step plans for every skill level. Browse Ted’s plans.
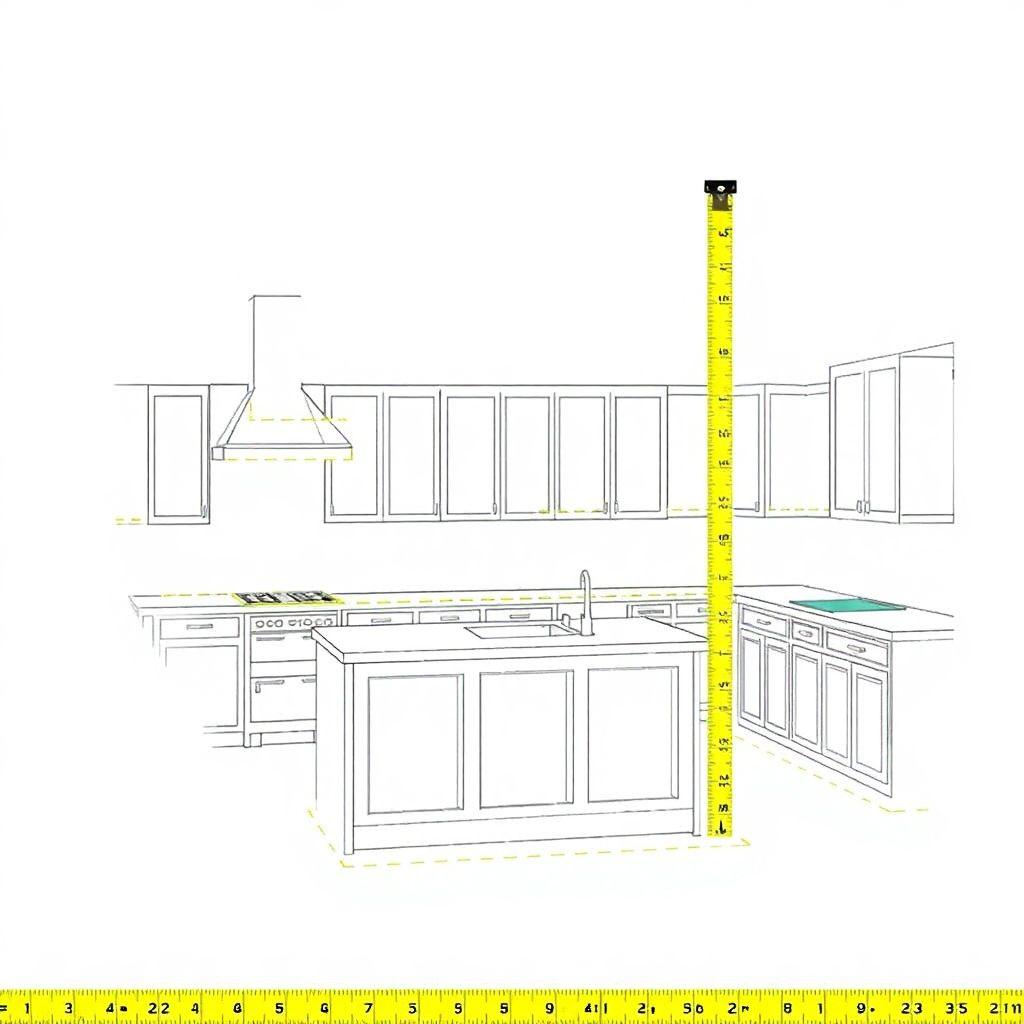
Before you cut anything, measure your kitchen. The single most common mistake with a DIY kitchen island is building one that leaves too little room to work around it.
The rule: you need 42″ of minimum clearance on every working side of the island. That is the space between the island and any counter, appliance, or wall you need to pass or work in front of. If only one person ever uses the kitchen at a time, you can drop that to 36″. Anything less and two people can’t pass, the dishwasher won’t open with someone standing there, and the room feels cramped.
Here is the part most plans leave out: most kitchens that already “feel tight” cannot fit a standard 36″-wide island once you account for that clearance. Measure the open floor. If you don’t have room for a 36″ island plus 42″ on the sides you’ll use, build the 24″-wide version instead by narrowing the cabinet box. A too-small island that fits is far better than a full-size one you have to squeeze past.
Rolling vs fixed
This plan is rolling, and for a first island that is almost always the right call. Rolling islands are more flexible, don’t require fastening to the floor, and don’t need plumbing or electrical clearance. You can wheel the whole thing against the wall when you need the floor space.
Fixed islands look more built-in, but they require a toe kick, a floor anchor, and if you run gas or electrical through them they have to meet local code. That is a bigger project with permits attached. Build the rolling version first.
Caster height matters
This is the math that trips people up. Standard countertop height is 36″. A 3″ caster raises the entire island 3″ off the floor. If you build a 36″-tall cabinet box and add 3″ casters plus a 1.5″ top, you end up at 40.5″, which is too tall to work at comfortably.
So the box gets built to 33″ tall. Add 3″ casters and a 1.5″ butcher block top and you land at 37.5″ total, which is close to standard counter height and comfortable for most people. If you are tall and want a full 38″ to 39″ working surface, that extra height is welcome. Do this arithmetic for your own caster and top thickness before you cut a single panel.
Materials and Cut List
The box is built from 3/4″ plywood with a poplar face frame and a butcher block top. Final assembled dimensions are 36″W x 24″D x 37.5″H (33″ box + 3″ casters + 1.5″ top).
Plywood (3/4″):
– 2x side panels: 23-1/4″ x 33″
– 2x horizontal panels (box top and bottom): 34-1/2″ x 23-1/4″
– 1x middle shelf: 34-1/2″ x 23-1/4″
– 2x cabinet doors (one side, overlay): 16-3/4″ x 15-3/4″ each
Plywood (1/4″):
– 1x back panel: 34-1/2″ x 33″
Poplar face frame (3/4″ x 1-3/4″):
– 2x stiles at 33″
– 3x rails at 34-1/2″ (top, bottom, middle)
Top:
– 1x butcher block, 1-1/2″ edge-grain: 38″ x 26″ (gives a 2″ overhang on each side)
Hardware:
– 4x locking swivel casters, 3″ wheel, 200+ lb rating
– 4x caster mounting plates (2″ x 2″ minimum)
– Pocket hole screws (1-1/4″), wood screws (1-1/4″ and 2-1/2″), cabinet hinges, one door pull or two knobs
Butcher block vs plywood top
Butcher block looks better and performs better. A 1-1/2″ edge-grain butcher block panel is rigid enough to chop on and won’t flex. A single 3/4″ plywood top will flex under pressure and looks cheap on an island.
If butcher block is out of budget, laminate two layers of 3/4″ plywood into a 1-1/2″ top, then round the top edges with a router and finish it well. It won’t match butcher block, but it will be rigid.
End-grain vs edge-grain butcher block
- End-grain is the traditional chopping block: strips stood on end so you cut into the grain. It is self-healing and more bacteria-resistant, but it runs $8 to $15 per square foot.
- Edge-grain is strips glued on their edges. It is plenty for most home cooks and costs $4 to $8 per square foot. This is what this plan assumes.
- Face-grain (flat boards glued face to face) is not a butcher block. It splinters and stains under knife work. Avoid it for a top you’ll cut on.
Open shelf vs closed cabinet
Open shelves below an island collect grease and crumbs faster than closed doors, because a kitchen throws off airborne grease that settles on everything exposed. The most practical combination is one closed-door cabinet on one side plus open shelves on the other. You get hidden storage for the things you want out of the grease and open display for baskets or cookbooks. This plan builds exactly that.
Tools Required
- Circular saw or table saw (a table saw makes the panel cuts far cleaner)
- Pocket hole jig (Kreg or similar)
- Drill/driver
- Router with a round-over bit (for the top edges)
- Clamps (several, including at least two long bar clamps)
- Tape measure, square, and a level
- Sander with 120 and 220 grit
- Safety glasses and hearing protection
Step 1: Build the Cabinet Box
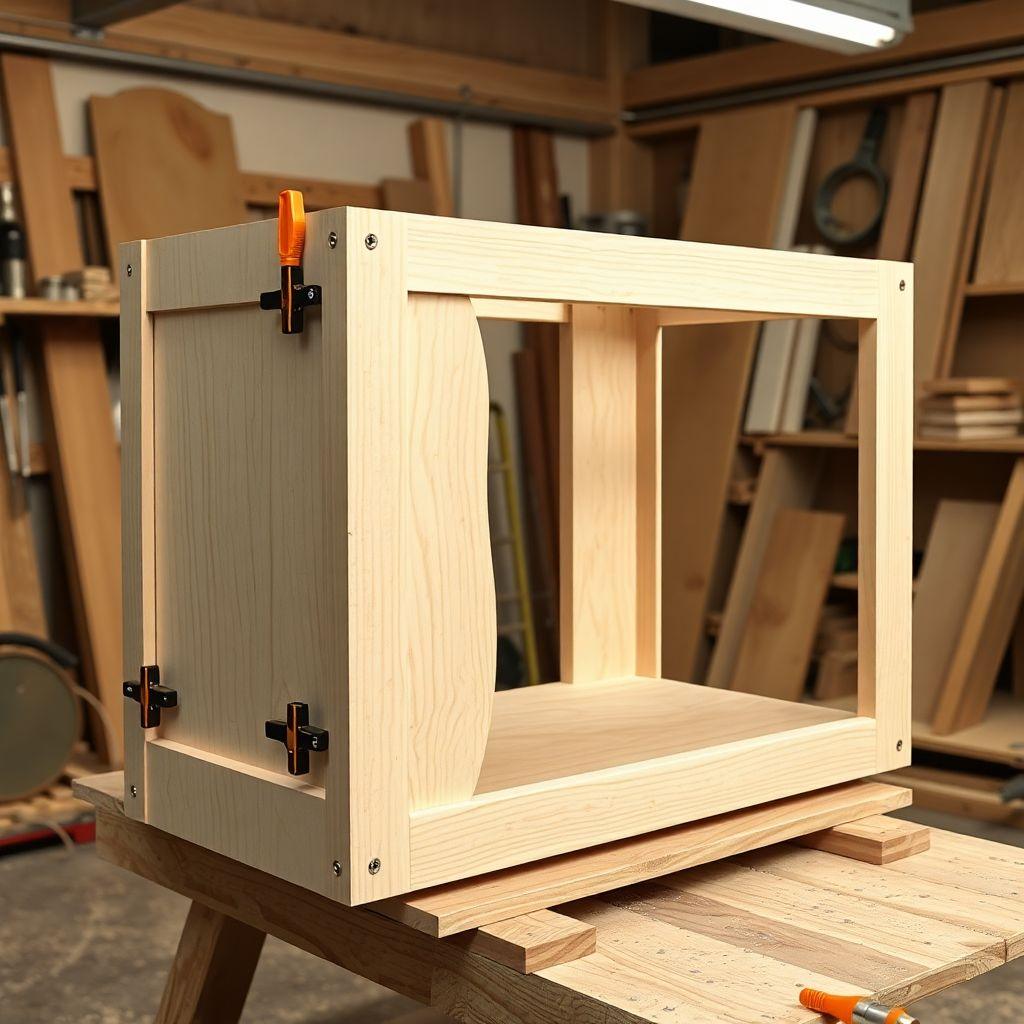
Cut your two side panels (23-1/4″ x 33″) and the two horizontal panels (34-1/2″ x 23-1/4″). Drill pocket holes along both ends of each horizontal panel, on the faces that will sit against the sides.
Stand the sides up and join the top and bottom horizontal panels between them using 1-1/4″ pocket hole screws. The horizontals sit between the sides, so the finished box is 36″ wide (23-1/4″ panels are the depth, two 3/4″ sides plus the 34-1/2″ horizontal span the width). Clamp each corner square before driving screws and check with your square as you go. An out-of-square box will haunt you at the door and top stage.
Install the middle shelf next. Measure the interior height, mark the shelf location so the two openings are roughly even, and attach the shelf with pocket holes into the sides. This shelf both divides the storage and stiffens the whole box.
Finish the box by attaching the 1/4″ back panel (34-1/2″ x 33″). Run a bead of glue around the back edges, set the panel in place, and fasten with 1″ brads or small screws every 6″. The back panel is what keeps the box from racking, so don’t skip it.
Step 2: Add the Face Frame and Lower Shelf
The face frame stiffens the front of the box and gives you clean edges to mount doors against. Cut two poplar stiles at 33″ and three rails at 34-1/2″.
Drill pocket holes in the ends of each rail and join the frame face-down on a flat surface: two stiles on the outside, the three rails between them at top, bottom, and middle. Keep the frame flat and square while you drive the screws. Once assembled, glue and clamp the face frame to the front edges of the box, then reinforce with a few brad nails or screws from inside where they won’t show.
On the open-shelf side, the middle rail and the plywood middle shelf together form your lower open shelf. Sand the front edge of that shelf smooth since it will be visible and handled often.
Step 3: Install the Casters
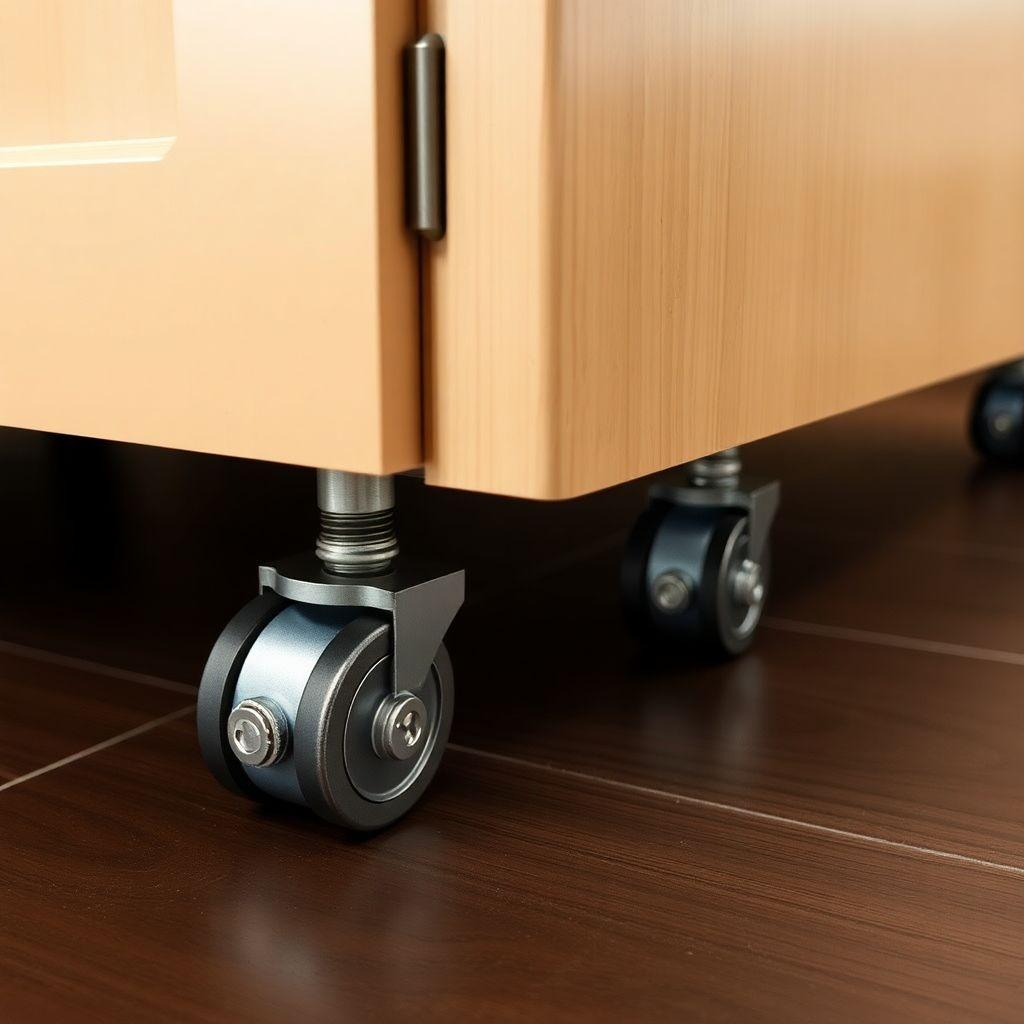
Flip the box upside down onto a padded surface. You are working on the bottom horizontal panel now.
Position the four caster mounting plates so each sits about 1″ in from the corners. Setting them slightly inboard keeps the wheels under the footprint and stops toes from catching them. Mark the screw holes, drill pilot holes, and screw the mounting plates down into the plywood. If the plywood bottom feels thin under the load, add a plywood or hardwood block above each caster location inside the box so the screws bite into 1-1/2″ of material rather than 3/4″.
Use locking swivel casters rated for 200 lb or more each. A loaded island with a butcher block top and full shelves gets heavy fast, and undersized casters will drag or fail. Lock at least two of them whenever the island is parked so it doesn’t roll while you work.
Set the island upright and confirm it rolls smoothly and sits level. Now measure the height from the floor to the top of the box: with 3″ casters it should read about 36″. Add the 1.5″ top and you’ll be at 37.5″.
Step 4: Attach and Finish the Butcher Block Top
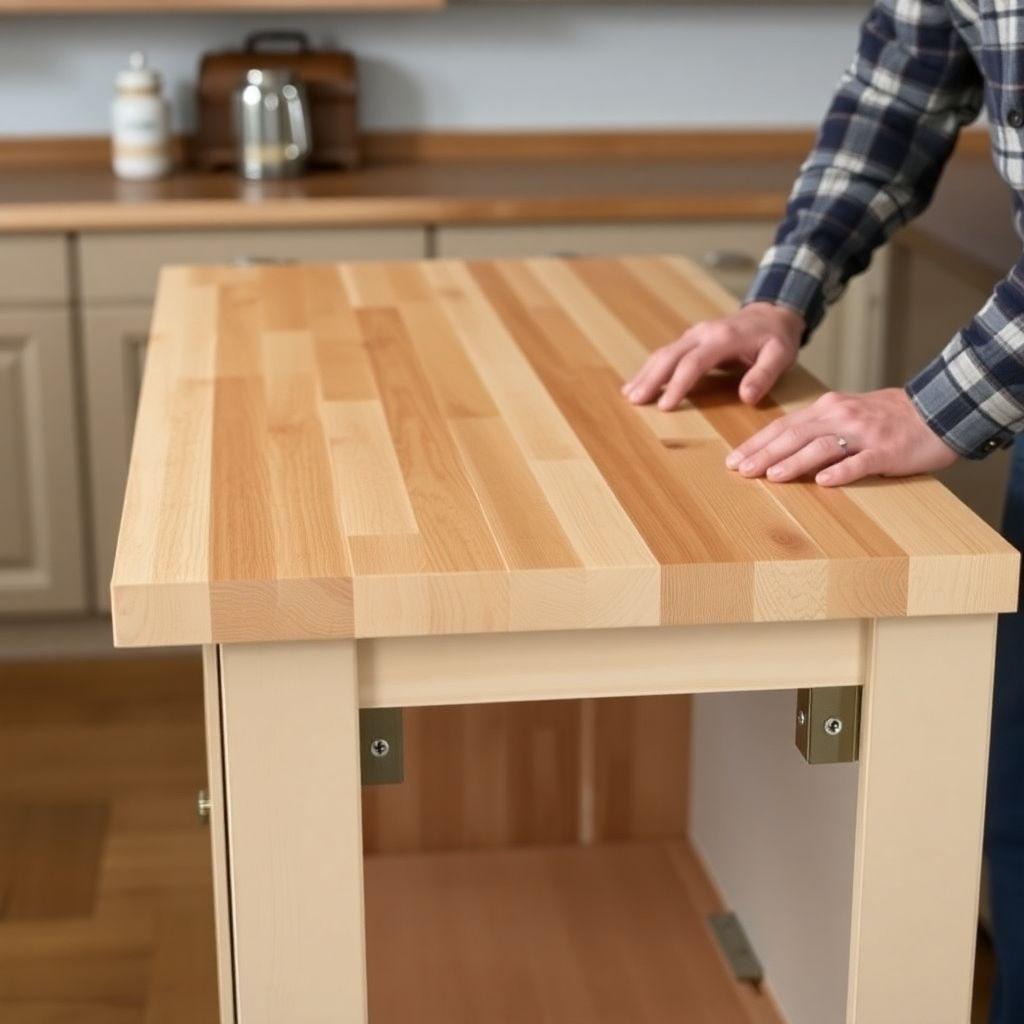
If your butcher block came raw, sand it to 220 grit and finish it before final assembly. For a top you’ll cut on, use food-safe mineral oil or a mineral oil and beeswax blend. Flood the surface, let it soak in, wipe off the excess, and repeat two or three times over a day. Do not use polyurethane on a surface you plan to chop on; it will chip into your food.
Round over the top edges with a router and a round-over bit. Square butcher block edges chip and feel harsh; a slight round-over looks finished and survives daily use.
Center the top on the box so you get an even 2″ overhang on each side and roughly 1″ front and back. From inside the cabinet, drive 1-1/4″ wood screws up through the box top panel into the underside of the butcher block. Wood moves with the seasons, so if you want to do it right, use figure-8 fasteners or slotted brackets that let the top expand and contract without cracking. At minimum, don’t glue the top down solid.
Step 5: Final Touches – Paint and Hardware
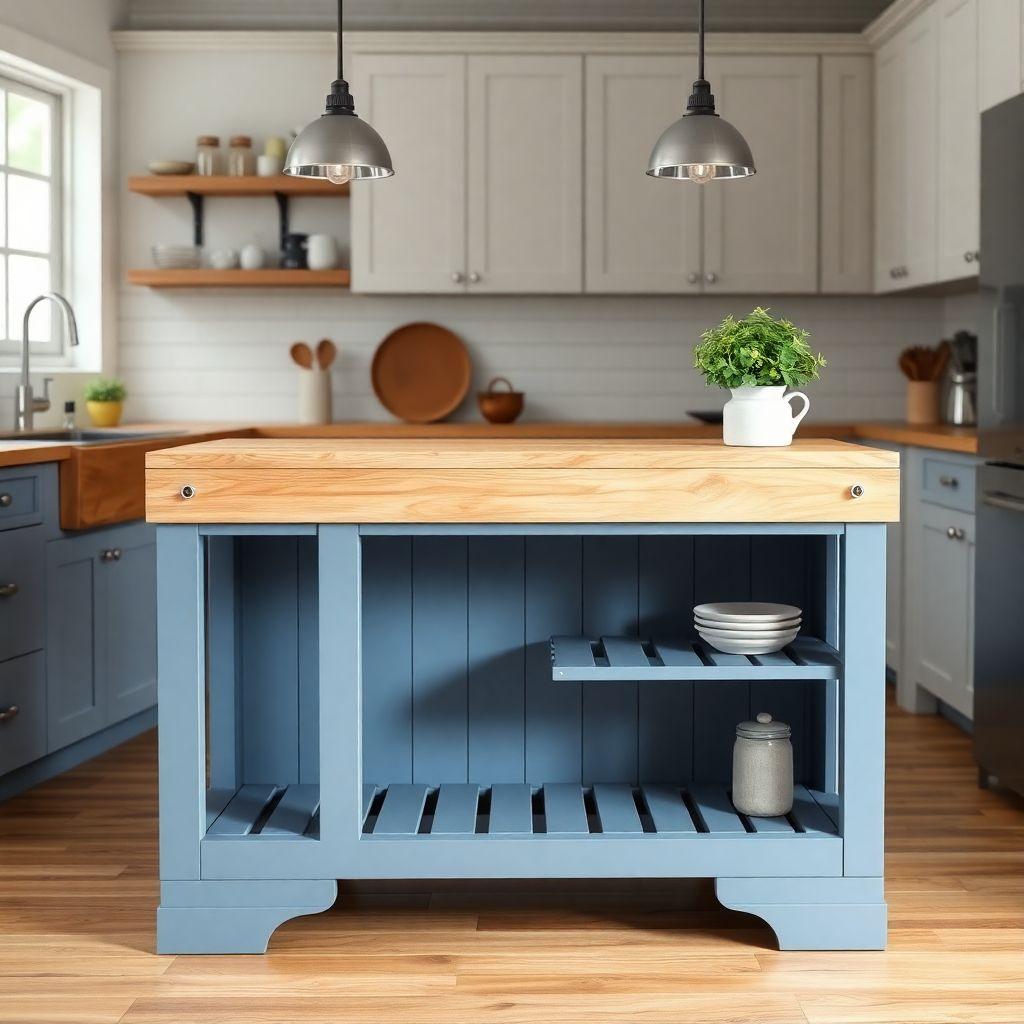
With the top off (or masked), finish the base. Fill any visible pocket holes and screw holes, sand everything to 220 grit, and prime the plywood and poplar. Plywood edges drink paint, so a coat of primer first saves you a lot of topcoats. Two coats of a durable cabinet or satin enamel in your color will hold up to kitchen wear.
Hang the two cabinet doors on the closed side using overlay hinges. Adjust the hinges so the doors sit even and the gap is consistent. Add your pull or knobs.
Reinstall the butcher block top if you removed it. Give the whole island a final wipe, roll it into place, lock the casters, and load it up.
Looking for more kitchen project ideas?
This guide is part of our complete kitchen and pantry projects series — 5 builds compared by skill, cost, and build time.
Want 16,000+ woodworking plans?
Ted’s Woodworking has step-by-step plans for every skill level. Browse Ted’s plans.
FAQ
How much does it cost to build a DIY kitchen island?
Expect $250 to $400 for this build. The butcher block top is the biggest variable: edge-grain runs $4 to $8 per square foot, while end-grain can push the top alone past $200. Plywood, poplar, casters, and hardware account for the rest.
How much clearance do I need around a kitchen island?
Plan for 42″ of clearance on every working side, or 36″ if only one person uses the kitchen at a time. Measure your open floor before choosing a width. If a 36″ island won’t leave that room, build the 24″-wide version instead.
Can I put a butcher block top on a rolling island?
Yes. A 1-1/2″ edge-grain butcher block is rigid enough for a rolling island and heavy enough to keep it stable. Just size your casters for the extra weight (200 lb per caster or more) and fasten the top so it can still expand and contract with the seasons.
What size casters should I use for a kitchen island?
Use 3″ locking swivel casters rated for at least 200 lb each. Remember that the caster height adds directly to your finished height, so build the cabinet box shorter to compensate. A 33″ box plus 3″ casters and a 1.5″ top lands at 37.5″ total.
Should I use open shelves or closed cabinets on a kitchen island?
Both. Open shelves collect kitchen grease and crumbs faster, so use a closed cabinet on one side for the items you want protected and open shelves on the other for baskets and cookbooks. This plan builds that combination.
Is a rolling island as sturdy as a fixed one?
For everyday kitchen use, yes, as long as you use quality locking casters and lock them when the island is parked. Fixed islands feel more built-in and are required if you run gas or electrical, but they need a floor anchor and must meet code. For a first build, rolling is the simpler, more flexible choice.
Related Articles

“DIY woodworking enthusiast who started with zero experience and a YouTube tutorial.
I build simple, practical projects for my home and share free plans
so other beginners can skip the guesswork.If I can build it, you can too.”