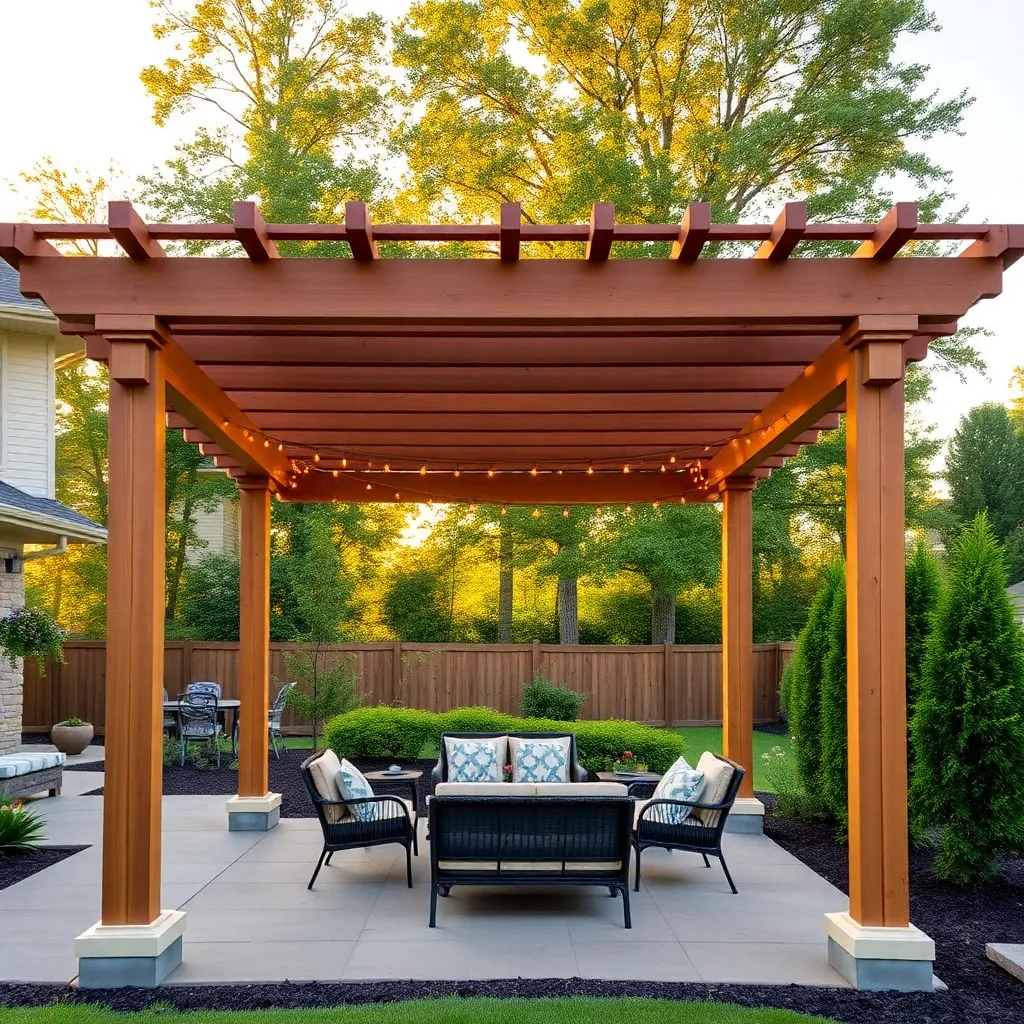
A contractor-built pergola runs $3,000–8,000 installed. The same structure in cedar lumber costs $350–500 in materials and two weekends of work. The difference isn’t quality — it’s labor. These DIY pergola plans walk you through a classic 10×12 freestanding cedar pergola with four posts, doubled beams, decorative rafter tails, and purlins that filter light without blocking it completely.
This is a beginner-friendly build. You don’t need a table saw or advanced joinery. Every cut is straight, the hardware is standard, and the assembly follows a logical sequence that two people can complete without a crane or specialized lifting equipment.
Want 16,000+ step-by-step woodworking plans?
Ted’s Woodworking has plans for every skill level — from simple shelves to full bedroom sets. Each plan includes a cut list, material list, and detailed diagrams. Browse Ted’s plans →
Step 1: Plan Your Pergola and Check Permits
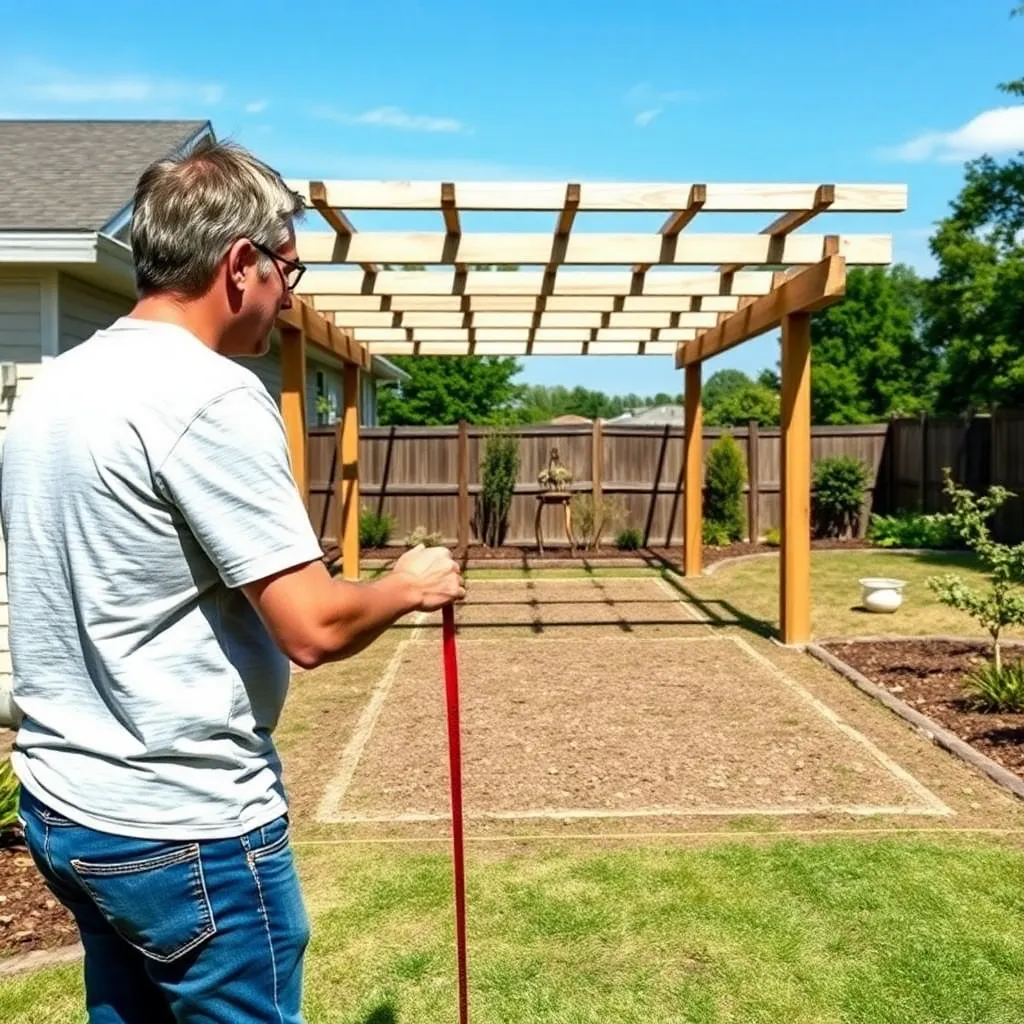
Before buying a single board, spend 20 minutes on two things: confirming your site and checking permit requirements.
Site selection: A 10×12 pergola needs a 12×14 clear footprint to work comfortably — account for post overhang and working room. Identify underground utilities before digging post holes. In the US, call 811 (or your local equivalent) at least 3 business days before digging; it’s free and legally required in most states.
Permits: Freestanding pergolas are exempt from permits in many jurisdictions if they’re under 200 square feet and not attached to the house. A 10×12 pergola is 120 square feet — under the threshold in most places, but verify with your local building department. Permit applications for simple pergolas are straightforward and usually cost $50–150.
Post layout: The four posts form a 10×12 rectangle. Mark the four corners with stakes and string, then measure both diagonals — they must be equal for the layout to be square. A 3-4-5 triangle check (measure 3 feet along one side, 4 feet along the adjacent side, 5 feet diagonally between those marks) confirms 90-degree corners without a framing square.
Step 2: Materials and Cut List
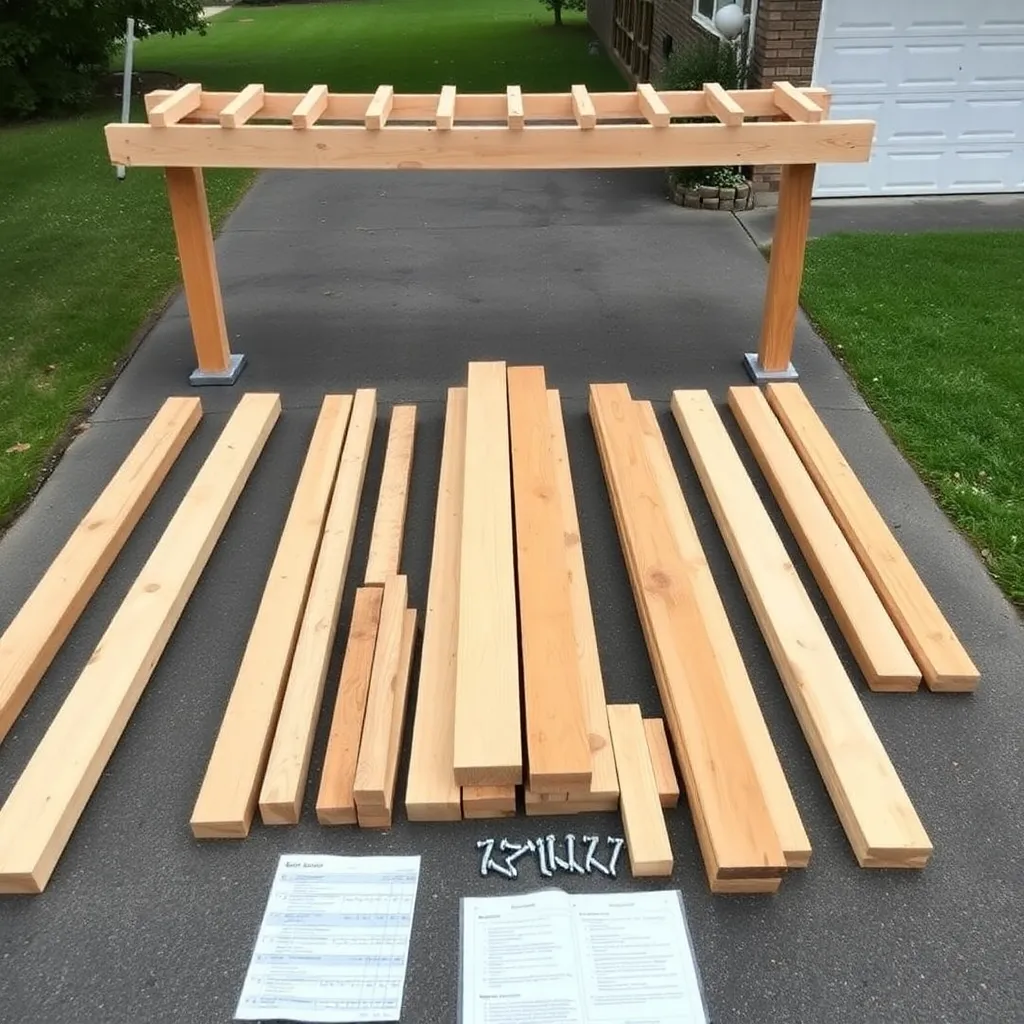
This design uses western red cedar throughout for rot resistance and appearance. All lumber is standard dimensional sizes available at any home center or lumber yard.
| Part | Qty | Size | Notes |
|---|---|---|---|
| Posts | 4 | 10′ × 4×4 cedar | Set 2′ in ground, 8′ above |
| Beams | 4 | 12′ × 2×8 cedar | Doubled, two per side |
| Rafters | 5 | 12′ × 2×6 cedar | Spaced 24″ on center |
| Purlins | 7 | 10′ × 2×4 cedar | Spaced 16″ on center |
| Post base hardware | 4 | 4×4 post base | Simpson Strong-Tie or equivalent |
| Beam-to-post hardware | 8 | Post cap connector | Simpson BC4 or equivalent |
| Lag screws | 16 | ½” × 3½” | Beam-to-post and rafter connections |
| Structural screws | 1 box | 3″ exterior | General assembly |
| Concrete | 4 bags | 60 lb fast-set | One per post hole |
Total estimated material cost: $380–480 depending on region and lumber grade.
Tools needed: Post hole digger or auger (rent if needed), circular saw, miter saw, drill/driver, level (4-foot), speed square, chalk line, tape measure, clamps (4 minimum), safety glasses, hearing protection.
Step 3: Dig and Set the Posts
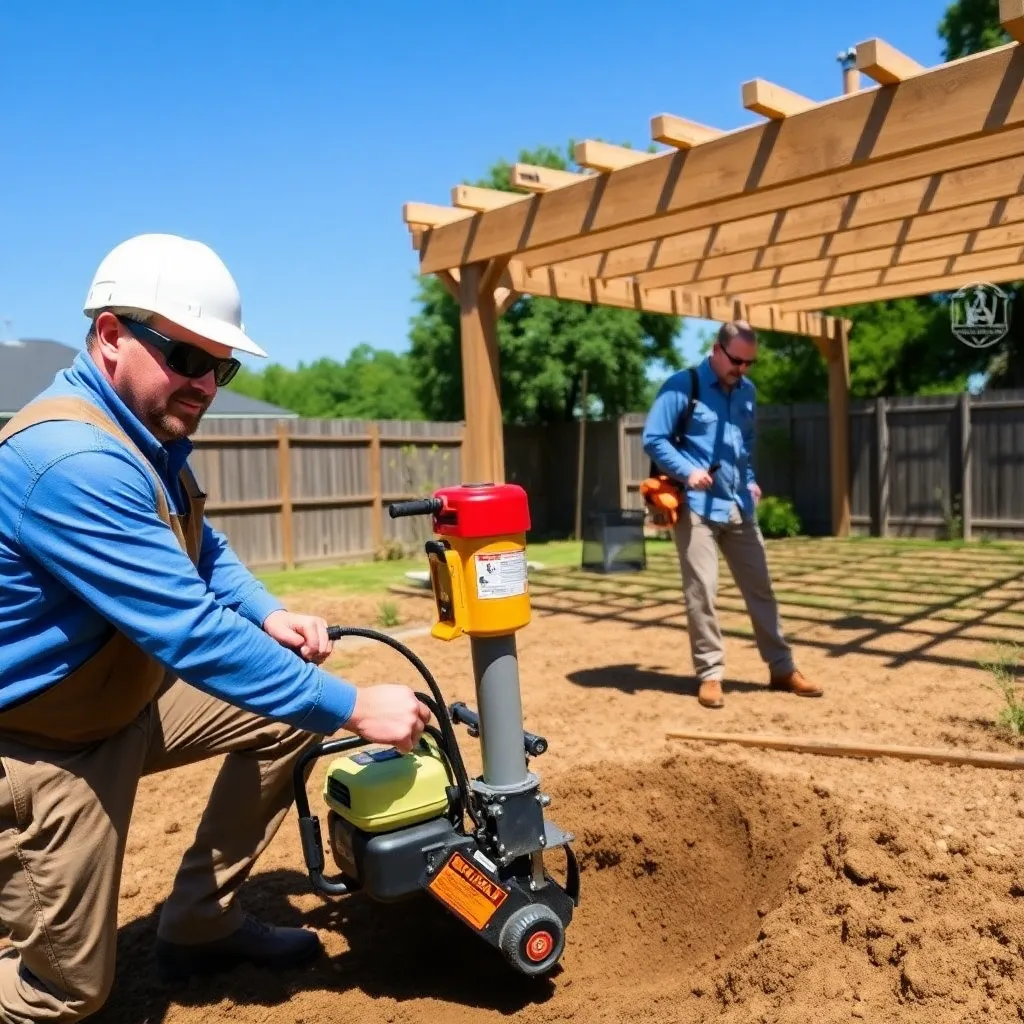
Post holes are the foundation of the entire structure — if they’re wrong, everything built on them is wrong. Take time here.
Hole depth: Dig each hole 24 inches deep minimum, or below the frost line in your region (check local building code — frost lines range from 12″ in southern states to 48″ in northern climates). A hole deeper than the frost line prevents frost heave from pushing your posts out of alignment over winter.
Hole diameter: 12 inches diameter for a 4×4 post gives adequate concrete bearing area. Rent a two-person auger for clean, consistent holes — hand diggers work but are slow and produce less consistent results.
Set posts with post bases, not direct burial: Direct-buried cedar posts will eventually rot at the soil line, even cedar heartwood. A better approach: pour a concrete pad in each hole, let it cure, then attach a galvanized or stainless post base connector. The post sits above grade in the connector, air circulates around the base, and the post stays dry and rot-free for decades.
Pour fast-set concrete into each hole per the bag instructions (typically just add water in the hole — no mixing required for fast-set). Check that each concrete pad is level before it sets. Let cure 24–48 hours before attaching post bases.
Set the post bases: Snap chalk lines between the four corner stakes to confirm the 10×12 rectangle. Set the post base anchors in the wet concrete (if using wet-set bases) or drill into cured concrete pads with a hammer drill and masonry anchors (if using surface-mounted bases). Check that all four bases are square to each other — measure diagonals again.
Stand the posts: Drop a 10-foot 4×4 into each post base and secure with the base hardware. Plumb each post in two directions with a 4-foot level, bracing with temporary 2×4 diagonal braces staked to the ground. Don’t remove the braces until the beams are installed — unbraced posts will drift out of plumb.
Step 4: Install the Doubled Beams
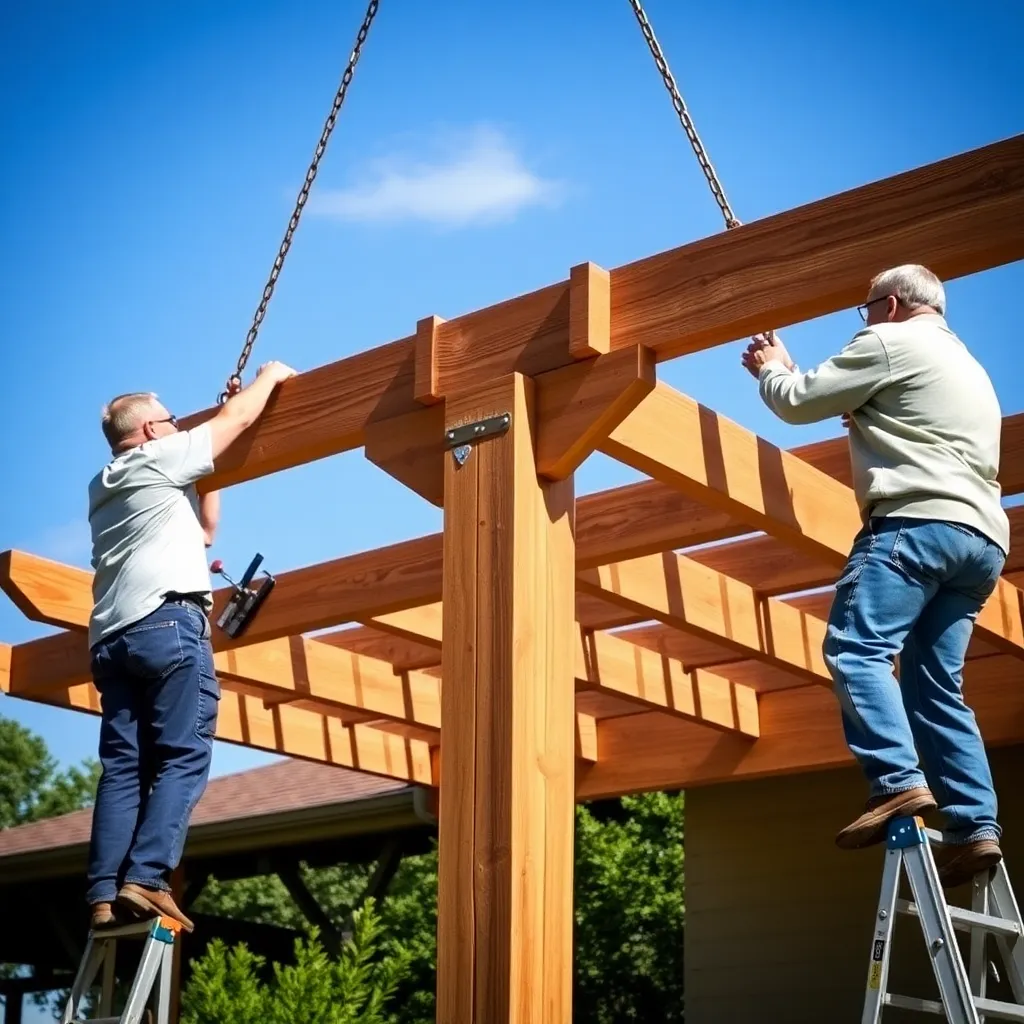
Each of the two long sides of the pergola gets a doubled beam — two 2×8 boards face-nailed together and then lifted onto the post caps. Doubled beams carry the rafter load with less deflection than single boards and look more substantial.
Assemble the beams on the ground. Lay two 2×8 boards face to face and fasten with 3″ structural screws every 16 inches in a staggered pattern. You’ll have two doubled beams, each 12 feet long. The decorative beam end cuts happen now — mark and cut both ends of each beam at a 45-degree angle to create a classic rafter tail profile. A circular saw with the bevel set to 45 degrees handles this cleanly.
Mark beam height on the posts. The underside of the beams should sit at 8 feet above the ground (or your desired head clearance height). Mark this height on all four posts with a chalk line — consistency here is what keeps the finished pergola level.
Lift the beams into place. This is the step that genuinely requires two people. With one person on each end, lift the beam and set it into the post cap connectors at the marked height. Clamp it in place before fastening — check level across the full 12-foot span and side to side between beams before driving a single screw. Fasten through the post cap connector with the specified hardware (typically ½” lag screws or the connector’s included bolts).
Step 5: Install the Rafters
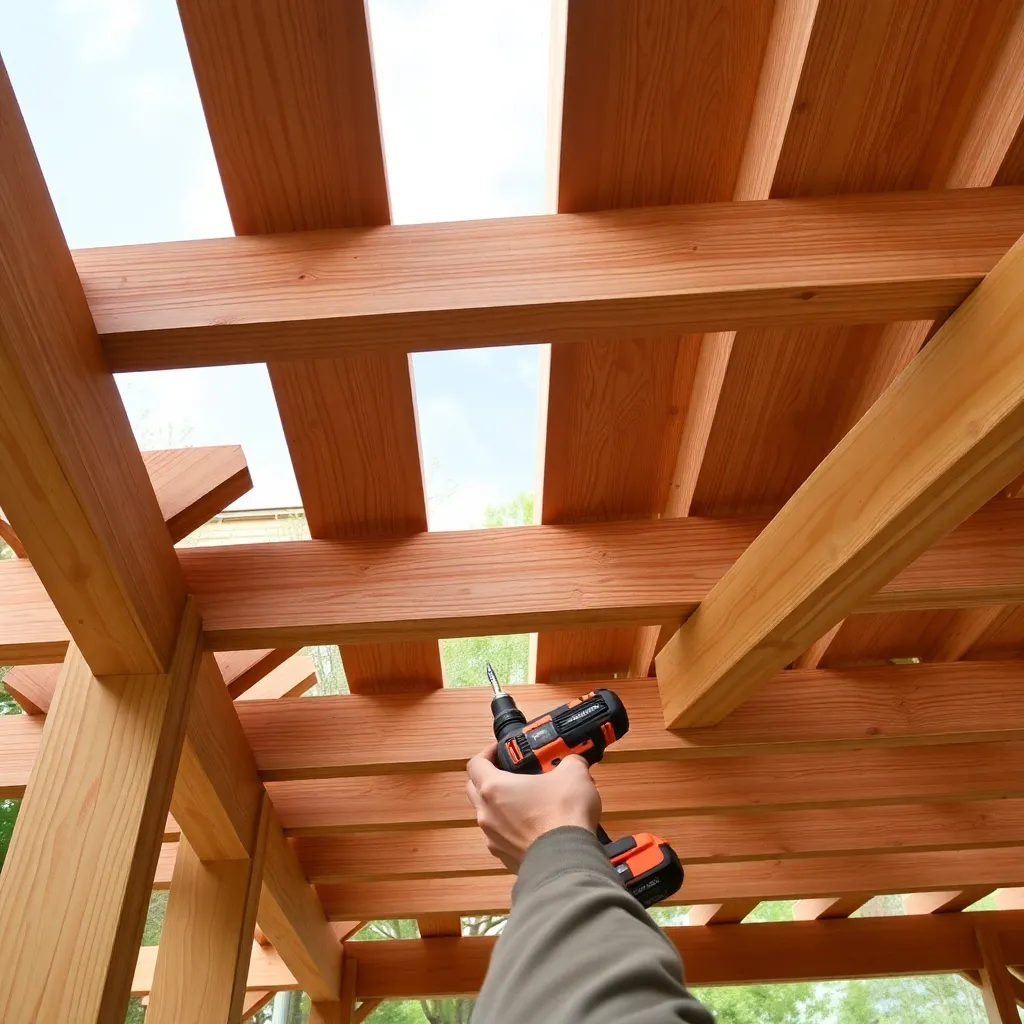
Rafters run perpendicular to the beams, spanning the 10-foot width of the pergola. Five rafters spaced 24 inches on center cover the full 12-foot length with overhangs at each end.
Cut the rafter tail profiles. The rafter tails — the ends that extend past the beams — are where the pergola gets its decorative character. A simple angled cut (cut the bottom corner at 45 degrees) is the most common profile and easiest to execute consistently with a miter saw. Cut all ten rafter ends before installation.
Mark rafter positions on the beams. Start 12 inches from the outside face of the end posts (this gives your first rafter a 12-inch overhang past the post). Mark every 24 inches for the remaining four rafters. Use a square to transfer the marks across both beams so rafters sit plumb.
Set and fasten the rafters. Rest each rafter across both beams at the marked positions. Check that the overhang is equal on both ends, then fasten with two 3″ structural screws toenailed into the beam at each end, or use rafter-to-beam connectors for a cleaner look. Work from one end to the other — setting all rafters in sequence is faster than skipping around.
Step 6: Install the Purlins
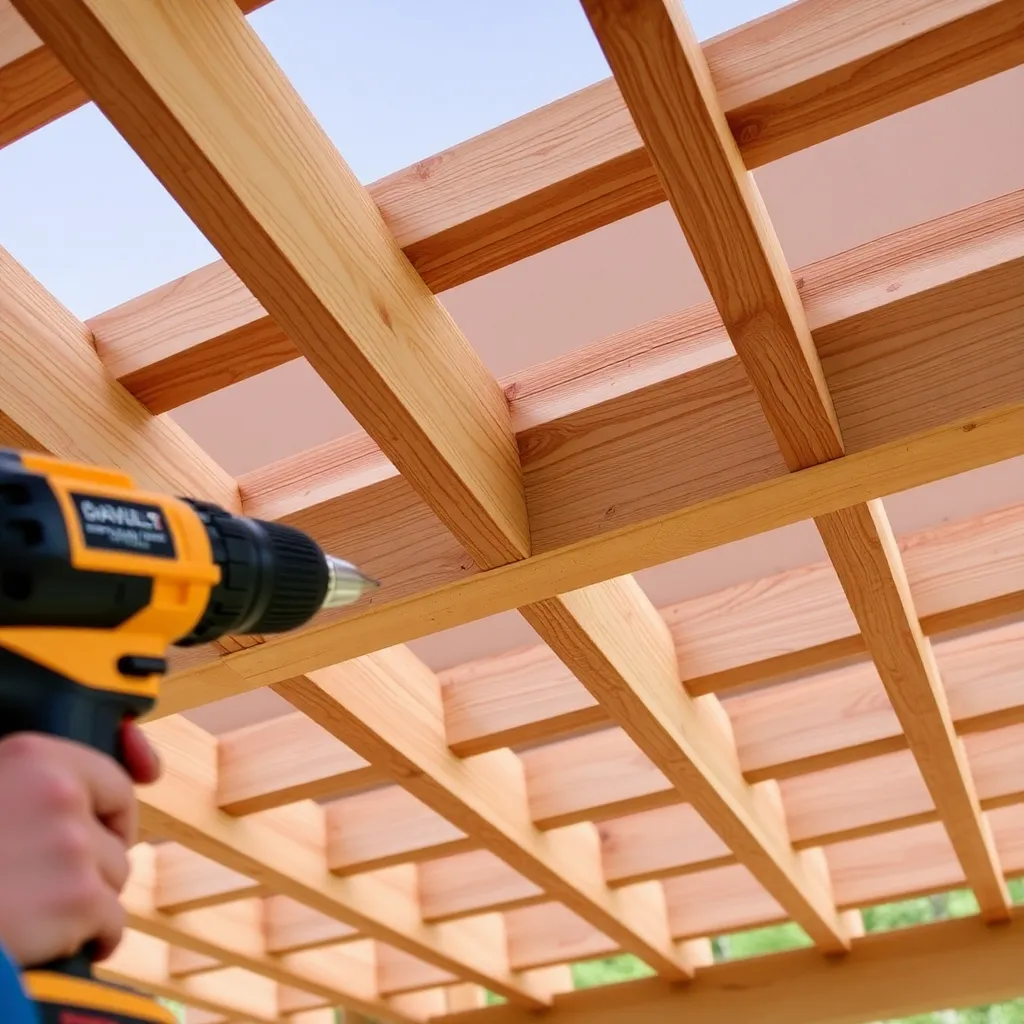
Purlins are the 2×4 boards that run parallel to the beams, sitting on top of the rafters. They complete the roof grid and provide the visual density that makes a pergola look finished rather than bare.
Spacing: Seven purlins at roughly 16 inches on center cover the 10-foot rafter span. Start and end with purlins flush with the outside rafter faces, then space the remaining five evenly between them.
Fastening: Drive two 3″ screws down through each purlin into each rafter below — two screws per rafter crossing, 35 connections total for seven purlins across five rafters. Pre-drill to prevent splitting at purlin ends.
Optional decorative cuts: Cutting the purlin ends at 45 degrees (matching the rafter tail profile) gives the finished pergola a consistent, crafted look from every angle. It adds 20–30 minutes to the build but makes a noticeable visual difference.
Step 7: Finish and Weatherproof
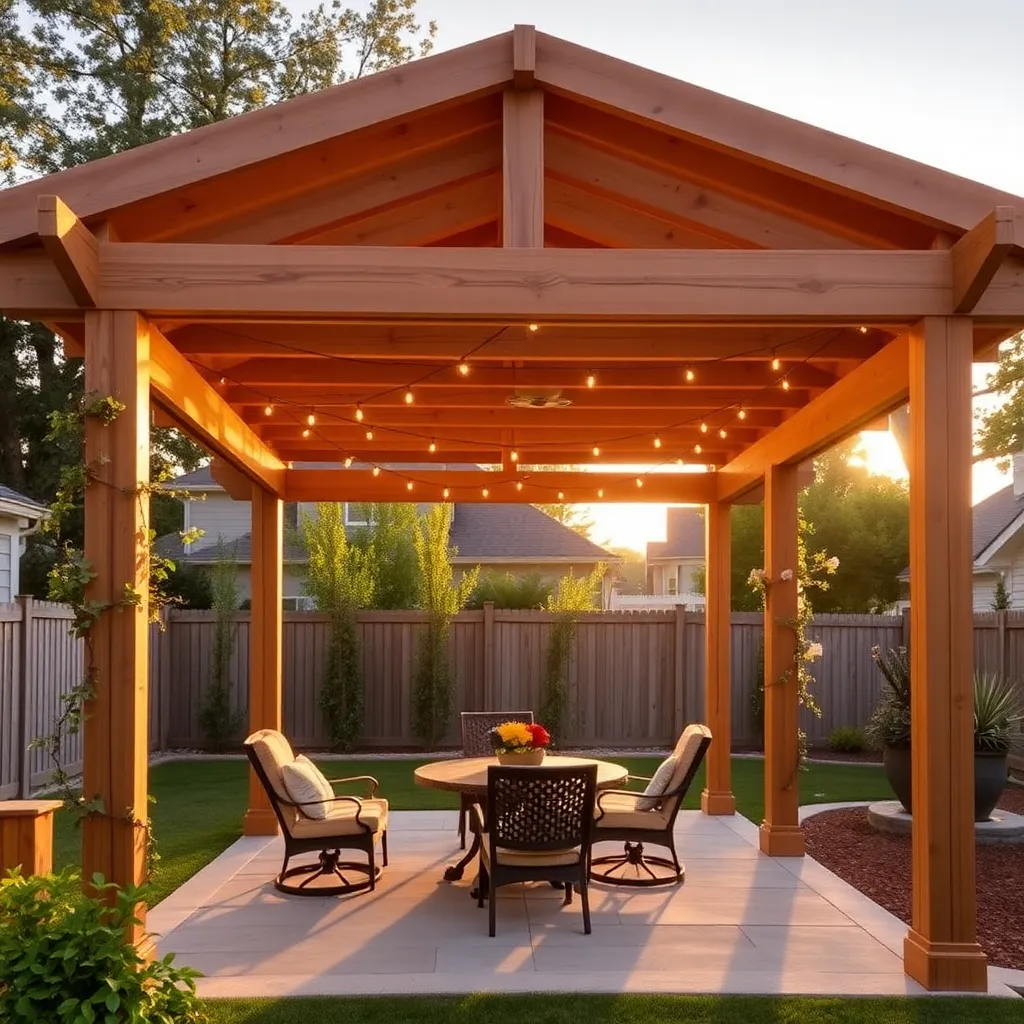
Cedar weathers naturally to a silver-gray and resists rot without treatment — many builders leave it unfinished and let it silver gracefully. If you prefer to maintain the warm cedar color, apply a penetrating exterior oil or semi-transparent stain within the first few months, before the wood grays significantly.
For natural weathering: No action required. Cedar will silver evenly over one to two seasons. The wood remains structurally sound; the color change is purely aesthetic.
For maintained color: Apply a UV-blocking semi-transparent exterior stain — products like Cabot Australian Timber Oil or TWP (Total Wood Preservative) penetrate the cedar grain and provide 2–3 years of color protection before reapplication. Apply with a brush or roller, back-brushing to work stain into the grain.
Post base protection: Regardless of finish choice, keep the area around post bases clear of soil and mulch. Even above-grade post bases can trap moisture if buried in mulch — maintain a 2-inch clear zone around each base.
For more outdoor structure projects, visit our pergola and arbor plans hub.
Want 16,000+ step-by-step woodworking plans?
Ted’s Woodworking has plans for every skill level — from simple shelves to full bedroom sets. Each plan includes a cut list, material list, and detailed diagrams. Browse Ted’s plans →
DIY Pergola Plans FAQ
How much does it cost to build a 10×12 pergola?
Material costs for a cedar 10×12 pergola run $380–480 at current lumber prices, including hardware, concrete, and post base connectors. Add $50–100 for rental tools (post auger, clamps) if you don’t own them. Pressure-treated pine drops the lumber cost by $80–120 if budget is the primary concern.
How long does it take to build a pergola?
Two people working at a comfortable pace can complete this pergola in two days: Day 1 for post holes, concrete, and post setting (then waiting for concrete to cure), Day 2 for beams, rafters, purlins, and finish cuts. The concrete cure time is the only thing that forces a two-day build — the actual construction is roughly 10–12 hours of work.
How deep should pergola posts be set?
Set posts a minimum of 24 inches deep, or at or below your local frost line (whichever is deeper). Frost lines vary from 12 inches in the deep south to 48 inches in northern states and Canada. Setting posts above the frost line allows frost heave to push them out of alignment over winter. Using post base connectors on concrete pads eliminates this risk entirely.
What size posts does a 10×12 pergola need?
4×4 posts are standard for pergolas up to 12×12 with 8-foot heights. For taller pergolas (10+ feet) or larger footprints (over 12×16), step up to 6×6 posts. The increased post size also improves the visual proportion of larger structures — 4×4 posts can look spindly under heavy beams on a large pergola.
Can I build a pergola on a concrete patio?
Yes — use surface-mounted post base connectors anchored with concrete wedge anchors (also called sleeve anchors or expansion anchors). Drill holes with a hammer drill and masonry bit, insert the anchors, and bolt the post bases down. This is actually the preferred method for patio installations because it avoids cutting through the concrete slab.
How far apart should pergola rafters be spaced?
24 inches on center is the standard spacing for 2×6 rafters spanning 10 feet — it provides adequate structural support and a balanced visual density. You can tighten to 16 inches for more shade coverage or open to 30 inches for a more open look, but 24 inches is the sweet spot for most backyard pergolas.
Do I need to seal the cut ends of cedar?
End grain absorbs moisture faster than face grain and benefits from a coat of exterior wood sealer or end-grain sealer on fresh cuts. Apply immediately after cutting with a brush — any exterior polyurethane or penetrating oil works. It’s a small step that meaningfully extends the life of the wood at its most vulnerable points.

“DIY woodworking enthusiast who started with zero experience and a YouTube tutorial.
I build simple, practical projects for my home and share free plans
so other beginners can skip the guesswork.If I can build it, you can too.”