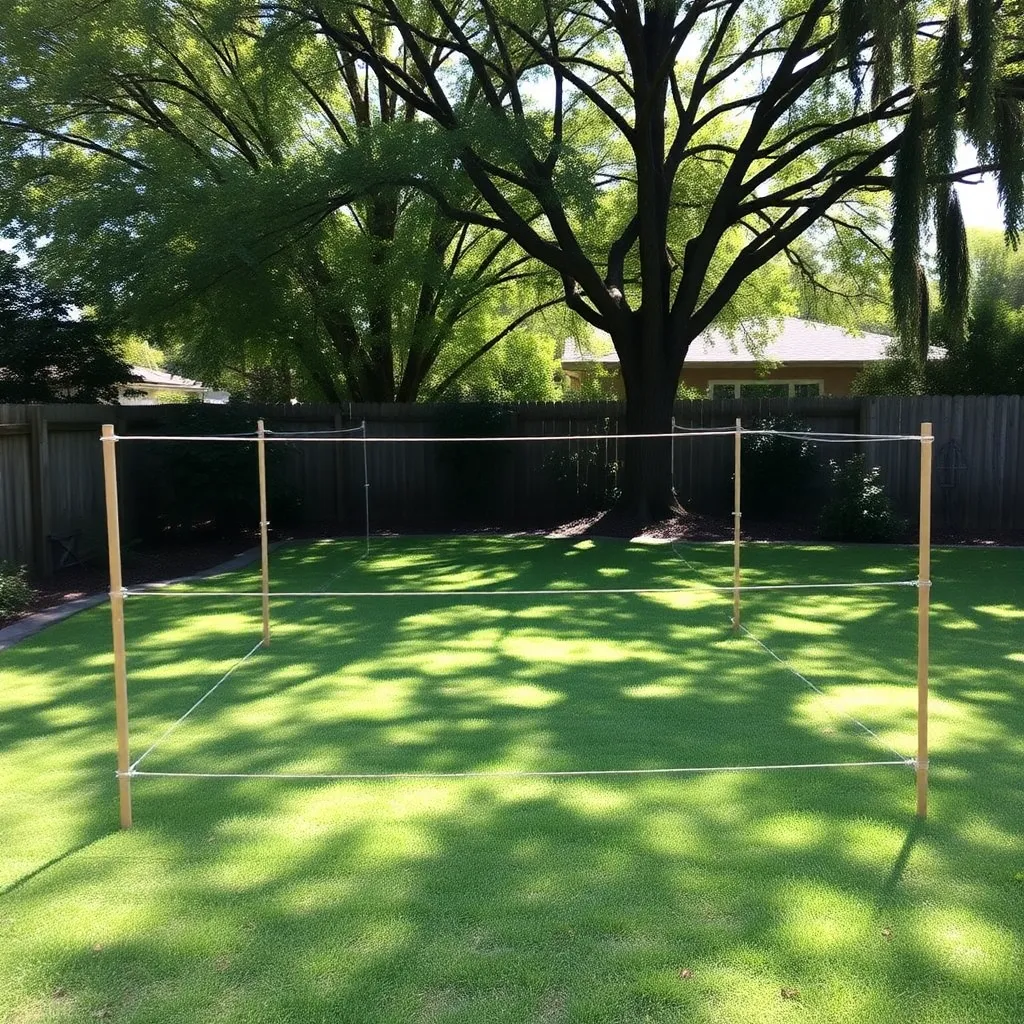
An outdoor dog kennel gives a dog a safe, weatherproof space when they need to be outside unsupervised — better than a chain (which causes injury and anxiety) and more humane than leaving a dog confined indoors for long periods. A properly built kennel has a covered sleeping area on one end, an open chain-link run on the other, a secure locking gate, and a concrete or compacted gravel floor that can be cleaned with a hose. These plans cover a 6×10-foot kennel — large enough for one large dog or two medium dogs — built from standard chain-link panels and 4×4 pressure-treated posts.
Ted’s Woodworking has dog kennel and outdoor pet structure plans including roofed kennels, dog runs, and combination kennel/storage shed builds. Browse Ted’s plans →
Step 1: Choose the Site and Prepare the Ground
The kennel site determines how well the kennel functions. A poor site makes an excellent kennel useless.
Site selection criteria:
- Partial shade: morning sun is fine, afternoon sun in summer is oppressive for dogs — a spot with afternoon shade from trees or a building is ideal
- Good drainage: avoid low spots that collect water; the kennel floor will be wet after every rain if the site drains poorly
- Visible from the house: dogs are more comfortable when they can see the house; also easier to monitor
- Away from the property line: allows a buffer if neighbors have concerns about noise or smell
Floor options:
- Concrete slab: Best for cleanliness and durability. Have 4 inches of concrete poured over a 4-inch compacted gravel base. The slab should slope ¼ inch per foot toward the kennel gate for drainage. Cost: $200–$400 for a 6×10-foot slab.
- Compacted gravel: Least expensive option. Excavate 4 inches, fill with pea gravel or road base, and compact. Easy to hose off; dogs can dig through it over time. Top with a concrete splash pad just inside the gate (the highest-traffic area) for longevity.
- Bare ground: Easiest to install; hardest to keep clean and odor-free. Only suitable for temporary kennels.
For a permanent kennel, concrete is worth the cost — every other maintenance task becomes easier.
Step 2: Set the Corner Posts
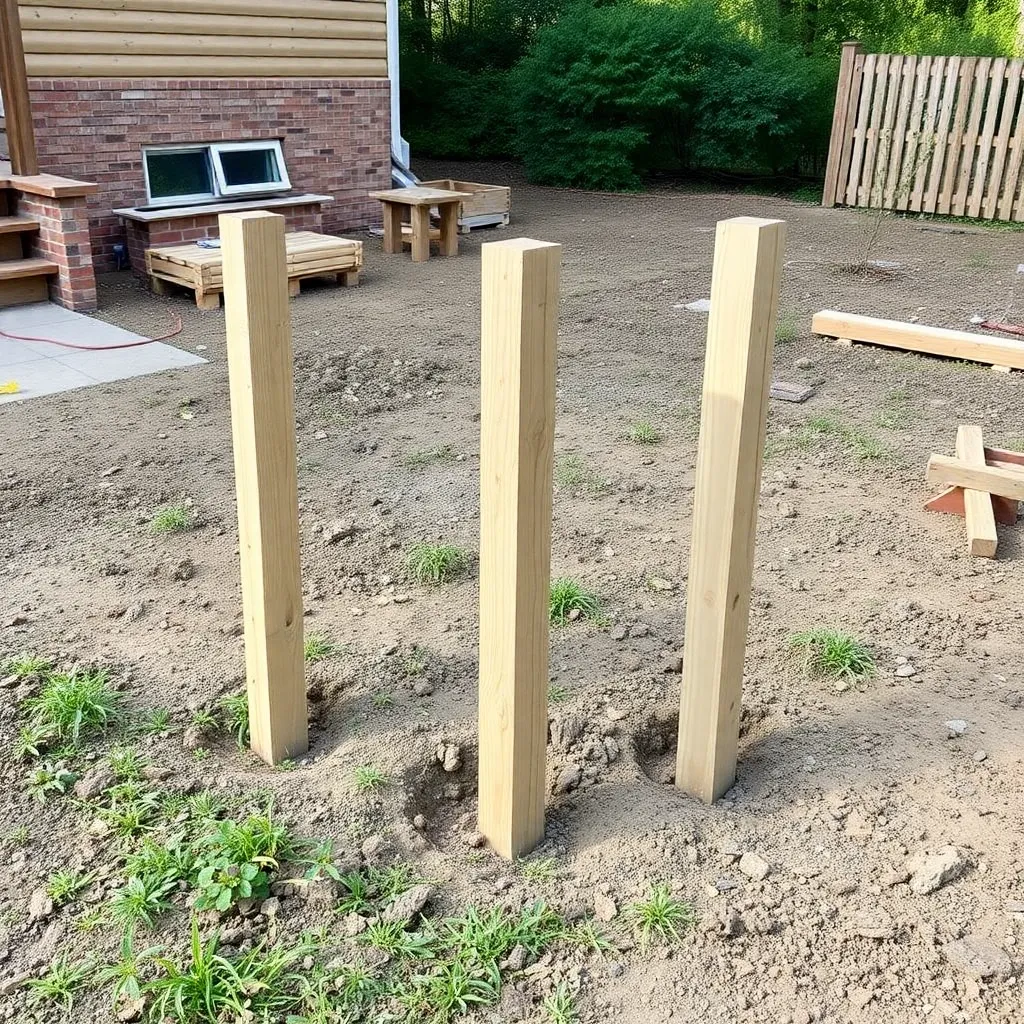
The corner posts are the structure’s anchor points — they must be plumb, properly aligned, and deep enough to resist frost heave.
Post specifications:
- Material: 4×4 pressure-treated posts (approved for ground contact — check the tag)
- Length: 9 feet total (3 feet in ground, 6 feet above ground)
- Quantity: 4 corner posts + 1 gate post on each gate side (6 posts total for a single-gate kennel)
Layout:
Stake out the 6×10-foot rectangle using batter boards and string line. The corners must be perfectly square — check with the 3-4-5 method (mark 3 feet on one string and 4 feet on the adjacent string; the diagonal should be exactly 5 feet if the corner is 90 degrees).
Setting posts:
- Dig post holes 36 inches deep (below frost line in most of the northern US; check local depth for your area)
- Set each post in the hole, brace plumb with 2×4 braces and stakes, and fill with concrete (Quikrete 80 lb bags, one per hole)
- Check plumb on two faces with a level before the concrete sets
- Allow concrete to cure 24 hours before attaching panels
Post spacing: The 6-foot dimension has one post on each side (6-foot spacing). The 10-foot dimension requires an intermediate post at the 5-foot mark of the long side (so panels are 5 feet each rather than a single unsupported 10-foot span).
Step 3: Install Chain-Link Panels and Gate
Chain-link panels:
Standard kennel panels come in 5-foot and 6-foot widths, in 4-foot, 5-foot, and 6-foot heights. For this kennel: 6-foot tall panels (taller than most dogs can jump or climb). You need:
- 2 × 5-foot panels for the 10-foot side (each side)
- 1 × 6-foot panel for the back wall
- 1 × 3-foot panel + gate for the front wall
Panel attachment:
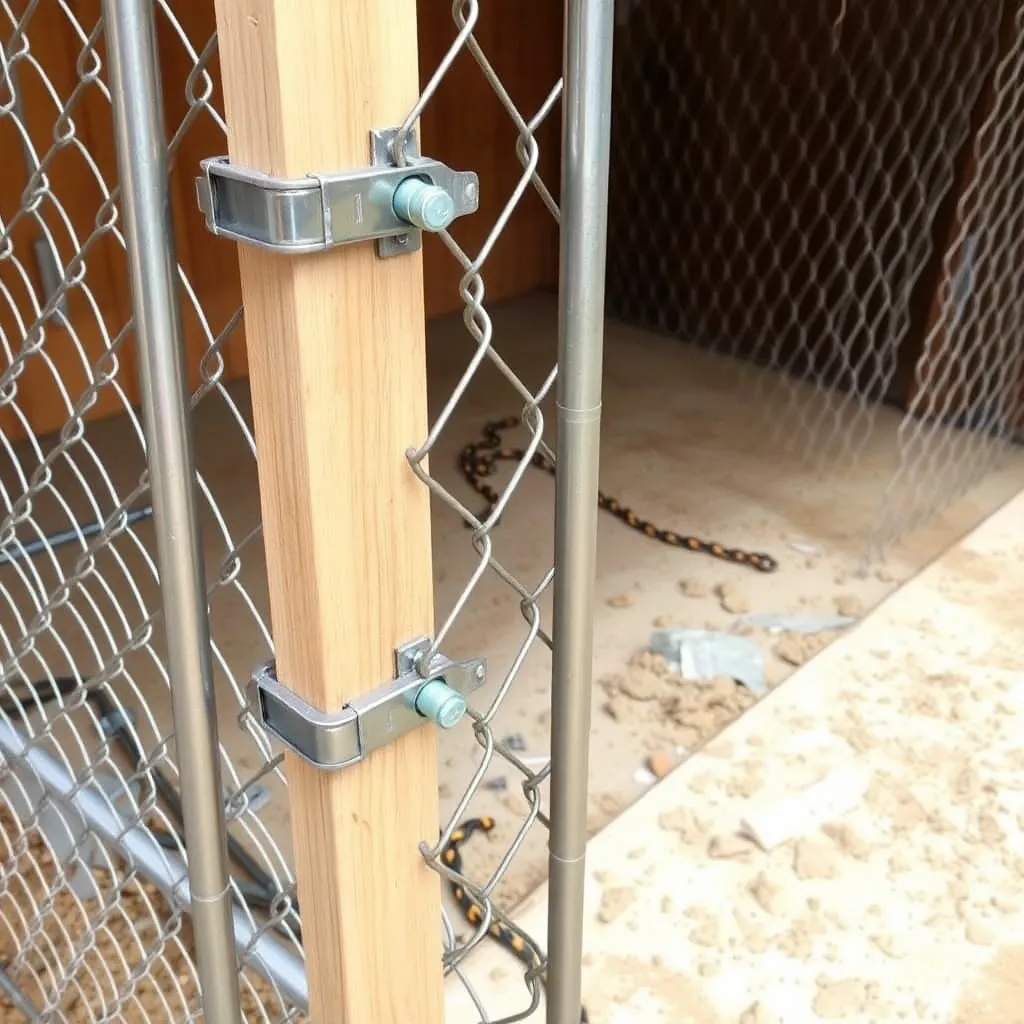
Kennel panel kits come with clamps (U-bolts and nuts) that attach the panel frame to the corner posts. Space clamps at 12, 36, and 60 inches up the post. Tighten firmly with a wrench — loose clamps allow panels to flex and eventually work free.
Gate:
Install a walk-through gate (6-foot tall, 3-4-foot wide) centered in the front wall. The gate must have:
- A self-closing spring mechanism (so it can’t accidentally be left ajar)
- A two-step latch (dogs learn to open single-step slide latches)
- A padlock hasp (for when the kennel is unoccupied and security is needed)
Anti-dig barrier (recommended):
If not using a concrete floor, attach a 12-inch horizontal flange of chain link to the base of each panel, bent outward and pinned to the ground with U-shaped landscape staples. This prevents digging under the panels — the most common kennel escape method.
Step 4: Build the Covered Sleeping Area
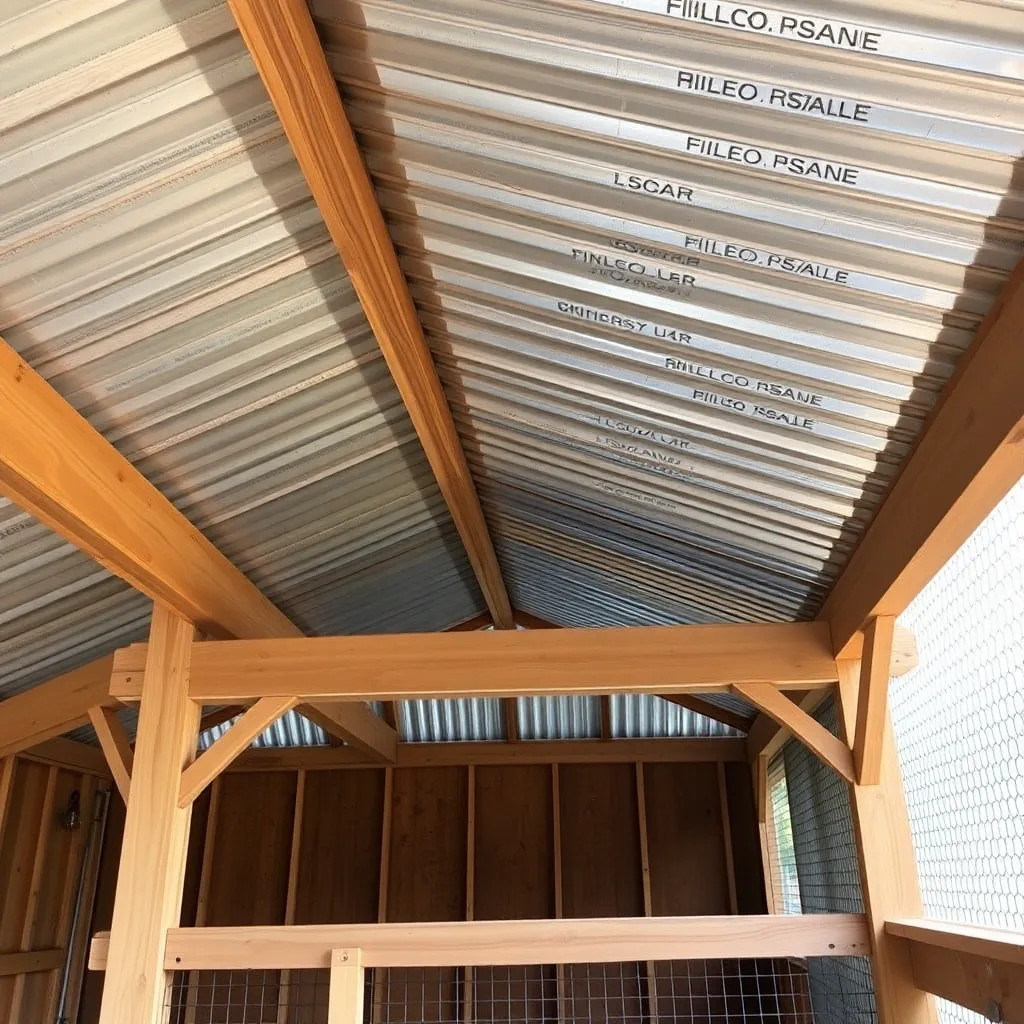
A covered section on one end of the kennel provides shelter from rain and direct sun — essential for all-day outdoor use.
Roof structure:
- Two purlins (horizontal beams): 4×4 pressure-treated at 8 feet, spanning from the two posts on the covered end to two new posts set 6 feet inside the run
- Rafters: 2×4 at 8 feet, spanning across the 6-foot width at 24-inch on-center spacing
- Roof pitch: 2:12 (2 inches rise per 12 inches of run) for drainage without awkward height difference
Roofing material:
- Corrugated metal roofing panels (steel or aluminum, 26-gauge): screw to the rafters with metal roofing screws with neoprene washers. A 6×8-foot roof coverage requires three 2-foot-wide × 8-foot-long panels.
- Translucent polycarbonate panels: an alternative that lets light in — dogs are less anxious in a kennel with natural light under the roof
Side walls on the covered end:
The covered end can be fully enclosed with pressure-treated plywood (exterior siding) on three sides, or enclosed with two sides and leave the kennel-facing side open to the run. Full enclosure creates a warmer sleeping space in winter; open enclosure is better for ventilation in hot climates.
Step 5: Add Water, Shade, and Interior Fixtures
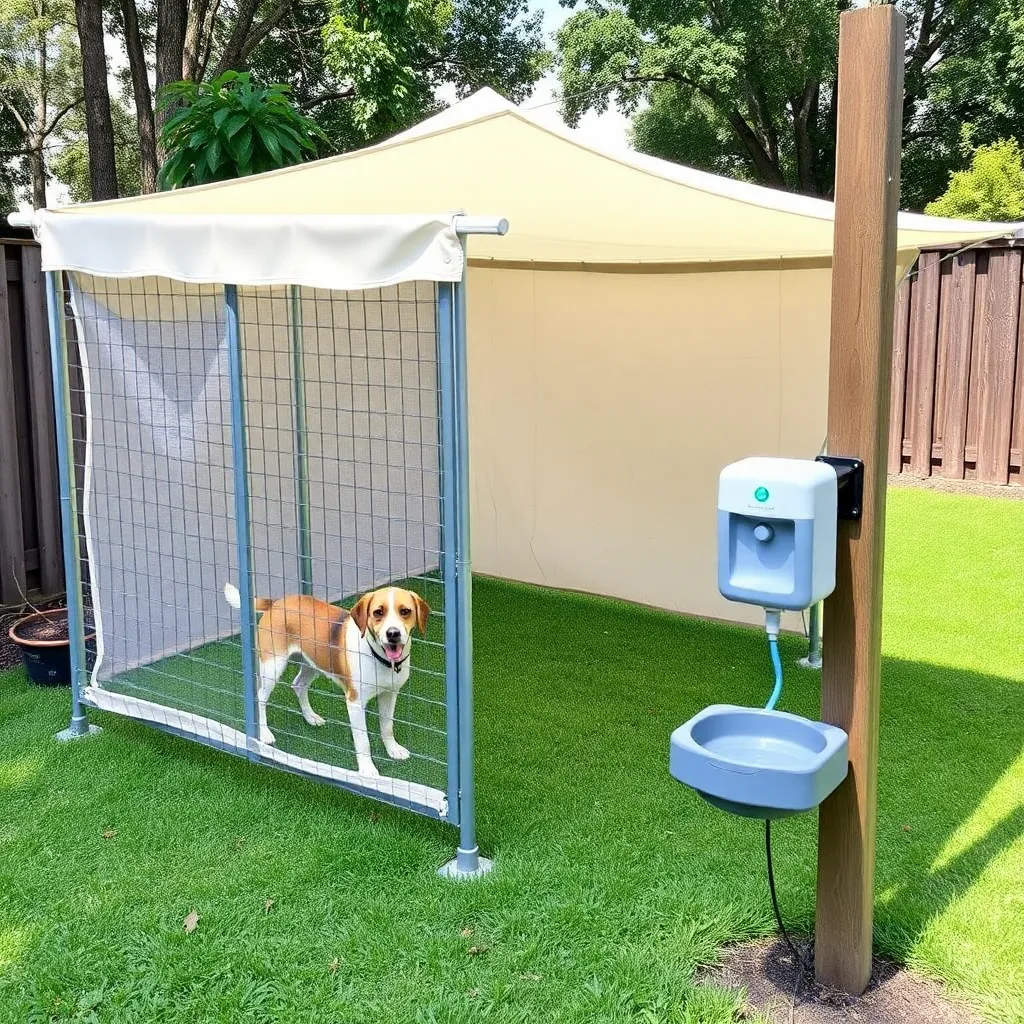
Water station:
Install an automatic kennel water bowl — a no-freeze version with a heating element for cold climates (runs on 120V; run a conduit underground from the house if needed). Mount it to a corner post at the dog’s shoulder height so debris can’t fall in. Change or refill daily even with automatic bowls.
Shade cloth:
Attach black or green HDPE shade cloth (70% shade factor) to the chain-link panels on the south and west sides of the run. This reduces the temperature inside the run by 10–15 degrees Fahrenheit on hot summer days. Attach with zip ties at 6-inch intervals along all edges.
Interior features:
- A wooden platform or elevated bed inside the covered sleeping area (keeps the dog off cold concrete in winter and provides a comfortable resting surface)
- A 4-inch threshold (pressure-treated 2×4 laid flat) at the gate to prevent gravel or bedding from washing out
- Kennel cleaning drain: if pouring a concrete slab, include a 4-inch floor drain in the center, connected to a gravel dry-well or daylight drainage outside the kennel
Dog Kennel Plans FAQ
How big should a dog kennel be?
The kennel length should be at least 3× the dog’s total body length to allow running. Width: at least 2× the dog’s length for turning. A 6×10-foot kennel is adequate for one large dog (70–100 lbs) used for daytime use, but 8×12 or 10×10 is more comfortable for extended stays. Always build as large as the space allows — dogs in undersized kennels develop repetitive stress behaviors (pacing, spinning).
What is the best flooring for a dog kennel?
Concrete is the most hygienic and durable — it can be hosed clean completely and holds no odor. Pea gravel is the most comfortable underfoot but requires periodic replacement as it becomes compacted and soiled. Bare dirt is the worst option for a permanent kennel — it holds odor, pools water, and erodes. If using concrete, provide a rubber kennel mat or elevated wooden platform in the sleeping area so the dog isn’t sleeping directly on cold concrete.
How do I prevent a dog from escaping a kennel?
The three escape vectors are: over the top (jumping or climbing), under the bottom (digging), and through the gate (opening latches). Counter all three: 6-foot panels with a top rail overhang (angled inward 45 degrees) for climbers, a horizontal anti-dig flange pinned to the ground for diggers, and a two-step latch plus padlock for gate openers. Cover the base of all panels with concrete splash pads to prevent digging at the base.
Do dog kennels need a roof?
The covered sleeping area needs a solid roof. The run portion does not require a roof unless the dog is a climber or jumper — in those cases, cover the entire run with chain-link or welded wire panels attached to the top rail. If the kennel is in a rainy climate, a full roof over the run is also useful to keep the floor dry between hosings.
How do I keep a kennel clean?
Hose the concrete floor daily (or every other day) — this alone prevents 90% of odor problems. Deep clean weekly with a diluted bleach solution (1:30 bleach to water), scrub with a stiff brush, and rinse thoroughly before the dog returns. Enzymatic odor eliminators (Nature’s Miracle, Rocco & Roxie) are more effective than bleach for embedded urine odor. Remove waste at least twice daily — waste left on concrete for hours becomes very difficult to fully remove.

“DIY woodworking enthusiast who started with zero experience and a YouTube tutorial.
I build simple, practical projects for my home and share free plans
so other beginners can skip the guesswork.If I can build it, you can too.”