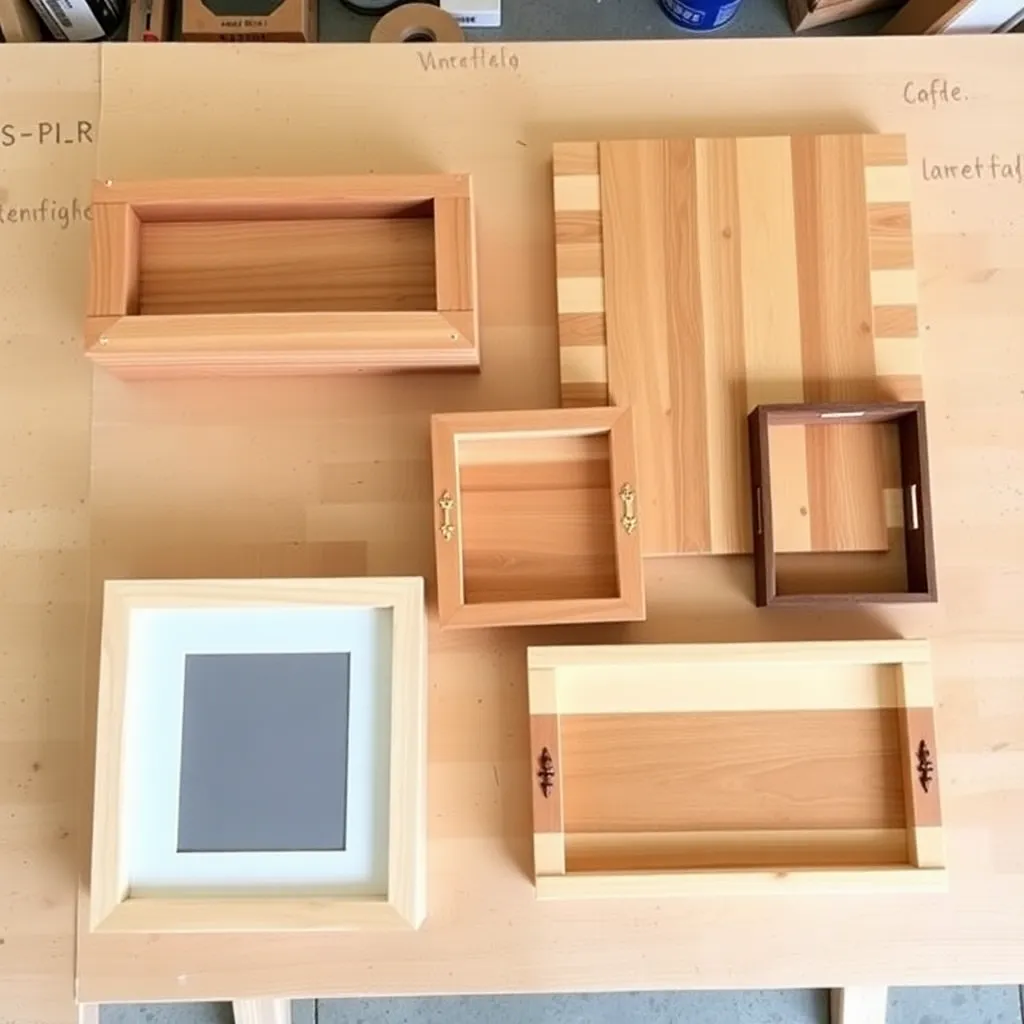
Wood is the most accessible building material — available at every home center, forgiving when you make mistakes, and beautiful without much effort. These twelve projects cover four categories where wood shows up at its best: home décor, garden, kitchen, and gifts. Each project is completable in an afternoon with basic tools and generates something genuinely useful or beautiful.
Ted’s Woodworking has complete plans for all twelve categories here, plus 16,000 more. Browse Ted’s plans →
Step 1: Build a Floating Shelf Set (Home Décor)
Goal: Cover a full wall with functional, matched shelving.
Cut three 1×8 pine boards at 36 inches each. Sand to 220-grit. Paint the same color as the wall so the shelf appears to float, or stain to contrast. Install floating shelf brackets (Ekby-style, $10–$15 each) into studs — mark bracket positions with a level across all three so they align horizontally. Space the shelves 10 inches apart vertically. Set shelves on brackets and secure with two screws from below. Three 36-inch shelves on a blank wall become a full bookcase equivalent without the bulk of freestanding furniture.
Milestone: Three aligned shelves that create a visual focal point in the room.
Step 2: Build a Wooden Picture Frame (Home Décor)
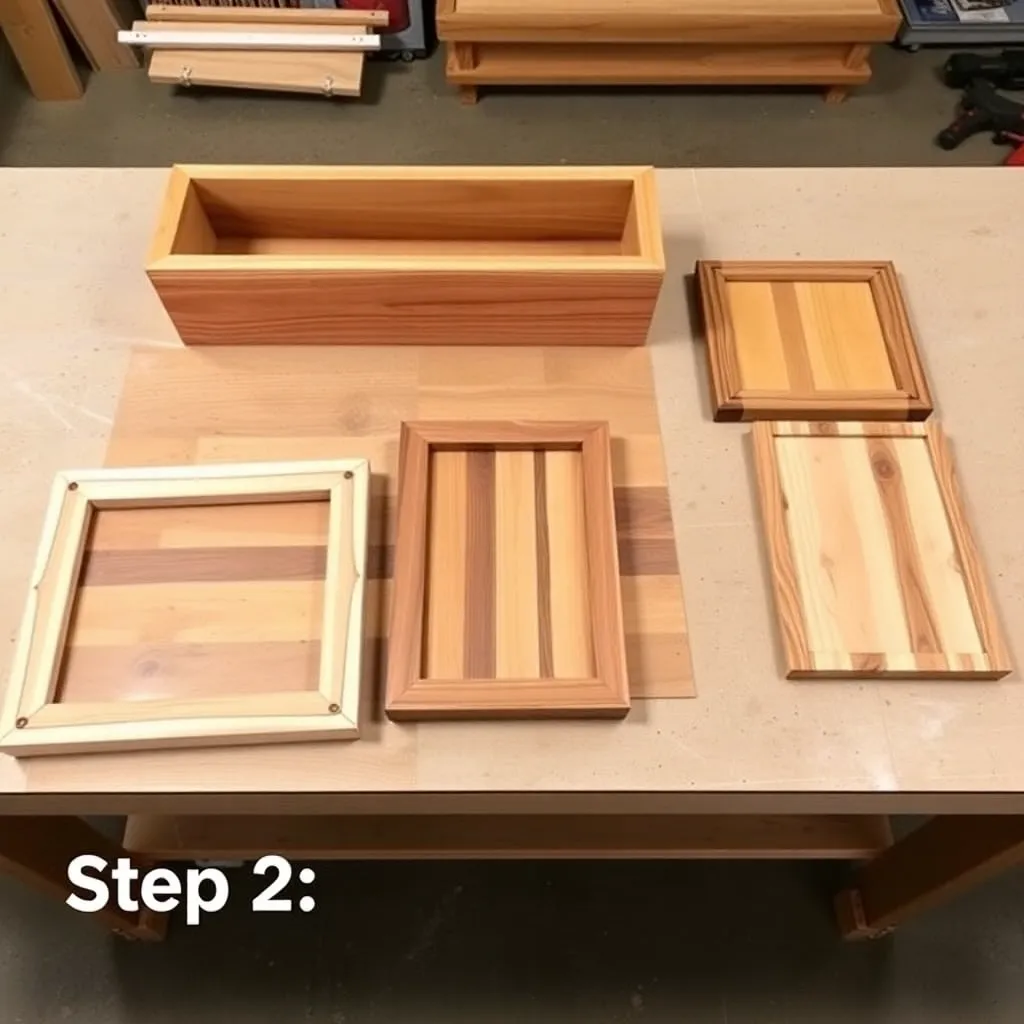
Goal: Make a frame that fits an unusual size and matches a specific décor.
Miter-cut 1×2 hardwood molding at 45° for a 5×7 photo. Each pair of opposite pieces has the same measurement at the long point: sides at 9 inches, top/bottom at 7 inches. Assemble with corner clamps, Titebond wood glue, and ½-inch pin nails at each corner. Cut a ¼-inch plywood backing to 5×7. Add a routed rabbet on the inside back edge to hold glass and backing, or use a hand-held router with a ¼-inch rabbeting bit. Finish to match existing frames in the room.
Milestone: A frame that holds a specific photo or print perfectly.
Step 3: Build Wooden Candle Holders (Home Décor)
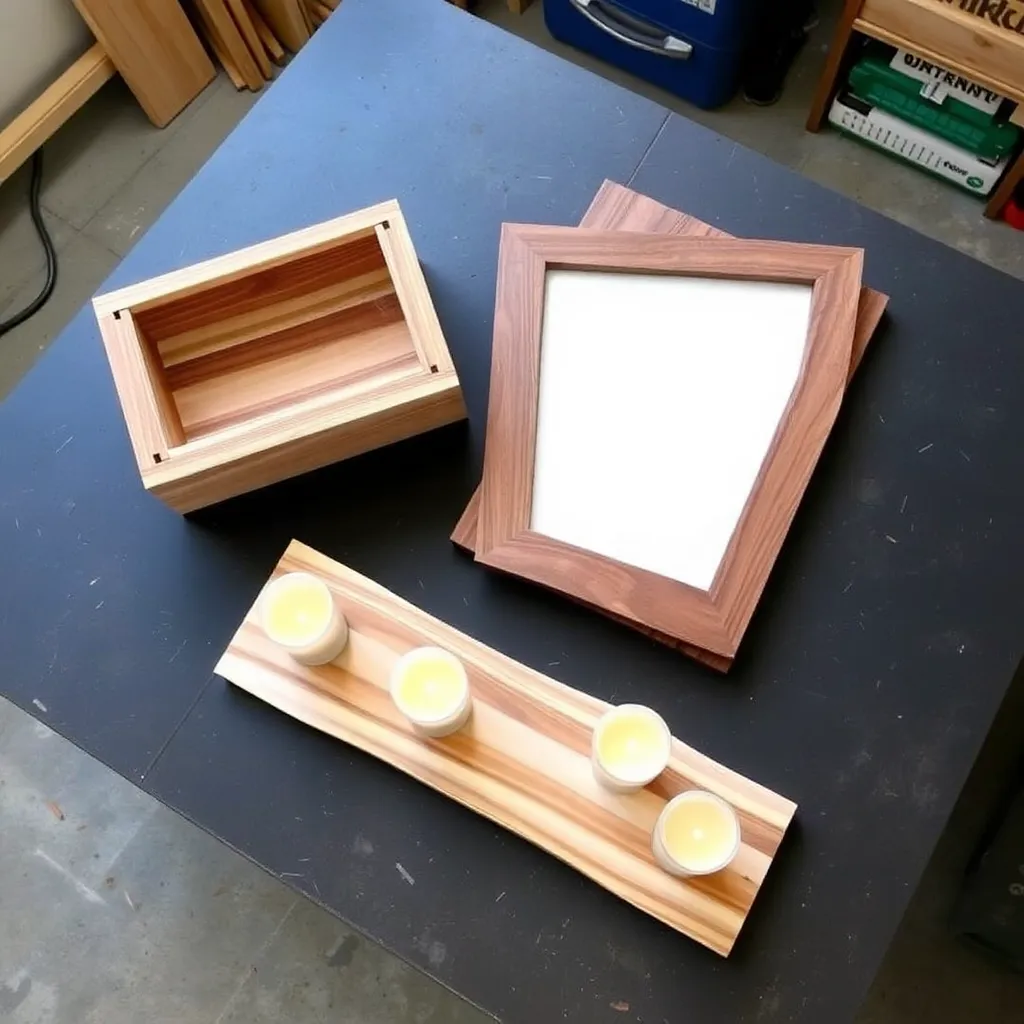
Goal: Practice lathe work or produce a clean turned shape using a drill press.
For a lathe: turn a 2×2 walnut or cherry blank into a 6-inch tall taper. Drill a ⅞-inch hole in the top for a taper candle or a 3-inch diameter recess for a pillar candle. Sand through 80/120/220 on the lathe and apply a single coat of Danish oil while turning. For a drill press: square-cut a 2×2 into three heights — 4, 6, and 8 inches. Drill a ⅞-inch hole, ¾ inch deep, in the top. Apply a chamfer on the base edges with a router. Stain or paint all three the same color and group as a trio.
Milestone: A set of matching holders that look intentionally designed.
Step 4: Build a Cedar Planter Box (Garden)
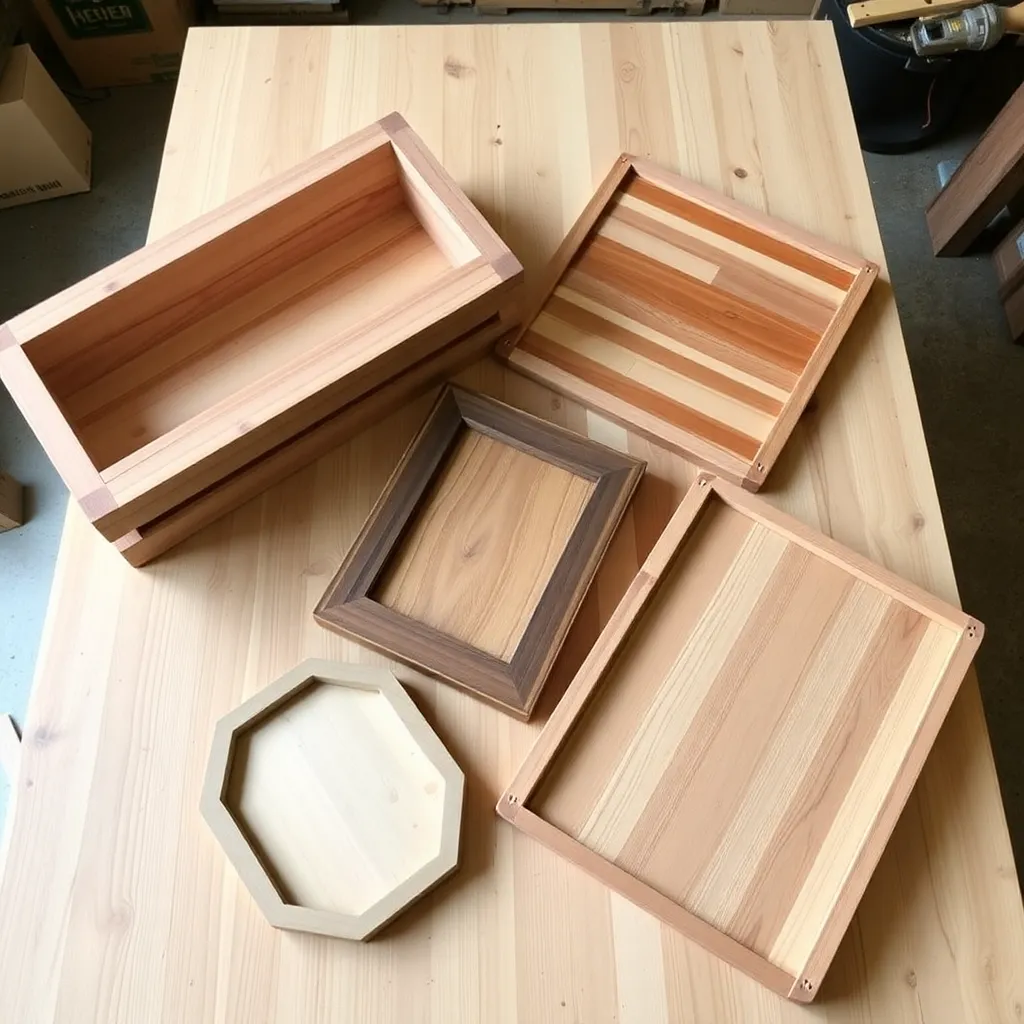
Goal: Build a rot-resistant outdoor planter that improves the look of a patio or porch.
Use ¾-inch cedar boards: front/back at 8 × 24 inches, sides at 8 × 12 inches, bottom at 11 × 23 inches with ¼-inch drainage holes drilled every 4 inches. Assemble with 1¼-inch exterior screws and no glue (outdoor pieces need seasonal movement). Cap the top edges with a 45°-mitered cedar frame from 1×3 stock — this hides end grain and makes the box look finished. Leave cedar natural for a silver weathered look or apply exterior teak oil for a warm honey color.
Milestone: A planter that fits a specific patio space with no plastic or foam visible.
Step 5: Build Garden Plant Stakes (Garden)
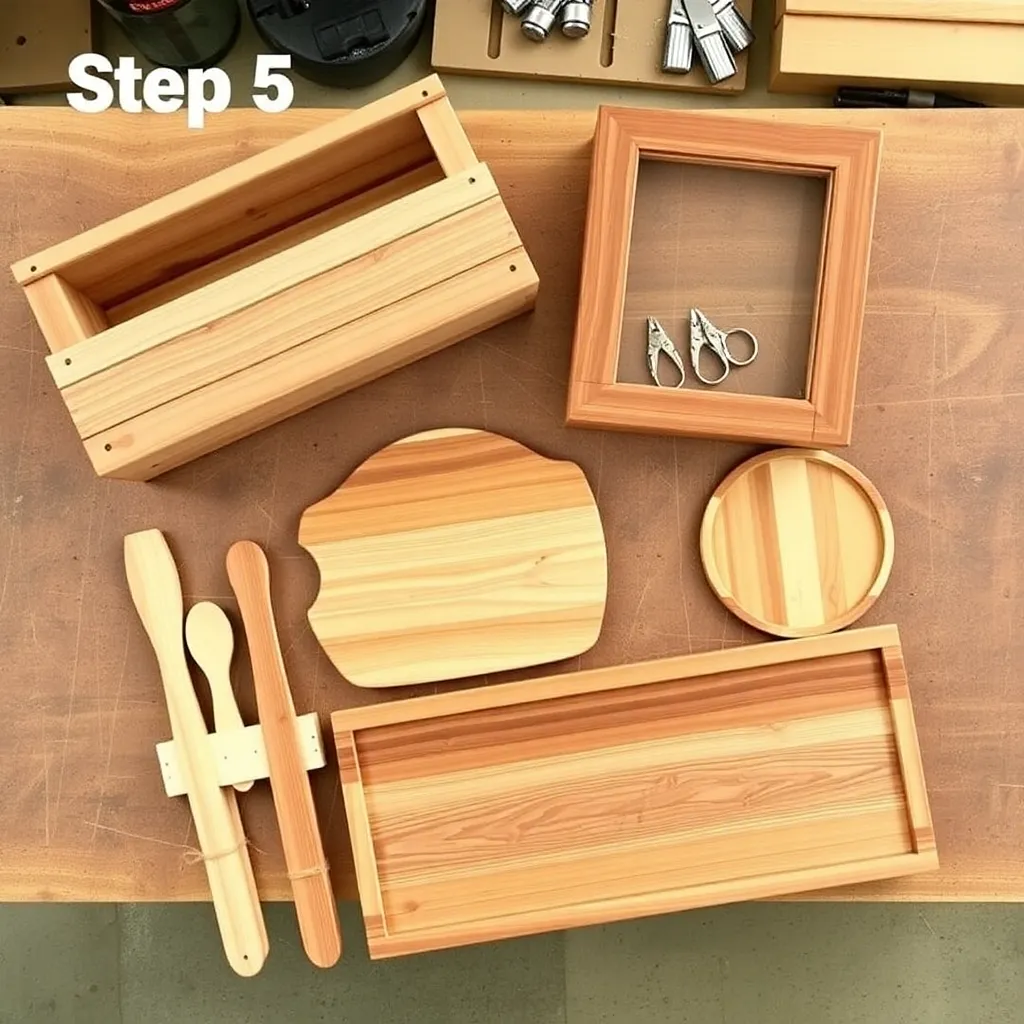
Goal: Make personalized plant markers and practice hand lettering or pyrography.
Cut ¼-inch hardboard or ⅛-inch plywood into 1×6-inch rectangles. Cut one end to a point on the table saw or with a jigsaw. Sand both faces to 220-grit. Apply a coat of exterior paint (light color for legibility). Write plant names with a permanent paint marker or burn them in with a pyrography pen. Apply a clear exterior topcoat over the finished lettering. Push the pointed end 3–4 inches into soil next to each plant.
Milestone: A set of matched markers that make the garden look intentional and organized.
Step 6: Build a Raised Planter With Legs (Garden)
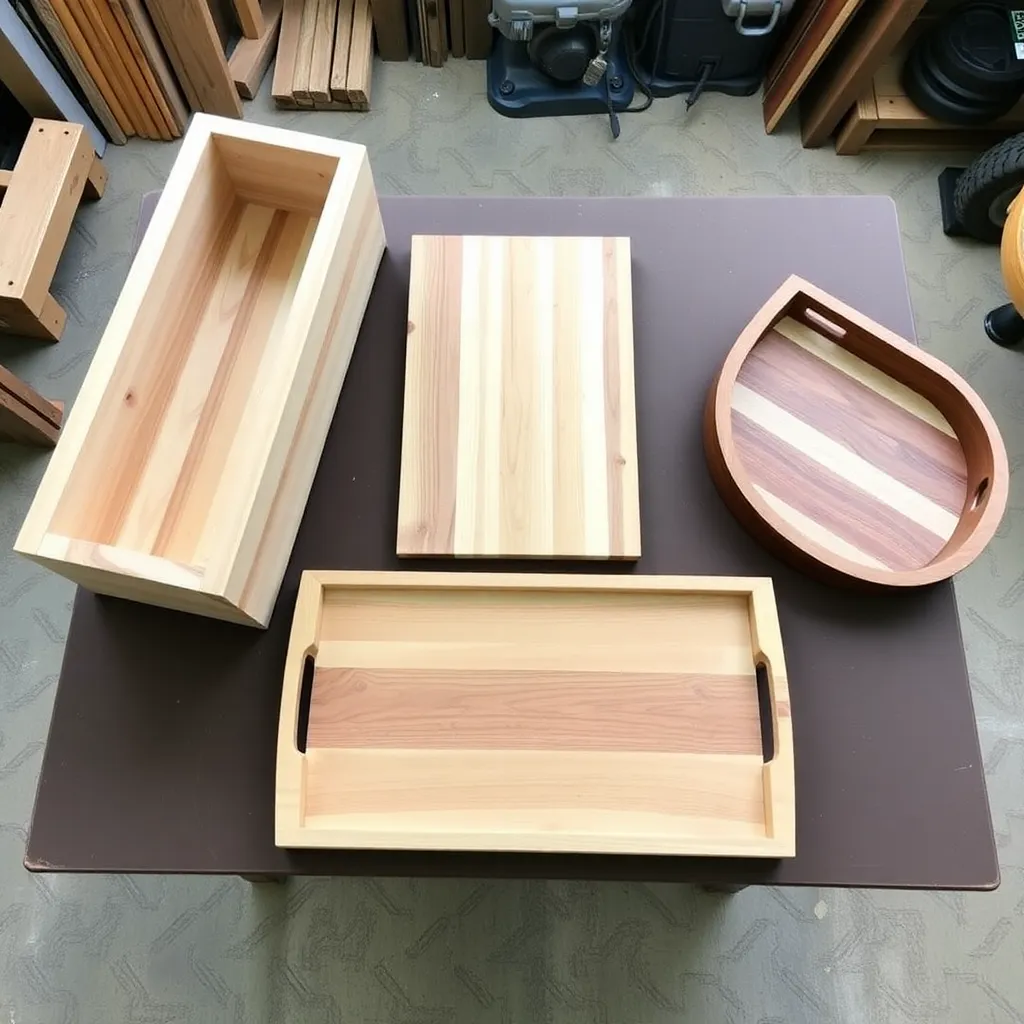
Goal: Build a four-legged elevated planter — no bending over required.
Cedar 2×4 frame: four legs at 30 inches, two long aprons at 36 inches, two short aprons at 14 inches. Connect all aprons to the legs with pocket screws on the inside. Add slats across the bottom from 1×4 cedar spaced ½ inch apart for drainage. Line the interior with landscape fabric before filling with soil — the fabric allows drainage while keeping soil off the wood. Finish with teak oil or leave raw cedar. At 30-inch leg height, this becomes a standing-height planter that doubles as a raised herb garden.
Milestone: A planter at a comfortable working height with no ground contact.
Step 7: Build an End-Grain Cutting Board (Kitchen)
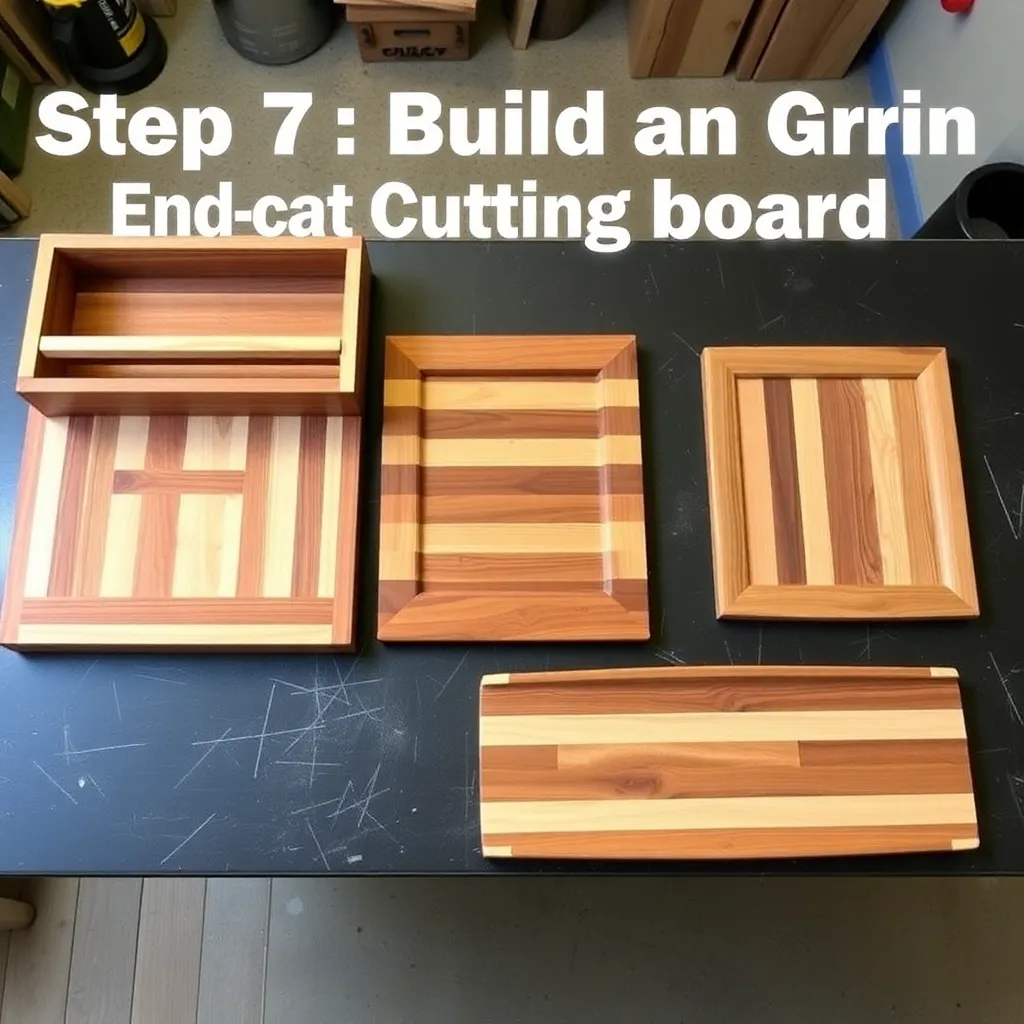
Goal: Build the most durable type of cutting board — end-grain self-heals from knife marks.
Buy 2-inch thick hardwood shorts: maple and walnut work well together. Cut into 2×2 strips. Arrange strips alternating species with end grain facing up. Glue with Titebond II, clamp across the width. After 24 hours, run both faces through a drum sander or flatten with a hand plane. Cut the slab into 2-inch strips perpendicular to the glue lines (this exposes the end-grain pattern). Re-glue these strips side-by-side into the final board. Flatten again. Round all edges with a roundover bit. Apply food-safe mineral oil, allow to soak overnight.
Milestone: A board with a checkerboard end-grain pattern that stands out on any kitchen counter.
Step 8: Build a Utensil Holder (Kitchen)
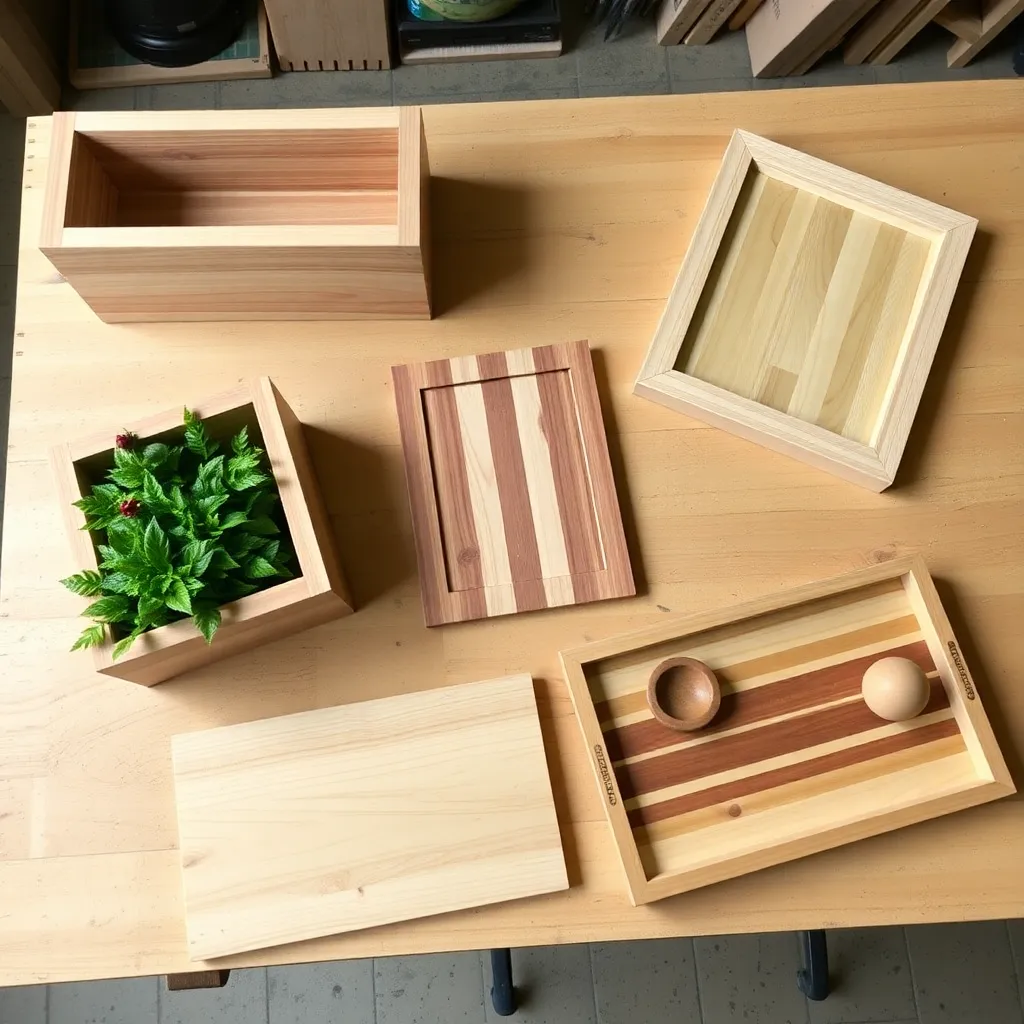
Goal: Practice box-making and turning a cylinder on the lathe.
For a square version: assemble four pieces of ½-inch oak or maple at 6 × 8 inches using box joints (finger joints) cut on the table saw with a dado blade. Glue and clamp. Cut the bottom from ¼-inch plywood and attach with finish nails from below. Sand to 220, apply two coats of food-safe oil. For a lathe version: turn a 3-inch diameter cylinder from a 4×4 blank, hollow the center with a spindle gouge to 2½ inches deep. Apply a food-safe finish.
Milestone: A holder that sits stable on the counter and fits the 8–10 utensils it’s sized for.
Step 9: Build a Cookbook Stand (Kitchen)
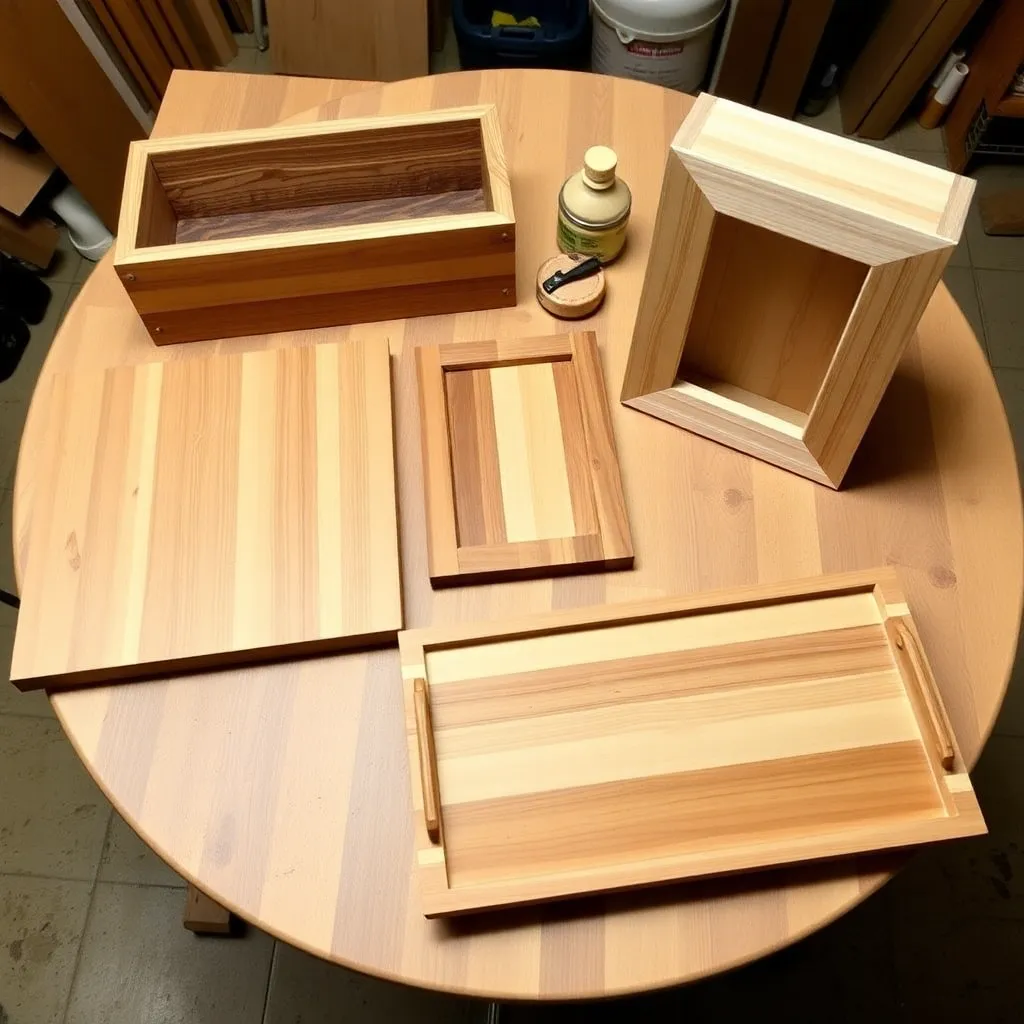
Goal: Build a functional display piece and practice angled cuts.
Back panel: 8 × 11-inch piece of ¾-inch maple or pine. Route a decorative edge on the top and sides. Ledge: 1½ × 12-inch piece attached at a 10° angle to the back using two pocket screws. Add a ¼-inch lip strip along the front edge of the ledge to prevent books from sliding off. Cut two side supports that fit between the back panel and the bottom ledge and attach with pocket screws. Sand the entire assembly to 220. Apply three coats of polyurethane — a kitchen item that sees oil and steam needs a durable topcoat.
Milestone: A stand that holds a cookbook open at a readable angle while both hands work.
Step 10: Build a Jewelry Box (Gift)
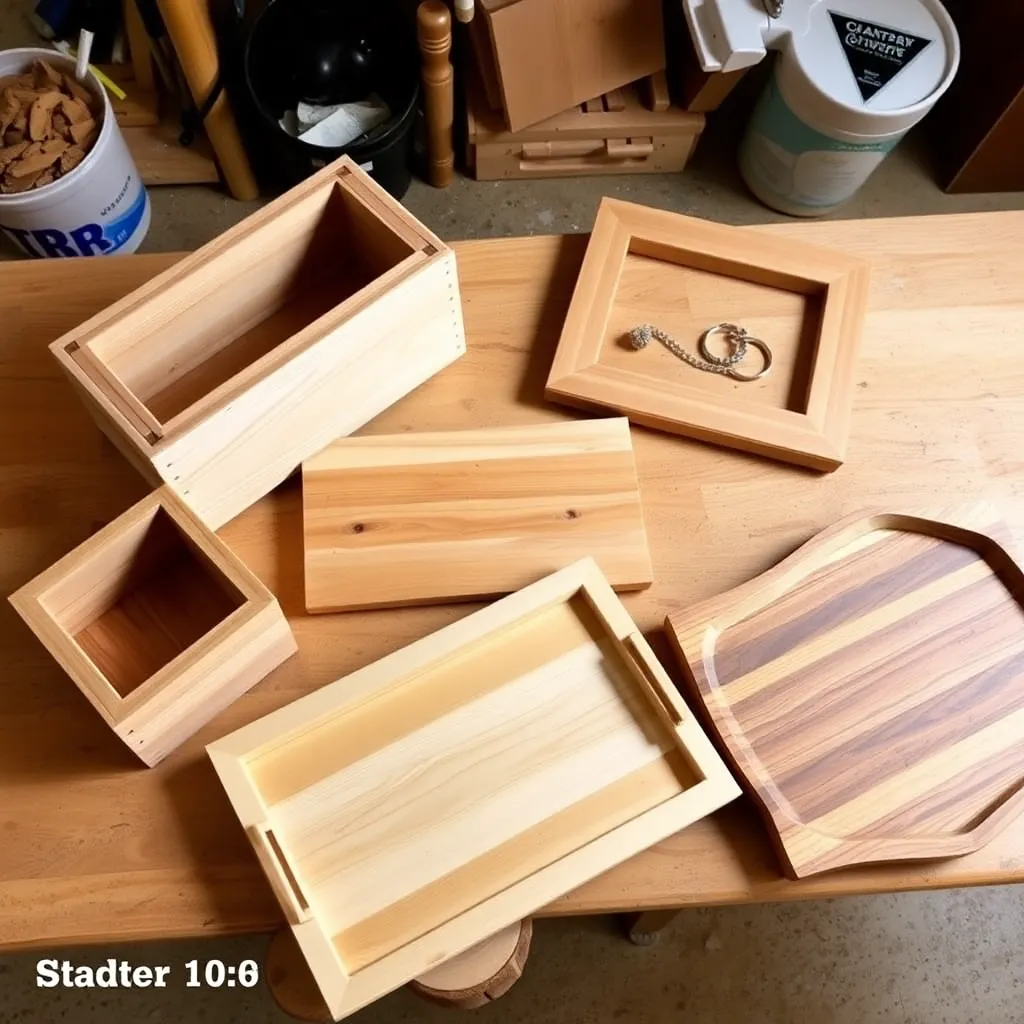
Goal: Build a hinged box — your first experience with precise lid fitting and hardware installation.
Cut ½-inch maple box parts: front/back at 4 × 10 inches, sides at 4 × 6 inches, bottom at 5½ × 9½ inches, lid at 6 × 10½ inches (slightly oversize, will be trimmed). Glue the four sides and bottom with Titebond. After curing, run the assembled box through the table saw at 1½ inches from the top to cut the lid free — this ensures the lid fits perfectly. Install two brass piano hinges along the back. Line the interior with velvet self-adhesive felt. Add a small brass clasp on the front.
Milestone: A box that closes flush with no gaps and opens without resistance.
Step 11: Build a Pencil and Pen Box (Gift)
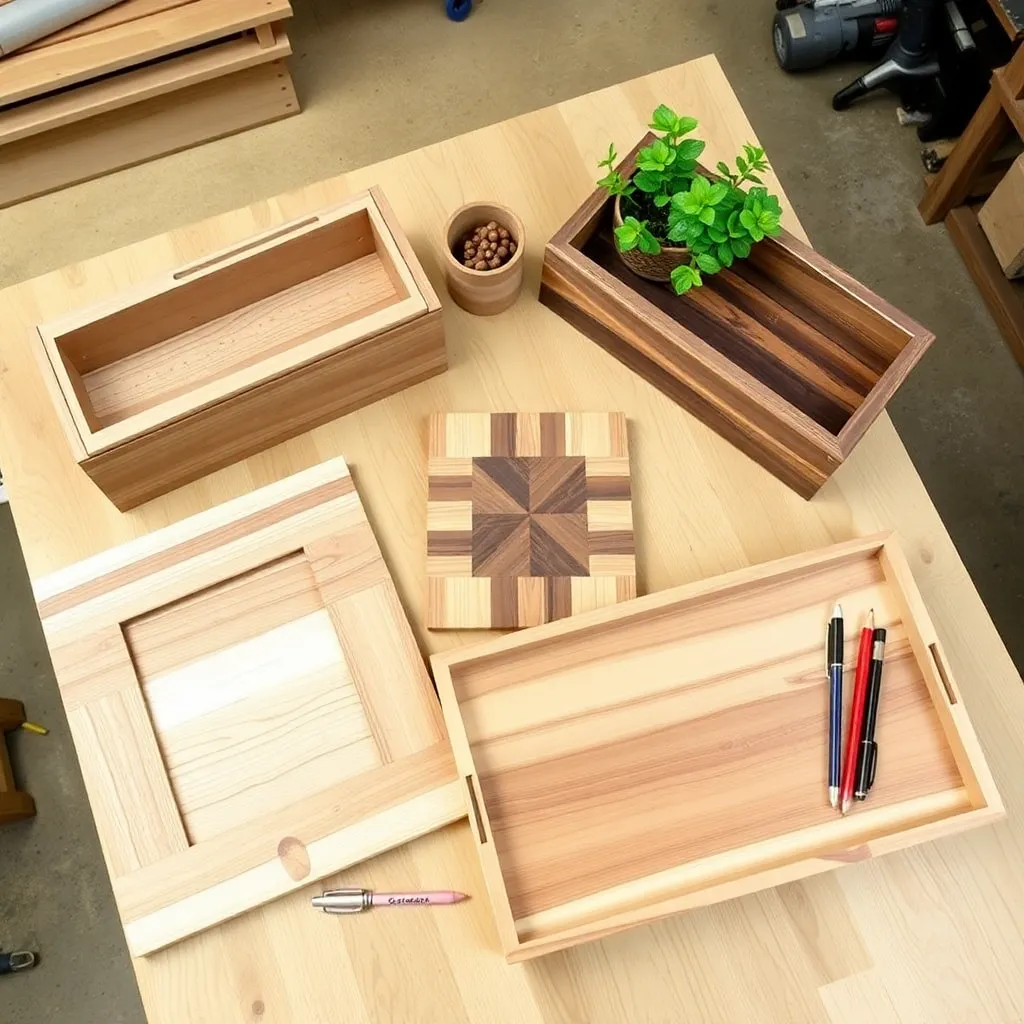
Goal: Practice dovetail joinery on a small, manageable project.
Cut ⅜-inch cherry or walnut parts: two sides 3 × 8 inches, two ends 3 × 4 inches. Cut half-blind dovetails on the front corners with a router and dovetail jig. Assemble with glue, no fasteners — the dovetail is mechanical locking. Attach a ¼-inch cherry plywood bottom with a router rabbet. Sand to 320, apply two coats of shellac for a warm amber tone. Add a small leather hinge to a lift-off lid cut from the same ⅜-inch stock.
Milestone: A box with visible hand-cut (or jig-cut) dovetails on the corners.
Step 12: Build a Serving Tray (Gift)
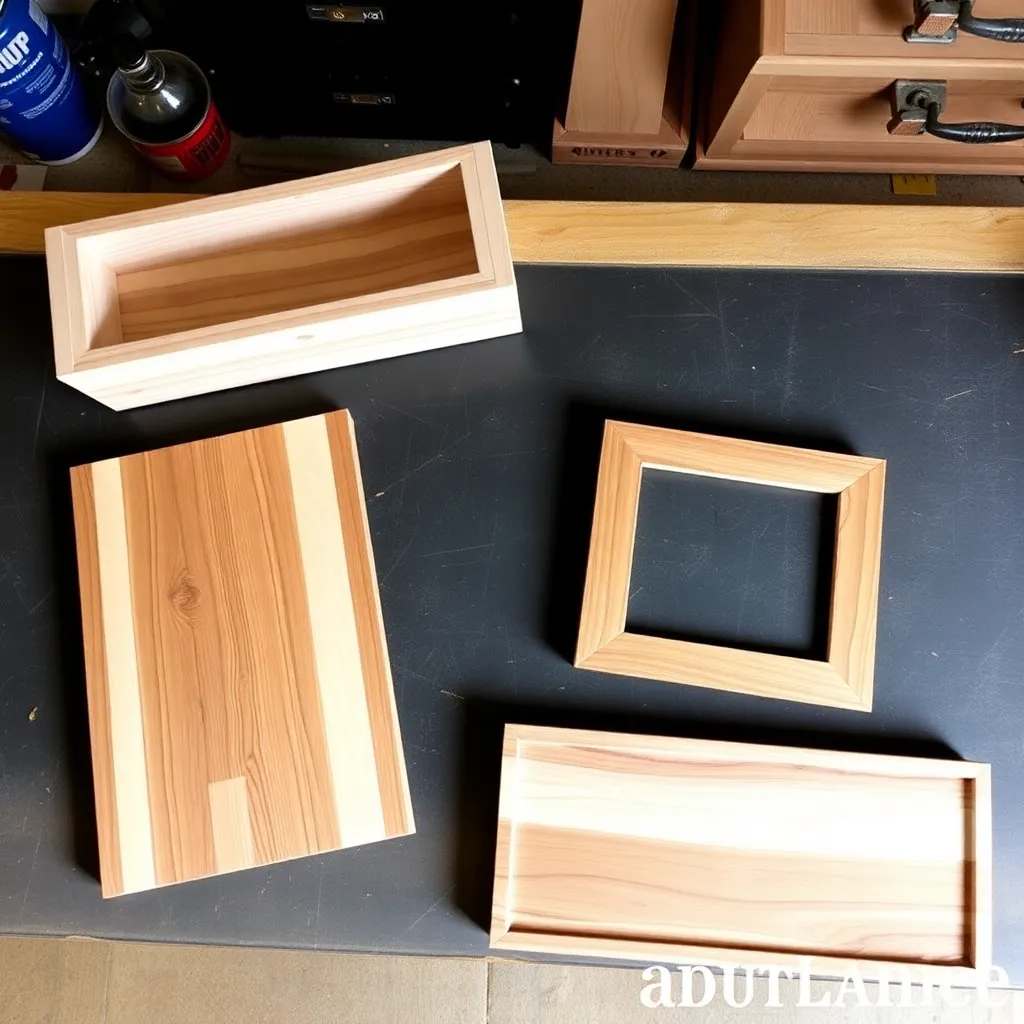
Goal: Build a piece that combines a glue-up top with router work and handles.
Glue up three 1×6 boards at 18 inches long. After curing, plane or sand flat. Route a decorative cove edge on all four sides. Cut handles from the same stock — oval cutouts 1×3 inches, smoothed with a drum sander bit. Attach handles at each short end with pocket screws from below. Apply three coats of food-safe polyurethane, sanding with 320-grit between coats. The finished tray should feel rigid with no flex — if it flexes, add a ¼-inch plywood panel glued underneath the center.
Milestone: A tray you could sell at a craft market without a second thought.
Projects With Wood FAQ
What kind of wood lasts the longest outdoors?
Cedar, redwood, and teak are naturally rot-resistant without treatment and can last 20+ years outdoors. Pressure-treated pine (look for the UC4A rating for in-ground contact, UC3B for above-ground) is the budget option. Pine, poplar, and other untreated softwoods should not be used outdoors — they rot in 2–3 seasons even with paint or sealer applied.
What is the easiest wood project to sell?
Cutting boards and serving trays consistently sell well at craft markets and on Etsy. Material cost is $10–$30, sale price is $40–$100, and the build time is 2–4 hours once you have a process dialed in. Personalized items (engraved names, dates) command a premium and are easy to add with a laser engraver or pyrography pen.
Can I use regular wood glue outside?
No. Regular yellow wood glue (Titebond Original) is not waterproof. For outdoor projects, use Titebond II (water-resistant, sufficient for items that see rain but dry out) or Titebond III (fully waterproof, required for continuously wet applications like planters that hold soil). Exterior-grade construction adhesive works for structural joints where appearance is not a concern.
How do I finish wood for outdoor use?
Options in order of durability: spar urethane (UV-resistant, flexible, longest lasting — re-coat every 2–3 years), exterior paint (seals all exposed wood, including end grain), teak oil (penetrates the wood, easy to apply, needs re-coating every 6–12 months), exterior stain (color + protection in one). Leave cedar or redwood bare if you prefer the silver weathered look — they don’t need finish to survive outdoors.

“DIY woodworking enthusiast who started with zero experience and a YouTube tutorial.
I build simple, practical projects for my home and share free plans
so other beginners can skip the guesswork.If I can build it, you can too.”