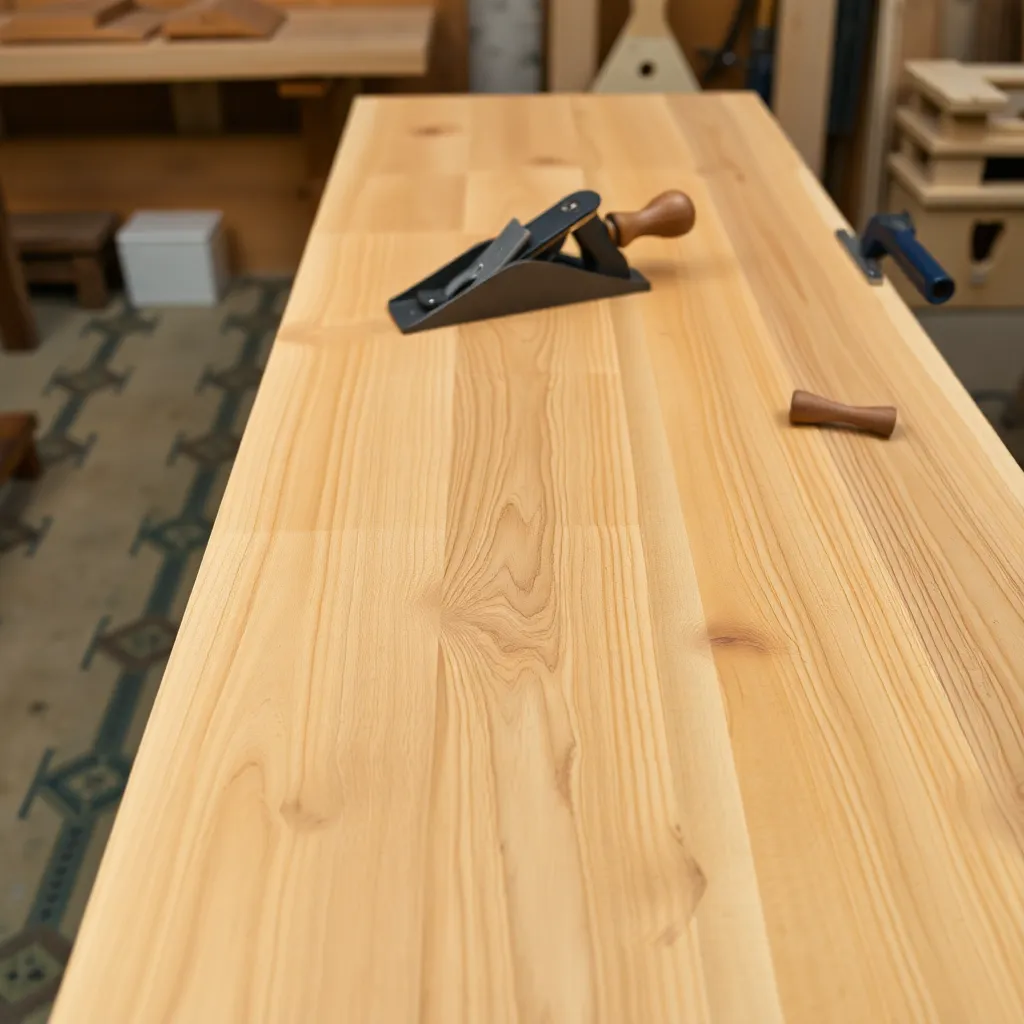
The workbench top is the most-used surface in the shop — it must be flat enough for accurate work, hard enough to resist denting, and treated correctly to survive years of glue, finish, and tool contact. The right top material depends on how you use the bench: a hand-tool woodworking bench has different requirements than an assembly table, and both differ from a garage workbench that sees automotive work. This guide covers the five main workbench top options with their advantages, construction methods, and best applications.
Ted’s Woodworking has complete workbench plans with top construction details for every design. Browse Ted’s plans →
This guide is part of our complete Workbench Plans: Shop Benches, Sawhorses & Tool Storage — covering workbench designs, sawhorses, tool storage, and more.
Step 1: Laminated Hard Maple — The Benchmark Top
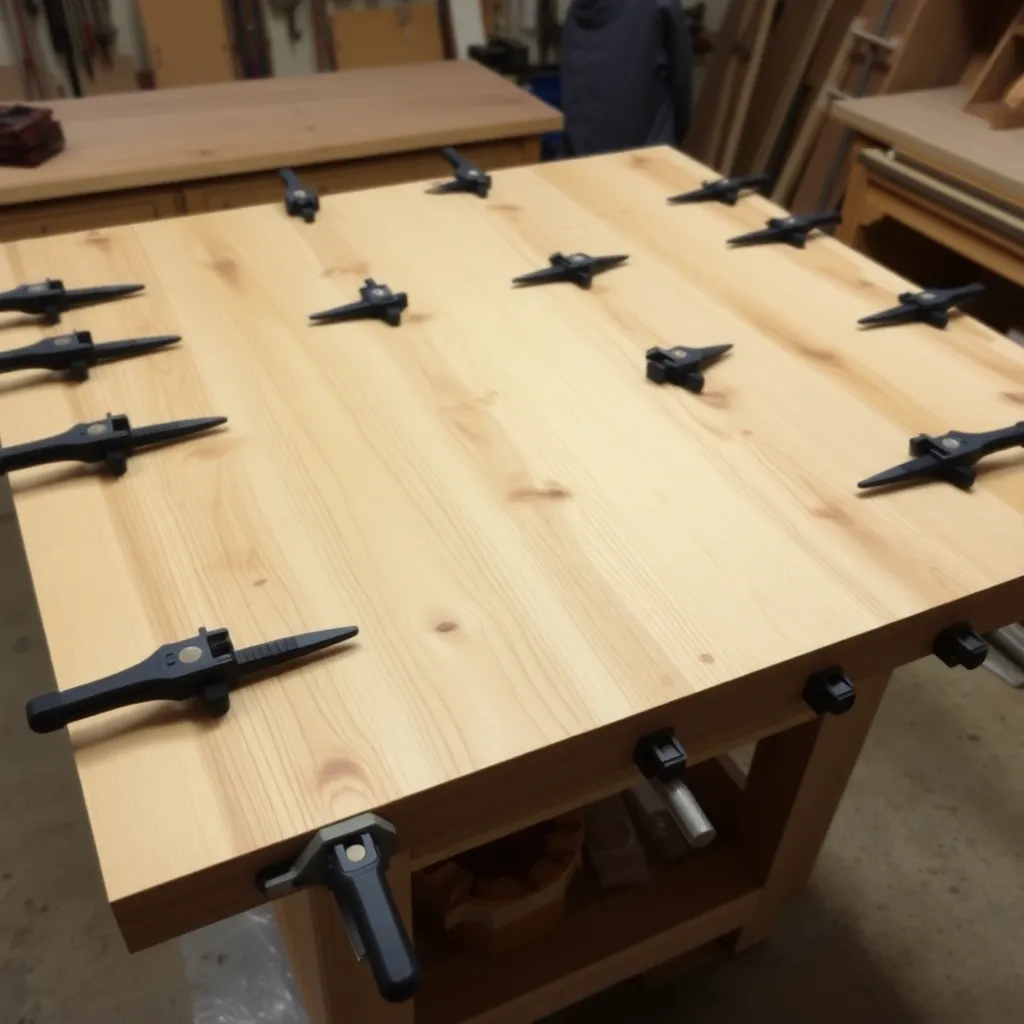
Goal: Understand why hard maple is the professional standard and how to build a laminated maple top.
Hard maple is the standard for serious woodworking benches — Janka hardness 1450 lbf (the hardest common domestic species), extremely stable when properly dried and laminated, and with oil treatment it ages beautifully without deteriorating.
Why maple works: the hardness resists tool marks, clamp dents, and the constant low-level abuse a workbench receives. Maple is also very flat in a stable shop environment — it doesn’t move much seasonally when the moisture content is stable.
Building a laminated maple top:
- Purchase 8/4 (2-inch nominal) hard maple — select straight-grained, quartersawn if possible for minimum movement
- Mill all stock to consistent thickness (typically 1.75–1.875 inches after milling)
- Arrange boards with alternating grain direction (bark side up, then bark side down) to minimize warping
- Glue up in sections of 3–4 boards, let cure, then glue sections together
- Flatten the glued-up top with hand planes (traverse plane then bench plane) or a router sled
Cost: approximately $200–$400 in lumber for a 6-foot × 24-inch maple top. The lumber cost is real — but the top lasts indefinitely.
Milestone: Purchase a sample piece of 8/4 hard maple and test-plane it to evaluate the wood quality and grain direction.
Step 2: Laminated Douglas Fir — Best Value Top
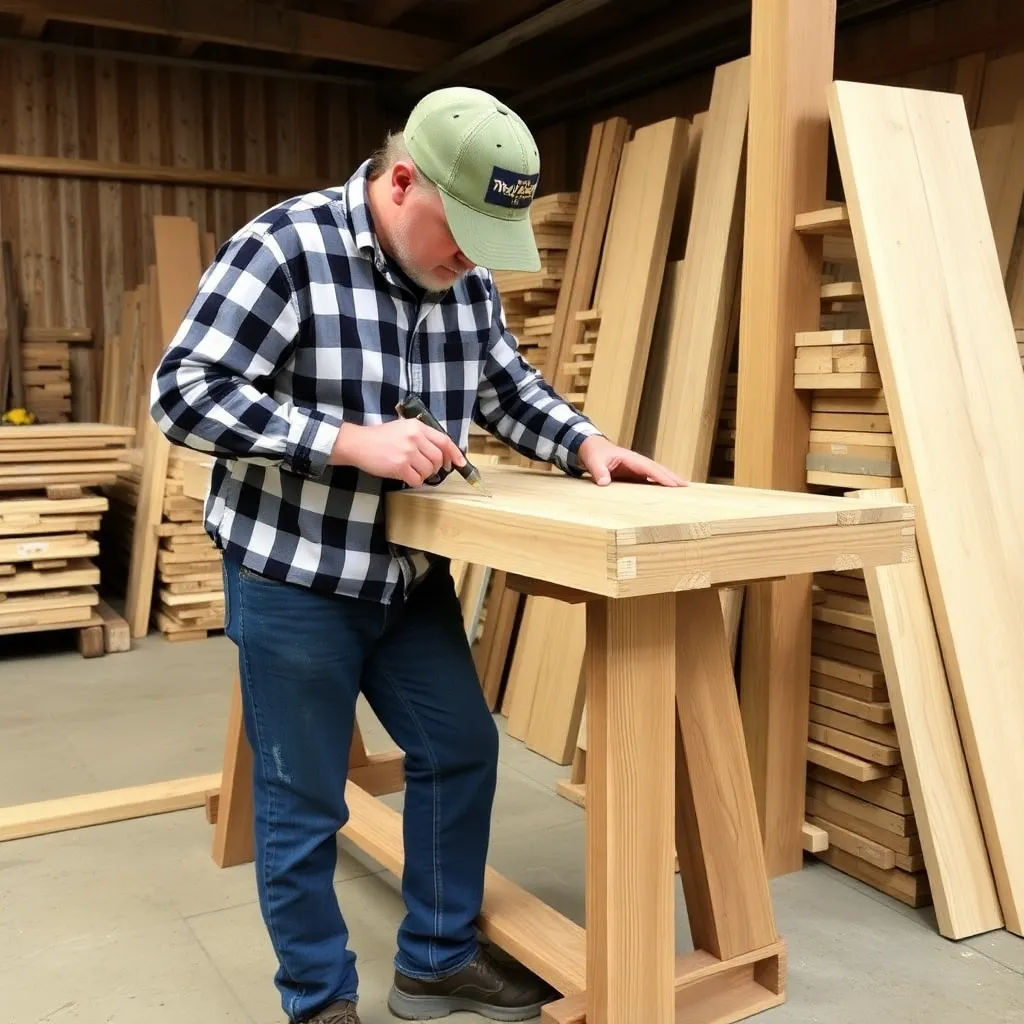
Goal: Build an excellent workbench top from construction lumber at a fraction of the maple cost.
A laminated Douglas fir or southern yellow pine top (built from glued-up 2×4 studs) produces a flat, stiff, adequate top for most woodworking — including serious hand tool work. It’s not as hard as maple, but it’s dramatically less expensive and the low cost means you’re not precious about the work surface.
Building a fir top:
- Select the straightest, driest 2×4 studs at the home center — reject boards with warp, twist, or excessive knots
- Let the lumber acclimate in the shop for 1–2 weeks before gluing
- Joint one face of each board flat on the jointer
- Glue face-to-face (not edge-to-edge) in pairs, then pairs together — the result is a very thick laminate
- Clamp across the width every 6 inches while the glue sets
- Flatten with a router sled, belt sander, or hand planes
Thickness: 10 2×4s glued face-to-face produce a 3.5-inch thick top (the actual dimension of 2×4 stock is 1.5 inches, so 10 boards = 15 inches width, not thickness — glue face-to-face so each 3.5″ dimension becomes the height).
Cost: approximately $30–$50 for a 6-foot fir top. The savings vs maple are significant; the quality difference for most woodworking is minimal.
Milestone: Calculate the number of 2×4s needed for your bench top width and length, then select the straightest ones at the home center.
Step 3: Butcher Block — Pre-Made Top Option
Goal: Evaluate pre-made butcher block as a bench top option.
Butcher block countertops (sold for kitchen use) provide an immediately usable bench surface without the glue-up process. They’re available at IKEA, home centers, and specialty retailers in sizes up to 98 inches long and 25 inches wide.
Advantages:
- No lamination work required — buy, attach, and start working
- Hard maple or beech construction (IKEA’s Karlby is beech — Janka 1300 lbf, adequate)
- Flat from the factory
- Attractive appearance
Disadvantages:
- Typically 1.5 inches thick — lighter than a traditionally laminated bench top
- The thin top lacks the mass that aids hand planing stability
- May not be available in the exact dimensions you need
- More expensive than DIY lumber lamination
Best applications: assembly benches and secondary benches where a quick, usable surface is needed; garage benches where appearance matters; first benches for woodworkers who want to start working immediately.
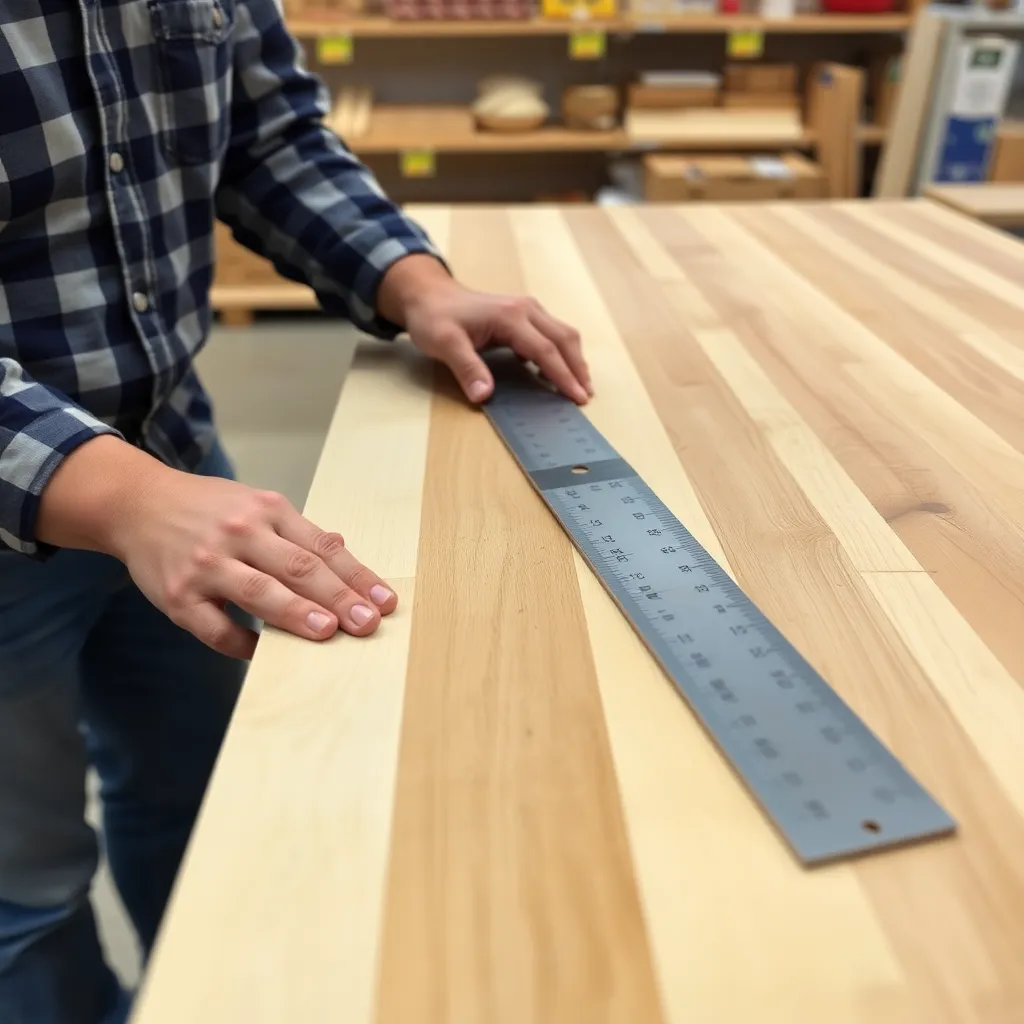
Flatness check: run a straightedge across the butcher block at the home center or IKEA before purchasing — some panels have significant bow or twist from storage conditions.
Milestone: Measure the flatness of a butcher block panel at a store and compare it to your required flatness tolerance.
Step 4: MDF Top — Best for Assembly and Finishing Tables
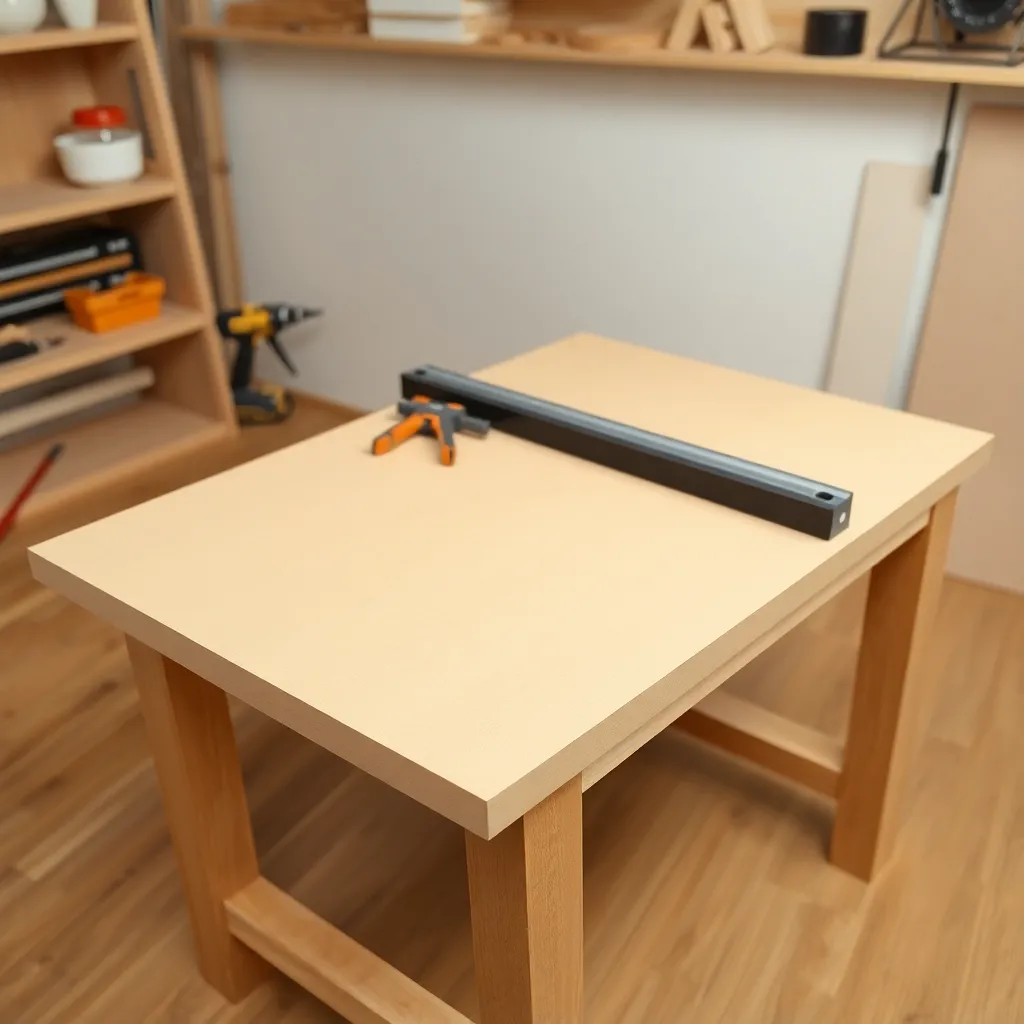
Goal: Understand when MDF is the right workbench top material.
MDF (Medium Density Fiberboard) is not a good choice for a traditional woodworking bench (too soft, swells from moisture, doesn’t hold holdfasts or bench dogs) — but it’s excellent for specific bench types:
Assembly bench: an assembly bench used for gluing up panels and frames doesn’t need hardness or mass. It needs flatness and a surface that glue doesn’t permanently bond to. MDF is very flat, glue doesn’t penetrate (it sits on the surface and peels off), and the large flat surface supports wide assemblies.
Finishing table: a finishing table used for applying stain and finish to work pieces needs a flat, clean surface that won’t contaminate the finish. MDF’s smooth, non-porous surface is ideal — overspray and drips clean up easily.
Building an MDF top: 1.5-inch MDF (two layers of ¾” glued together) provides adequate stiffness for most applications. Seal the MDF with shellac or oil-based primer — bare MDF swells at cut edges and on the face if it gets wet.
Limitations: MDF dents easily under clamp pressure; holdfast holes crush in MDF and provide no holding power; and MDF is extremely heavy (a ¾” 4×8 sheet weighs 95 lbs — two layers approach 200 lbs for a 4-foot section).
Milestone: Test an MDF scrap with a holdfast to verify it doesn’t hold — this confirms that MDF is inappropriate for a hand-tool workbench but fine for assembly and finishing.
Step 5: Hardboard Over Plywood — Best Replaceable Surface
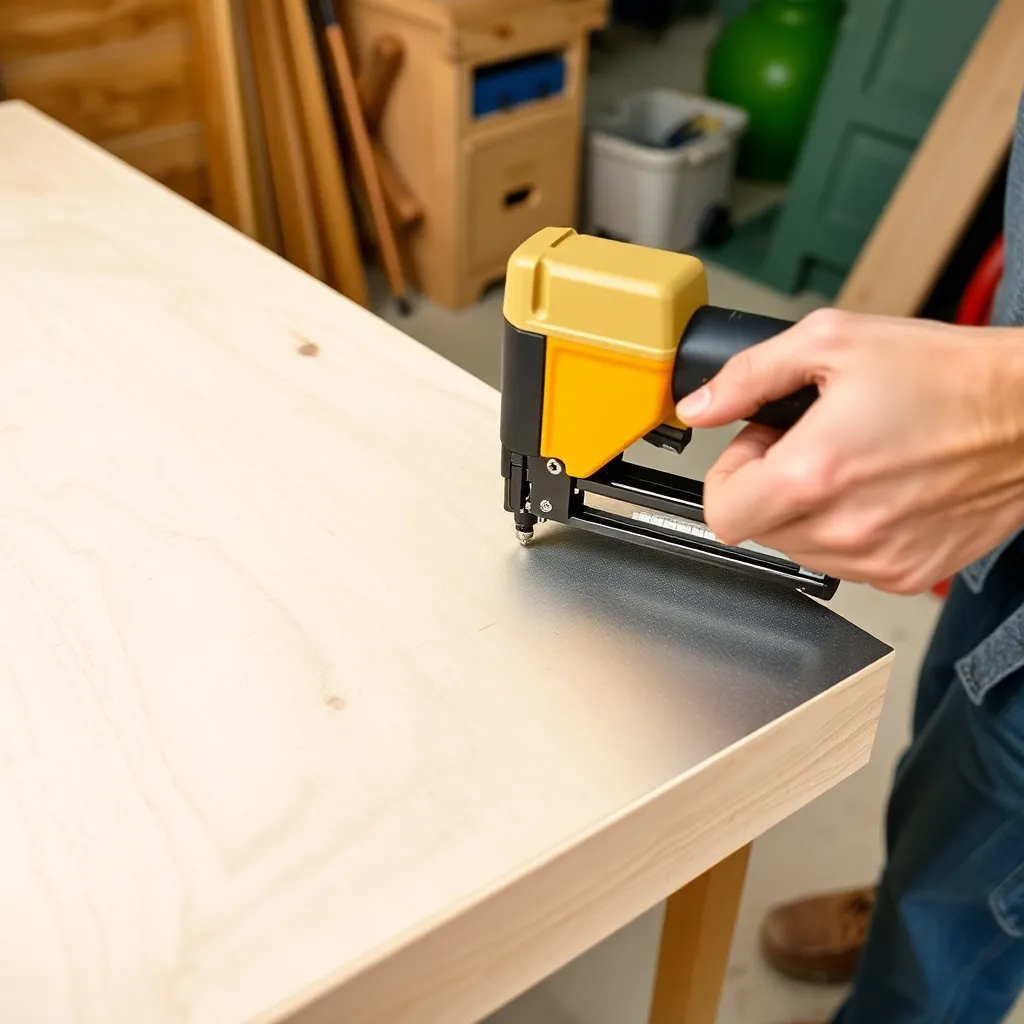
Goal: Build a bench top with a replaceable work surface for maximum long-term durability.
The hardboard-over-plywood top is the professional garage and shop bench standard: a ¾” plywood substrate provides structural support, and a ¼” hardboard top surface provides a smooth, durable, replaceable work surface. When the hardboard gets too cut up, scratched, or stained — replace it for $10.
Construction:
- Cut ¾” plywood to bench dimensions
- Screw plywood to frame (one screw per square foot)
- Cut ¼” hardboard (tempered, smooth side up) to the same dimensions
- Staple or nail hardboard to the plywood — staples every 6 inches along the perimeter and every 12 inches in the field
Surface treatment: one coat of boiled linseed oil on the hardboard protects the surface and makes glue removal easier. Reapply annually.
Replacement: when the hardboard needs replacement, pull the staples with a flat pry bar, lift the old sheet, and staple a new sheet. The entire replacement takes 30 minutes.
Best applications: garage benches, general shop benches, and any bench that sees diverse and messy work (glue, paint, oil, chemicals).
Milestone: Remove and replace a hardboard panel on a scrap base to practice the replacement process and verify the stapling pattern holds the hardboard flat.
Step 6: Surface Treatment — Finishing and Maintaining the Bench Top
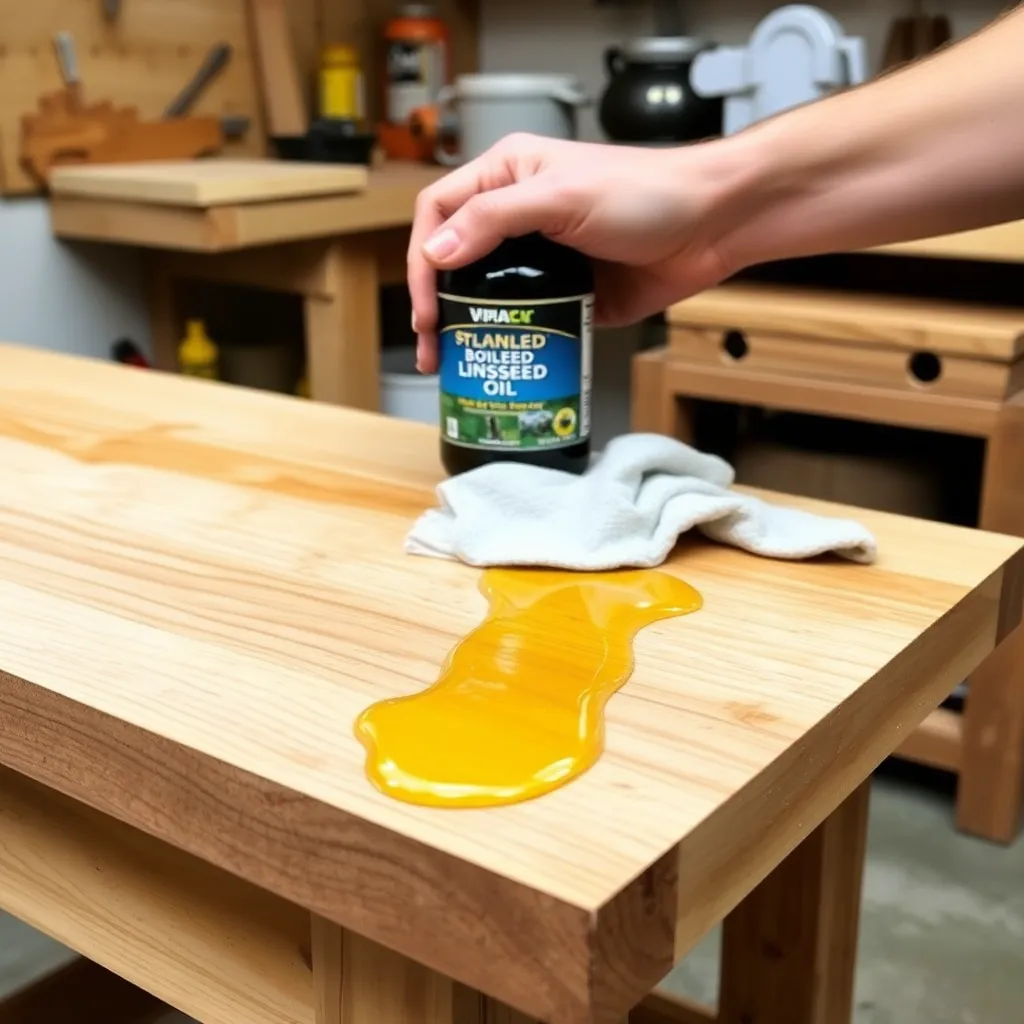
Goal: Apply the correct treatment to the bench top and maintain it for long-term performance.
Solid wood tops (maple, fir, butcher block):
The traditional treatment is boiled linseed oil (BLO) — one coat applied with a rag, allowed to penetrate for 30 minutes, excess wiped off. BLO soaks into the wood and provides basic protection without building a surface film. A film-building finish (polyurethane, lacquer) is wrong for a bench top — it chips and peels from tool contact, and the slippery surface makes work slide when you don’t want it to.
Application schedule:
- New top: one coat of BLO, allow to cure (24–48 hours), repeat twice
- Annual maintenance: one refresher coat of BLO when the surface looks dry
- Never: film finishes, wax (makes the surface slippery), or oil-varnish blends that build a surface
Flattening the top:
When the bench top develops low spots or high spots from use (glue drips, dents from dropped tools, differential wear): flatten with a hand plane (traverse cuts across the grain first, then with the grain for cleanup) or a long-board sander with 80-grit paper on a very flat reference surface. Check flatness with a long straightedge (48 inches minimum) along and diagonally across the top.
Hardboard top: replace rather than refinish. No other maintenance required.
Milestone: Apply BLO to a test piece of the bench top material and observe the penetration and drying time — note how the color changes and what the cured surface looks like.
Workbench Top Ideas FAQ
How thick should a workbench top be?
For a traditional woodworking bench used for hand planing: 3–4 inches minimum. Thickness provides mass (weight keeps the bench from moving under plane pressure) and depth for holdfasts and bench dogs to function. A laminated fir top (10 2×4s glued face-to-face = 3.5 inches) meets this minimum adequately. For a simple assembly bench or garage bench: 1.5–2 inches is adequate (doubled ¾” plywood = 1.5 inches). The heavier the work and the more hand tool use, the thicker the top should be. A thin top (1.5 inches) will flex under heavy hand plane passes — the flex is subtle but causes the surface to be inconsistent.
How do I flatten a workbench top?
Three methods: (1) hand planes — use a traverse plane (diagonal to the grain) to flatten first, then a bench plane with the grain to smooth. This is the traditional method and works well on solid wood tops. Requires well-tuned planes with sharp irons. (2) Router sled — a jig that rides two parallel rails and holds a router with a spoilboard surfacing bit. The router removes material at a consistent height across the top. Very flat results, good for glued-up tops that are too wide for a jointer. (3) Belt sander with straightedge — aggressive material removal with 80-grit, checking flatness with a straightedge frequently. Fastest method, hardest to control. For a first bench, the router sled is the most reliable method for a beginner who doesn’t have well-tuned hand planes.
Should I finish a workbench top with polyurethane?
No — polyurethane and other film-building finishes are wrong for workbench tops. The reasons: (1) film finishes chip and peel from the constant tool, clamp, and material contact a bench top receives — the result is a bench covered with peeling finish fragments that contaminate any project placed on it; (2) the smooth film surface is slippery — boards and assemblies slide when you don’t want them to; (3) film finishes prevent the bench from absorbing glue drips — glue sits on the surface and acts as a glide, making the bench usable without constant cleanup, but the uneven surface from cured glue chips causes problems. The correct finish: boiled linseed oil (penetrates, doesn’t build a film) with annual refresher coats.
Can I use an old door as a workbench top?
A solid-core door (not hollow-core) can function as a temporary bench top — it’s flat, wide, and approximately the right thickness (1.75 inches). The problems: solid-core doors use a particleboard or MDF core that doesn’t hold screws or holdfasts well; the veneered surface is too thin for significant planing or joinery work (you’ll cut through the veneer quickly); and doors are not designed for lateral loads — the face will delaminate under clamp pressure. Use a solid-core door as an emergency or temporary assembly surface, not as a long-term bench top. Replace it with a proper laminated top when time allows.

“DIY woodworking enthusiast who started with zero experience and a YouTube tutorial.
I build simple, practical projects for my home and share free plans
so other beginners can skip the guesswork.If I can build it, you can too.”