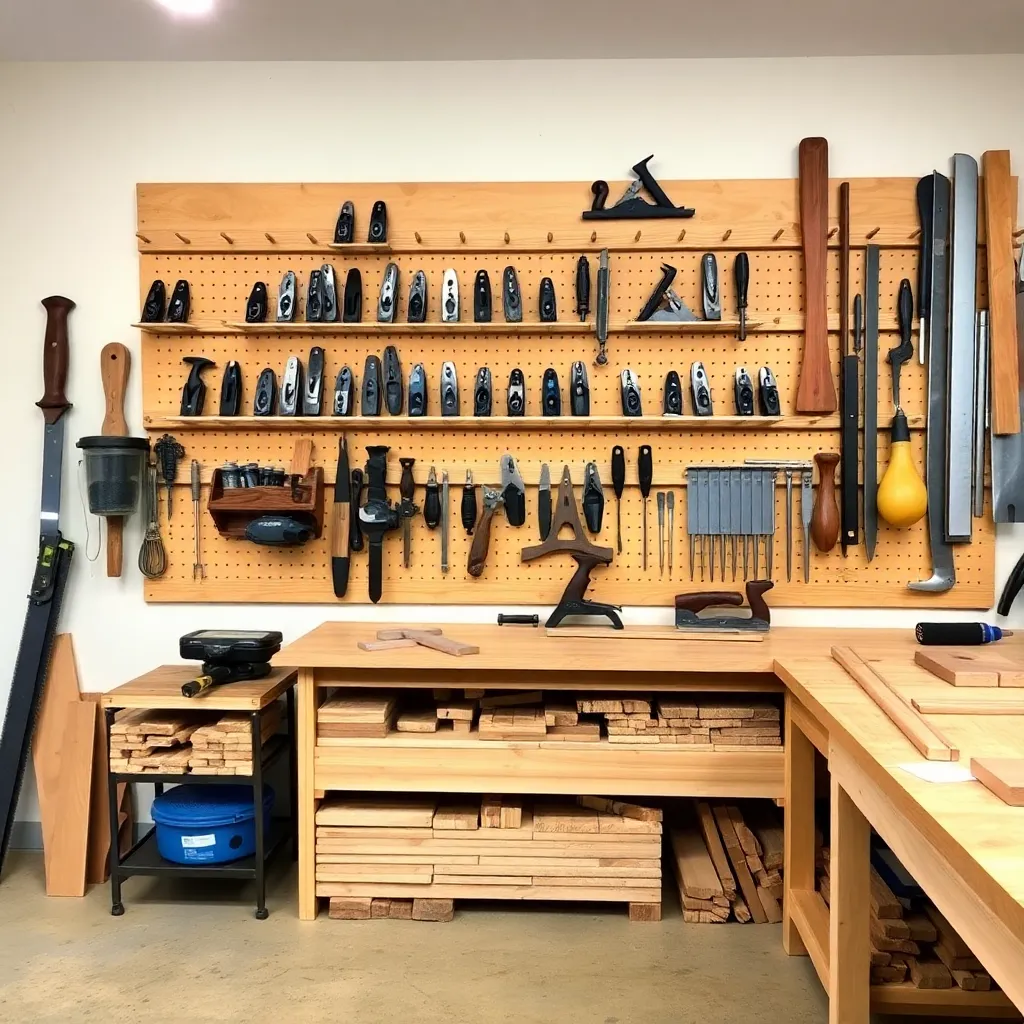
A disorganized shop wastes time on every project — 10 minutes searching for a marking gauge before each layout session adds up to hours across a month of woodworking. Worse, a cluttered shop is a dangerous shop: tools left on the floor become trip hazards, tools buried under other tools get damaged, and a cluttered work surface means working around obstructions rather than on a clear platform. This guide covers the storage systems, tool wall solutions, and organization principles that transform a chaotic shop into an efficient workspace.
Ted’s Woodworking has 16,000+ plans including shop furniture, storage systems, and tool organizers. Browse Ted’s plans →
This guide is part of our complete Shop Layout and Dust Collection: Plan Your Workshop for Efficiency — covering workshop layout, dust collection systems, and shop organization.
Step 1: Apply the One Principle That Drives Everything
Goal: Establish the organizational principle before building any storage systems.
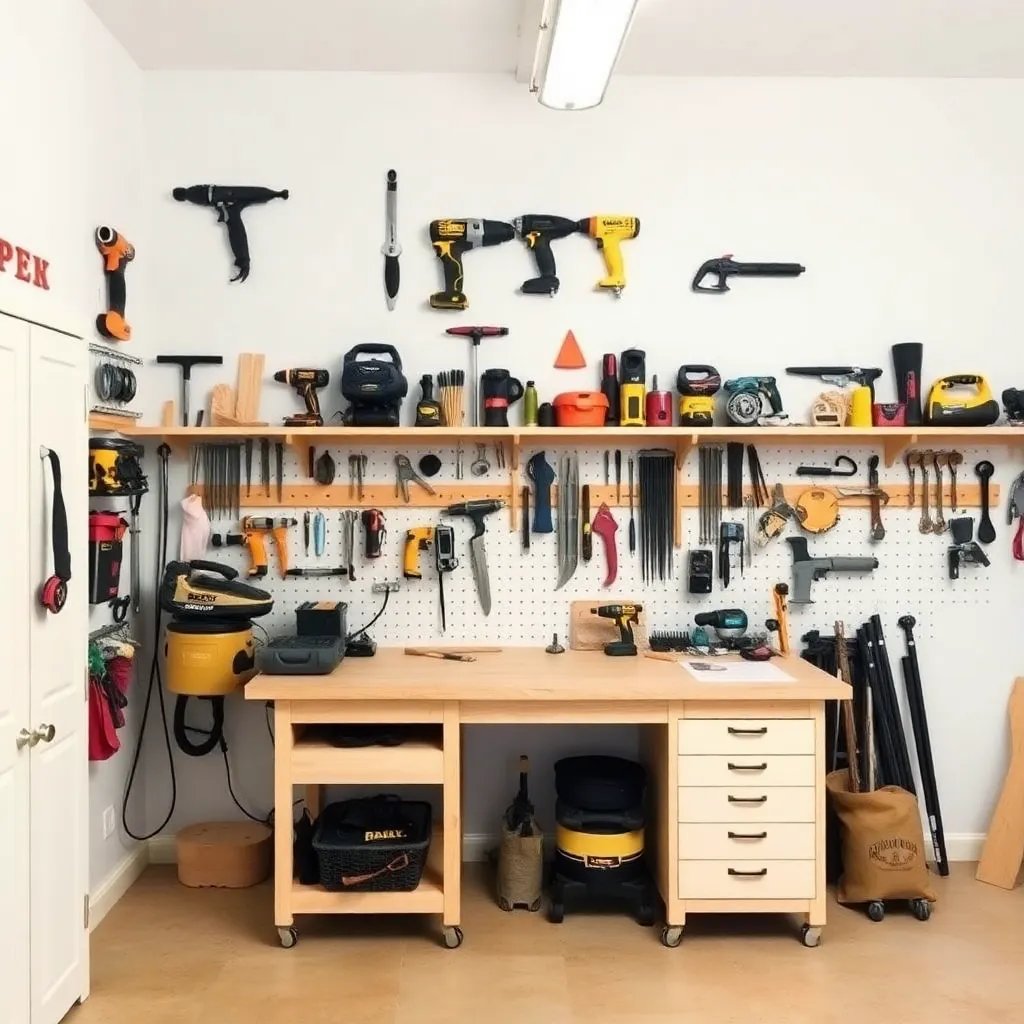
Every tool, supply, and material in the shop needs a defined home — a specific location where it lives when not in use. This principle, applied consistently, transforms how the shop functions: you don’t search for tools because every tool has a place, and when you pick up a tool you know exactly where to return it.
The principle in practice:
- A chisel has a specific slot in a specific tool roll on a specific shelf — not “somewhere in the drawer”
- A tape measure hangs on a specific hook on the wall — not “on the bench somewhere”
- Sheet goods go on the sheet goods rack, not leaned against whatever wall is convenient
Why this is harder than it sounds: most woodworkers organize by “put it where there’s space” — which works initially and degrades with each project as things drift from their logical homes. The fix is building storage for specific things rather than general storage that “holds tools.”
Audit your current shop: walk through and count how many tools don’t have a specific home. Those are your priority items for the storage systems below.
Milestone: List the 20 most-used tools in your shop and identify whether each has a specific, dedicated home. The ones that don’t are the highest-priority storage projects.
Step 2: Build a French Cleat Tool Wall
Goal: Install a French cleat system for flexible, heavy-duty tool wall storage.
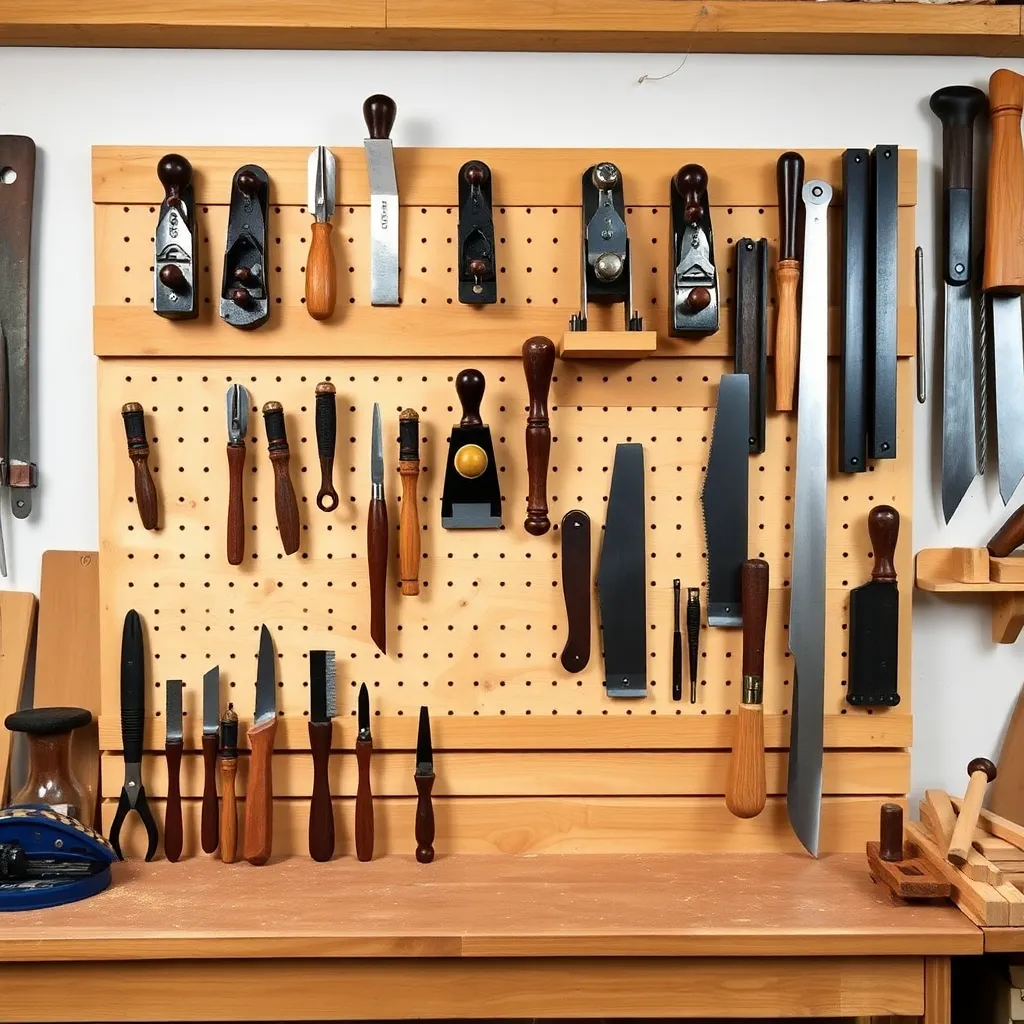
French cleats are the superior tool wall system for a woodworking shop — more flexible than pegboard (holders can be repositioned anywhere without drilling new holes), stronger (can hold planes, saws, and heavy tools that would pull pegboard hooks out), and buildable from a single sheet of plywood.
French cleat basics: rip 3/4″ plywood into strips 3–6 inches wide with a 45-degree rip on one long edge. Mount the strips horizontally on the wall with the angled edge pointing up and out (the 45-degree face faces the room). Any holder with a matching downward 45-degree hook catches onto any cleat strip anywhere along the wall.
Building the cleat wall:
- Locate wall studs and mark them
- Rip 3/4″ plywood into strips (typically 4 inches wide) with a 45-degree rip on one edge — a table saw makes this fast
- Mount strips horizontally on the wall, angled edge up, screwed into studs (2.5-inch screws, two per stud)
- Space strips 4 inches apart on center (for 4-inch strips, this leaves a 45-degree recess between each strip that tools can hang in directly)
Building holders: make custom holders for each tool type. A hand plane holder: two vertical pieces with the front piece having a 45-degree notch that hooks the cleat, and horizontal ledges that support the plane’s toe and heel. A chisel holder: a strip of wood with drilled holes for each handle diameter. A saw holder: a horizontal ledge with a hook for the handle and a slot for the blade. Each holder takes 15–30 minutes to build and can be repositioned instantly.
Milestone: Build 5 holders for your most-used hand tools and mount them on the first 4 feet of French cleat wall. Use the system for 2 weeks before expanding.
Step 3: Organize Lumber Storage
Goal: Store lumber so it stays flat, is accessible without digging, and doesn’t take floor space needed for work.
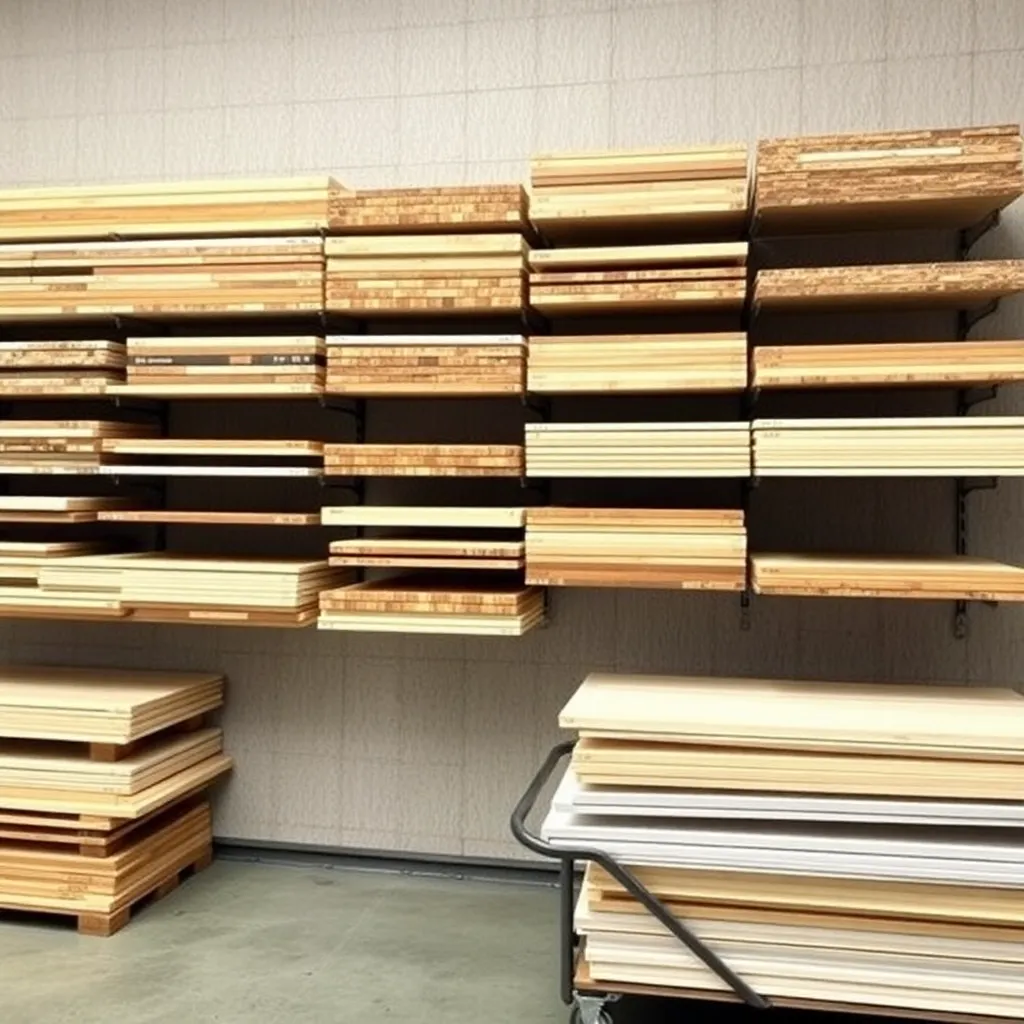
Horizontal wall rack (best for most shops): mount horizontal steel pipe brackets or L-brackets to the wall at 24-inch vertical spacing, cantilevered 18–24 inches from the wall. Lumber rests on the brackets horizontally, parallel to the wall. The lowest bracket can be at 18 inches from the floor (accessible without bending), with brackets up to ceiling height. Lumber is sorted by species and dimension with the most-used stock on the accessible brackets.
Vertical lumber rack: for long stock (8–16 foot boards), a vertical rack (a bin of upright dividers) takes less horizontal wall space. Lumber stands on end. The drawback: long boards are heavy to lift from vertical storage, and the bottoms of the boards sit on the floor (absorbing moisture from concrete unless the rack has a raised floor).
Sheet goods storage: full sheets of plywood and MDF are heavy and awkward. Options:
- Tilting sheet goods cart: a vertical rack on wheels with a tilting section that brings the front sheet to horizontal for easy selection. Commercial versions cost $150–$300; plans for shop-built versions are widely available.
- Wall-leaned storage: lean sheets against the wall with a floor cleat to prevent sliding. Simple, but the front sheet blocks access to sheets behind it.
- Horizontal shelving: full sheets stored horizontally on deep shelves. Easy access but requires very strong shelf construction (a sheet of 3/4″ MDF weighs 96 lbs).
Milestone: Install the lowest row of wall rack brackets and move all lumber from the floor to the rack. Assess whether access and organization have improved before adding upper rows.
Step 4: Organize Hand Tools by Operation
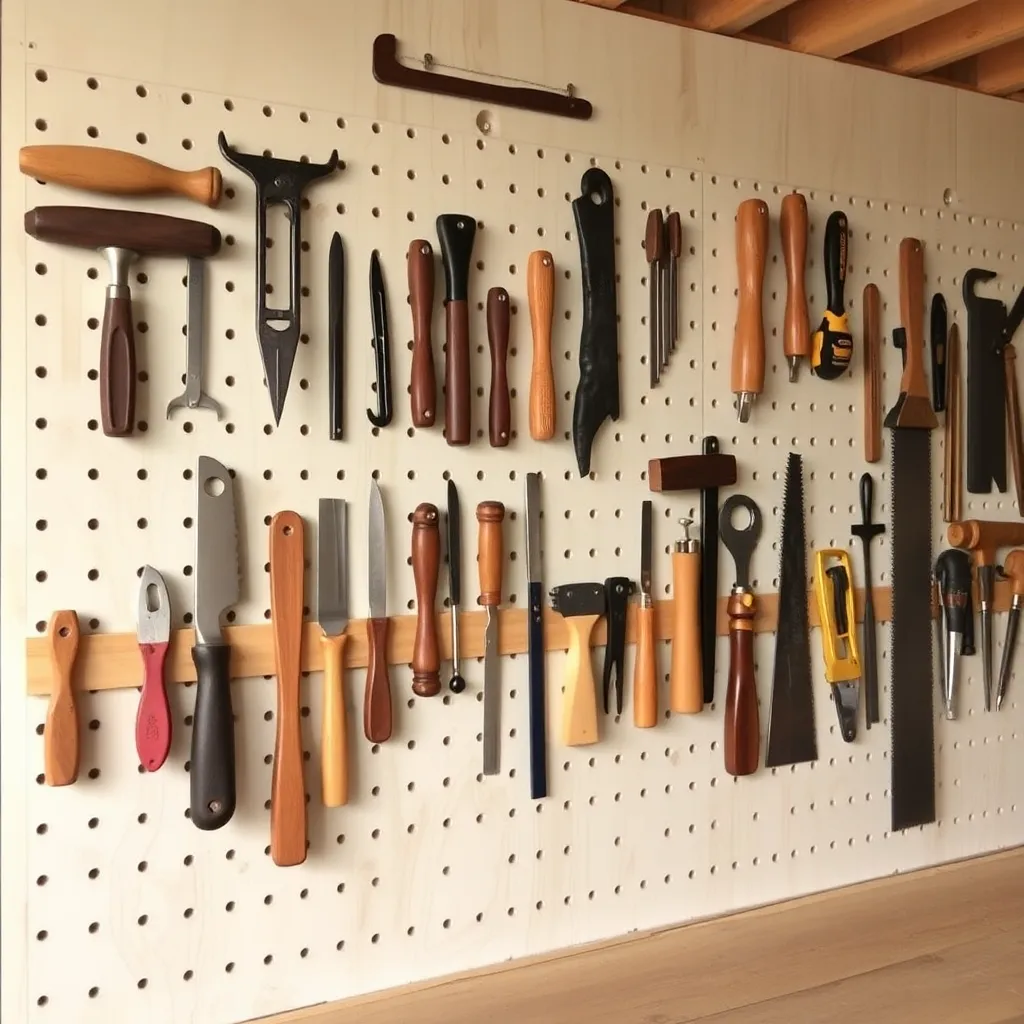
Goal: Store hand tools so the tools for each operation are grouped together.
Organizing hand tools by operation (rather than by type) reduces the number of steps between “I need to do X” and “I have all the tools for X.” All layout tools together, all chisels together, all hand saws together.
Layout tools (highest frequency): marking gauge, combination square, marking knife, dividers, pencils. These go on the wall directly above or beside the workbench — within arm’s reach without moving from the bench.
Chisels: a dedicated chisel rack keeps edges protected and sizes visible. Options: a wall-mounted rack with individual slots (each chisel has a labeled slot), a leather tool roll on a shelf (traditional and portable), or a rack built into the French cleat wall.
Hand saws: hang saws by the handle (a wooden peg or hook through the handle hang hole). Group by type: rip saw, crosscut saw, dovetail saw, carcass saw. The saw’s teeth should hang down, not touching the wall or other tools.
Hand planes: French cleat holders are ideal — each plane has a dedicated holder shaped to its sole, resting with the iron protected. Group by function: bench planes together, shoulder plane together, router planes together.
Measuring tools: a shallow drawer near the bench is ideal for tapes, rules, and squares — they’re flat and fragile (protect the blades from damage). Or a dedicated wall section with individual holders.
Milestone: Spend one Saturday reorganizing hand tools by operation. Time how long it takes to find and set up for a dovetail layout before and after the reorganization.
Step 5: Drawer and Cabinet Storage for Power Tool Accessories
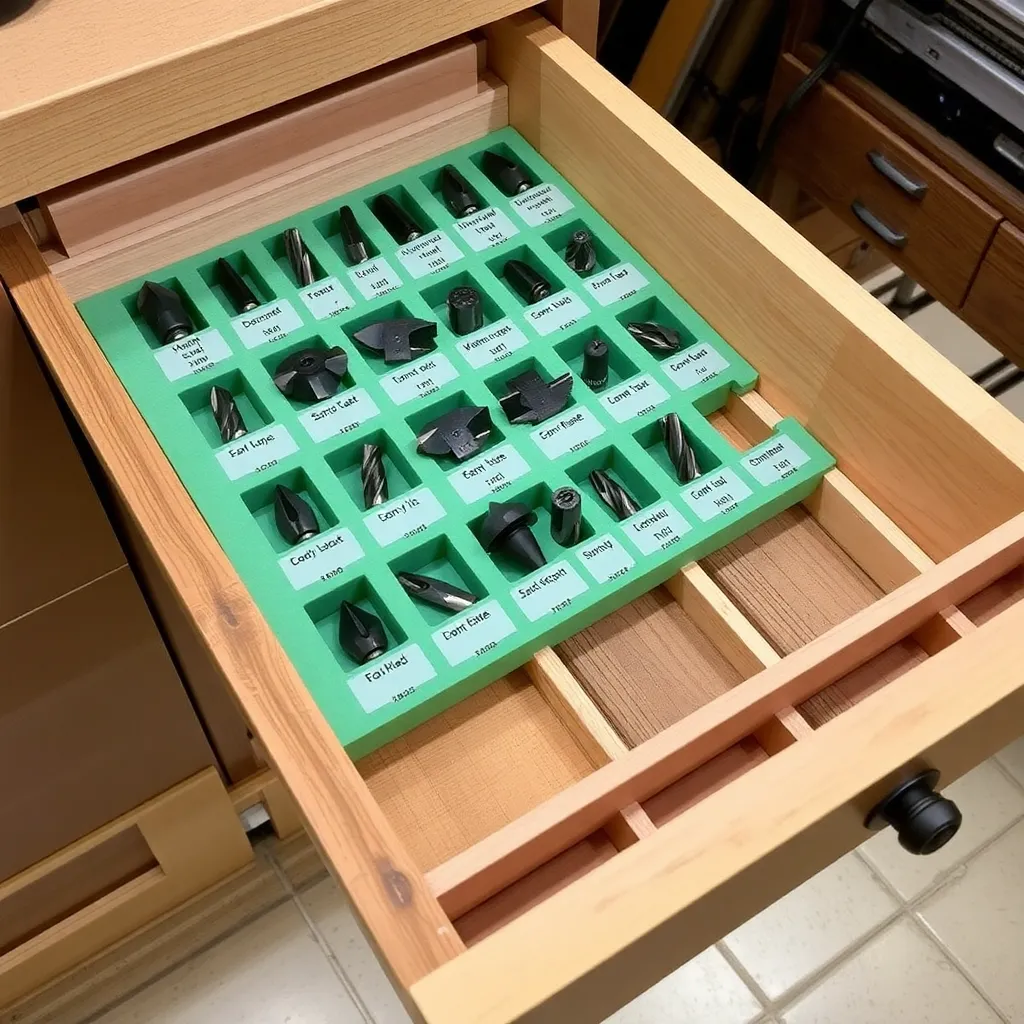
Goal: Organize small power tool accessories (bits, blades, sandpaper) in a system that keeps them findable and protected.
Router bits: the most important organization challenge for power tool accessories. A dedicated router bit holder (foam block with labeled holes, or a commercial bit case) keeps bits stored safely (carbide edges are fragile) and organized by profile type. Group by use: edge profiles together, joinery bits together, template-following bits together.
Table saw blades: a dedicated blade holder (stacked horizontally with foam or cardboard between each blade to protect the teeth) keeps blades in order and prevents the teeth from contacting each other or the cabinet floor.
Sandpaper: a sandpaper organizer with one slot per grit keeps sheets flat and organized. Label each slot with the grit number. Build a simple sheet-sized box with dividers from 1/4″ plywood, or use a commercial filing system. Store sandpaper discs (for random orbital sanders) in the original plastic packaging with the grit clearly labeled.
Drill bits: a drill bit index (commercial) or a custom-built wood block with labeled holes organizes bits by size. Keep two indexes if you use both fractional and metric bits.
Fastener storage: small drawer organizers or labeled plastic bins for screws, nails, and hardware. The specific system matters less than consistency: one size per bin, labeled.
Milestone: Build or buy a router bit holder and organize all router bits into it. Note the time saved on the first project when you can immediately find the correct bit.
Step 6: Finish and Chemical Storage
Goal: Store finishing supplies safely, organized for easy access and with appropriate fire safety.
Fire safety is non-negotiable: oil-based finishes (oil-based polyurethane, Danish oil, tung oil, boiled linseed oil) and their solvents (mineral spirits, naphtha, lacquer thinner) are flammable. Store in a flammable materials cabinet (a steel cabinet rated for flammable storage) away from heat sources, open flames, and the shop’s electrical panel.
Organization by finish type:
- Water-based finishes (water-based poly, water-based lacquer): less flammable, can store in regular cabinets. Group together and label clearly with the sheen level (flat, satin, semi-gloss, gloss).
- Oil-based finishes: flammable materials cabinet
- Solvents: flammable materials cabinet, original containers only (never transfer to unlabeled containers)
- Stains and dyes: group by color family; label clearly with species and application notes from prior use
Used finish rags: boiled linseed oil and other drying oils generate heat as they cure — a pile of BLO-soaked rags can spontaneously combust. Spread used rags flat outside to cure completely before disposal, or submerge in water in a sealed metal container and dispose of as hazardous waste.
Labeling: label every container with the finish name, sheen level, application date, and any mixing notes. Unlabeled containers are a safety and quality hazard.
Milestone: Check every finish container in your shop — verify the lid is sealed (dried finish is wasted money and a fire hazard), contents are clearly labeled, and flammable finishes are stored appropriately.
Woodworking Shop Organization FAQ
What is the best tool wall system — French cleats or pegboard?
French cleats for most woodworking shops. French cleats hold significantly heavier tools (hand planes, large saws, heavy clamps) without risk of pulling out, allow infinitely flexible repositioning of holders without new holes, and the holders are custom-built to fit each specific tool. Pegboard’s advantages are lower cost and faster initial setup — a sheet of pegboard with commercial hooks is faster to install than a French cleat wall with custom holders. For a beginning shop on a budget: pegboard gets you started. For a permanent shop: French cleats are worth the additional building time.
How should I store clamps?
Clamps are awkward to store because of their shapes and the variety of sizes. Best options: (1) horizontal rod mounted on the wall, parallel to the floor, with F-clamps and bar clamps hanging from their fixed jaws — the most space-efficient method; (2) French cleat holders with custom hooks for each clamp type; (3) a dedicated clamp rack (a vertical panel with horizontal rods at different heights for different clamp sizes). Group by type: parallel clamps together, pipe clamps together, F-clamps together. Store the most-used sizes most accessibly — the 12-inch F-clamps used in every glue-up should be at arm’s reach, not behind the long pipe clamps used quarterly.
How do I keep my shop floor clear?
The floor clears when everything that was on the floor has a better home. The common floor offenders: tools being “temporarily” set down (fix: more hooks on the tool wall within arm’s reach of the work area), lumber that has nowhere to go (fix: build the lumber rack), equipment on rolling stands (fix: designate floor zones for each rolling stand and mark them with tape), and scrap cutoffs (fix: build a scrap bin with a maximum capacity — when it’s full, it’s time to use the scrap or throw it away). The goal is a floor you can sweep with a broom without moving anything — that’s the test of adequate floor storage.
How do I organize a very small shop (one-car garage or smaller)?
Small shops require ruthless prioritization. Only keep what you actually use — tools that sit unused for 6+ months should be stored elsewhere or sold. Use vertical space aggressively: tool walls from counter height to ceiling, lumber stored vertically instead of horizontally where possible. Buy mobile bases for stationary tools so they can be repositioned to create clearance when needed. Use fold-down workbench designs that collapse against the wall when not in use. In a very small shop, the tool wall is the most valuable investment — 8 linear feet of well-designed French cleat tool wall stores more organized tools than most workshops twice the size with poor storage.

“DIY woodworking enthusiast who started with zero experience and a YouTube tutorial.
I build simple, practical projects for my home and share free plans
so other beginners can skip the guesswork.If I can build it, you can too.”