This guide is part of our complete Joinery Techniques Guide — covering wood joints, fastening methods, and hand tool techniques for woodworkers at every level.
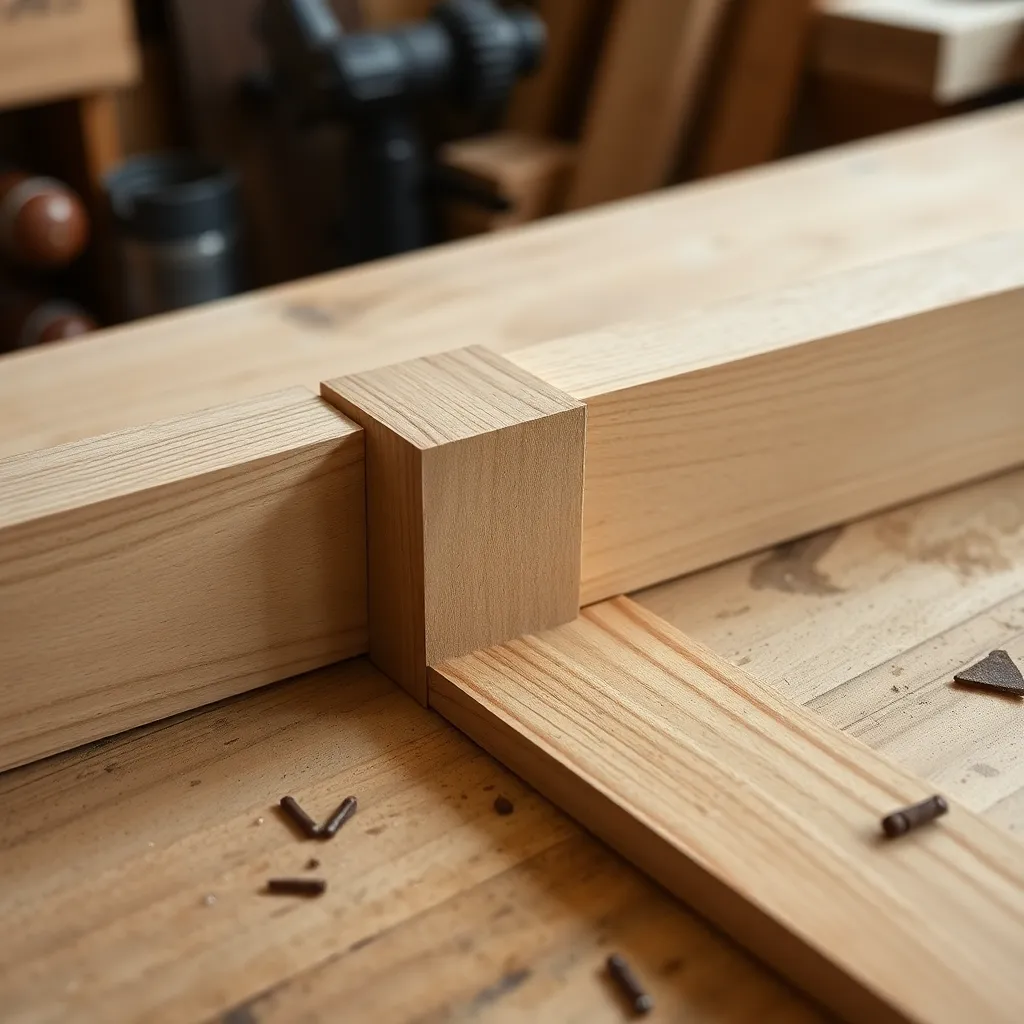
The mortise and tenon joint has been used in furniture and timber construction for thousands of years — it’s found in ancient Egyptian furniture, medieval timber frames, and contemporary fine woodworking. The joint’s longevity reflects its fundamental soundness: the large glue surface area, mechanical interlocking fit, and resistance to racking make it the strongest and most durable joint in furniture woodworking. Almost every chair, table, bed, and casework piece uses mortise and tenon joinery at its primary structural connections.
Ted’s Woodworking has 16,000+ plans with complete mortise and tenon joinery details. Browse Ted’s plans →
Step 1: Understand the Anatomy and Proportions
Goal: Know the parts of a mortise and tenon joint and the proportions that produce maximum strength.
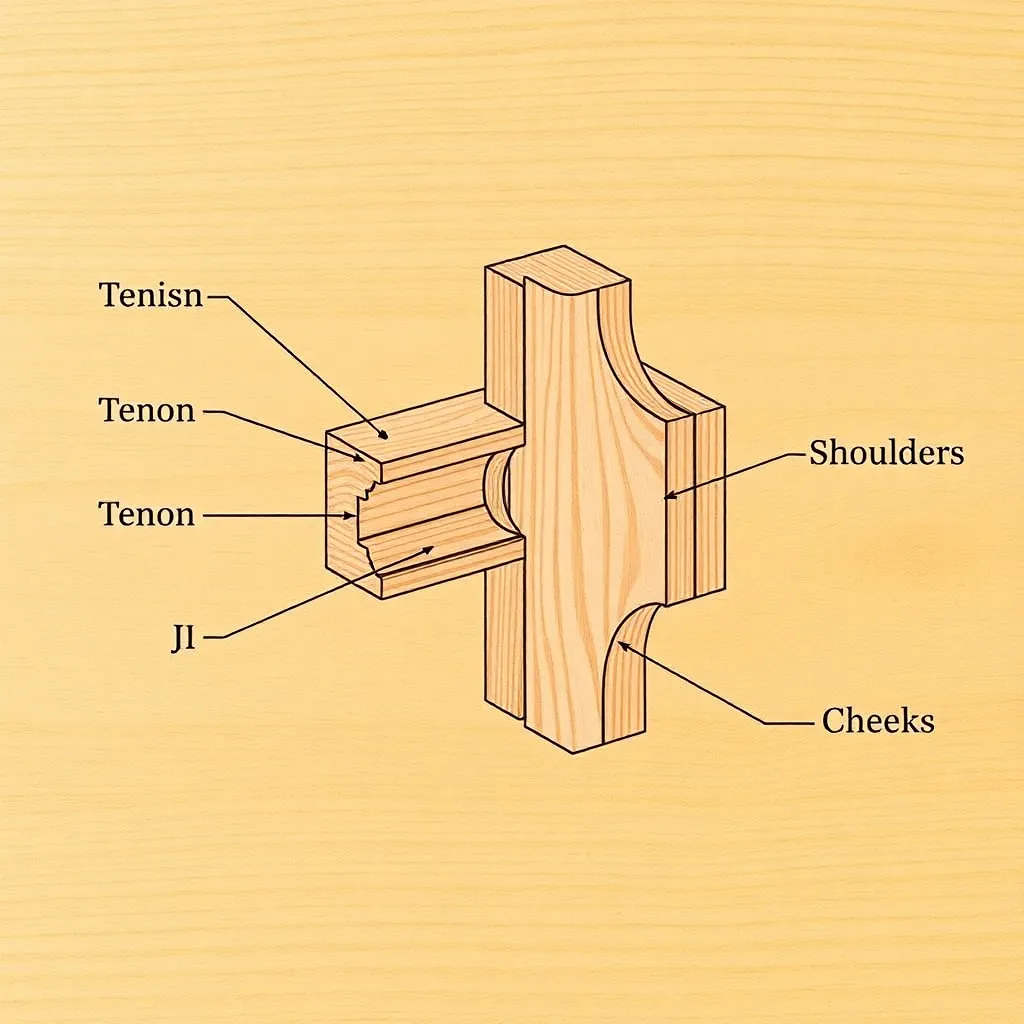
Mortise: the rectangular cavity that receives the tenon. Cut into the stile, leg, or post — the structural member that receives the joint.
Tenon: the rectangular projection that fits into the mortise. Cut on the end of the rail, apron, or stretcher — the member being joined.
Shoulders: the flat surfaces where the tenon steps down from the full thickness of the rail to the tenon thickness. The shoulders close the joint and provide a registration surface that keeps the joint square.
Cheeks: the long flat faces of the tenon (top and bottom) that mate with the mortise walls.
Standard proportions:
- Tenon thickness: approximately 1/3 of the stock thickness (for 3/4″ stock: 1/4″ tenon; for 1.5″ stock: 1/2″ tenon)
- Tenon width: 2/3 to 3/4 of the mortise member’s width
- Tenon length: should be as long as practical while leaving adequate material at the mortise end (minimum 3/8″ of material beyond the mortise end)
- Mortise wall thickness: minimum 3/8″ at the thinnest point (the area between the mortise and the nearest face)
Milestone: For the piece you’re building, calculate the tenon thickness (1/3 of rail stock thickness) and mortise length (tenon width) before setting up any tools.
Step 2: Mark Out the Mortise
Goal: Lay out the mortise position accurately on the mortise member.
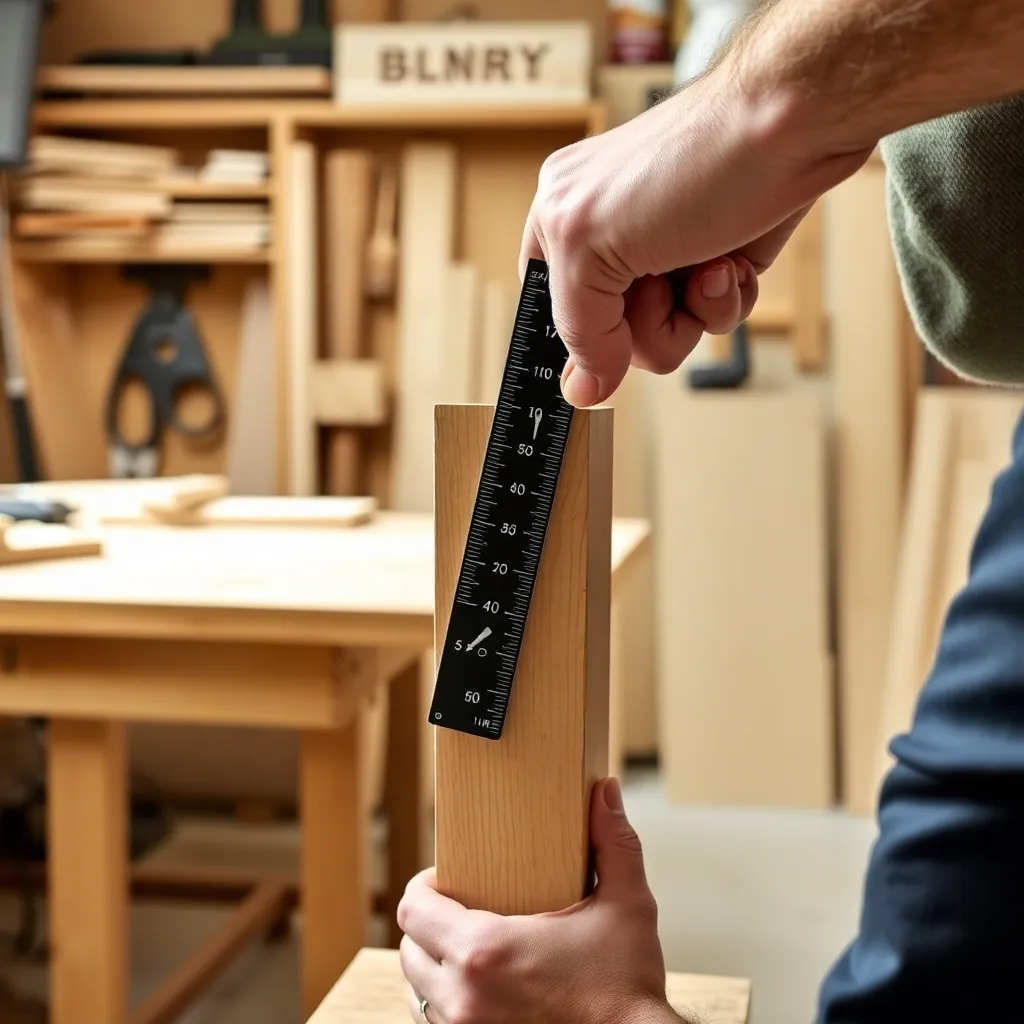
Accurate mortise layout ensures the joint is square, the shoulders close cleanly, and the tenon is in the correct position relative to the faces of both members.
Tools needed: marking gauge (preferably a mortise gauge with two cutters), combination square, marking knife or chisel.
Layout procedure:
Set the mortise gauge to the mortise width (equal to the tenon thickness — 1/3 of rail stock thickness)
Center the two gauge cutters on the mortise member’s thickness (or position them to produce the correct mortise wall thickness on the show face)
Mark the mortise length (mortise length = tenon width, typically 2/3 of rail width)
Mark the mortise end positions with a square and marking knife
Positioning the mortise: center the mortise on thick stock (table legs); offset it toward the show face on thinner stock to ensure adequate wall thickness on the visible side.
Milestone: Mark the mortise gauge lines on a scrap piece the same thickness as the mortise member and verify the centering is correct before marking the actual workpiece.
Step 3: Cut the Mortise
Goal: Cut a clean, accurately sized mortise that the tenon will fit snugly.
Method 1 — Hollow chisel mortiser (fastest):
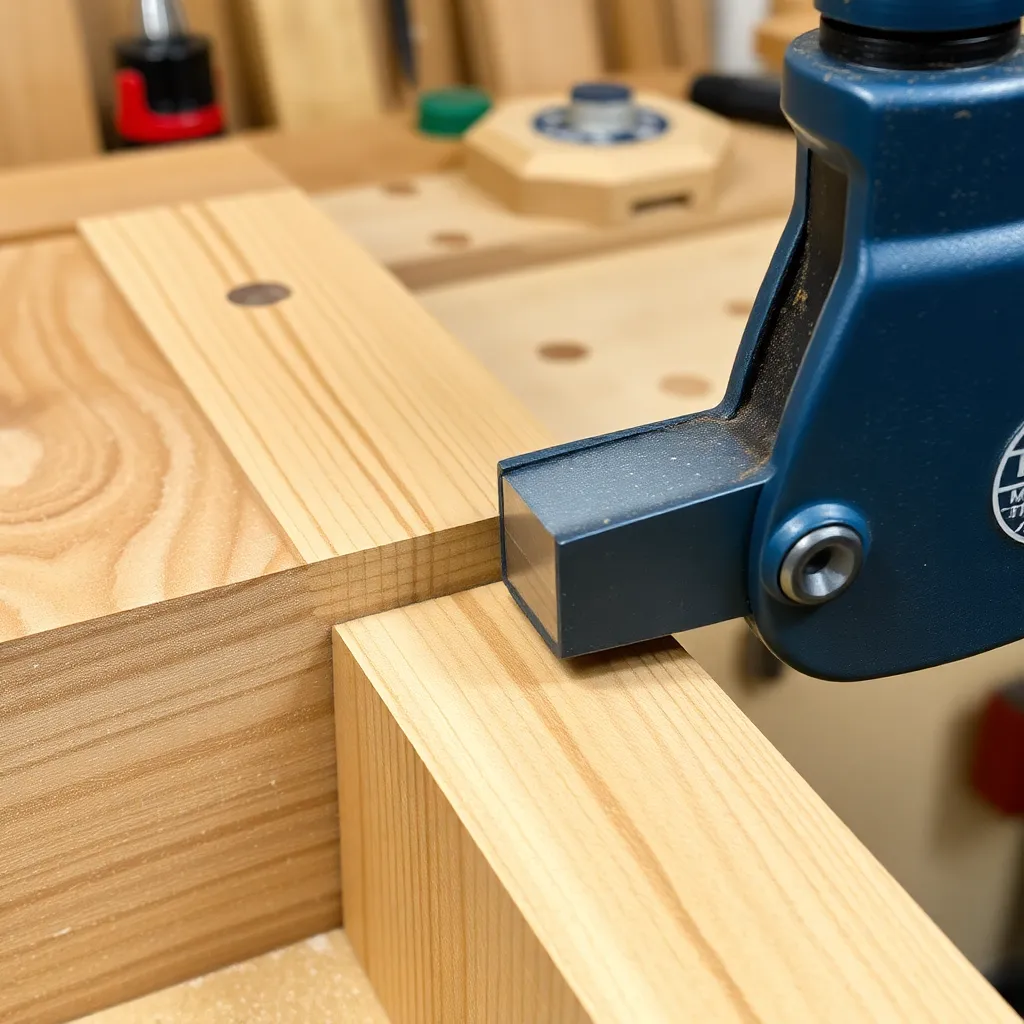
A drill press attachment with a square hollow chisel surrounding a drill bit cuts square mortises in a single pass. Set the fence to center the cuts on the mortise layout lines. Plunge the chisel at each mortise end first (to establish clean shoulders), then remove the waste between with overlapping plunges. This is the fastest method for production mortising.
Method 2 — Router:
A plunge router with a spiral upcut bit and a fence removes mortise waste cleanly. Rout in multiple passes (increasing depth by 1/4″ per pass) to avoid overloading the router. The round mortise ends must be squared with a chisel after routing, or the tenon ends can be rounded to match (a router plane or file rounds the tenon corners to fit the radiused mortise ends).
Method 3 — Drill and chisel (hand tool):
Drill out the mortise waste with a drill press (a bit slightly smaller than the mortise width, multiple holes along the mortise length), then pare the walls to the gauge lines with a sharp chisel. The most accessible method requiring minimal investment.
Check for square: after cutting, check that the mortise walls are perpendicular to the face of the mortise member using a small square.
Milestone: Cut a test mortise in scrap and check that: the walls are parallel, the ends are square, and the mortise is at the correct depth.
Step 4: Cut the Tenon
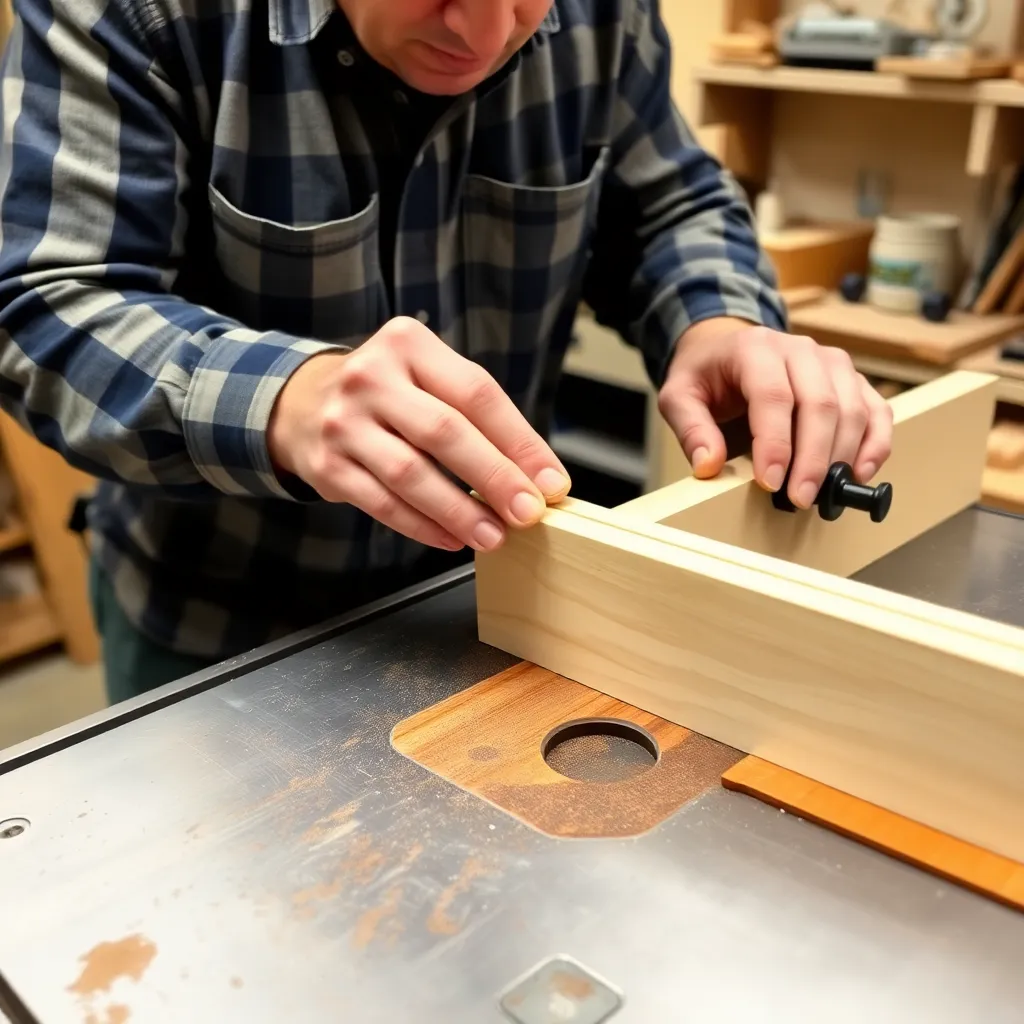
Goal: Cut a tenon that fits the mortise snugly without forcing.
Table saw method (most common):
Cut the tenon shoulders first: set the fence and blade height for the shoulder cut (the step that defines the shoulder thickness). Use a crosscut sled for accurate, repeatable cuts. Cut all four shoulders on every rail before changing the setup.
Cut the tenon cheeks: use a tenoning jig (the rail held vertical) with the fence set for the cheek cut. Make one pass per cheek (two cheeks per tenon). The tenon thickness should match the mortise width exactly.
Router table method:
Set up the router table with a straight bit at the correct height and a fence at the correct distance. Ride the rail end against the fence and over the bit to cut each cheek. Flip the rail for the second cheek. Both cheeks are automatically parallel (the fence and table ensure this).
Hand saw method:
Mark the tenon on all four faces and both edges using a marking gauge set to the same setting used for the mortise
Saw the cheeks (rip cuts with a tenon saw or large backsaw) on the waste side of the lines
Saw the shoulders (crosscuts) to remove the cheek waste
Pare the shoulders and cheeks to the lines with a shoulder plane or router plane
Milestone: Fit the tenon to the test mortise (cut in Step 3). The tenon should enter by hand with light pressure and emerge with no gaps at the shoulders.
Step 5: Drawbore (Optional but Recommended)
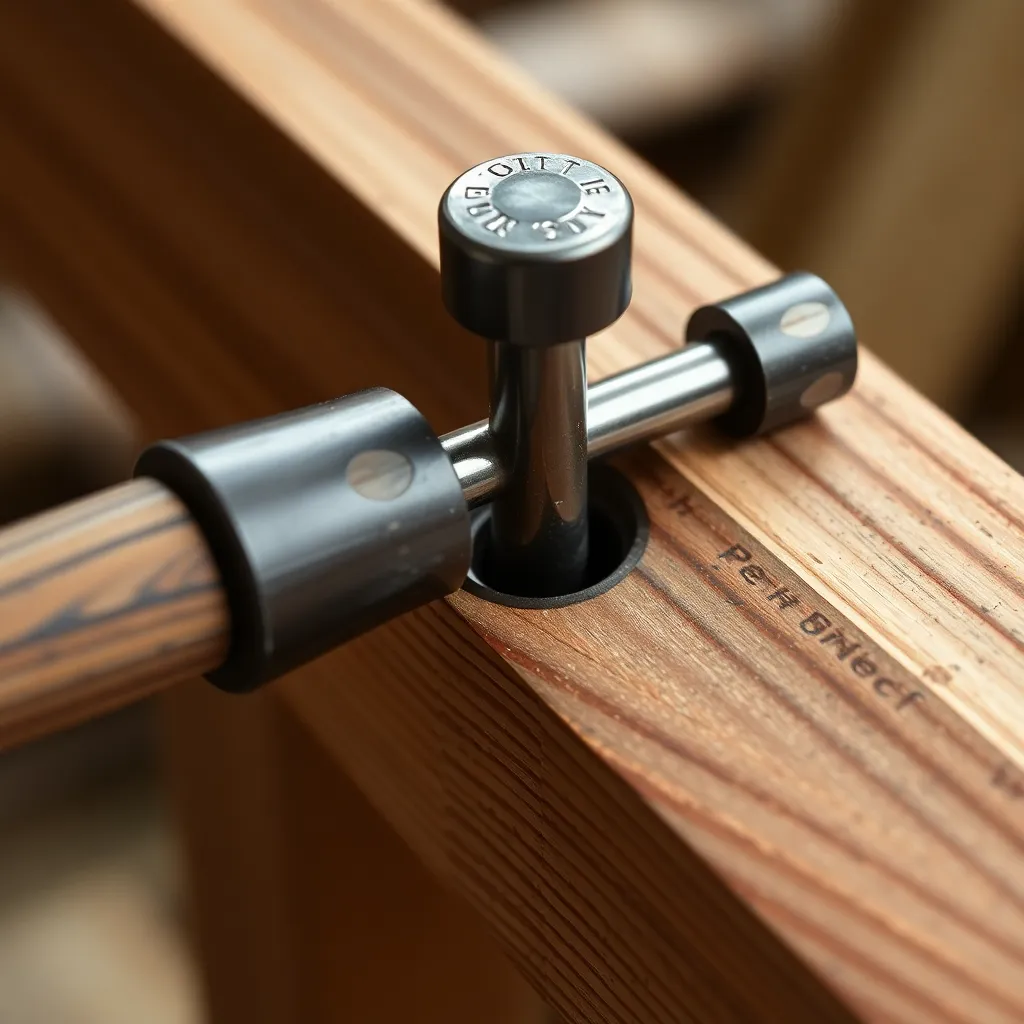
Goal: Use drawboring to pull the joint tight without relying on clamping during glue-up.
Drawboring is a traditional technique that creates a mechanical draw during assembly: a peg driven through offset holes in the mortise and tenon draws the shoulder tight against the mortise member without clamps.
Drawbore procedure:
Dry-fit the joint fully
Drill a 1/4″ or 5/16″ hole through the mortise member, centered on where the tenon will be
Remove the tenon and mark the hole position on the tenon cheek
Drill the tenon hole 1/16″ closer to the tenon shoulder than the marked position (this offset creates the draw)
Taper one end of a hardwood peg (the drawbore peg — traditionally oak or cherry) to a slight point
Apply glue, assemble the joint, and drive the peg through — the offset pulls the shoulder tight
Advantage: drawboring holds the joint tight while the glue cures without clamps — particularly valuable in large assemblies (bed frames, tables) where multiple joints must be assembled simultaneously.
Milestone: Practice drawboring on a scrap mortise and tenon to calibrate the offset distance — too much offset splits the tenon; too little doesn’t create adequate draw.
Step 6: Glue and Assemble
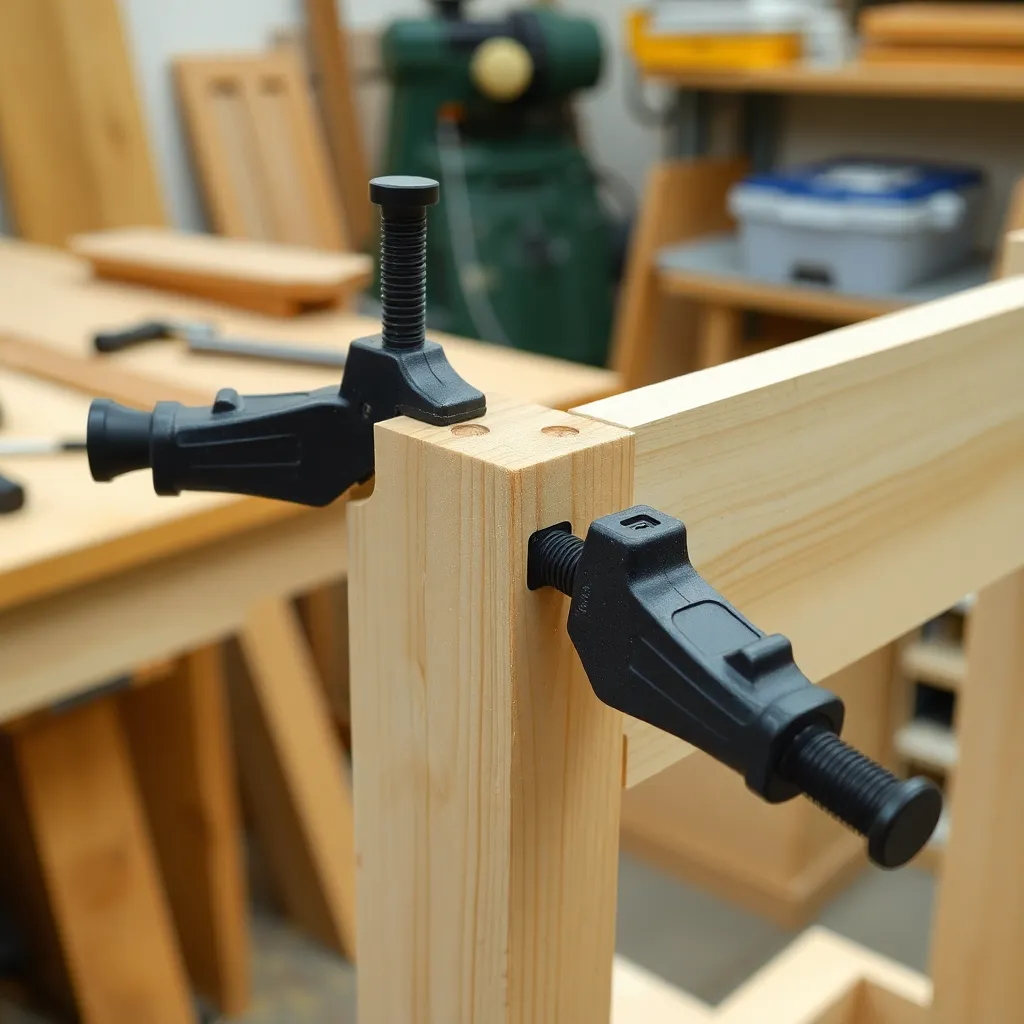
Goal: Glue the joint and assemble the piece correctly.
Glue application: apply glue to all mating surfaces. Use a brush or small stick to coat the mortise walls and the tenon cheeks and shoulders. Don’t apply glue to the tenon end grain — end grain absorbs glue without contributing to the bond.
Assembly order: for a table base or chair (multiple mortise and tenon joints), the assembly order matters. Glue opposite pairs first (two legs and two stretchers make a leg assembly), let these cure, then glue the leg assemblies together with the rails. Trying to glue all joints simultaneously creates a time-pressure problem with complex assemblies.
Clamping: use pipe clamps or parallel clamps across the joint line to draw the shoulders tight against the mortise member. Check for square immediately after clamping (measure diagonals — they should be equal). If the assembly is out of square, rack with a clamp diagonally until the diagonals match.
Glue working time: PVA (yellow glue) provides approximately 5–8 minutes of open time — adequate for simple assemblies. For complex glue-ups: use extended-open PVA or liquid hide glue (30+ minutes of open time).
Milestone: After the glue cures, attempt to rock the joint — a properly fitted, glued mortise and tenon joint has no detectable movement whatsoever.
Mortise and Tenon FAQ
What is the correct tenon thickness for a mortise and tenon joint?
The standard rule: tenon thickness should be approximately 1/3 of the stock thickness. For 3/4″ (19mm) stock (common for cabinet rails), the tenon is 1/4″ thick. For 1-1/2″ (38mm) stock (table legs and thick rails), the tenon is 1/2″ thick. For 1-3/4″ (44mm) chair stock: 5/8″ tenon. This 1/3 rule leaves adequate wall thickness on each side of the mortise (approximately 1/3 of the mortise member’s thickness per wall). Thicker tenons create thin mortise walls that can split; thinner tenons have reduced glue surface area and mechanical strength.
How deep should a mortise be?
The mortise should be as deep as practical — limited by the stock thickness and the required wall thickness at the far end. For through mortises (which pass completely through the mortise member): the depth equals the full thickness minus the saw kerf on the far side for wedged through tenons. For blind mortises (the most common type): the mortise depth should exceed the tenon length by at least 1/8″ (so the tenon doesn’t bottom out in the mortise, which would prevent the shoulders from closing). A standard chair or table joint: 1-1/2″ to 2″ deep mortise in a 1-3/4″ leg. Deep mortises maximize glue surface area — make them as deep as the stock allows.
Can I cut mortise and tenon joints without a mortiser?
Yes — a drill press with a Forstner bit removes the bulk of the waste quickly and cleanly; the remaining material is pared to the layout lines with a sharp bench chisel. This is the accessible beginner method. For hand tool purists: a mortise chisel (thick-bladed, heavy) is driven with a mallet to chop the mortise without pre-drilling. The hand-chopped mortise produces excellent results but requires a sharp chisel and a consistent chopping technique. A router with a plunge base and spiral bit produces very clean mortises efficiently. All three methods produce functional mortises; the choice depends on available equipment and preference for hand vs power tools.
What is a haunched mortise and tenon?
A haunched mortise and tenon has a small secondary shoulder (the haunch) cut into the tenon where it meets the groove in frame-and-panel construction. In a door or panel frame, the stile has a groove running its full length for the panel. Without a haunch, the groove would be open at the end of the stile (at the rail joint). The haunch fills this open groove end, closing the gap while the main tenon provides the structural connection. The haunch is typically 1/4″ to 3/8″ tall and as wide as the groove is deep. Haunched mortise and tenon joints are standard for door stiles and rails, cabinet face frames with panel grooves, and any frame-and-panel construction.

“DIY woodworking enthusiast who started with zero experience and a YouTube tutorial.
I build simple, practical projects for my home and share free plans
so other beginners can skip the guesswork.If I can build it, you can too.”