This guide is part of our complete Joinery Techniques Guide — covering wood joints, fastening methods, and hand tool techniques for woodworkers at every level.
Screws are the most versatile fastener in woodworking — they draw joints tight, provide mechanical strength independent of glue, allow disassembly, and handle assembly situations where clamping isn’t practical. Choosing the right screw for each application prevents splitting, stripped heads, and fastener failure. This guide covers the main screw types used in woodworking, how to pilot correctly for hardwoods, and the specific applications where each screw excels.
Ted’s Woodworking has 16,000+ plans with complete fastener specifications for every project. Browse Ted’s plans →
Step 1: Understand Screw Anatomy
Goal: Know the parts of a woodworking screw and what each feature does.
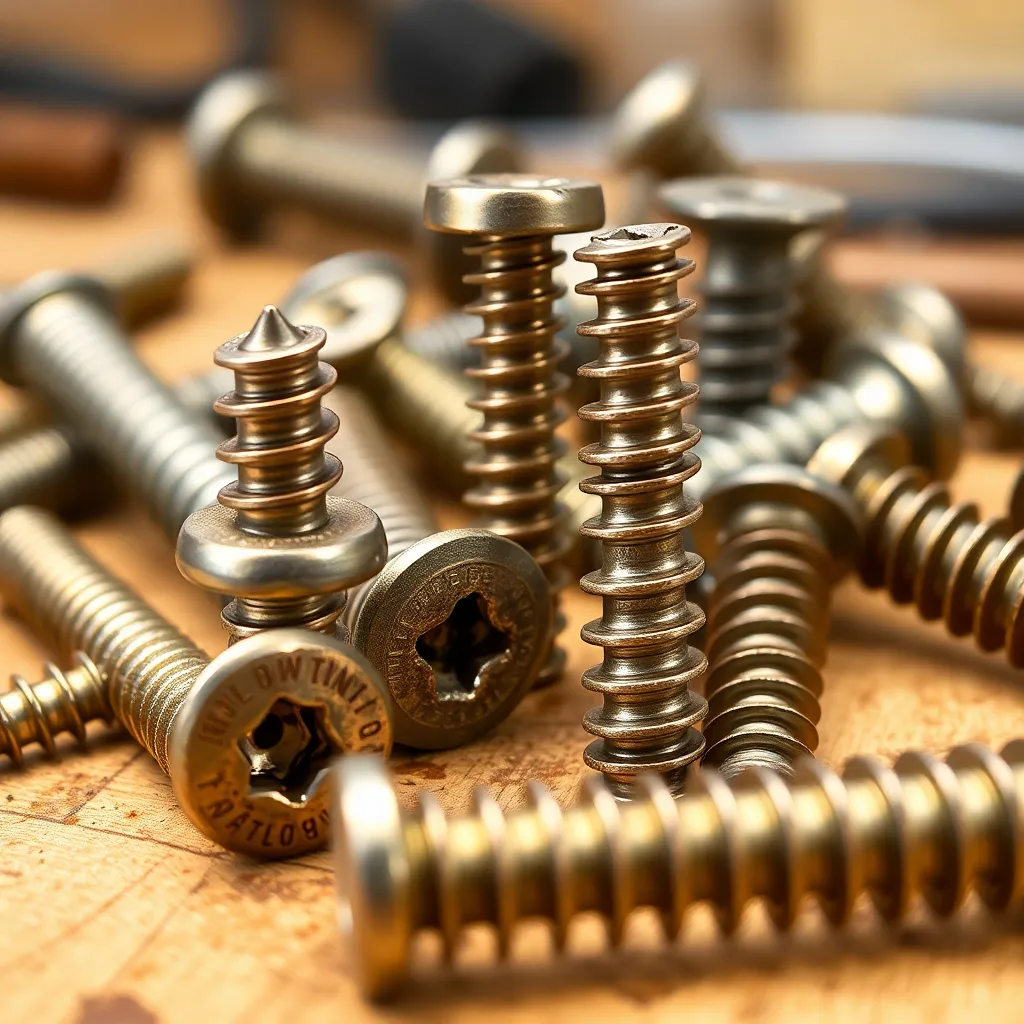
Thread: the helical ridge that engages the wood. Two important thread characteristics:
- Thread pitch: coarse threads (fewer threads per inch) grip softwoods and sheet goods better because they bite into less dense material. Fine threads (more threads per inch) grip hardwoods better because the denser wood provides more engagement between thread crests.
- Thread depth: deeper threads (relative to the root diameter) provide more pull-out resistance but require more splitting force during installation.
Shank: the unthreaded section between the head and the threaded portion. In a traditional “full-thread” screw, the threads run all the way to the head. In a “partial-thread” or “Type 17” screw, the upper portion is unthreaded — this allows the head to pull the top piece tight against the bottom piece (the unthreaded shank doesn’t grip the top piece, so it draws together as the screw turns).
Head type:
- Flathead (countersunk): sits flush with or below the wood surface when countersunk. Standard for most furniture work where the head must disappear.
- Pan head: sits on the surface. Used where countersinking isn’t desired or where a washer is needed.
- Bugle head: a curved countersink profile that prevents surface mushrooming in drywall and sheet goods.
Drive type:
- Phillips: the most common, but prone to cam-out (the driver slips out of the head under torque). Not recommended for woodworking.
- Square drive (Robertson): very resistant to cam-out, excellent torque transfer. The professional standard for woodworking screws. Dominates the Canadian market; increasingly available in the US.
- Torx (star drive): even better cam-out resistance than square drive. Standard on structural screws (GRK, SPAX) and increasingly on woodworking screws.
Milestone: Examine your current screw collection and identify the drive type, thread pattern, and head type of each. Replace any remaining Phillips-head woodworking screws with square drive or Torx equivalents.
Step 2: Standard Wood Screws for Furniture
Goal: Select the right standard wood screws for furniture joinery applications.
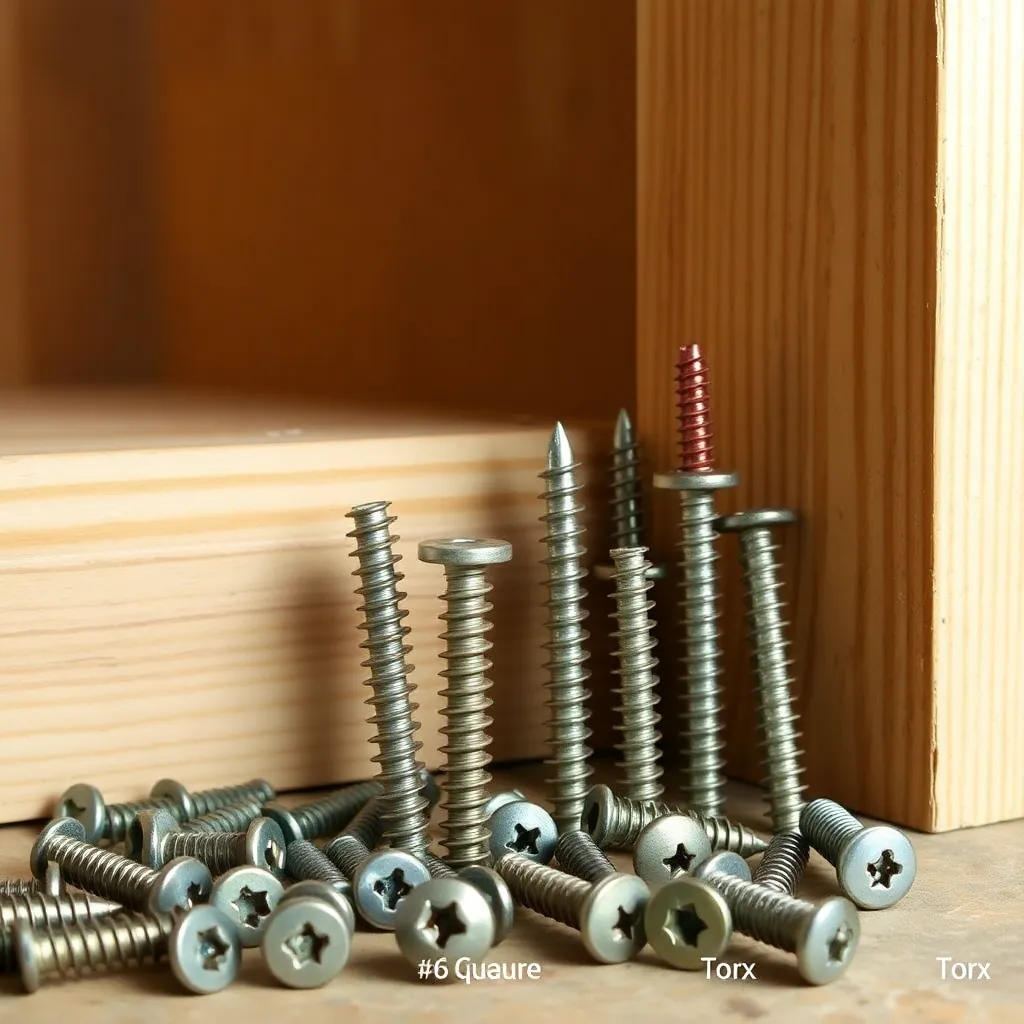
For furniture construction in solid wood: #6 and #8 screws in square drive or Torx are the workhorses. Size selection:
| Application | Size | Length |
|---|---|---|
| 3/4″ plywood into solid wood | #8 | 1-5/8″ |
| Face frame joinery (1.5″ stock) | #8 | 2″ |
| Solid wood panels to frame | #8 | 1-1/4″ |
| Cabinet back panels (1/4″ ply) | #6 | 5/8″ |
| Drawer slides to cabinet | #8 | 5/8″ |
| Hinges (standard butt) | #8 | 3/4″ |
Coarse vs fine thread for wood species:
- Softwoods (pine, cedar, fir, poplar): coarse thread. Softwood is less dense — coarse threads bite deeper relative to the wood.
- Hardwoods (oak, maple, cherry, walnut): fine thread, or coarse thread with pilot holes. Hardwood’s density means coarse threads require more torque and risk splitting.
- Sheet goods (plywood, MDF, particleboard): coarse thread. Sheet goods have less density than solid wood.
Pilot holes in hardwoods: always drill a pilot hole in hardwoods. The pilot hole consists of: a clearance hole through the top piece (sized for the screw shank diameter — so the screw doesn’t grip the top piece at all), and a pilot hole into the bottom piece (sized for the screw root diameter — smaller than the shank). This allows the screw to draw the pieces together rather than pushing them apart.
Milestone: Practice driving #8 × 1-5/8″ screws into oak with and without pilot holes. The pilot hole screw drives cleanly and seats without splitting; the screw without a pilot hole may split the wood and is much harder to drive.
Step 3: Pocket Screws — Fast Joinery for Cabinets and Face Frames
Goal: Use pocket hole screws for efficient, strong joinery in cabinetry and frame assembly.
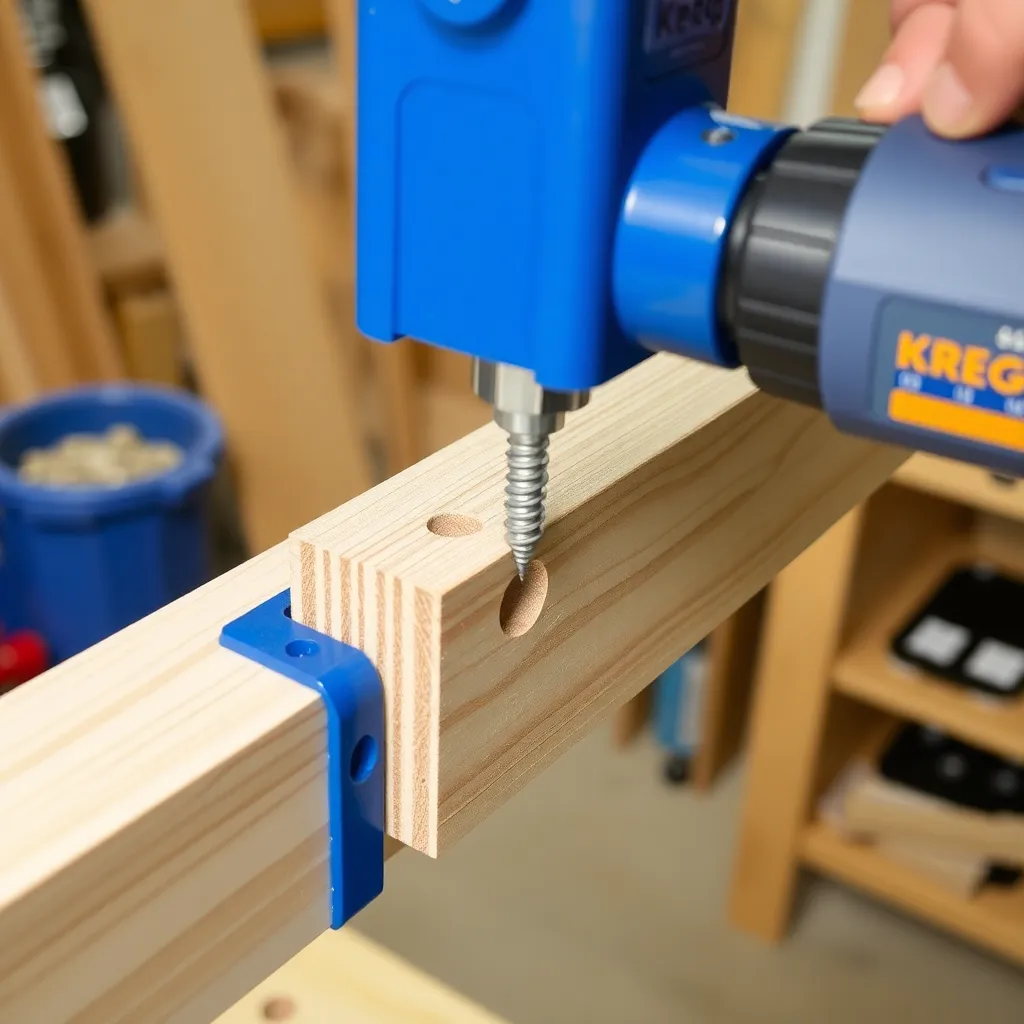
Pocket screws (used with a pocket hole jig, most famously the Kreg Jig) create angled joints quickly without complex tool setup. The jig drills an angled pocket into the face of one piece; the screw drives through the pocket and into the edge or face of the mating piece.
The pocket screw advantage:
- No clamping for most joints (the screw draws the joint tight as it’s driven)
- Works at any angle without complex clamping setups
- Joints can be pulled apart for adjustment (not possible with glued traditional joinery)
- Very fast assembly: a face frame that takes an hour with mortise and tenon joinery takes 20 minutes with pocket screws
Pocket screw sizes:
- 1-1/4″ screw: for 1/2″ and 5/8″ sheet goods
- 1-1/2″ screw: for 3/4″ sheet goods and face frames (the most common size)
- 2-1/2″ screw: for 1-1/2″ thick solid wood and face frames in thick stock
Coarse vs fine thread pocket screws: Kreg and other suppliers offer both coarse thread (for soft and medium hardwoods, plywood) and fine thread (for hardwoods). Use fine thread when jointing oak, maple, and other dense hardwoods.
Glue with pocket screws: pocket screws alone provide adequate strength for most face frame and cabinet joinery. Adding glue (before driving the screw) significantly increases the joint strength. For furniture visible from all sides and subjected to racking forces (bookshelves, desks): use both glue and pocket screws.
Milestone: Build a test face frame (two stiles and one rail) using pocket screws, with and without glue. Attempt to rack the frame — note the difference in rigidity.
Step 4: Structural Screws for Heavy Applications
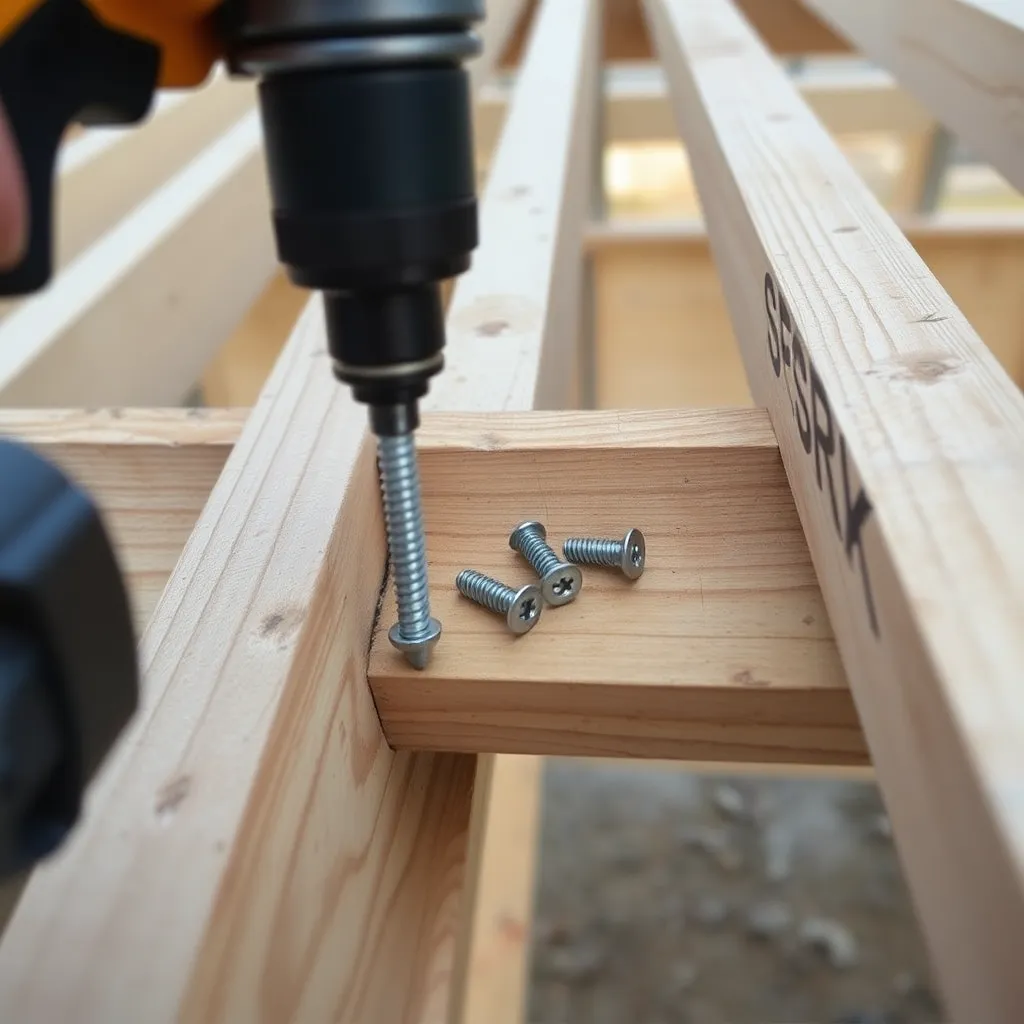
Goal: Use structural screws for connections that must handle heavy loads or act as primary structure.
Structural screws (GRK Fasteners, SPAX, FastenMaster LedgerLOK) are engineered for connections that carry significant load: attaching ledger boards, connecting timber frame members, installing stair stringers, and fastening deck framing. They differ from standard wood screws in:
Design features:
- High tensile strength: heat-treated steel with significantly higher shear and withdrawal load ratings than standard wood screws
- Reverse thread near head: a section of reverse thread near the head prevents the screw from pulling through the material under shear load
- Serrated tip: cuts through wood fibers without pre-drilling in most applications (through 1.5″ lumber in softwoods)
- Torx drive: very high torque transfer, no cam-out
Common applications:
- Deck framing: structural screws replace through-bolts and lag screws in many deck connections — faster installation, equivalent or superior load ratings
- Stair risers and treads: structural screws provide the pull-out resistance and shear strength needed for stair connections
- Timber frame connections: GRK and similar structural screws connect timber frame members at corners and joints without the complex joinery of traditional timber framing
Do they need pilot holes? Structural screws are designed to drive without pilot holes through dimension lumber (2×4, 2×6) in softwoods. In hardwoods and when driving near edges (less than 1-1/2″ from an edge): always pilot. The serrated tip cuts wood fibers, but in hardwoods the driving torque can split the wood without a pilot hole.
Milestone: Drive a GRK or SPAX structural screw through a 1.5″ 2×4 into a 2×4 framing member without a pilot hole — note the torque required and the absence of cam-out with the Torx drive.
Step 5: Specialty Screws for Specific Woodworking Applications
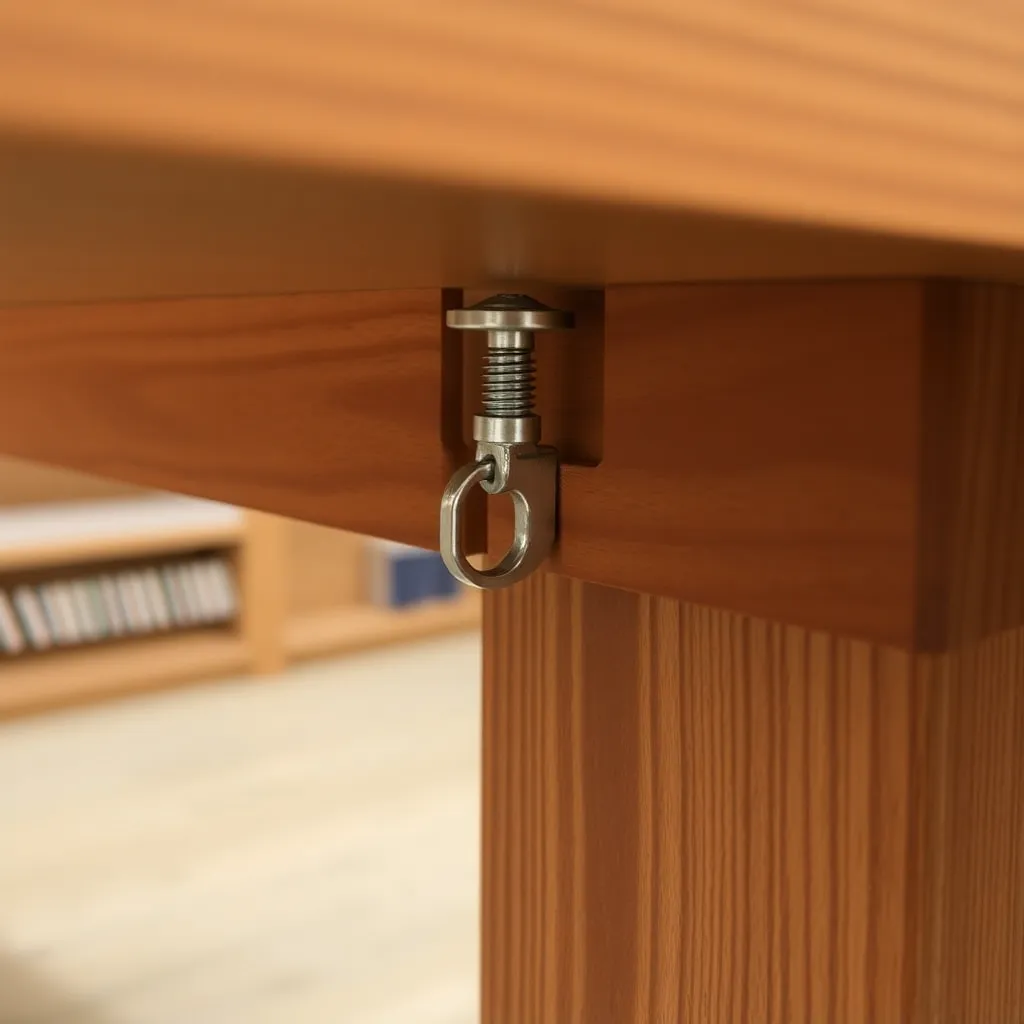
Goal: Know the right screw for hinge mounting, figure-8 connectors, table tops, and other specific applications.
Hinge screws: standard flathead screws in the hinge’s pre-drilled hole size (typically #8 for most butt hinges). The critical detail: the screw must be the right length to engage adequate material without breaking through the other side. For 3/4″ stock: 3/4″ screw length (just enough to grip without breaking through).
Table top fasteners (figure-8): solid wood table tops attached to base frames must be able to move seasonally. “Figure-8” fasteners (also called tabletop connectors) screw into the apron on one side and into the underside of the table top on the other, with enough rotation in the figure-8 shape to accommodate wood movement. The screws in both sides should be appropriately sized for the material thickness.
Hardware screws for knobs and pulls: machine screws (threaded all the way, no taper) connect cabinet hardware to cabinet faces. Standard sizes: #8-32 (for most residential hardware) and M4 (metric equivalent for European hardware). Length: the screw should engage at least 3/4″ into any wood backing block.
MDF screws: standard wood screws grip MDF poorly and often strip the hole. Use coarse-thread pan-head screws in MDF (the larger head distributes clamping load over more surface). Pre-drill always in MDF, especially near edges — MDF splits along the edge if stressed during screw installation.
Milestone: Identify the specialty screw type needed for three specific connections in your current or next project before beginning assembly.
Step 6: Driving Technique and Avoiding Common Problems
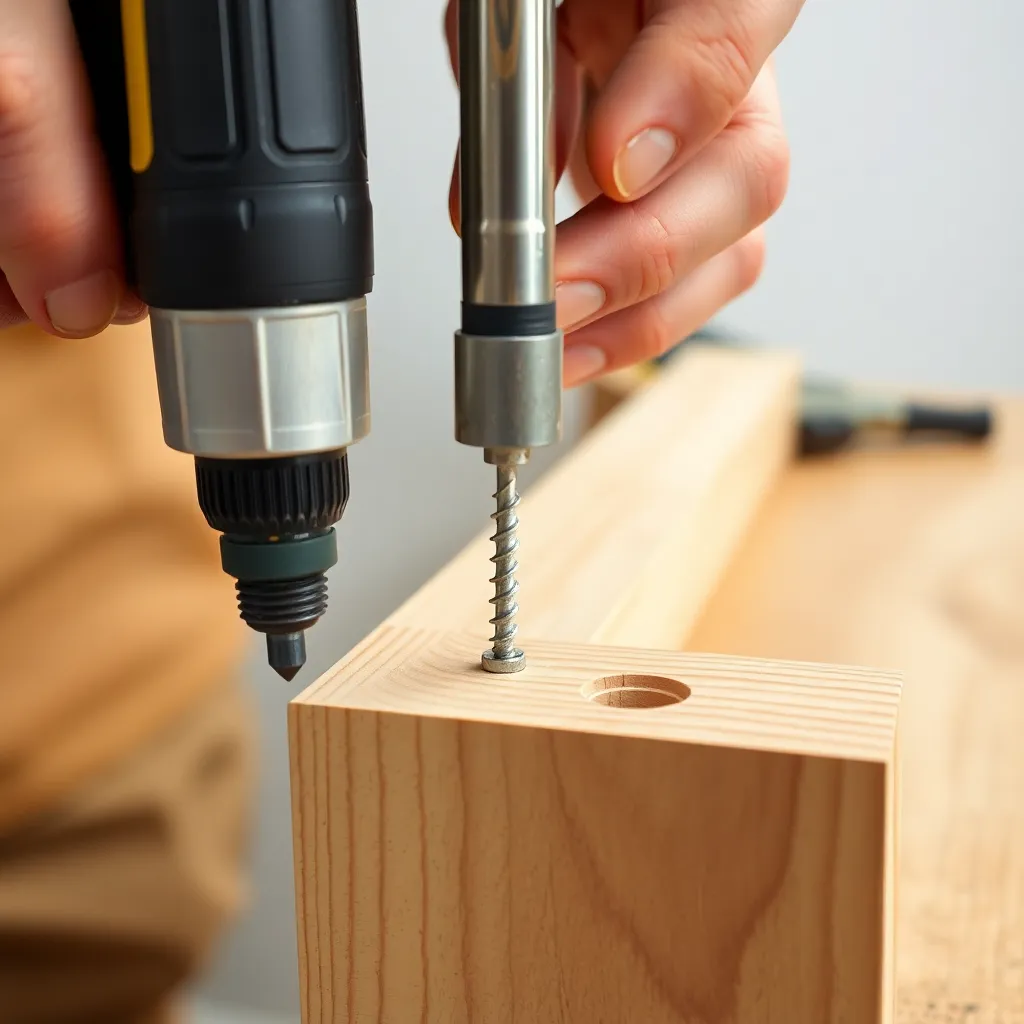
Goal: Drive screws correctly to avoid stripped heads, split wood, and overdriven fasteners.
Drill driver vs impact driver:
- Drill driver: variable clutch stops driving when a set torque is reached — prevents overdriving and stripped heads. Better for fine woodworking where driving depth matters.
- Impact driver: hammering action (the driver rotates and impacts simultaneously) drives screws very fast and provides very high torque — better for structural screws and construction applications. The hammering action can overtorque and strip smaller screws.
Countersinking: for flathead screws: countersink before driving so the head sits flush or slightly below the surface. A combination countersink/pilot bit (sizes #6, #8, #10) drills the pilot hole, clearance hole, and countersink simultaneously.
Avoiding stripped heads:
- Use the correct driver bit size (a bit that fits the drive recess precisely — too small or too large both strip the head)
- Keep the driver perpendicular to the screw head
- Apply firm downward pressure to keep the driver seated in the head during driving
- Use square drive or Torx screws (far more resistant to cam-out than Phillips)
Avoiding splitting near edges:
- Pilot holes are mandatory for hardwoods and for screws within 1-1/2″ of any edge
- Blunt the screw tip by tapping it against a hard surface (a blunted tip crushes wood fibers rather than wedging them apart — reduces splitting)
- Position screws at least 1-1/2″ from the end of the board and 1″ from the edge
Milestone: Drive a screw in hardwood without a pilot hole (observe the result), then repeat with proper pilot hole — the difference in driving effort and splitting risk is immediately clear.
Woodworking Screws FAQ
What size screw should I use for 3/4″ plywood?
For joining two pieces of 3/4″ plywood face-to-face or edge-to-face: #8 × 1-5/8″ coarse thread square drive. The 1-5/8″ length penetrates through the 3/4″ top piece and engages 7/8″ into the second piece — adequate grip for most applications. For screws going through 3/4″ plywood into a solid wood frame: #8 × 1-1/4″ to 1-1/2″, depending on how much engagement you need in the frame. For very light applications (attaching cabinet backs): #6 × 3/4″ or 1″ is adequate for 1/4″ plywood backs attached to solid wood or plywood cabinet sides.
Do I need to pre-drill for pocket screws?
No — the pocket hole jig drills the pocket and the clearance hole in one operation, and the pocket screw is designed to self-tap into the receiving wood without a separate pilot hole. In hardwoods (maple, oak, cherry): you may need to reduce the driver speed or use Kreg’s fine-thread pocket screws for hardwoods, which are designed for denser materials. If the joint pulls unevenly or the screw doesn’t seat properly in hardwood: drill a small (1/16″) starter hole in the receiving face before driving the pocket screw.
What is the difference between coarse and fine thread screws?
Coarse thread screws have fewer threads per inch with deeper thread profiles — they grip softwoods, sheet goods (plywood, MDF), and medium-density materials better because the deep threads bite into the material aggressively. Fine thread screws have more threads per inch with shallower thread profiles — they grip hardwoods better because the denser wood provides more engagement between the shallow thread crests, and the greater number of threads provides more total grip surface. As a rule: use coarse thread for pine, cedar, fir, and all sheet goods; use fine thread (or coarse with pilot holes) for oak, maple, walnut, and other dense hardwoods.
How long should woodworking screws be?
A general rule: the screw should engage at least 1 inch (ideally 1.5 inches) into the receiving piece. For 3/4″ plywood-to-solid wood: the screw passes through 3/4″ and engages at least 1″ into the solid wood = minimum 1-3/4″ total (use 1-5/8″ or 2″). For 1-1/2″ stud-to-stud construction: the screw should pass through 1-1/2″ and engage 1-1/2″ into the second stud = 3″ minimum. For hinge installation into 3/4″ stock: the screw must engage at least 1/2″ without breaking through = 3/4″ screw for a countersunk flathead. The primary constraint on screw length from above: don’t let the tip break through the far face of the receiving piece (unless that’s intentional, as in through-bolt applications).

“DIY woodworking enthusiast who started with zero experience and a YouTube tutorial.
I build simple, practical projects for my home and share free plans
so other beginners can skip the guesswork.If I can build it, you can too.”