Part of: Wood Finishing Techniques →
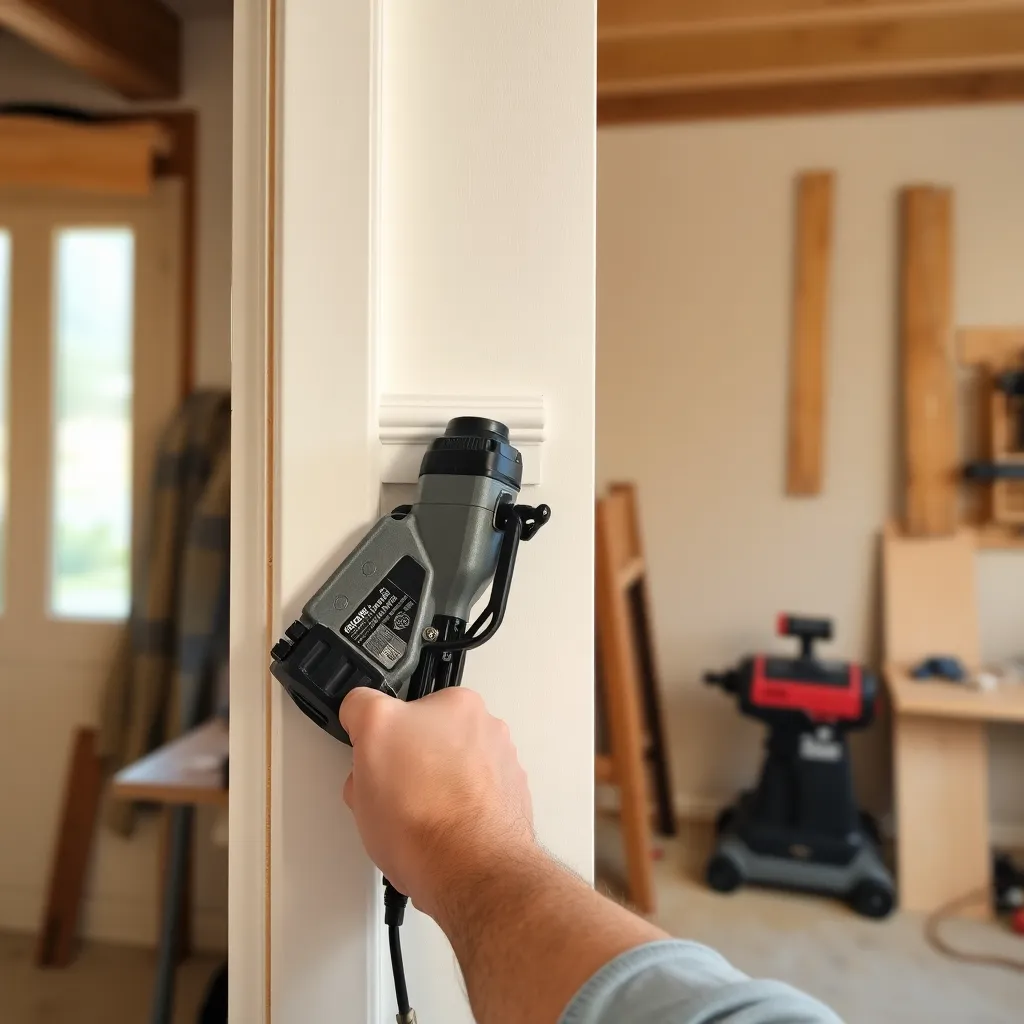
The finish nail gun and brad nailer are the two most useful power tools for attaching trim, molding, and cabinetry components without visible fastener heads. Both use compressed air or battery power to drive small nails, but they fire different nail gauges — and the gauge determines what each nailer can handle. Choosing the wrong nailer either leaves nail holes too large to conceal or uses nails too small to hold the work. This guide covers both tools, their applications, and how to use them correctly.
Ted’s Woodworking has 16,000+ plans with complete tool and fastening specifications for every project. Browse Ted’s plans →
Step 1: Understand the Difference Between Finish Nailers and Brad Nailers
Goal: Know which tool is appropriate for each application before picking up a nailer.
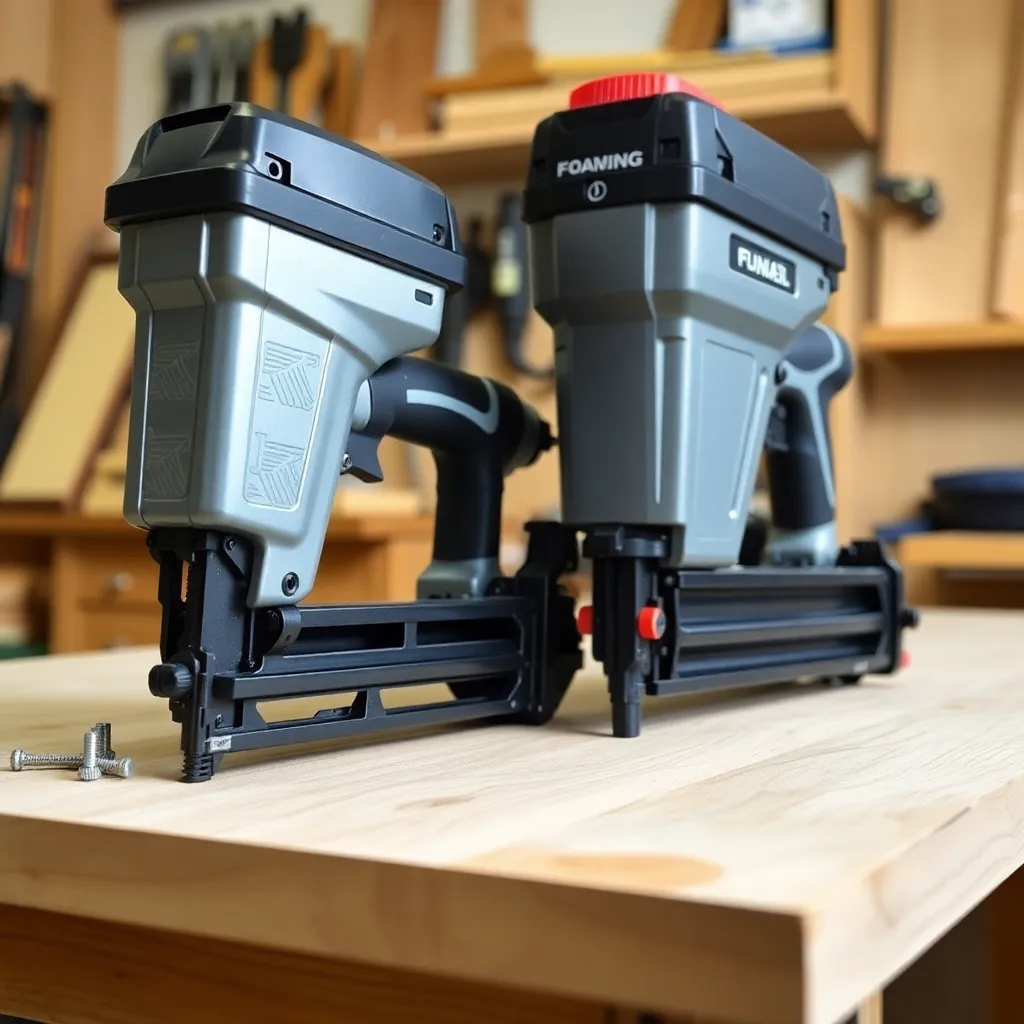
Finish nail gun (15-gauge or 16-gauge):
Fires T-nails (15-gauge with an angled head, 16-gauge straight) in lengths from 1″ to 2.5″. The nail diameter is approximately 0.072″ (15-gauge) or 0.063″ (16-gauge) — large enough to provide substantial holding power. Used for: baseboard molding, door and window casing, crown molding, cabinet face frames, chair rail, stair treads and risers, and any trim application that requires structural holding power.
Brad nailer (18-gauge):
Fires 18-gauge brad nails in lengths from 5/8″ to 2″. Brad diameter is approximately 0.047″ — significantly thinner than finish nails. The smaller nail leaves a smaller hole (about 1/16″) that’s easier to conceal, but the holding power is limited to lighter work. Used for: attaching thin trim pieces, small molding details, hobby and craft projects, light cabinet work, and attaching back panels where the panel itself provides the structural connection.
The rule: if the trim piece could theoretically pull away from the wall or substrate under normal use, use a finish nailer. If the piece is thin (under 3/4″) and held in place largely by the surrounding structure, a brad nailer is appropriate.
Milestone: For your current project, list the trim pieces to be attached and determine whether each requires finish nails or brads based on thickness and structural requirements.
Step 2: Choose the Right Nail Length
Goal: Select nail length that provides adequate holding power without breaking through the back of the substrate.
The nail length formula: nail should penetrate the substrate (the framing, cabinet box, or structural member) by at least 3/4″ to 1″. The nail passes through the trim piece and into the substrate — only the portion in the substrate provides the hold.
Common nail length selections:
- 3/4″ baseboard into drywall over 1.5″ stud: nail must penetrate through 3/4″ trim + 1/2″ drywall and into the stud by 3/4″ = minimum 2″ nail (use 2″ or 2.5″)
- 1/4″ cabinet back panel: 1″ brad into the cabinet side — the back panel doesn’t need deep penetration since the glue and the cabinet box structure hold it
- 1/2″ crown molding onto blocking: 1.5″ finish nail — through 1/2″ molding and 1″ into the blocking
- Door casing (3/4″) over drywall (1/2″) into jack stud: 2″ to 2.5″ finish nail
Nail length for face frames: when attaching a solid wood face frame to a plywood cabinet box, use 2″ finish nails — they pass through the face frame and into the plywood box side with enough engagement to hold securely.
Milestone: Measure the combined thickness of the trim and substrate for your current project and select the nail length that provides 3/4″ to 1″ penetration into the substrate.
Step 3: Set Up the Nailer
Goal: Configure the nailer for clean, accurate, flush nail placement.
Pneumatic nailers (air-powered):
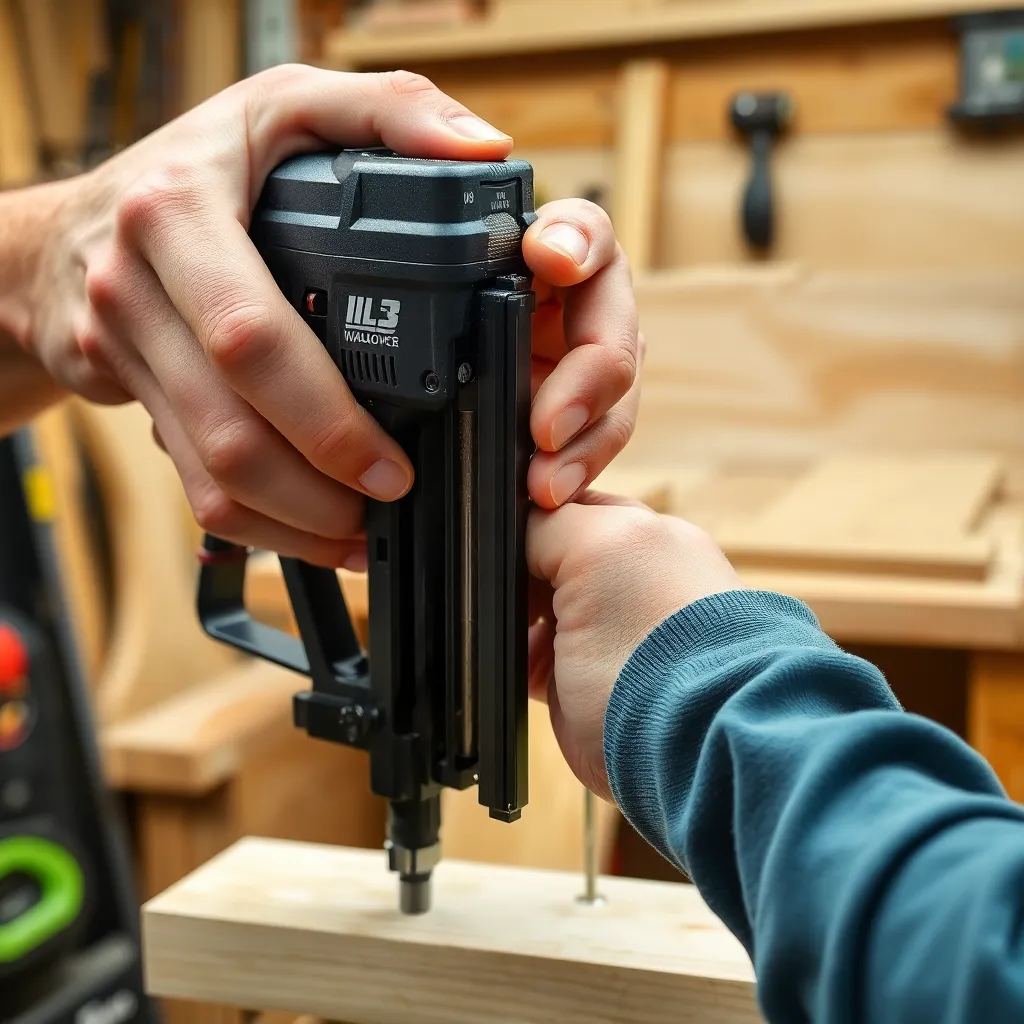
Require an air compressor. The compressor must supply adequate CFM (cubic feet per minute) at the correct PSI for the nailer. Most finish and brad nailers operate at 70–100 PSI; the nailer’s manual specifies the range. Connect the air hose and load the nail strip into the magazine.
Cordless nailers (battery-powered):
Use either a lithium-ion battery (most modern cordless nailers) or a fuel cell + battery combination. No air hose to manage — more maneuverable, particularly for crown molding and ceiling trim. Battery-powered nailers are slightly heavier but increasingly preferred for their portability.
Depth adjustment: every nailer has a depth adjustment that controls how deep the nail is driven. Set it so the nail head sits just below the wood surface (countersunk 1/32″ to 1/16″) — deep enough to fill with putty, shallow enough that the nailer doesn’t dent the surrounding wood. Test on scrap and adjust before nailing finish surfaces.
Sequential vs contact trigger: finish nailers typically have two trigger modes. Sequential (restrictive) mode: you must press the nose against the work, then pull the trigger — one nail per cycle. Contact (bump) mode: hold the trigger and bump the nose against the work for rapid firing. Always use sequential mode for finish work — it gives you precise control over nail placement.
Milestone: Test the depth adjustment on scrap of the same species and thickness as your trim. The nail head should be just below the surface without denting the surrounding wood.
Step 4: Nail the Trim
Goal: Attach the trim accurately with nails properly placed for structural hold and concealment.
Nail placement for baseboard and casing:
- Drive nails in pairs — one near the top edge and one near the bottom edge of the trim — at each stud location (every 16″ along the wall)
- The pair of nails draws the trim flat against the wall across its full width
- On baseboard: one nail angled slightly downward (into the bottom plate) and one into the stud above the floor — this prevents the bottom of the baseboard from pulling away from the wall
Nail placement for crown molding:
- Crown molding nails must hit blocking, the top plate, or ceiling joists — drywall alone won’t hold crown molding
- Nail the bottom edge into the wall studs or top plate, and the top edge into ceiling joists or blocking installed specifically for the crown attachment
- Mark stud and joist locations before nailing — a magnetic stud finder on drywall is adequate
Nail placement for face frames:
- Nail face frames from the back (through the inside of the cabinet box into the face frame) wherever possible — the nail holes are hidden inside the cabinet
- Where you must nail from the face: nail at stile centers where the nail will be near the edge and easily concealed with putty
Angling nails (toenailing): for better holding power at outside corners and where straight nailing would split the trim, angle the nail 15–20 degrees into the joint. The angled nail resists pulling away from the wall better than a perpendicular nail.
Milestone: Attach a test section of trim on a scrap wall assembly and verify that all nail heads are set below the surface and that the trim is flat against the substrate.
Step 5: Fill the Nail Holes
Goal: Conceal nail holes so they’re invisible after painting or staining.
For painted trim:
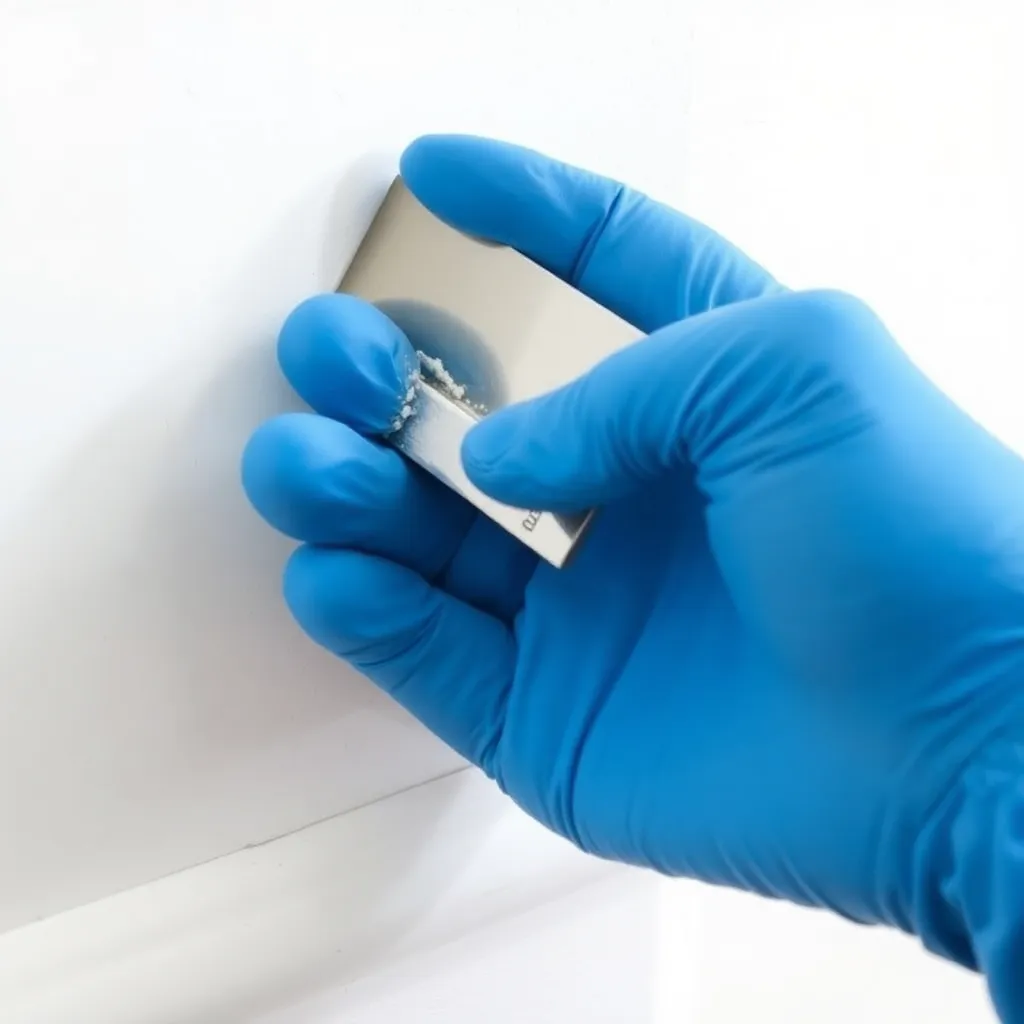
Use a ready-mixed wood filler or lightweight spackle. Apply with a fingertip or a small putty knife — overfill slightly. Allow to dry completely (15–30 minutes for lightweight filler). Sand flush with the trim surface using 120-grit sandpaper. Prime and paint as normal. The filled hole should be invisible.
For stained or clear-finished trim:
Use a stainable wood filler (not spackle — spackle won’t accept stain). Stainable fillers are designed to absorb stain similarly to wood, producing a reasonably matched hole after finishing. Test on scrap first — no filler matches stained wood perfectly; the goal is close enough not to be noticeable at normal viewing distance. Alternatives: color-matched wax filler sticks (applied after finishing — the finish coat surrounds the nail hole, then the wax stick fills it flush after finishing; better color match than pre-finish fillers); tinted shellac sticks (melt into the hole with a burn-in knife for a nearly invisible repair).
For dark species (walnut, ebony stain):
Dark wood is the most forgiving for nail holes — the dark color conceals fillers effectively. Light woods (maple, ash, white oak) are the most demanding — the nail hole fill must match the grain direction and color closely to be invisible.
Milestone: Fill all nail holes in a test section and stain/paint it to verify the fill is undetectable before finishing the actual project.
Step 6: Maintain and Troubleshoot the Nailer
Goal: Keep the nailer functioning reliably and know how to resolve common problems.
Jams: the most common nailer problem. Signs: the trigger fires but no nail drives; a nail is stuck partially in the nose. Clear a jam by: disconnecting the air (pneumatic) or removing the battery (cordless), opening the jam-clearing door on the nailer nose, removing the stuck nail with pliers, and reloading. Most jams are caused by mis-fed nails at the bottom of the magazine strip — load fresh nails when the strip gets below 10 nails remaining.
Blowout: the nail exits the wood at an unintended location — usually at a knot or grain change that deflects the nail. Solution: drill a pilot hole at the nail location before nailing when knots or very hard grain is present.
Surface denting: the nailer nose dents the trim on each shot. Solution: reduce air pressure slightly (pneumatic) or reduce driving depth (depth adjustment). The nailer is driving too deep — the nose is impacting the wood before the nail is fully countersunk.
Oil maintenance: pneumatic nailers require oiling before use. Add 2–3 drops of pneumatic tool oil into the air fitting before connecting the hose. Cordless nailers require no oiling. Don’t use WD-40 — it’s a solvent and degrades the nailer’s internal seals.
Milestone: After each use, release air pressure (pneumatic) or remove battery, remove any remaining nails, and store the nailer in its case. Oil pneumatic nailers monthly or before every use if used infrequently.
Finish Nail Gun FAQ
What is the difference between a brad nailer and a finish nailer?
The primary difference is nail gauge: finish nailers fire 15-gauge or 16-gauge nails; brad nailers fire 18-gauge nails. The higher the gauge number, the thinner the nail. Finish nails are thicker (more holding power, larger hole) and are used for structural trim applications — baseboard, casing, crown molding, face frames — where the trim piece must be securely held against the substrate under repeated stress. Brad nails are thinner (less holding power, smaller hole) and are used for lighter applications — small trim pieces, back panels, delicate work — where a large nail hole would be hard to conceal or where the holding power of a finish nail isn’t needed. The brad nailer’s smaller hole is easier to fill invisibly; the finish nailer’s larger hole requires more filler but provides more structural holding.
Do I need an air compressor for a finish nailer?
No — cordless (battery-powered) finish nailers are now fully capable substitutes for pneumatic nailers. Major manufacturers (DeWalt, Milwaukee, Ridgid, Makita) offer 15-gauge and 16-gauge cordless finish nailers that drive nails with the same force as pneumatic models. Cordless nailers are more portable (no hose to manage) and easier for overhead work, but they’re heavier and the battery requires charging. Pneumatic nailers are lighter and never run out of power mid-job, but require a compressor with adequate CFM and PSI. For a shop-based trim carpenter: a pancake compressor + pneumatic nailer is the economical choice. For a jobsite worker who moves frequently: cordless nailers are worth the premium.
What size compressor do I need for a finish nailer?
A 6-gallon pancake compressor (delivering 2.6 CFM at 90 PSI) runs a finish nailer comfortably for occasional use. Most finish nailers consume approximately 0.1 CFM per shot — very low air consumption, which means a small compressor can keep up indefinitely. The compressor must reach 90 PSI (the operating pressure) before the nailer fires correctly. If the compressor drops below 70 PSI, the nailer will drive nails with insufficient force. For running multiple pneumatic tools simultaneously: get a larger tank (10–20 gallon) or a larger CFM rating. For a dedicated trim carpenter running a finish nailer all day: a 10-gallon compressor with 4+ CFM at 90 PSI provides comfortable margin.
Can I use a finish nailer to attach hardwood flooring?
No — hardwood flooring requires a dedicated flooring nailer (a floor nailer or cleat nailer) that fires L-cleats or staples at the correct angle into the tongue of the flooring. Finish nailers fire straight nails that can’t angle correctly to fasten flooring without splitting the tongue. The exception: face-nailing at the first and last rows of flooring where the nailer angle can’t reach — use a finish nailer to face-nail these rows, then fill the holes. For engineered hardwood floating floors: no nailer of any type is used (click-lock system); for glue-down engineered hardwood: no nailer either.

“DIY woodworking enthusiast who started with zero experience and a YouTube tutorial.
I build simple, practical projects for my home and share free plans
so other beginners can skip the guesswork.If I can build it, you can too.”