TL;DR:
- Hardwoods are defined botanically, not by physical hardness, and can be softer than some softwoods.
- They offer durability, better finish quality, and the potential for heirloom-quality furniture.
- Using hardwood wisely involves matching species to project use, saving cost on hidden parts, and employing proper techniques.
Not every hardwood is harder than every softwood. That surprises most beginners, and it’s the kind of misconception that leads to poor material choices and wasted money. Some softwoods rival softer hardwoods in hardness and cost significantly less, which means picking wood based on the “hardwood vs. softwood” label alone is a flawed strategy. This guide breaks down what hardwood actually offers, which species are worth the premium, when softwood makes more sense, and how you can start using hardwood confidently in your own DIY builds.
Table of Contents
- What makes hardwood unique?
- The core benefits of using hardwood in DIY projects
- Comparing hardwood and softwood: Cost, performance, and project suitability
- Hardwood craftsmanship: Techniques and project ideas
- Why hardwood is worth it—if you use it wisely
- Kickstart your next hardwood project with expert plans
- Frequently asked questions
Key Takeaways
| Point | Details |
|---|---|
| Hardwood is not always harder | Some softwoods can be harder than certain hardwoods, making proper selection important. |
| Superior durability and finish | Hardwood delivers lasting value and high-quality appearance for DIY projects. |
| Higher cost but long-term value | While more expensive, hardwood can result in heirloom pieces that outlast softwood. |
| Choose material by project | Match wood type to your project’s needs for best results, not just by reputation. |
What makes hardwood unique?
Hardwood and softwood are not about physical hardness. They are botanical terms. Hardwoods come from deciduous trees, meaning trees that shed their leaves seasonally, like oak, walnut, and maple. Softwoods come from conifers, like pine, spruce, and cedar. That’s where the naming stops being simple.
Balsa is the softest hardwood and is actually softer than most softwoods you’ll find at a lumber yard. Meanwhile, Southern Yellow Pine scores higher on the Janka hardness scale than poplar, a commonly used hardwood. This is the kind of nuance that separates smart wood selection from guesswork.
The Janka hardness scale measures the force required to embed a steel ball halfway into a wood sample. Higher numbers mean denser, more resistant wood. Here’s a quick comparison of species that challenge common assumptions:
| Wood species | Type | Janka rating (lbf) |
|---|---|---|
| Balsa | Hardwood | 67 |
| Poplar | Hardwood | 540 |
| Eastern White Pine | Softwood | 380 |
| Southern Yellow Pine | Softwood | 1,225 |
| Red Oak | Hardwood | 1,290 |
| Hard Maple | Hardwood | 1,450 |
You can dig deeper into Janka hardness ratings for a fuller picture of how your favorite species compare. What the table shows clearly is that wood type alone doesn’t tell the whole story.
So what actually sets most hardwoods apart for DIY projects? Here are the key characteristics worth knowing:
- Grain patterns: Hardwoods typically display rich, complex grain that adds visual depth to finished pieces.
- Color range: Species like walnut offer deep browns, while maple runs pale and creamy. You have real options.
- Density: Most hardwoods are denser, which means better screw and nail holding power.
- Pore structure: Open-grained hardwoods like oak absorb stain beautifully. Tight-grained species like maple are trickier to stain evenly.
- Workability: Some hardwoods, like cherry, are a pleasure to cut and sand. Others, like hickory, fight back hard.
Wood selection should go beyond the hard or soft label. The better questions are: What will this piece endure? How will it be finished? And what’s your budget? Understanding those answers points you to the right species every time. If you want a solid starting point, wood types for DIY projects is a great resource to consult before your next lumber purchase.
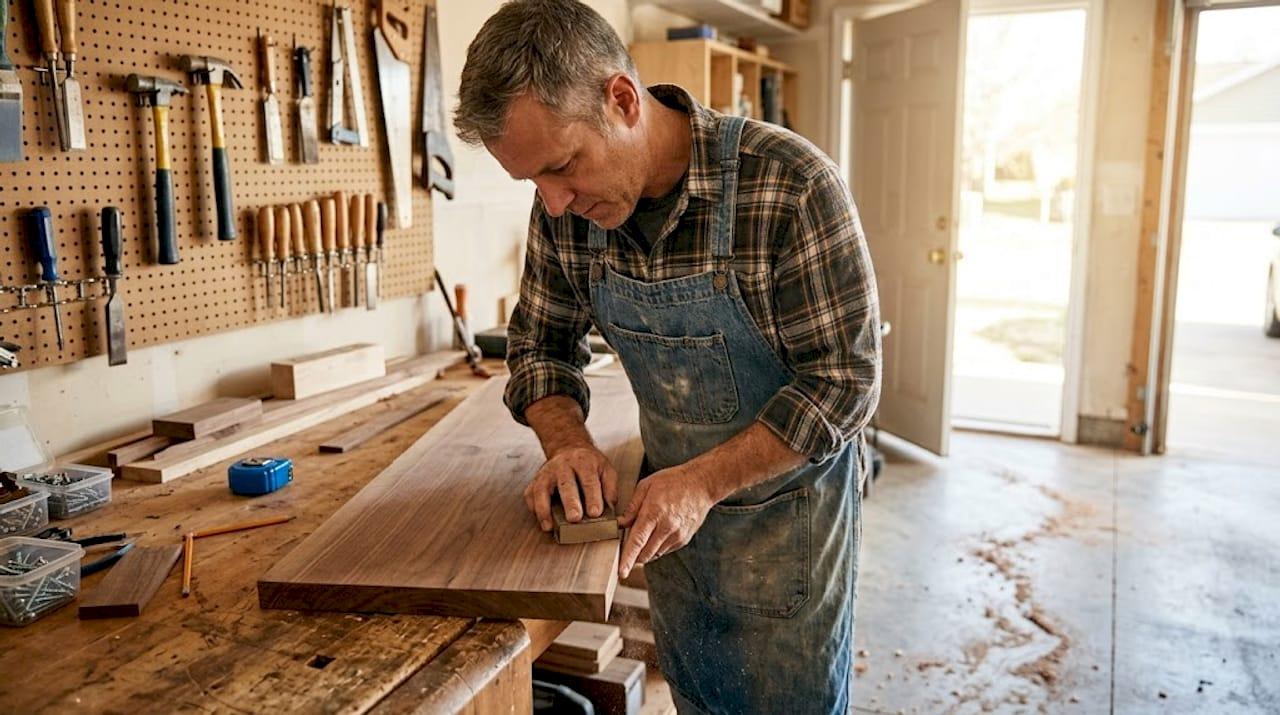
The core benefits of using hardwood in DIY projects
Now that you know what sets hardwood apart, let’s look at why so many DIY woodworkers are drawn to it for furniture and projects.
The practical advantages of hardwood are real, and for the right project, they justify the higher cost. Here’s what you actually get:
- Strength under stress: Hardwood resists denting, warping, and surface damage far better than most softwoods in high-use furniture.
- Longevity: A well-built oak or cherry piece can last decades with minimal care, often outlasting the home it was built in.
- Repairability: Scratches and dents in hardwood can often be sanded out and refinished. That’s harder to do with soft, compressible woods.
- Finish quality: Hardwood takes stain, oil, and lacquer in ways that produce richer, more professional results.
- Heirloom potential: A handcrafted walnut coffee table becomes a family piece. A pine version rarely reaches that status.
“While hardwood costs 2 to 5 times that of softwood, its value lasts generations.”
That 2 to 5x cost premium is real and should factor into every project decision. But so should the cost of replacing a softwood piece in five years versus keeping a hardwood piece for fifty. When you look at it that way, the math shifts.
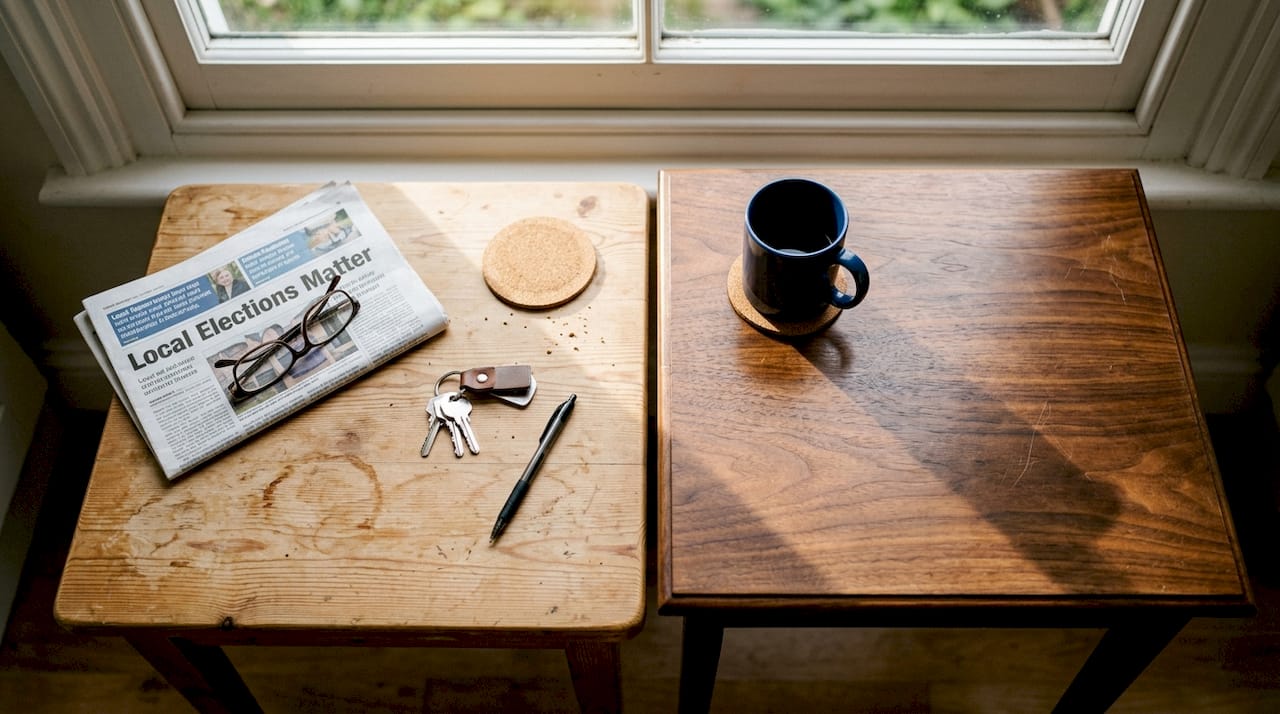
Consider a walnut tabletop versus a pine tabletop. Set a cup of coffee on both daily for two years. The pine surface will show ring marks, scratches, and compression dents. The walnut will show wear too, but far less of it, and what damage it does show can be refinished. That’s the lasting value of hardwood furniture in a real-world example.
Pro Tip: Not every hardwood project needs premium species. If you plan to paint a piece, use poplar. It’s a furniture grade hardwood that machines cleanly, takes primer well, and costs far less than oak or maple. Save your budget for the stain-grade pieces where grain and color actually show.
Comparing hardwood and softwood: Cost, performance, and project suitability
Understanding the benefits is crucial, but how does hardwood really stack up against softwood for homeowners and makers on a budget?
Let’s put real numbers on it. Softwood framing lumber runs roughly 20 to 40% of the board-foot cost of most hardwoods. That gap matters when you’re building a bookcase with 30 board-feet of material.

| Material | Avg. cost per board-foot | Best use case | Finish quality |
|---|---|---|---|
| Pine (softwood) | $1 to $3 | Shelving, framing, painted pieces | Moderate |
| Poplar (hardwood) | $2 to $4 | Painted furniture, cabinets | Good |
| Red Oak (hardwood) | $4 to $7 | Tables, chairs, flooring | Excellent |
| Walnut (hardwood) | $8 to $15 | Heirloom furniture, accents | Exceptional |
| Hard Maple (hardwood) | $5 to $9 | Cutting boards, workbenches | Excellent |
Beyond cost, performance differences show up in how the wood behaves under your tools and how the finished piece holds up. Hardwoods can be demanding on saw blades and router bits, requiring sharper edges and slower feed rates. Softwoods cut faster but are more prone to tear-out and surface damage during finishing.
Here’s a numbered guide to help you decide which to reach for:
- Choose hardwood when the piece will see daily use, like a dining table, cutting board, or workbench top.
- Choose hardwood when finish quality and grain appearance are central to the design.
- Choose hardwood when you want the piece to last long enough to pass down.
- Choose softwood for structural elements that won’t be seen, like drawer runners or internal frames.
- Choose softwood for practice projects where you’re learning a new technique and don’t want to risk expensive material.
- Choose softwood for large builds where budget is tight and painted finishes hide the surface.
Pro Tip: If your project will be painted, the species matters far less than the surface prep. A well-sanded, properly primed piece of pine or poplar can look identical to expensive oak under a coat of paint. Get smart about choosing wood for DIY projects and you’ll stretch your budget without sacrificing results. A lumber cost estimator can also help you plan before you buy.
Hardwood craftsmanship: Techniques and project ideas
Having weighed both options, you’re ready to put hardwood to work. But what does this mean in practice for your DIY journey?
Hardwoods can be tougher on tools but offer beautiful, lasting results for those who know how to work with them. The good news is that “knowing how” doesn’t mean years of trade experience. It means a handful of solid habits.
Prep your wood properly. Always let hardwood acclimate to your shop’s humidity for at least 48 hours before cutting. Skipping this step leads to warping and gaps after assembly.
Keep your tools sharp. Dull blades tear hardwood grain instead of cutting cleanly. A sharp edge is your single biggest quality upgrade. Sharpening your chisels and plane irons regularly makes hardwood feel completely different to work.
Use the right adhesive. Standard PVA wood glue (like Titebond II) works well for most hardwood joints. For outdoor pieces or oily species like teak, use a polyurethane or epoxy adhesive.
Pre-finish your edges. Sand edges to final grit before glue-up. Once a piece is assembled, getting into tight corners is much harder.
For those just getting comfortable with wood joinery fundamentals, hardwood rewards careful layout and tight-fitting joints in ways softwood simply doesn’t. The density means joints stay put and glue lines nearly disappear.
Here are beginner-friendly hardwood projects worth starting with:
- Cutting boards: Simple shape, forgiving for learning grain direction, and genuinely useful.
- Floating wall shelves: Practice flattening and finishing a face without complex joinery.
- Keepsake boxes: Small scale keeps material costs low while teaching lid fitting and hinge work.
- Step stools: Structural enough to test joinery strength, small enough to complete in a weekend.
- Picture frames: Great for practicing miter joints and learning how hardwood responds to fine finish work.
Don’t be intimidated. If you pair good technique with the right species for your skill level, hardwood is very approachable. Cherry and walnut are forgiving to cut and sand. Save hickory and hard maple for when you’re more confident. The beginner woodworking skills section on our site covers the foundational moves that make all the difference.
Why hardwood is worth it—if you use it wisely
Here’s something most woodworking content won’t say plainly: using expensive hardwood on the wrong project is not skilled craftsmanship. It’s waste.
We’ve seen beginners burn through premium walnut building hidden drawer components and structural backers that nobody will ever see. The real skill is knowing when hardwood earns its place and when a cheaper material serves the project just as well.
Save hardwood for pieces that are visible, high-use, or meant to outlast their maker. Use softwood, plywood, or MDF for shop fixtures, jigs, practice builds, and anything structural but hidden. The handcrafted furniture value comes from matching the right material to the right purpose, not from using the most impressive species you can afford.
The real triumph in woodworking is matching material to purpose, not just choosing the fanciest wood. A pine bookcase built with tight joinery, careful sanding, and a beautiful finish will always outshine a walnut one slapped together carelessly. Material is a tool. Craftsmanship is the skill.
Kickstart your next hardwood project with expert plans
When you’re motivated to put these hardwood insights into action, the right resources make all the difference.
Working with valuable hardwood is much less stressful when you have a clear, tested plan in front of you. Guessing at dimensions or joinery on an $80 slab of walnut is a painful way to learn. The right plan removes that risk completely.

At Real Wood Work Plans, you’ll find step-by-step plans built specifically for DIY woodworkers at every skill level. Whether you want to prove woodworking project success with your first hardwood build or tackle more advanced DIY furniture plans, the plans guide you through every cut, joint, and finish decision. Stop guessing and start building with confidence.
Frequently asked questions
Is hardwood always harder than softwood?
No. Species like balsa, the softest hardwood, score lower on the Janka scale than many softwoods, and Southern Yellow Pine is harder than poplar, a common hardwood.
Why does hardwood cost more for DIY projects?
Hardwoods grow more slowly and are processed differently, which drives up price. That 2 to 5x higher cost reflects superior density, figure, and durability that translates into furniture built to last.
When should I use hardwood over softwood in a project?
Reach for hardwood when a piece will face heavy daily use, when grain and color matter to the finished look, or when you want a build that holds up for decades rather than years.
Are there affordable ways to use hardwood in DIY builds?
Absolutely. Poplar for paint-grade work is an affordable hardwood that finishes cleanly. You can also combine hardwood faces or accents with softwood or plywood bodies to get the look without the full cost.
Recommended
- Wood Types Explained: Choosing for DIY Projects
- Why select specific wood types: A 2026 beginner’s guide
- Role of Wood Selection in DIY Woodworking Projects
- Types of wood for furniture: 6 options with Janka ratings

“DIY woodworking enthusiast who started with zero experience and a YouTube tutorial.
I build simple, practical projects for my home and share free plans
so other beginners can skip the guesswork.If I can build it, you can too.”