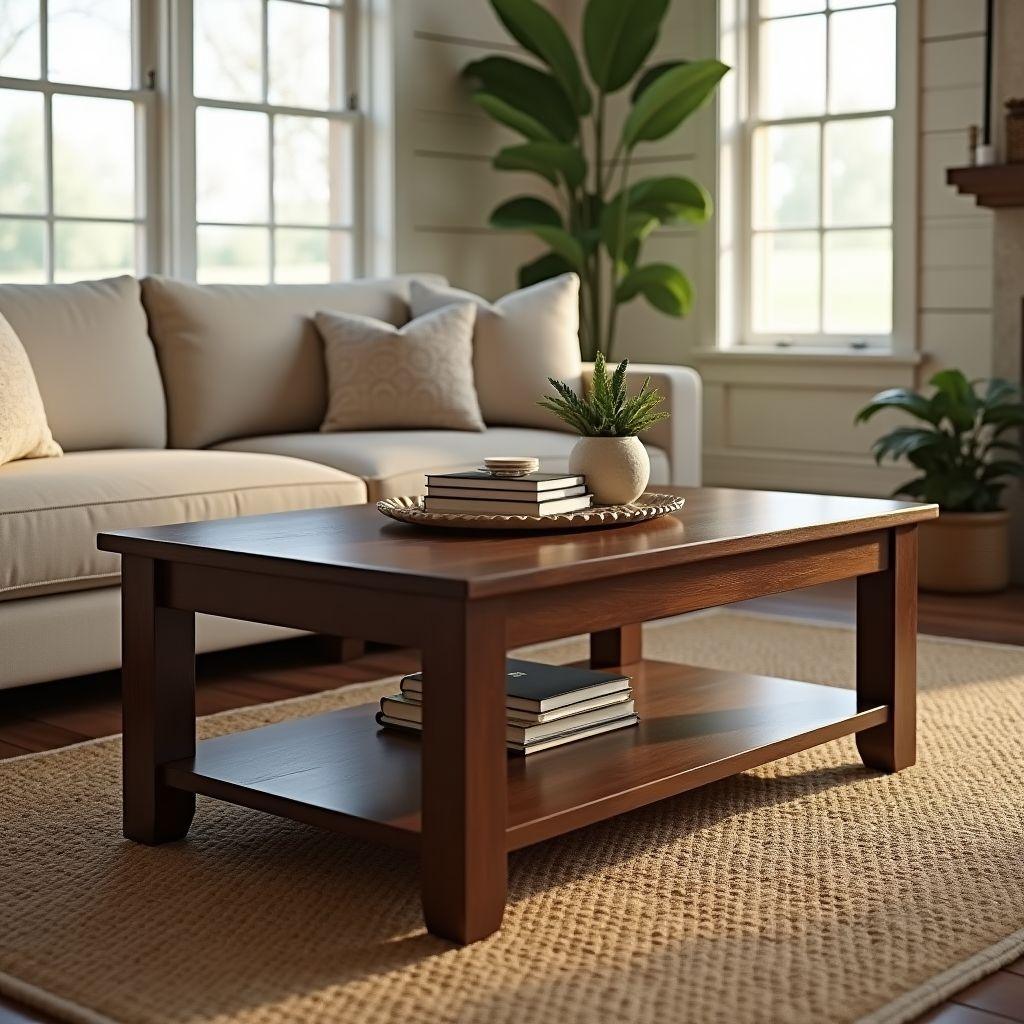
Search “diy coffee table” and most of the plans you find want a table saw, a planer, and $300 in lumber before you cut a single board. That gatekeeping stops beginners cold, and it does not have to. This guide walks you through a farmhouse plank coffee table you can build with a drill, a circular saw, and $65 to $90 in kiln-dried pine, and it pairs with our full library of coffee table plans if you want more options later. Part of our best DIY furniture plans guide. Part of our coffee table furniture plans guide.
The worked example is a 48″L x 24″W x 18″H farmhouse table with an apron base, four solid legs, and an optional lower shelf. Joinery is pocket-hole only, so there is no mortising, no doweling, and no advanced skill required.
Everything you need lives on this page: the 2/3 sofa sizing rule, how to pick straight boards at the store, a complete inline cut list with 2026 prices, eight build steps, a full finishing walkthrough, and the seven mistakes that trip up first-timers. You will not have to click away to build this. If you can drive a screw and follow a measurement, you can finish this table in a weekend.
Step 1: Size Your Coffee Table
Looking for more coffee table ideas?
This guide is part of our complete coffee table furniture plans series — compare all options by skill level, cost, and build time.
Want 16,000+ woodworking plans?
Ted’s Woodworking has step-by-step plans for every skill level. Browse Ted’s plans.

Get the size right before you touch lumber. The guiding principle is the 2/3 rule: your coffee table should run roughly two-thirds the length of the sofa it faces. That proportion keeps the table from looking lost in front of a big couch or crowding a small one.
Run the math for our example. A standard 72″ sofa times 0.667 gives you a 48″ table. That is where the 48″L x 24″W x 18″H worked example comes from, and it carries through every remaining step in this guide.
Height matters as much as length. Aim for 16 to 18 inches, matching your sofa’s seat height within about two inches. Most seats sit 17 to 19 inches off the floor, so an 18″ table lets you set down a mug without bending awkwardly.
Leave 18 inches of clearance between the front edge of the sofa and the back edge of the table. That is the designer standard: enough room to walk past and stand up, close enough to reach your coffee. For width, stay between 18 and 24 inches deep and never exceed half the sofa’s depth.
| Sofa Length | Recommended Table | Notes |
|---|---|---|
| 60″ (loveseat) | 36-40″ | Good for studio apartments |
| 72″ (standard) | 48″ | Our worked example |
| 84″ (large) | 56″ | Common living room size |
| 90″+ (sectional) | 60″ | Round or square also works |
Step 2: Choose Your Lumber

For a first table, buy SPF (Spruce-Pine-Fir). It is the lightest species to handle, the cheapest, and it holds pocket screws well. realwoodworkplans.com recommends SPF for the base and legs, with #2 common pine for the tabletop. If you plan to stain a light color, upgrade the top to select pine for fewer knots.
Always buy kiln-dried lumber for indoor furniture. Look for a “KD” or “KD-HT” stamp on the end tag. Green lumber holds high moisture and will shrink, crack, and twist as it dries in a heated home, so a board that looks perfect at the store can warp badly on your living room floor.
Spend 10 to 15 minutes hand-selecting every board. Do it in four passes:
- Pick up one end and sight straight down the length like looking down a rifle. Bow and twist show up instantly.
- Lay the board flat on the rack and rock it. A cupped board rocks side to side.
- Skip any board with a large loose knot within 2 inches of either end, where your pocket holes go.
- Reject blue or gray staining (mold) and split ends (checks). For the top, pick the flattest five boards on the shelf.
Lumber is sold by nominal size, not actual size. A 1×6 measures 0.75″ x 5.5″, and a 4×4 post measures 3.5″ x 3.5″. Plan every cut against the actual dimensions. To sanity-check how much board you are buying against the plan, run the numbers through our board foot calculator before you load the cart.
Step 3: Cut List and 2026 Material Costs

Here is the complete cut list. No PDF gate, no email wall. Every part, quantity, cut dimension, and 2026 price is right here.
| Part | Qty | Cut Dimensions | Lumber | 2026 Price |
|---|---|---|---|---|
| Tabletop plank | 3 boards (5 planks) | 0.75″ x 5.5″ x 48″ | 1x6x8 pine | $9-12 ea |
| Leg | 4 | 3.5″ x 3.5″ x 17.25″ | 1x 4x4x8 post | $14-18 |
| Long apron (side rail) | 2 | 0.75″ x 3.5″ x 41″ | 1x4x8 pine | $6-8 (whole board) |
| Short apron (end rail) | 2 | 0.75″ x 3.5″ x 17″ | from same 1x4x8 | — |
| Lower shelf slat (optional) | 2 boards | 0.75″ x 5.5″ x 41″ | 1x6x8 pine | $9-12 ea |
| Shelf cleat (optional) | 2 | 1.5″ x 1.5″ x 17″ | 2×2 or ripped 2×4 | $5-7 |
The 41″ long aprons equal the 48″ top minus two 3.5″ leg widths. The 17″ short aprons equal the 24″ top minus the same 7″. Both rail lengths come out of one 1x4x8 board, and all four legs come out of one 4x4x8 post.
| Hardware & Consumables | 2026 Price |
|---|---|
| 1-1/4″ Kreg pocket screws (100-ct box) | $8-10 |
| Wood glue (Titebond II, 16oz) | $8-10 |
| Sandpaper assortment (80/120/150/220) | $8-12 |
| Pre-stain conditioner (1qt) | $12-15 |
| Stain (1qt Minwax Wood Finish) | $12-16 |
| Polyurethane (1qt oil-based) | $18-24 |
Prices reflect July 2026 national big-box averages. Lumber futures climbed about 4.4% in June 2026, and a roughly 35.9% tariff on Canadian imports keeps pine higher than it was two years ago. Buying 8-foot boards and cutting them yourself is the single biggest saver, since pre-cut pieces cost more per inch.
| Tier | Cost | What’s Included |
|---|---|---|
| Budget | $65-90 | #2 common pine, minimal hardware, basic sanding, no shelf |
| Mid | $90-130 | Lower shelf, select pine top, full finishing kit |
| Premium | $130-180 | Select/clear pine throughout, premium stain, Kreg jig if buying new |
Tools required:
- Drill/driver (cordless preferred)
- Circular saw or miter saw
- Kreg Pocket Hole Jig (R3, K4, or K5)
- Tape measure
- Square (combination or framing)
- 4-6 bar or pipe clamps
- Random orbital sander or sanding block (80/120/150/220 grit)
- Safety glasses and hearing protection
If you would rather skip the sizing math and cut-list planning altogether, a ready-made plan set covers that for you. For a complete library of printable, dimensioned coffee table plans, browse this recommended plan set.
Step 4: Cut Your Parts
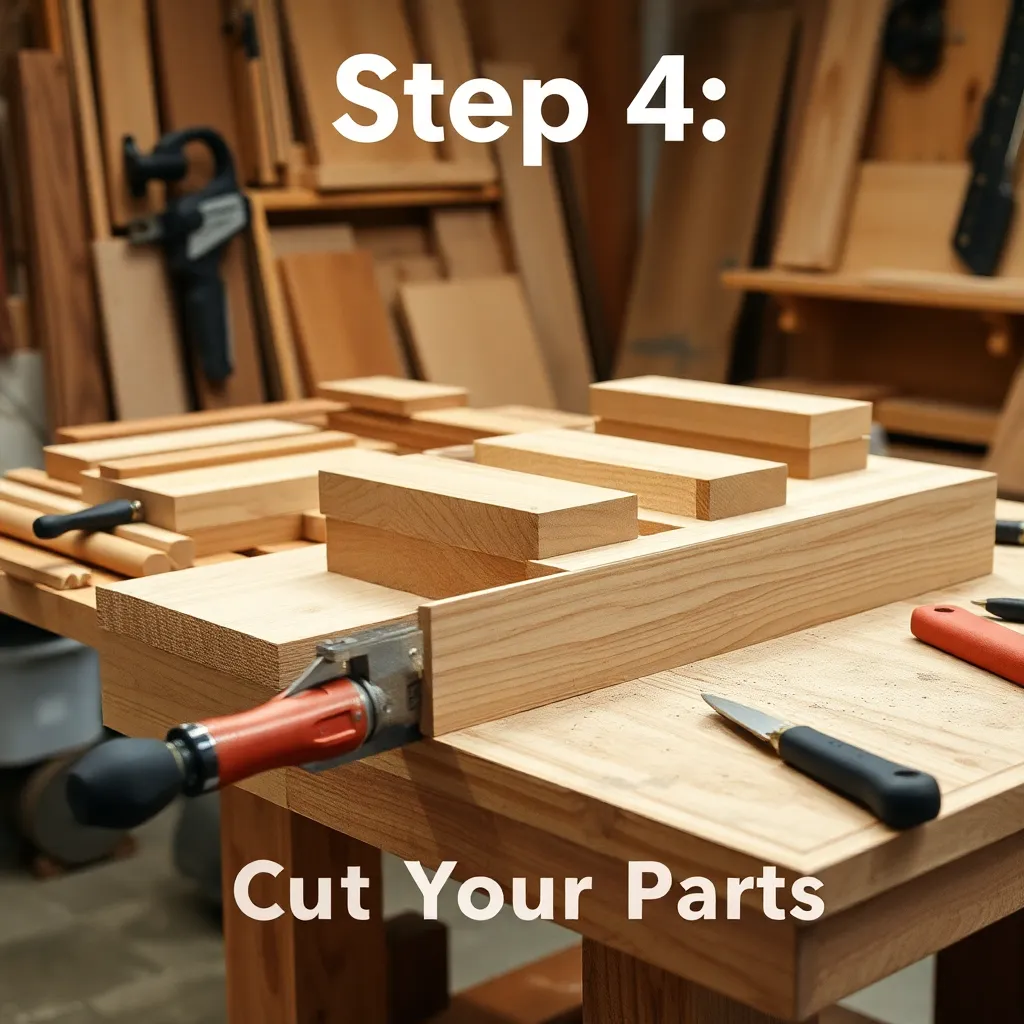
Start with the tabletop planks. Clamp a straightedge guide to each 1×6 and run your circular saw along it for clean 48″ crosscuts. A 60-tooth blade leaves the smoothest edge on pine and reduces tearout you would otherwise have to sand out.
For the legs and aprons, a miter saw gives the squarest ends, though a circular saw with a guide works fine. Square ends matter most on the legs, because any angle there shows up as a wobble.
Cut all four legs from the single 4x4x8 post in one session. Clamp a stop block to your miter saw fence at 17.25″, then cut all four without re-measuring. Set the block once and every leg comes out identical, which is the whole secret to a table that sits flat.
Cut all four aprons from the one 1x4x8 board: two 41″ long rails and two 17″ end rails. Lay them out before cutting so the good faces land where they will show.
Mark every piece with painter’s tape as you cut. Write “leg,” “long apron,” or “top” right on the tape so nothing gets mixed up during assembly. Clamp each board before every cut and let the blade do the work rather than forcing it through.
Step 5: Drill Pocket Holes and Assemble the Apron

Set up your Kreg jig for 3/4″ stock. Move the drill guide to the 3/4″ position and set the depth collar on the bit to 3/4″ as well. Load 1-1/4″ coarse-thread screws. Drill a test hole in a scrap piece first to confirm the depth before you touch a real part.
Drill two pocket holes in each end of both short (17″) aprons. These holes pull the end rails tight against the legs to close the frame.
Assemble in a set order. Join the legs to the two long (41″) aprons first, then check the assembly with a framing square before adding anything else. Once that half is square, add the two short aprons to close the base into a rectangle.
Confirm square by measuring the diagonals. Run your tape corner to corner one way, then the other. When both diagonals read the same number, the base is square. If they differ, nudge the frame until they match before the glue sets.
Clamp every joint before you drive a screw. A Kreg face clamp or a bar clamp holds the two boards flush so the driving action does not push them apart. Keep the clamp on until the screw is fully seated.
Screw length is not optional. Use 1-1/4″ screws only with 3/4″ stock. Too long and the tip pokes through the show face of the adjoining board. Too short and the joint pulls apart by hand. Match the screw to the actual thickness every time.
Step 6: Build the Tabletop

Lay your five planks edge to edge and dry-fit them for the best grain match. Run a thin, even bead of Titebond II along each mating edge, then clamp the planks together. Alternate your clamps top and bottom along the length so the panel pulls together without bowing.
Add cauls to keep the top dead flat. Cauls are just straight 2x4s clamped across the panel, top and bottom, at a couple of points along its length. They fight the natural tendency of glued planks to cup upward during the cure.
Scrape the squeeze-out while it is still rubbery, about 30 to 45 minutes after clamping. A chisel or putty knife lifts it cleanly. Wait at least one hour before removing the clamps, and overnight if you want full joint strength before handling the panel.
Trim the glued-up top to its final 24″ width, then flatten it. Start at 80 grit to level the planks and remove any dried squeeze-out, then step to 120 and 150. Do not chase a perfect finish yet; that comes in Step 8.
Attach the top to the base by driving pocket screws up through the inside of the apron into the underside of the top. Leave a roughly 1/8″ seasonal expansion gap at each end, or use elongated holes, so the solid-wood top can move with humidity swings without cracking.
Step 7: Add the Lower Shelf
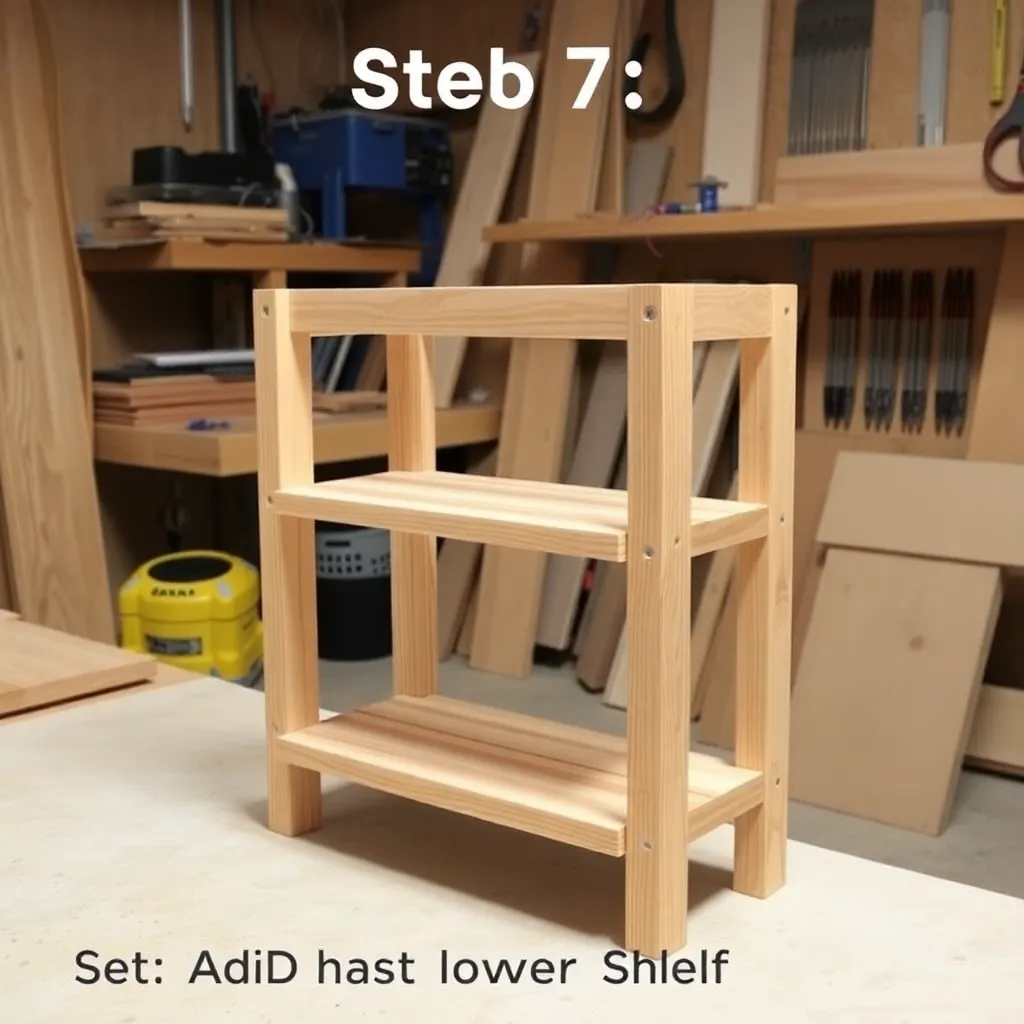
The lower shelf is optional, but realwoodworkplans.com recommends it for beginners. It adds rigidity to the base, gives the table visual weight, and creates real storage for books or baskets.
Screw a 1×2 or 2×2 cleat to the inside of each lower apron, about 3 inches up from the floor. These cleats carry the weight of the shelf slats and keep them from sagging.
Cut two 1×6 slats to 41″ and rest them across the cleats. Leave them unglued. Loose slats lift straight out for cleaning or for finishing separately, and they still sit solidly during use. Keeping the shelf below the apron line preserves the classic farmhouse profile.
Step 8: Sand and Finish

Work through the grits before any finish touches the wood. Sand 120, then 150, then 220. Wipe the whole table with a tack cloth after the final grit so no dust gets trapped under the stain.
Pre-stain conditioner is not optional on pine. Brush on Minwax Pre-Stain Wood Conditioner in the direction of the grain, wait 5 to 15 minutes, and wipe off the excess. You have a two-hour window to stain while the conditioner is still active, so plan to stain right after.
Pick your color before you open the can. Special Walnut (224) is the Minwax 2026 Color of the Year and the best classic farmhouse pick, since it reads warm without turning orange on pine. Classic Gray (271) gives a modern, coastal farmhouse look. Early American (230) and Dark Walnut (2716) are both popular alternatives.
Wipe the stain on with a rag in the direction of the grain. Let it penetrate 5 to 15 minutes, then wipe off all excess within about 5 minutes of application so it does not get tacky. Let the first coat dry 8 to 12 hours, and add a second coat if you want deeper color.
Topcoat with three coats of oil-based polyurethane in satin or semi-gloss. Skip gloss, which shows every fingerprint on a surface people touch daily. Thin the first coat slightly, brush with the grain, and allow 4 to 6 hours between coats with a fast-drying formula.
Scuff lightly with 320-grit or a gray Scotch-Brite pad between coats, and tack-cloth before the next one goes on. Do not sand after the final coat. Let the finish cure 24 to 48 hours before setting anything on it, and a full 7 days before heavy use.
7 Mistakes to Avoid

- Skipping pre-stain conditioner. Stain soaks unevenly into pine’s open pores and dries in dark blotches next to pale patches, and you cannot fix it without sanding to bare wood. Always condition, wipe, and stain within two hours.
- Wrong pocket screw length. Too short and the joint pulls apart by hand; too long and the screw tip pierces the show face. Use 1-1/4″ for 3/4″ stock, match the jig collar to actual thickness, and test on scrap first.
- Buying warped or cupped boards. A twisted tabletop will not clamp flat, so the panel ends up uneven and the joints gap. Sight and rock-test every board in the store and reserve the flattest five for the top.
- Uneven leg cuts. Even a 1/16″ difference between legs makes the table rock on a hard floor. Clamp a stop block to the miter saw and cut all four legs without re-measuring.
- Sanding wet glue. Fresh squeeze-out clogs your paper, smears across the grain, and causes fisheye in the finish. Scrape it while rubbery and let joints cure at least an hour before sanding.
- Skipping the scuff sand before topcoat. Dust and dried drips get locked under the poly, leaving a rough surface that catches light. Scuff lightly with 320-grit or Scotch-Brite between coats and wipe with a tack cloth.
- Not clamping pocket-hole joints. The screw can shove the boards apart as it seats, leaving visible gaps. A face clamp or bar clamp holds the pieces flush while you drive.
Frequently Asked Questions

How much does it cost to build a DIY coffee table?
A basic farmhouse coffee table built from #2 pine runs $65 to $90 in materials in 2026, covering lumber, screws, glue, and sandpaper. Add a full finishing kit of pre-stain conditioner, stain, and polyurethane plus the optional lower shelf, and you land in the $90 to $130 range. If you also need to buy a Kreg jig, add roughly $30 to $45. Either way, it is a fraction of the $200 to $600 you would pay in a store.
What wood should I use for a DIY coffee table?
For a first build, use SPF (Spruce-Pine-Fir) framing lumber for the base and legs, and #2 common pine for the tabletop. It is cheap, stocked at every Home Depot and Lowe’s, and easy to cut and join. If you are painting the table, SPF is ideal on its own. If you are staining, step up to select pine for fewer knots and always run pre-stain conditioner first.
How long does it take to build a DIY coffee table?
Plan a full weekend, though most of that is drying time. Hands-on work totals about 6 to 8 hours spread across 3 calendar days. Day 1 you shop, cut, drill pocket holes, assemble the base, and glue up the top. Day 2 you attach the top, sand, and lay down conditioner and the first stain coat. Day 3 you apply the polyurethane coats with their dry time between.
Do I need a table saw to build a coffee table?
No. A circular saw with a straightedge guide, a drill, and a Kreg pocket-hole jig handle this entire build. A miter saw is faster and cuts cleaner square ends, but it is optional, not required. If you want table-saw access for other projects, a local makerspace usually rents time cheaply, but you will not need one here.
What size coffee table fits a 3-seat sofa?
A standard 3-seat sofa runs 84 to 90 inches long. Apply the 2/3 rule and you land on a 56 to 60 inch table, though 48 inches still works well in smaller rooms with more breathing space. Keep the height at 16 to 18 inches to match the sofa seat, and leave 18 inches of clearance between the sofa and the table.
How do I stop pine from blotching when staining?
Use Minwax Pre-Stain Wood Conditioner before every stain coat on pine, no exceptions. It fills the wood’s large pores so the stain absorbs evenly instead of pooling in the soft grain. Brush it on, let it sit 5 to 15 minutes, wipe off the excess, and apply stain within two hours while it is still active. Skip this step and blotching forces you to sand back to bare wood.
What finish lasts longest on a coffee table?
Oil-based polyurethane is the most durable choice for a pine coffee table. Apply three coats in satin or semi-gloss over your stain, scuffing lightly with 320-grit between coats. Oil-based poly is harder and more water-resistant than water-based formulas, which matters on a surface that sees drinks, remotes, and feet daily. Let it cure a full 7 days before heavy use, and see our woodwork coffee table guide for finish variations.
How do I keep my coffee table from wobbling?
Prevent wobble at the cut station by using a stop block to make all four legs identical, then lock the base rigid with a pocket-screw apron. If it still rocks after assembly, move it to another room first to rule out an uneven floor. To fix a genuine wobble, add threaded leg levelers at about $8 for a 4-pack, or reinforce each leg-apron joint with a metal corner bracket.
Related Articles

“DIY woodworking enthusiast who started with zero experience and a YouTube tutorial.
I build simple, practical projects for my home and share free plans
so other beginners can skip the guesswork.If I can build it, you can too.”