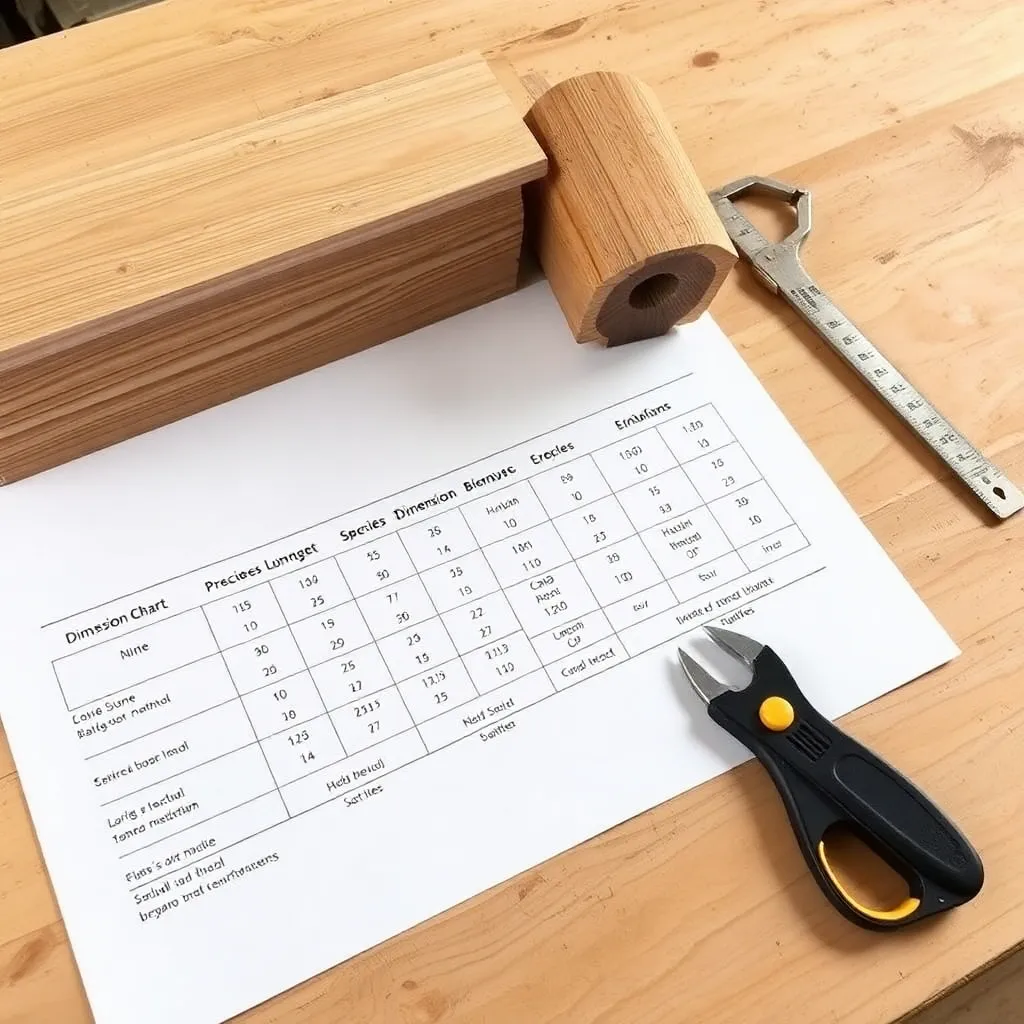
Most birdhouse plans fail at the same points: imprecise entrance holes, overly smooth interiors, no drainage or ventilation, glued-shut boxes that can’t be cleaned, and chemically treated wood. These building plans focus on technique rather than a single design — how to size any birdhouse for any species, how to cut a clean entrance hole without a drill press, how to assemble for cleanout access, how to select and finish wood safely, and how to mount for maximum occupancy. Master these techniques and every birdhouse you build will work.
Ted’s Woodworking has birdhouse building plans with complete cut lists, species dimension charts, and step-by-step finishing guides. Browse Ted’s plans →
Step 1: Size the House for the Target Species
Every birdhouse dimension flows from the species. Start with the species, then derive all dimensions:
The three critical dimensions:
- Entrance hole diameter — must admit the target species and exclude others
- Interior floor size — must accommodate the nest cup + female + nestlings
- Interior depth (floor to bottom of entrance hole) — must be deep enough to protect the nest from predators reaching in
How to use the dimension table:
| Species | Hole (inches) | Floor (in) | Depth (in) | Mount Height (ft) |
|---|---|---|---|---|
| Eastern Bluebird | 1½ | 5×5 | 10 | 4–6 |
| House Wren | 1 | 4×4 | 6 | 4–10 |
| Chickadee | 1⅛ | 4×4 | 8 | 4–15 |
| Nuthatch | 1¼ | 4×4 | 8 | 12–20 |
| Purple Martin | 2½ | 6×6 | 6 | 15–20 |
| Downy Woodpecker | 1¼ | 4×4 | 9 | 5–15 |
| Wood Duck | 4×3 oval | 10×18 | 24 | 4–6 over water |
| Barn Owl | 6-inch circle | 10×18 | 15 | 12–18 |
Wall thickness rule: Use ¾-inch lumber for all walls. Thinner walls (⅜ or ½ inch) don’t insulate well in temperature extremes and don’t hold fasteners reliably. Thicker walls (1½ inch) are unnecessary weight and harder to work.
Step 2: Cut a Precise Entrance Hole
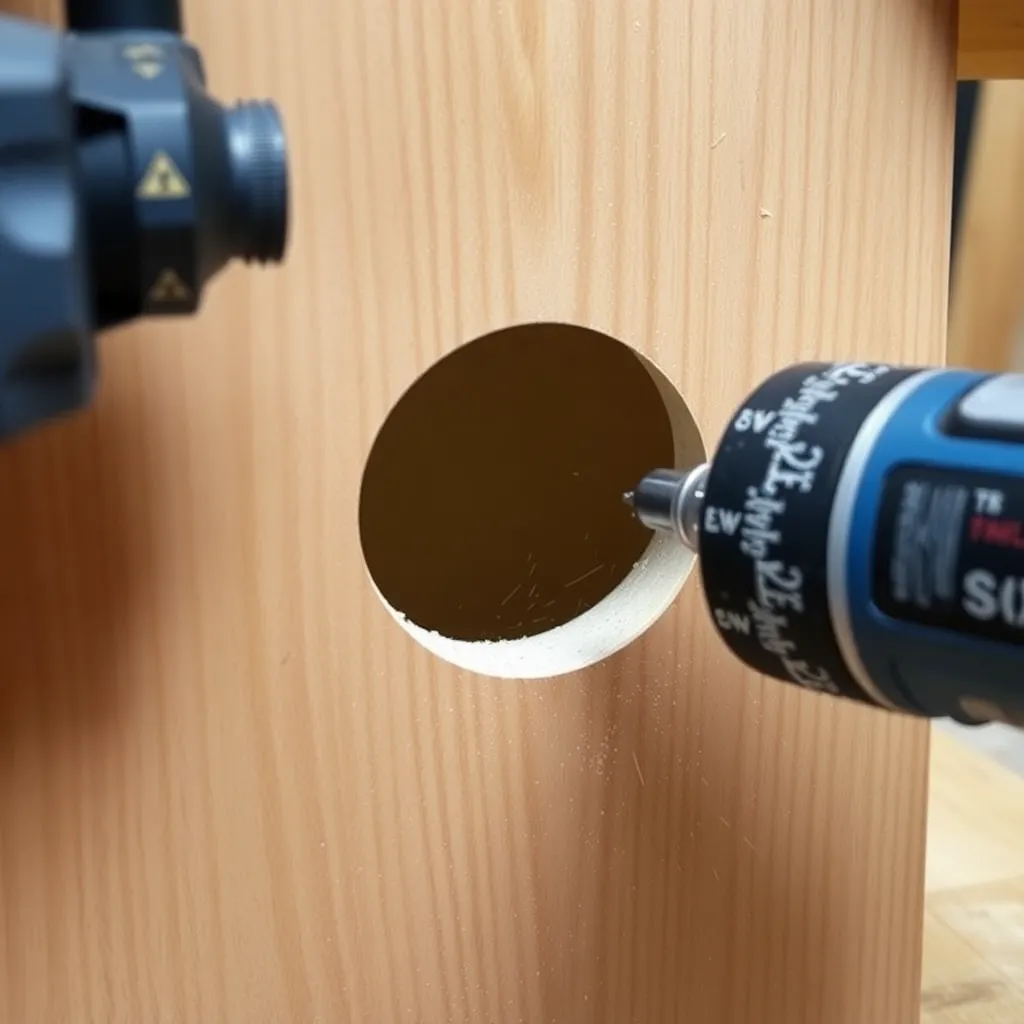
The entrance hole is the most technically precise cut in the entire project. An oversize hole admits predators and unwanted species; an undersize hole prevents the target species from entering.
Tool selection:
- Hole saw (best): cuts exactly its rated diameter; available in 1, 1⅛, 1¼, 1½, 2, 2½-inch sizes
- Spade bit (acceptable): typically runs 1/16 to 1/8 inch oversize — measure the actual cut before use and select slightly undersize if in doubt
- Jigsaw (acceptable for oval): required for the Wood Duck’s 4×3-inch oval entrance
Hole saw technique:
- Mark the hole center with an awl — the awl indent keeps the pilot bit from wandering
- Clamp the workpiece firmly — hole saws grab suddenly at breakthrough
- Cut from one face only until the pilot bit just exits the back face — stop
- Flip the workpiece and complete the cut from the back using the pilot hole as a guide — this prevents tear-out on both faces
- Check the hole diameter with calipers — target diameter ±1/32 inch
Oval entrance (Wood Duck):
Mark the oval with an ellipse template or by scribing intersecting arcs. Drill two circular holes (one at each end of the oval) then connect them with a jigsaw. File the edges smooth. The final oval should be 4 inches wide × 3 inches tall.
Step 3: Prepare the Interior Surface
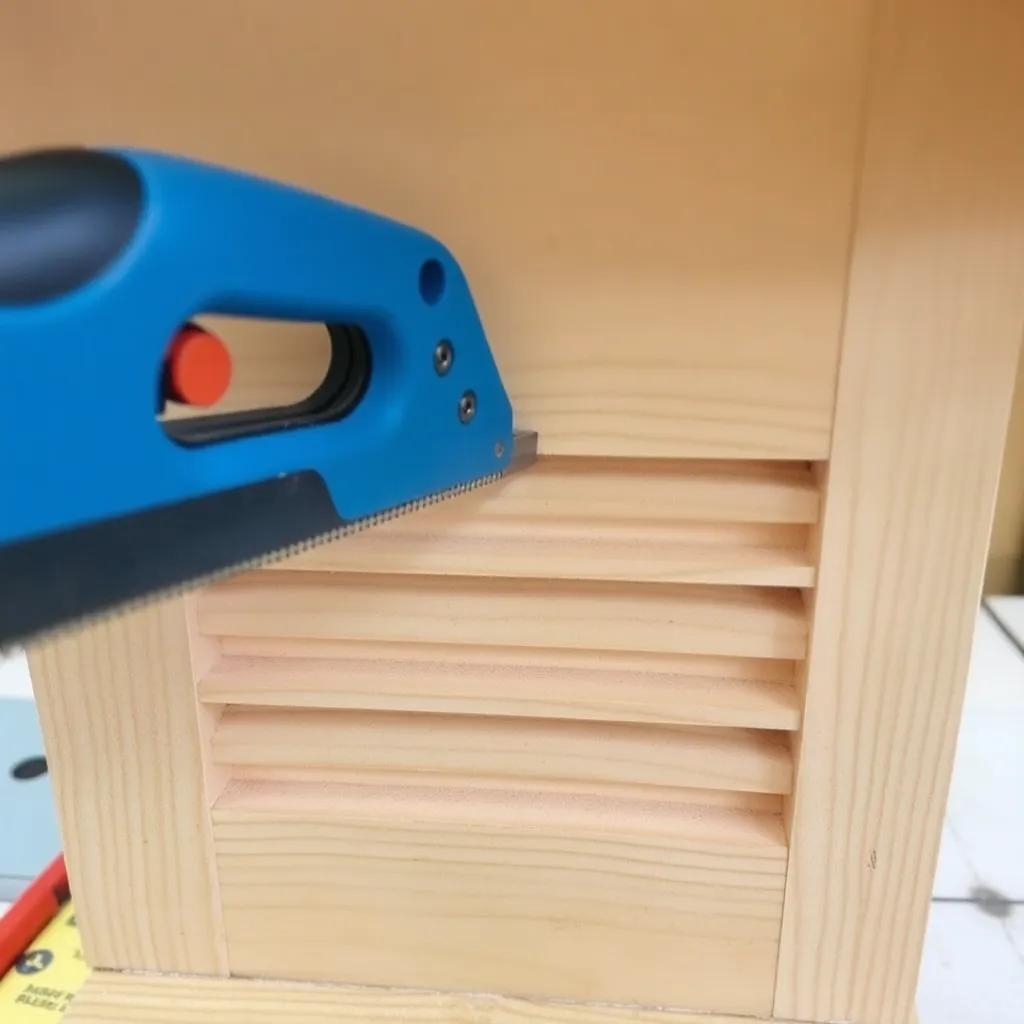
The interior of a correctly built birdhouse has two non-negotiable features: a rough surface below the entrance hole, and drainage at the floor.
Interior roughness:
In natural cavities (old woodpecker holes, rotted knots), the interior surface is rough and irregular — birds use the texture as footholds. A smooth plywood or sanded pine interior gives fledglings nothing to grip when trying to climb to the exit.
Roughen the interior below the entrance hole by:
- Cutting ⅛-inch deep horizontal grooves with a hand saw (fastest method — 4–5 passes with a crosscut saw)
- Scoring with a rasp or coarse sandpaper drawn across the grain
- Drilling a series of shallow ⅛-inch holes in a grid pattern
Floor drainage:
Water enters birdhouses through the entrance hole in rain, through gaps in the roof, and from wet birds returning to the nest. Standing water kills eggs and nestlings and promotes mold.
Two drainage solutions:
- Corner notches: cut ¼-inch triangular notches from all four corners of the floor panel — these allow water to drain without weakening the floor
- Floor set-back: position the floor panel ¼ inch up from the bottom of the side walls — leaves a ¼-inch gap at the bottom perimeter for drainage
Step 4: Assemble for Cleanout Access
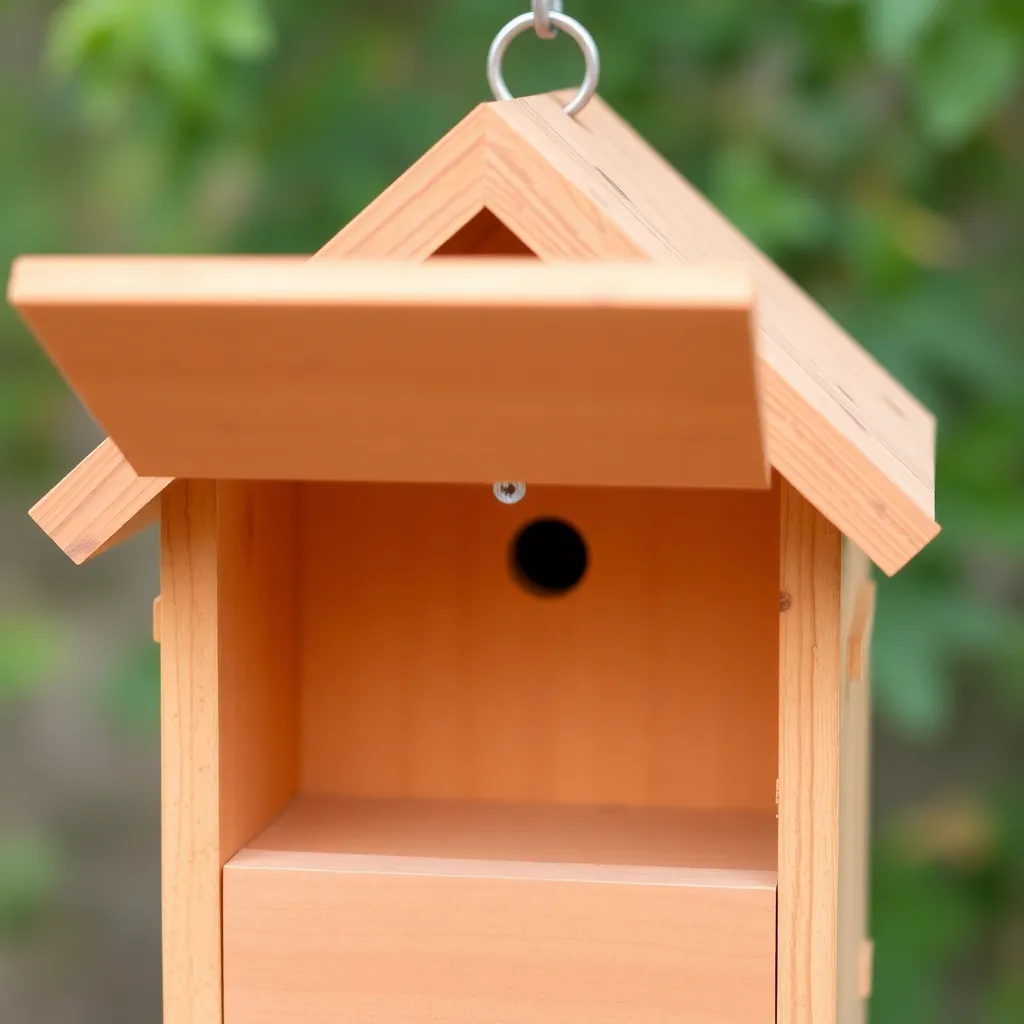
A birdhouse that can’t be opened for annual cleaning fills with mites, parasites, and dried nesting material — all of which reduce occupancy the following year. Every birdhouse must have a cleanout access panel.
Three cleanout designs:
Pivoting front panel (most common):
Attach the front panel with a single screw or nail on each side, positioned 4–5 inches up from the bottom. The screws act as pivot pins. A single nail driven through the side panel at the top of the front panel holds it closed — pull the nail to swing the front open for cleaning. This is the standard NABS design.
Hinged roof:
Attach the roof panel to the back panel with two exterior butt hinges. The roof lifts up and props open. Best for designs where the front panel is a decorative feature that shouldn’t be disturbed.
Sliding floor:
The floor panel slides in and out of grooves routed in the side panels. Pull the floor out and shake the old nest material into a bag. Re-insert and close. Fast, tool-free, and elegant — but requires accurate grooves and a snug-fit floor panel.
Assembly rule: Use galvanized or stainless steel fasteners only — standard bright steel nails rust within one season. For the cleanout pivot, use stainless steel screws so they can be removed years later without breaking off.
Step 5: Wood Selection, Finishing, and Mounting
Wood selection:
- Cedar (best): naturally rot-resistant, stable, splinter-resistant when weathered, no toxic preservatives
- Redwood: same qualities as cedar; may be harder to source
- Untreated pine: acceptable; needs a painted exterior; half the service life of cedar
- Exterior plywood: acceptable for structural panels; cover end grain with solid wood or edge banding
- Avoid: pressure-treated lumber (toxic), OSB and MDF (dissolve in moisture), tropical hardwoods without FSC certification
Finishing rules:
- Exterior: exterior latex paint, tung oil, or linseed oil — all acceptable
- Interior: NO finish — bare wood only; all finishes off-gas volatile compounds that deter birds and can harm eggs
- Entrance hole area: never paint dark colors around the hole — signals an active cavity to predators
Mounting for predator resistance:
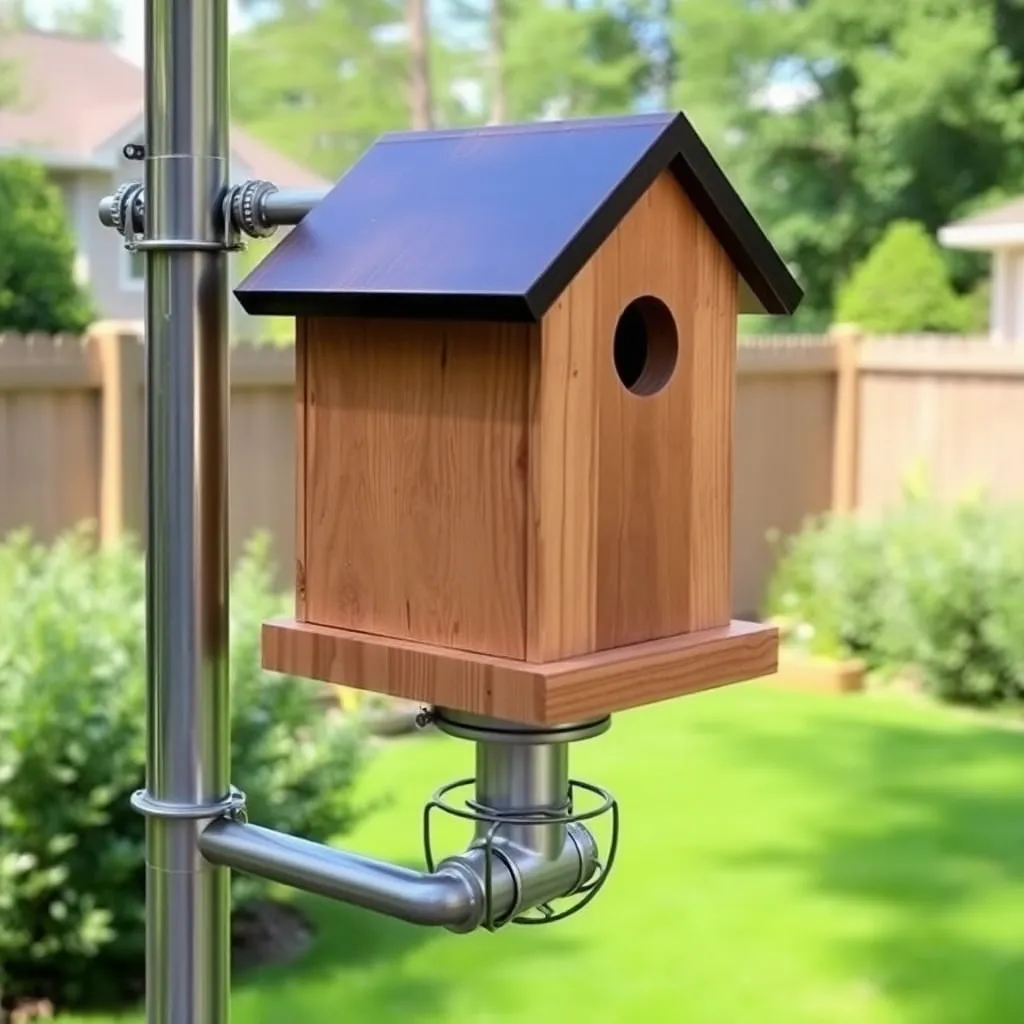
The mounting method is as important as the design. A correctly built box on a tree with no baffle loses 30–50% of nests to predators in most suburban areas. A box on a smooth metal pole with a predator baffle mounted below it loses fewer than 5%.
Pole mounting steps:
- Set a 6-foot EMT electrical conduit (½-inch diameter) or galvanized pipe into the ground 12 inches deep, leaving 4 feet above ground
- Mount a predator baffle (24-inch stovepipe cone or commercial baffle) on the pole 12–18 inches above the ground
- Attach the birdhouse to the top of the pole with a hose clamp through a hole drilled in the back panel, or with a purpose-built pole adapter
Bird House Building Plans FAQ
What is the most common birdhouse building mistake?
Wrong entrance hole size — usually too large. Building a 1¾-inch hole instead of 1½ inches admits European Starlings, which are aggressive invasive species that destroy native bird nests and kill eggs. The second most common mistake is a smooth interior — birds cannot fledge from a smooth interior surface. Third: no cleanout access, resulting in a nest that can’t be maintained and is abandoned after the first or second year.
Can I build a birdhouse without power tools?
Yes. All cuts in a basic birdhouse are straight lines doable with a handsaw. The entrance hole can be cut with a brace-and-bit or a hand-powered hole saw (a tool that predates power drills). A hammer, handsaw, and hand drill are sufficient for any birdhouse in this collection. The total material cost for a basic bluebird box is $8–$15 in cedar; a handsaw, drill, and hammer cost $30–$60 total — a one-time investment that builds hundreds of houses.
How do I protect a birdhouse from squirrels and raccoons?
Predator baffle on the mounting pole (most effective); metal entrance hole guard (prevents enlarging the hole); deep interior (10+ inches discourages reach-in predation). Raccoons can reach 6 inches into a hole — an interior depth of 10+ inches means the nest is below reach. Squirrels enlarge entrance holes — a galvanized metal ring (sold as a “portal guard” or “hole guard”) glued around the entrance prevents this.
How long does a cedar birdhouse last outdoors?
Unfinished cedar with exterior-grade fasteners: 10–20 years. The first failure point is typically the roof (exposed to maximum weather) — replace the roof panel at 10–12 years to extend the service life of the rest of the box. Painted pine boxes last 5–10 years before the paint peels and the wood begins to rot at joints and fasteners. The floor is the second failure point — design it as a removable panel for easy replacement.
How do I know if my birdhouse is being used?
Inspect from a distance with binoculars — look for a bird entering or exiting the hole, nesting material carried to the entrance, or fecal sacs (white capsules) dropped at the entrance by adult birds during incubation. Open the box (gently) after 2 weeks of potential occupancy — if there’s a nest cup inside, it’s in use. Never open during incubation (eggs present) or early nestling stage — disturbance at these stages can cause abandonment.

“DIY woodworking enthusiast who started with zero experience and a YouTube tutorial.
I build simple, practical projects for my home and share free plans
so other beginners can skip the guesswork.If I can build it, you can too.”