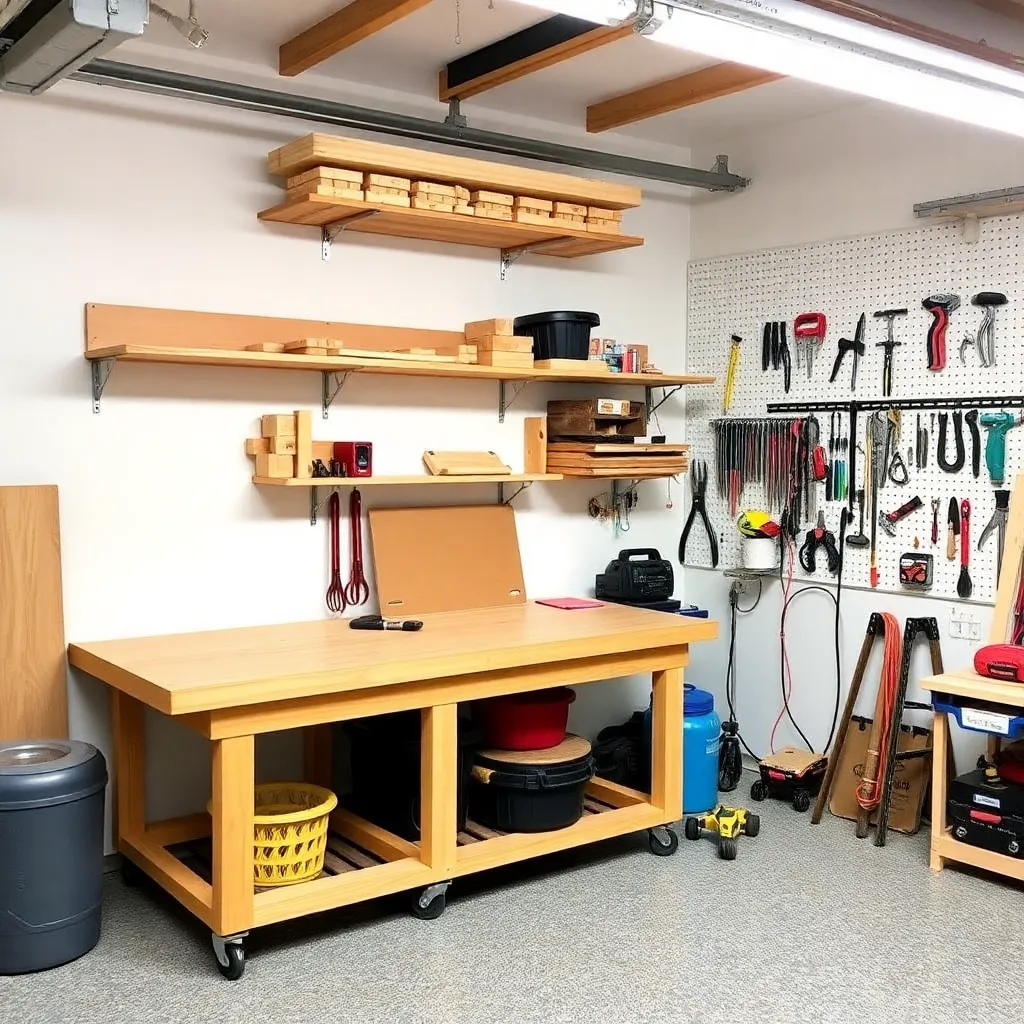
A functional workshop doesn’t require a dedicated building, a contractor’s budget, or industrial equipment. A single-car garage (roughly 10 × 20 feet) is enough space to build furniture, cabinets, outdoor structures, and any project in this site’s plan library. This guide covers six builds that create a complete shop: workbench, lumber rack, tool wall, dust collection, assembly table, and finishing station. Build them in sequence and each one enables the next.
Ted’s Woodworking has plans for workbenches, lumber racks, and shop storage systems across dozens of layouts. Browse Ted’s shop plans →
Step 1: Build a Mobile Workbench (The Foundation)
Goal: Create a solid, flat working surface that moves when the car needs to come in.
Build from construction lumber (2×4 for the base, 2×6 for the top). Four legs from doubled 2×4 at 34 inches. Top and bottom shelf frames from 2×4. Deck the top with two layers of ¾-inch plywood (total 1½ inches thick) — top layer is replaceable when it gets too chewed up. Add 3-inch locking swivel casters to the leg bottoms. The casters let you push the bench against the wall when parking. Install two 3-inch bench dogs (round holes, 20mm diameter) along the back of the top for a planing stop or bench vise. A vise (medium-duty face vise, $60–$120) on the left end makes clamping small parts significantly easier.
Milestone: A bench with casters that rolls, locks in place under load, and doesn’t deflect when you plane across it.
Step 2: Build a Wall-Mounted Lumber Rack (Material Storage)
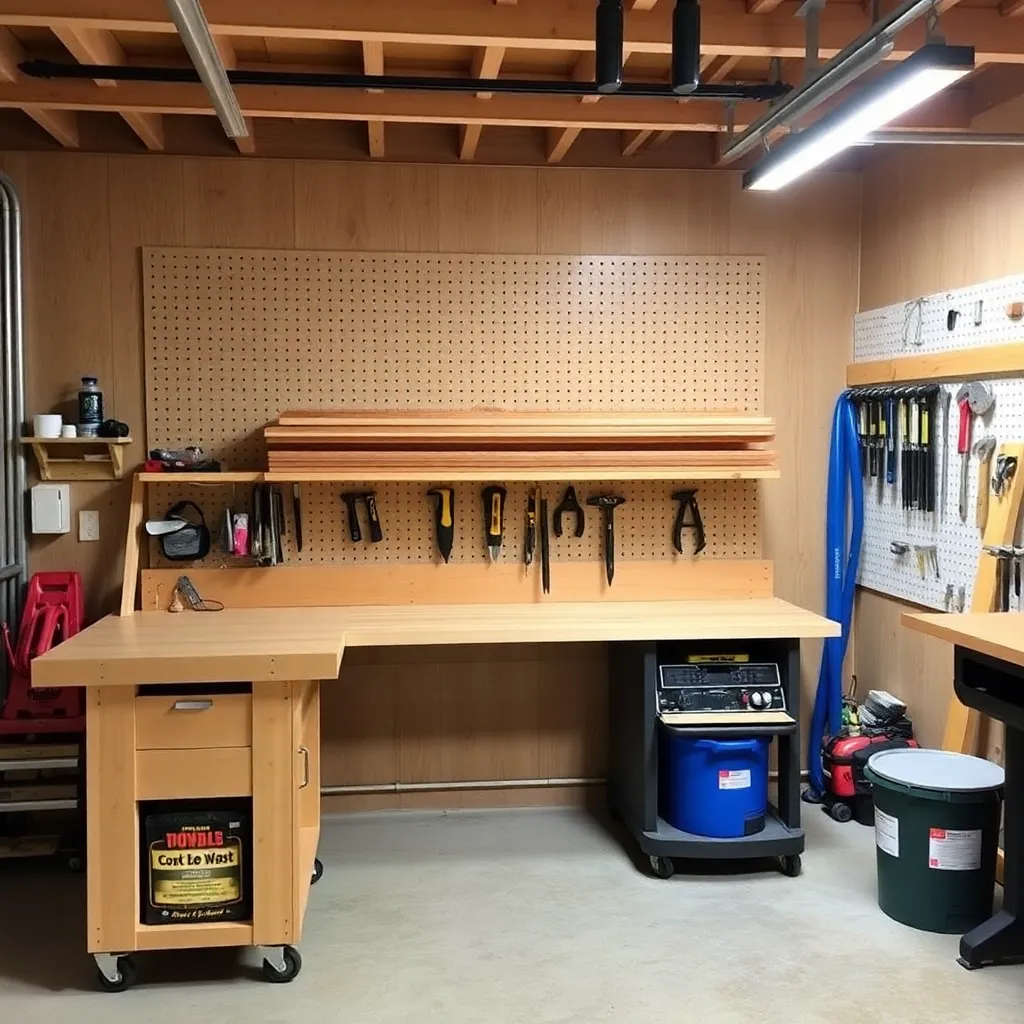
Goal: Get lumber off the floor and make every board visible and accessible.
Mount a 2×4 ledger board to the wall studs using 3-inch structural screws at 16-inch spacing (lag screws into studs preferred). Space three ledger rows vertically: 16, 36, and 56 inches from the floor. Add horizontal arms from 2×4 stock, 24 inches long, bolted to the ledger every 24 inches — these are the actual storage arms that boards lay across. The three-tier system stores: short cutoffs (bottom tier), common 8-foot boards (middle), and long 10–12-foot stock (top). Add a diagonal brace between the wall and the outermost arm on each row to handle the cantilever load. Load capacity: 500+ lbs per tier when properly anchored.
Milestone: All lumber stored horizontally, labeled by species on the board ends, visible from across the shop.
Step 3: Build a Wall-Mounted Tool Cabinet (Tool Storage)
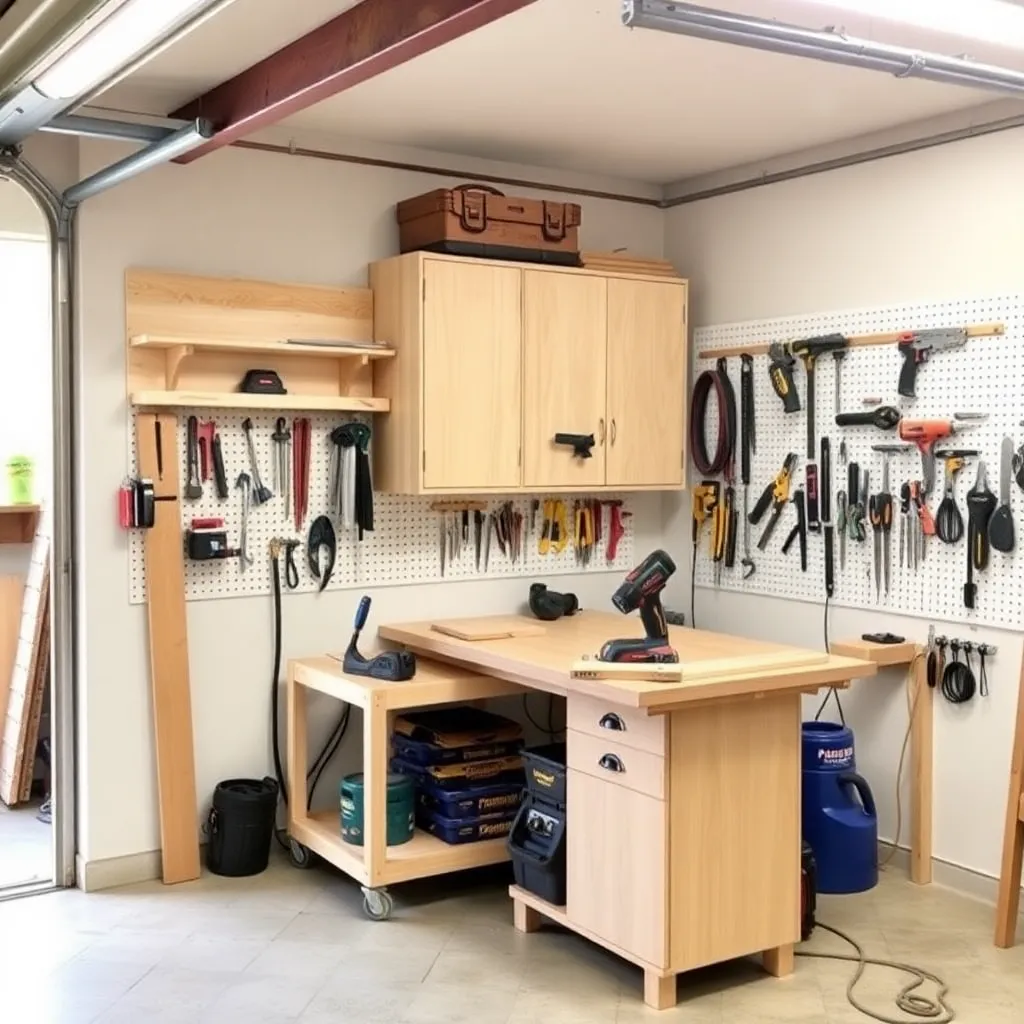
Goal: Put every tool in a specific place so time isn’t spent looking for things.
A basic French-cleat wall system is faster to build than a fixed cabinet and fully reconfigurable. Install a full-wall 4 × 8-foot grid of ¾-inch plywood strips cut at 45° on the table saw — one strip every 6 inches vertically, screwed to studs horizontally. Hang matching cleats on tool holders, bins, and small shelves. Start with: a holder for the drill driver, one for the circular saw, a bin for measuring tools (tape, square, marking knife, pencil), a holder for chisels (chisel block, edge-down), and a strip for router bits. Reorganize freely — each holder is independent and requires no screws to relocate.
Milestone: Every hand tool visible and accessible without opening a drawer, repositionable without tools.
Step 4: Build a Dust Collection System (Shop Health)
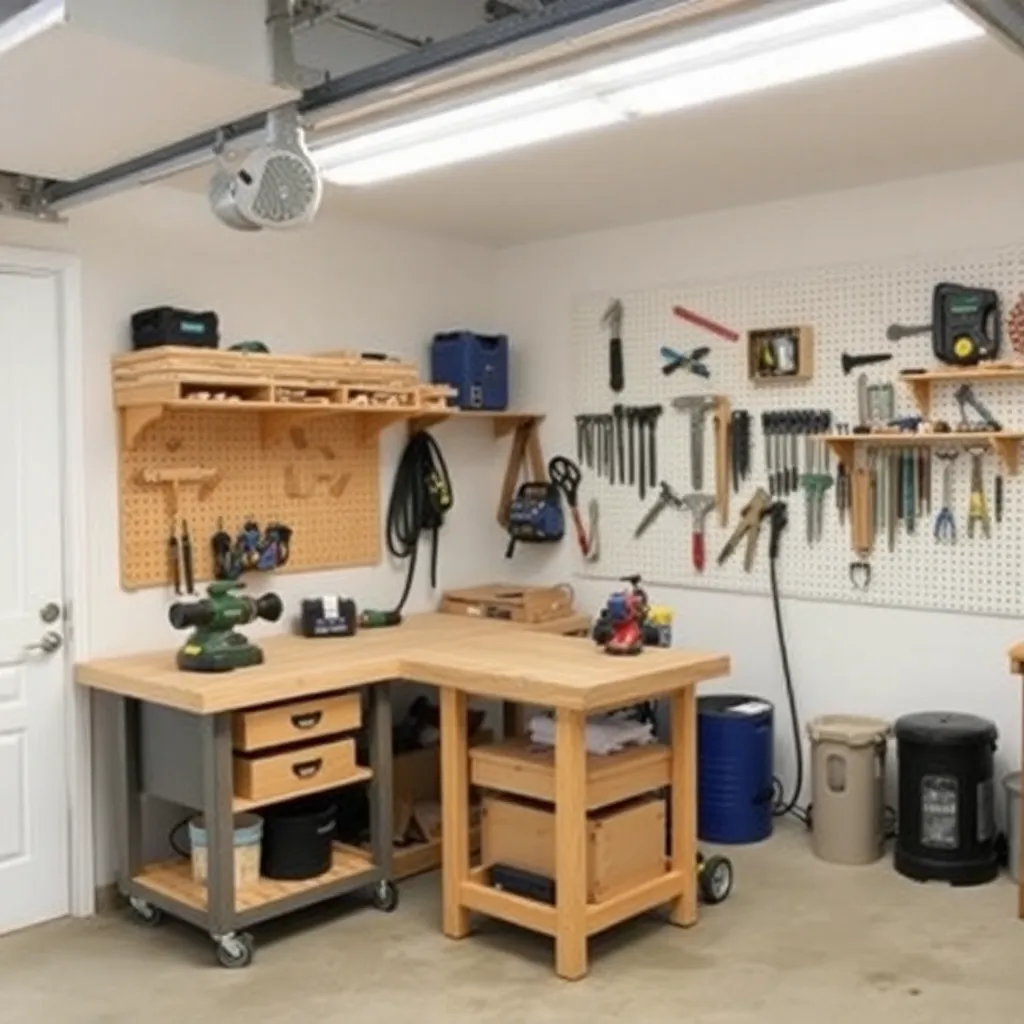
Goal: Capture dust at the source to protect lungs and keep surfaces clean.
A shop vac ($50–$80) connected to a dust separator ($30 Thien baffle or $45 Rockler Dust Right) is sufficient for a beginner shop — the separator keeps the vac filter from clogging every 20 minutes. Run 2-inch PVC (schedule 40) from the separator to within 5 feet of each major tool: the table saw, the miter saw, and the sander. Add a blast gate ($5 each) at each tool connection so suction runs to the active tool only. A 4-foot length of 2-inch flexible hose at each gate connects to the tool’s dust port. Mount the separator and vac on a rolling cart to move the system to wherever you’re working.
Milestone: Visible dust captured at the source rather than settling on every horizontal surface.
Step 5: Build an Assembly Table (Flat Surface for Glue-Ups)
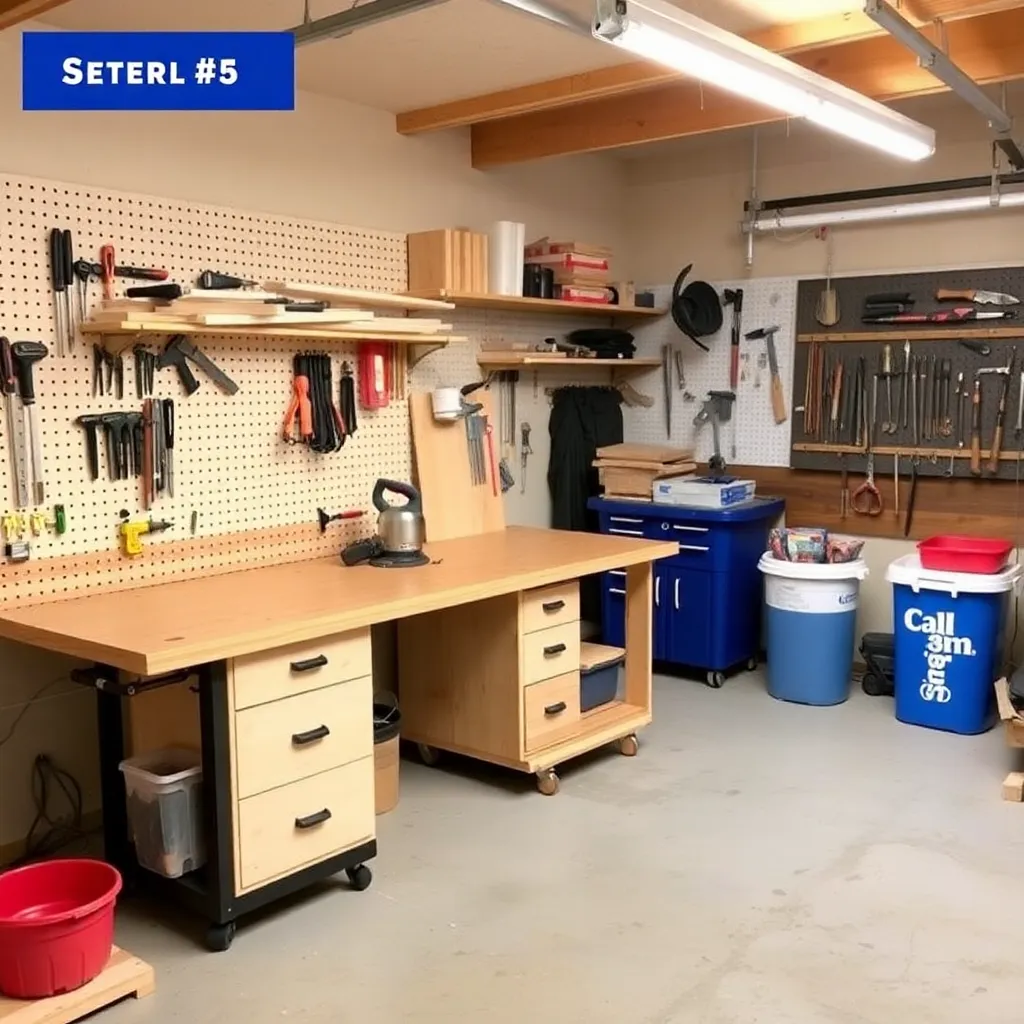
Goal: Create a dead-flat reference surface for gluing up panels and checking parts for square.
Build from ¾-inch torsion-box construction: two sheets of ½-inch MDF as the skins, with a grid of 1-inch-wide MDF strips glued between them every 6 inches in both directions. The torsion-box structure is extremely rigid and flat at only 1½ inches thick. Add a 2×4 frame around the perimeter. Attach four fixed legs from 2×4 stock — height should match your workbench (34 inches is standard). Top the surface with a replaceable ¼-inch hardboard sheet — when it gets glue-covered, replace it for $8. Drill a grid of 20mm dog holes across the top surface for F-track, bench dogs, and hold-downs.
Milestone: A table where a straightedge shows zero gap across the full diagonal — the flatness benchmark.
Step 6: Build a Finishing Station (Finish Quality)
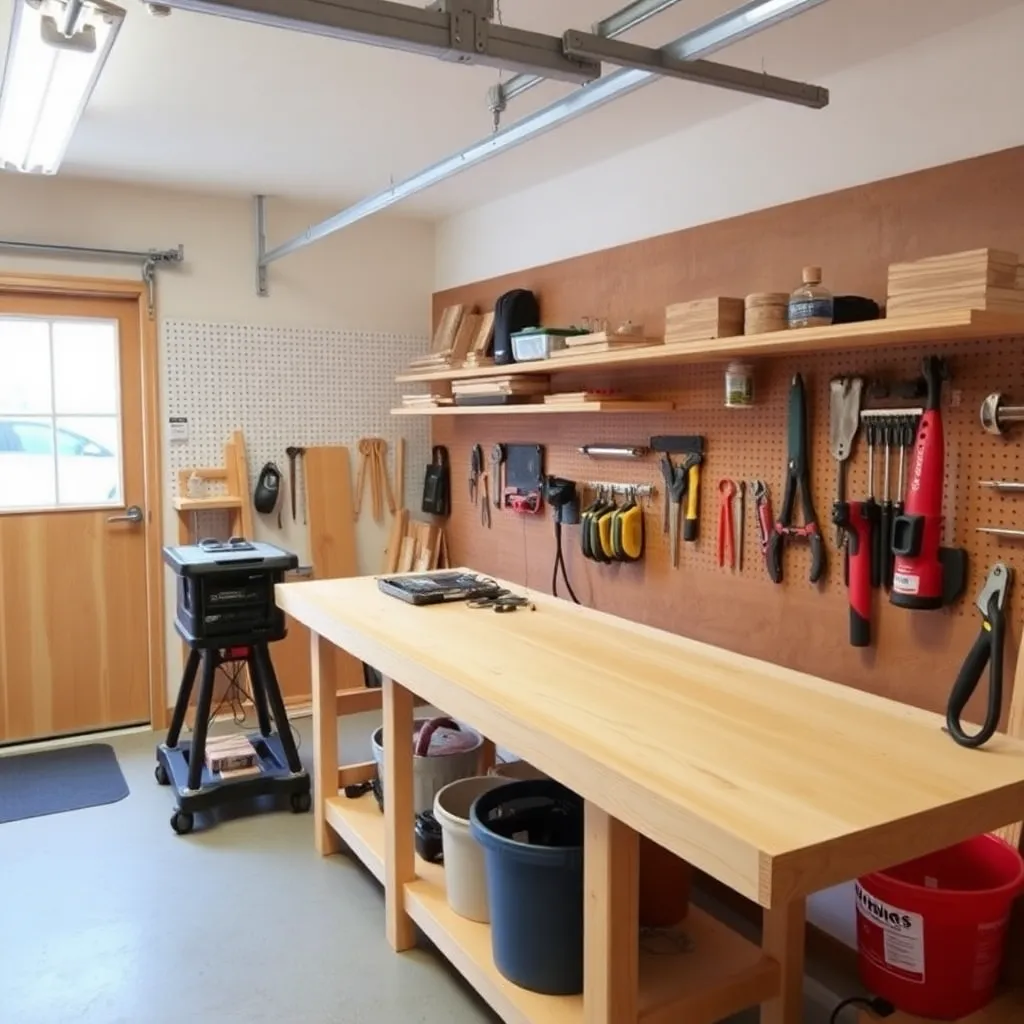
Goal: Create a dedicated space for applying and drying finishes without dust contamination.
Dust contamination ruins more finish work than bad technique. A finishing station solves this by: (1) creating a positive-pressure zone and (2) containing overspray. Build a three-sided enclosure from 2×2 framing and clear plastic sheeting — 6 × 4 × 7 feet fits a single-car garage corner. Mount an intake box fan on one side fitted with a 20 × 20-inch furnace filter ($5). The fan creates positive pressure inside the enclosure (air flows out around openings, not in) — this keeps shop dust from settling on wet finish. Add a lazy Susan (a piece of ¾-inch plywood on top of a 12-inch turntable bearing) inside the enclosure so you can rotate the workpiece to coat all sides without touching wet surfaces. Install two shop lights on the ceiling of the enclosure — good light makes runs and sags visible immediately.
Milestone: A finished panel that comes out of the enclosure with zero dust nibs in the topcoat.
Tool Priority List: Buy in This Order
| Priority | Tool | Why Now | Approximate Cost |
|---|---|---|---|
| 1 | Drill/driver | Used on every project | $60–$100 |
| 2 | Circular saw | Primary crosscutting | $60–$120 |
| 3 | Miter saw | Precise angle cuts | $130–$250 |
| 4 | Random orbital sander | Faster than hand sanding | $40–$80 |
| 5 | Kreg pocket hole jig | Furniture-quality joints | $40–$80 |
| 6 | Router (trim or full-size) | Edge profiles and dados | $80–$160 |
| 7 | Table saw | Ripping, dados | $350–$600 |
| 8 | Band saw | Curves, resawing | $250–$500 |
| 9 | Drill press | Precision holes | $150–$300 |
| 10 | Jointer/planer | Milling rough lumber | $500–$1,000 |
The first five tools handle 80% of the projects in this site. Tools 6–8 unlock furniture-quality builds. Tools 9–10 are for builders working with rough-sawn lumber or making precision parts.
Woodworking Shop Setup FAQ
How much space do I need for a woodworking shop?
A minimum functional shop is 10 × 10 feet — enough for a workbench, a miter saw on a stand, and a rolling cart for the circular saw. A one-car garage (10 × 20) is comfortable for a full beginner shop. A two-car garage allows a table saw in the center of the room with sufficient outfeed space. The key constraint is not square footage but outfeed clearance — a 10-inch table saw needs 8 feet of clearance behind it for ripping full plywood sheets.
What is the most important workshop upgrade?
Lighting is disproportionately valuable and often overlooked. Poor lighting causes measuring errors, misses glue squeeze-out, hides finish imperfections, and makes the shop unpleasant to spend time in. Two 4-foot LED shop lights (4,000–5,000 lumens each) cost $25–$40 total and transform a dim garage into a workspace where you want to spend hours. Install them perpendicular to the main work direction to eliminate shadows on the workpiece.
Can I set up a shop in an apartment or small space?
Yes — a “portable shop” built around hand tools fits a closet: a bench hook and bench vise clamp to any table, chisels and hand saws handle most cuts, a sharp block plane replaces a sander for final smoothing. The constraint is noise, not tools — hand tools are significantly quieter than power tools and can be used in any residential space. Transition to power tools when you move to a space with more isolation from neighbors.
How do I handle sawdust in a shop without central dust collection?
Containment by tool: apply painter’s tape over every gap and seam on the tool cabinet and table saw housing to prevent dust from settling inside. Use a shop vac at the point of cut for every operation (most miter saws and sanders have standard 2½-inch dust ports). Keep a small broom and dustpan at every tool station for immediate cleanup after use. Wear a P100 respirator mask for any prolonged sanding — fine sanding dust bypasses standard dust masks.

“DIY woodworking enthusiast who started with zero experience and a YouTube tutorial.
I build simple, practical projects for my home and share free plans
so other beginners can skip the guesswork.If I can build it, you can too.”