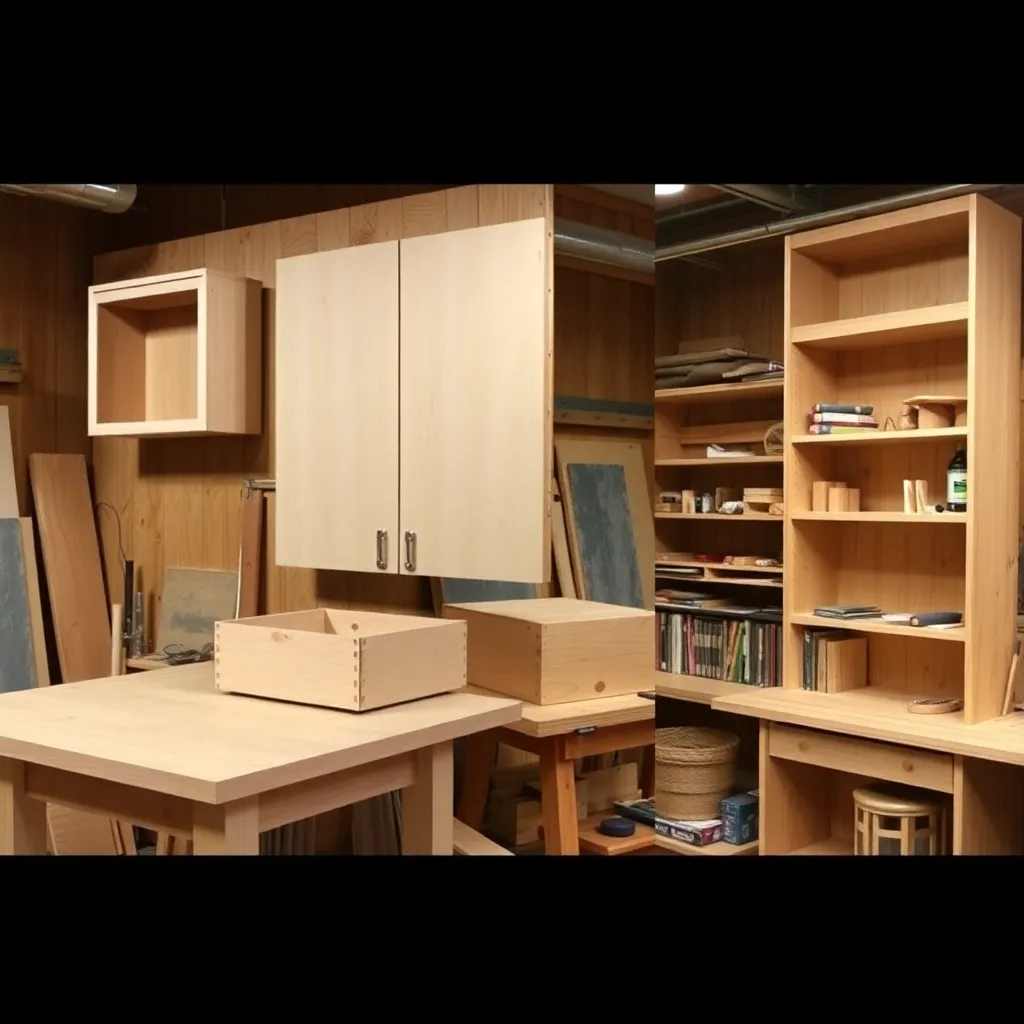
Plywood is the most versatile material in the shop — large panels, predictable dimensions, no seasonal wood movement to design around, and a surface that accepts paint, veneer, or edge banding. The projects in this guide range from a first-timer’s wall shelf to advanced built-in cabinetry, all designed to play to plywood’s strengths: rectangular parts, large flat surfaces, and repeatable sheet yield.
Ted’s Woodworking has complete plywood project plans with cut lists, material lists, and step-by-step instructions. Browse Ted’s plans →
Step 1: Wall-Hung Tool Cabinet (Beginner)
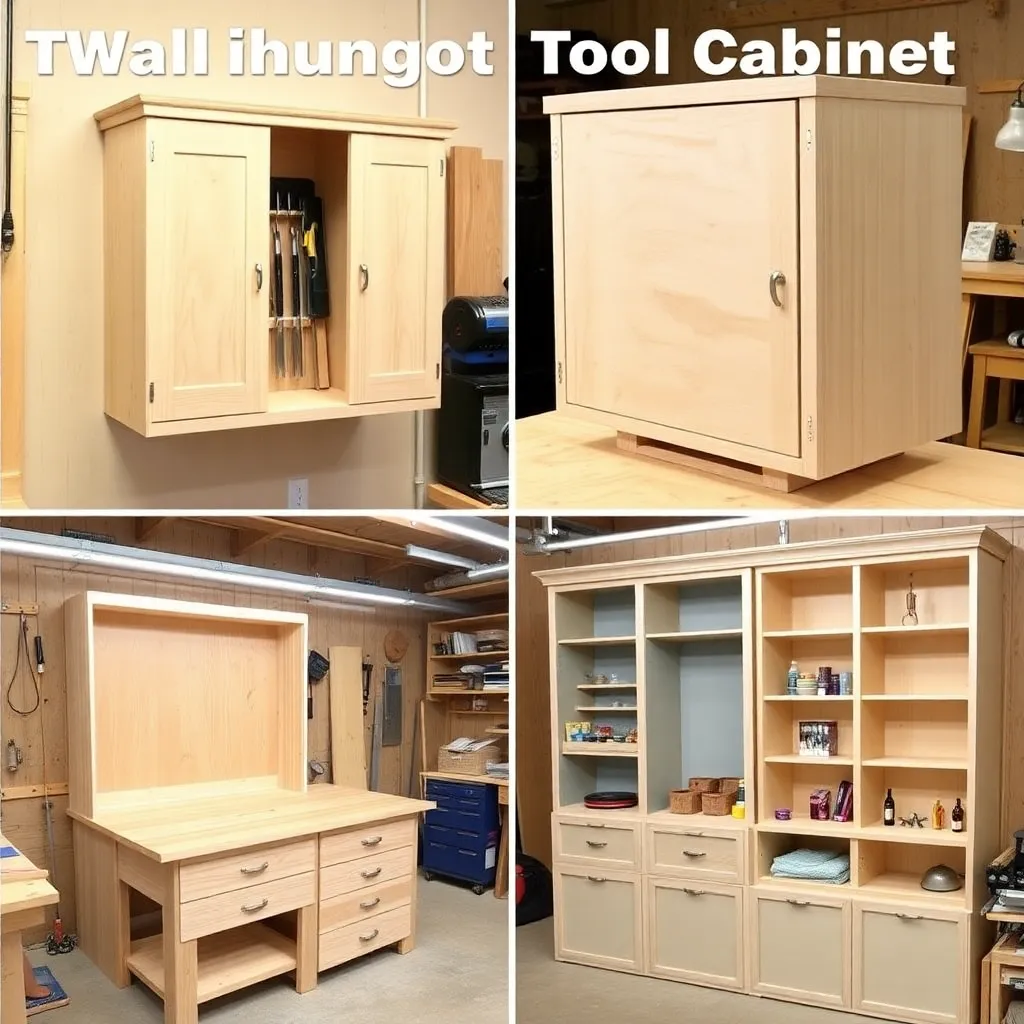
Goal: Build a simple wall-hung shop cabinet — the ideal first plywood project.
Why start here: simple rectangular parts, no complex joinery, immediately useful in the shop, and forgiving of dimensional errors (shop furniture doesn’t need furniture-grade precision).
Materials: 1 sheet of ¾” plywood (CDX or B-C), small box of pocket screws, 2 hinges, 1 magnetic catch.
Parts: two sides (12″×30″), one top (12″×24″), one bottom (12″×24″), one back panel (24″×30″ from ¼” plywood), one door (23.5″×29.5″).
Construction: pocket screws or butt joints with screws and glue for the box; the back panel sits in a rabbet or screws directly to the back edge. The door hangs on two hinges with a magnetic catch to keep it closed.
Estimated time: 4–6 hours including cutting, assembly, and installation.
Skill focus: measuring and marking, making accurate cuts with a circular saw and straightedge, pocket-hole joinery, hanging a door.
Milestone: Complete the box and check for square by measuring diagonally — both diagonal measurements should be equal within 1/16″.
Step 2: Simple Step Stool (Beginner)
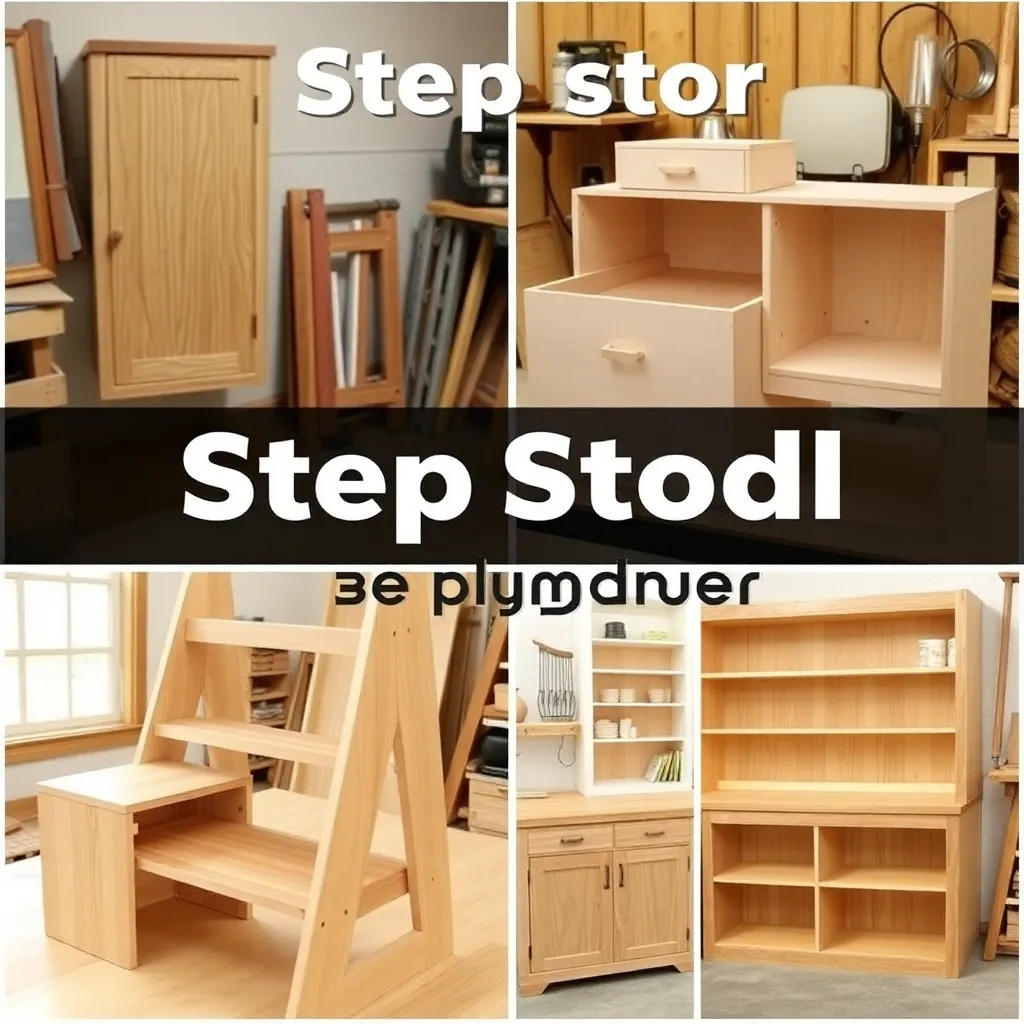
Goal: Build a two-step stool from a single ¾” plywood sheet.
Why this project: introduces curved cuts (jigsaw), dadoes for shelf support, and the concept of designing for strength without unnecessary material.
Materials: ½ sheet of ¾” plywood, wood glue, screws or nails.
Parts: two side panels (12″×24″) with the back corner rounded at 3-inch radius; one top step (12″×10″); one bottom step (12″×10″); one back support (10″×8″).
Joinery: dadoes cut in the sides to receive the steps — the dado joint is stronger than a butt joint for a step stool that will be stood on. Alternatively, use pocket screws for a simpler but adequate joint.
Weight rating: a properly built ¾” plywood step stool with dado joints supports 300+ lbs — more than adequate for adult use.
Estimated time: 3–4 hours.
Skill focus: jigsaw use for curved cuts, router setup for dadoes, glue and clamp technique.
Milestone: Load-test the completed stool by standing on it and applying body weight to each step.
Step 3: Plywood Storage Box with Lid (Beginner-Intermediate)
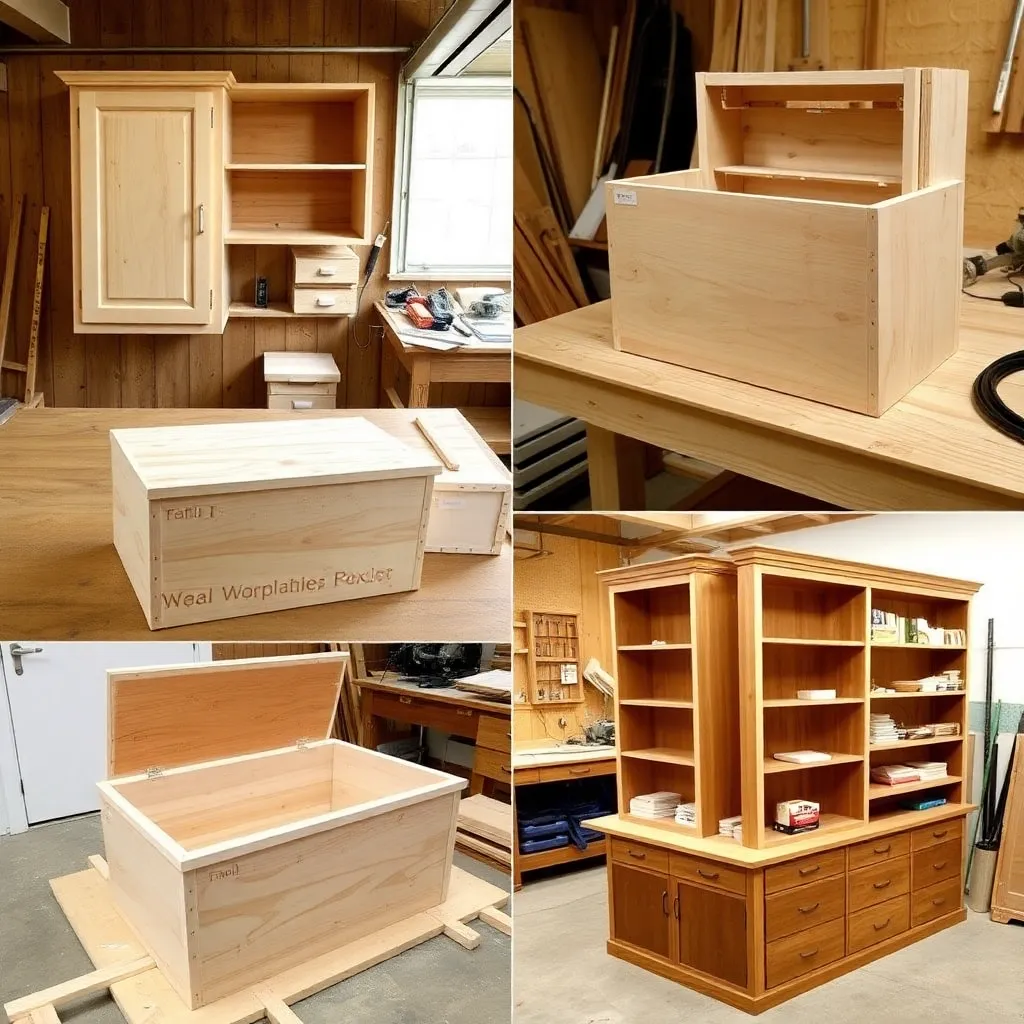
Goal: Build a hinged storage box — introduces box joints or dado joinery for corners.
Materials: 1 sheet of ½” or ¾” plywood, 2 piano hinges, 1 hasp latch, sandpaper, paint or finish.
Parts: front and back panels (16″×12″), two side panels (12″×12″), bottom (16″×12″), lid (17″×13″ from ½” plywood to reduce weight).
Corner joinery options: (1) butt joints with pocket screws — simplest, adequate; (2) rabbeted corners — stronger, cleaner appearance, requires router setup; (3) box joints — strongest, most decorative, requires table saw or router jig.
Lid construction: the lid sits on the box and is hinged at the back. A piano hinge (continuous hinge running the full width) provides even support and prevents the lid from twisting.
Estimated time: 5–8 hours depending on corner joinery method.
Skill focus: box construction, fitting a lid, hinge installation, lid stay (to prevent the lid from falling backward).
Milestone: Check the lid fit before installing hinges — it should have an even 1/16″ gap on all sides.
Step 4: Shop Workbench (Intermediate)
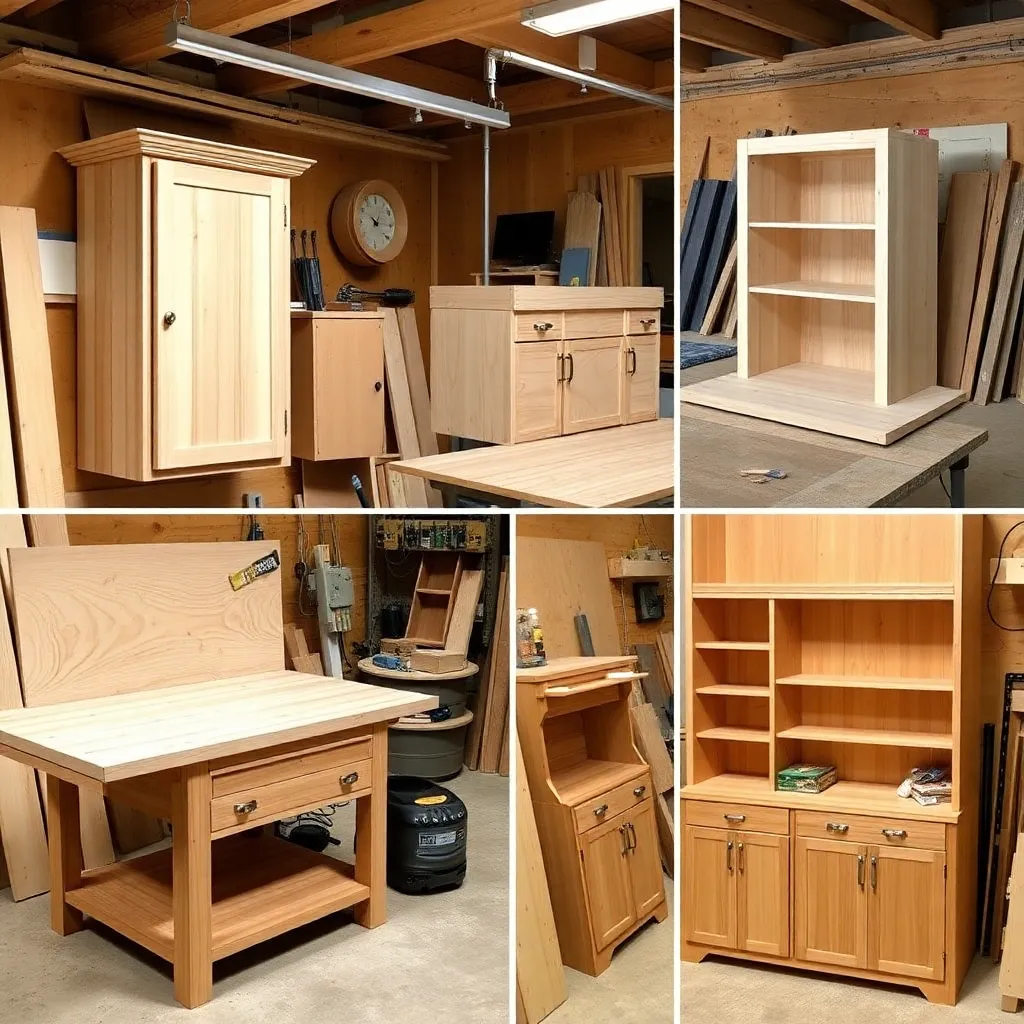
Goal: Build a full-size workbench using plywood for the top and lower shelf.
Materials: 2 sheets of ¾” plywood for top (laminate 2 layers for a 1.5″ top), construction lumber (2×4 or 4×4) for the leg frame.
Design: a simple 4-leg workbench with a lower shelf — no complex joinery required. The top consists of two layers of ¾” plywood glued together (or three layers of ½”) for a stiff, flat surface. The legs are 4×4 or doubled 2×4 construction lumber.
Top construction: glue two 24″×96″ pieces of ¾” plywood (or whatever size fits your space) face to face with construction adhesive and clamps. After curing, the laminated top is extremely stiff and flat.
Leg frame: screw or bolt the 4×4 legs to a rectangular frame of 2×4s at both top and bottom height. Attach the top to the frame with screws through the frame into the underside of the top.
Estimated time: 8–12 hours for the complete bench.
Skill focus: sheet breakdown, lamination technique, building a level frame, attaching a tabletop.
Milestone: Check the completed bench for level at four corners and the center — adjust leg lengths if needed to eliminate rocking.
Step 5: Built-In Bookshelf (Intermediate)
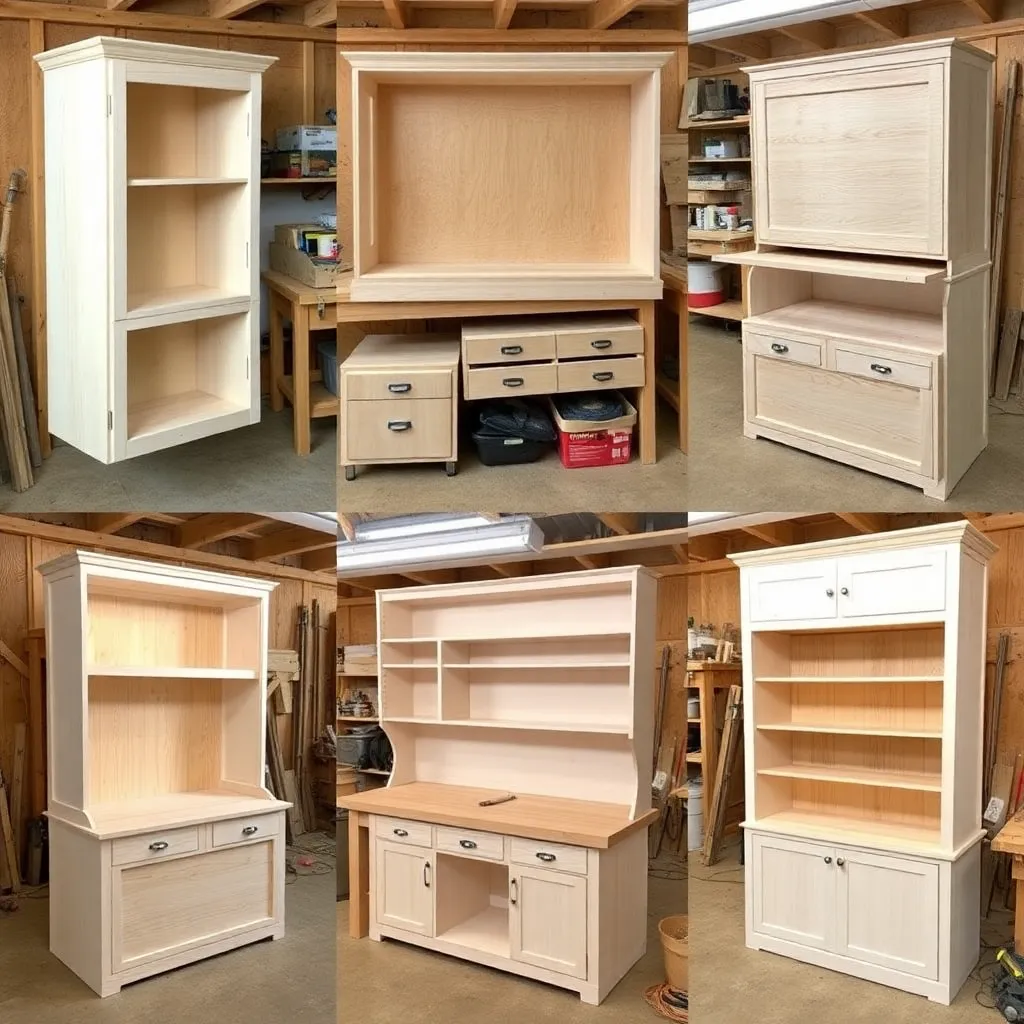
Goal: Build a floor-to-ceiling built-in bookshelf that looks custom and costs a fraction of retail.
Materials: 3–5 sheets of ¾” plywood, 1 sheet of ¼” plywood for the back, iron-on edge banding, paint, and adjustable shelf pins.
Design considerations: the shelf height should be designed around the room’s ceiling height and the sizes of books it will hold. Standard shelf spacing: 10–12 inches for paperbacks, 12–14 inches for hardcovers, 14–16 inches for oversized art books.
Construction: the two sides are full-height panels (from floor to ceiling or to a header). Fixed shelves at the top and bottom create a rigid box. Adjustable shelves on shelf pin holes fill the remaining space. The ¼” back panel squares the unit and prevents racking.
Trim and finish: solid wood face strips (¾”×1.5″ poplar or pine) cover the plywood edges on the front — this is the “face frame” that makes the unit look like furniture rather than a box.
Estimated time: 16–24 hours including installation.
Skill focus: plywood layout and yield, level installation in an out-of-level room, face frame fitting and attachment, drilling shelf pin holes accurately with a jig.
Milestone: Install the unit plumb and level, then check that shelves slide in and out smoothly.
Step 6: Drawer Boxes (Intermediate)
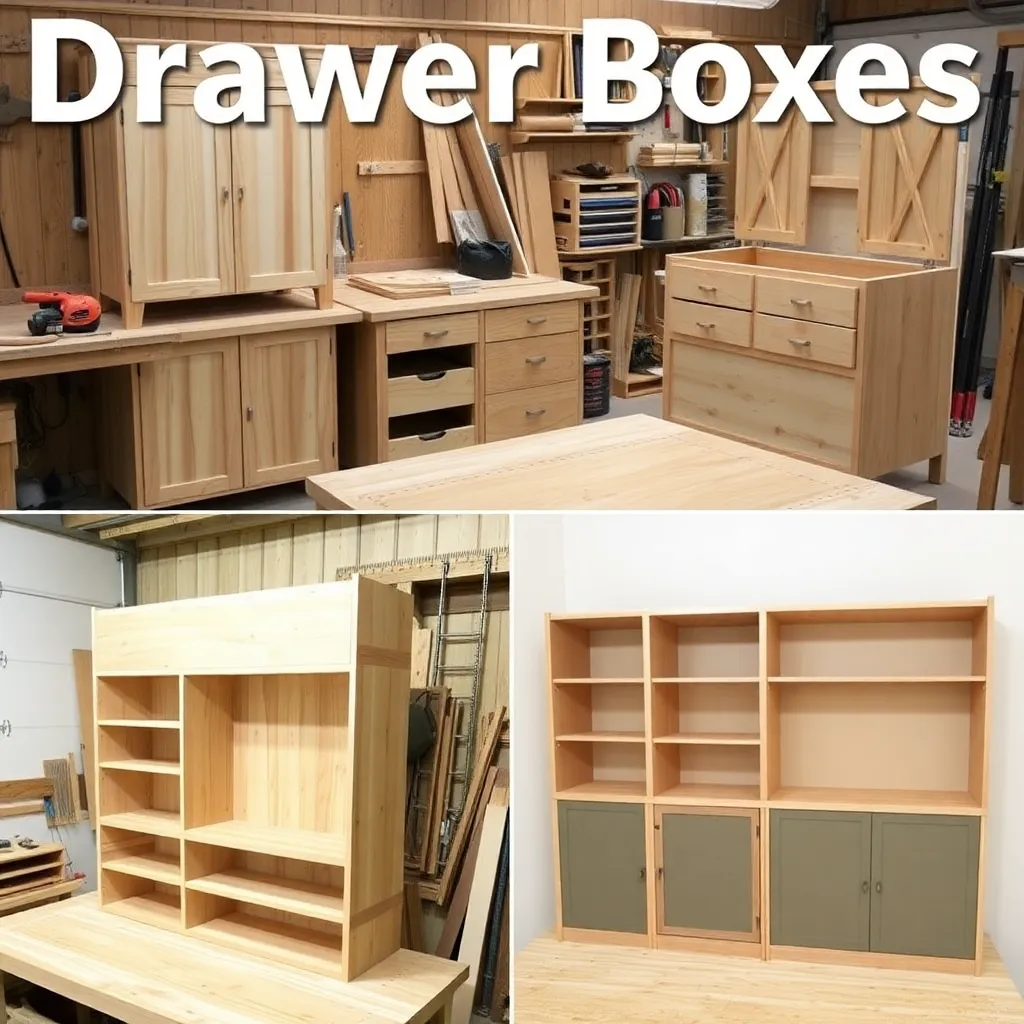
Goal: Build a set of drawer boxes from ½” Baltic birch plywood.
Why Baltic birch for drawers: void-free core holds drawer slide screws reliably; consistent thickness means the box fits the slides without shimming; the multiple plies hold joinery well at the edges.
Standard drawer box construction: the sides, front, and back are ½” Baltic birch cut to the opening size minus the slide clearance (typically ½” total). The bottom is ¼” Baltic birch or ¼” birch plywood, captured in a groove cut in all four sides.
Joinery options: (1) pocket screws — fast and strong; (2) box joints — traditional, strong, decorative; (3) dado and rabbet — the professional cabinet standard.
Drawer slide fitting: under-mount drawer slides require the box to be exactly the right width to fit the slide. Over-mount (side-mount) slides require ½” clearance per side. Soft-close and full-extension slides require specific clearances — read the slide manufacturer’s specifications before sizing the box.
Estimated time: 1–2 hours per drawer box once the setup is dialed in.
Skill focus: consistent accurate sizing, bottom groove routing, fitting slides, final installation and adjustment.
Milestone: Install one drawer box and adjust the slide until the drawer pulls out smoothly, closes softly, and sits flush with adjacent drawers.
Step 7: Murphy Bed Cabinet (Advanced)
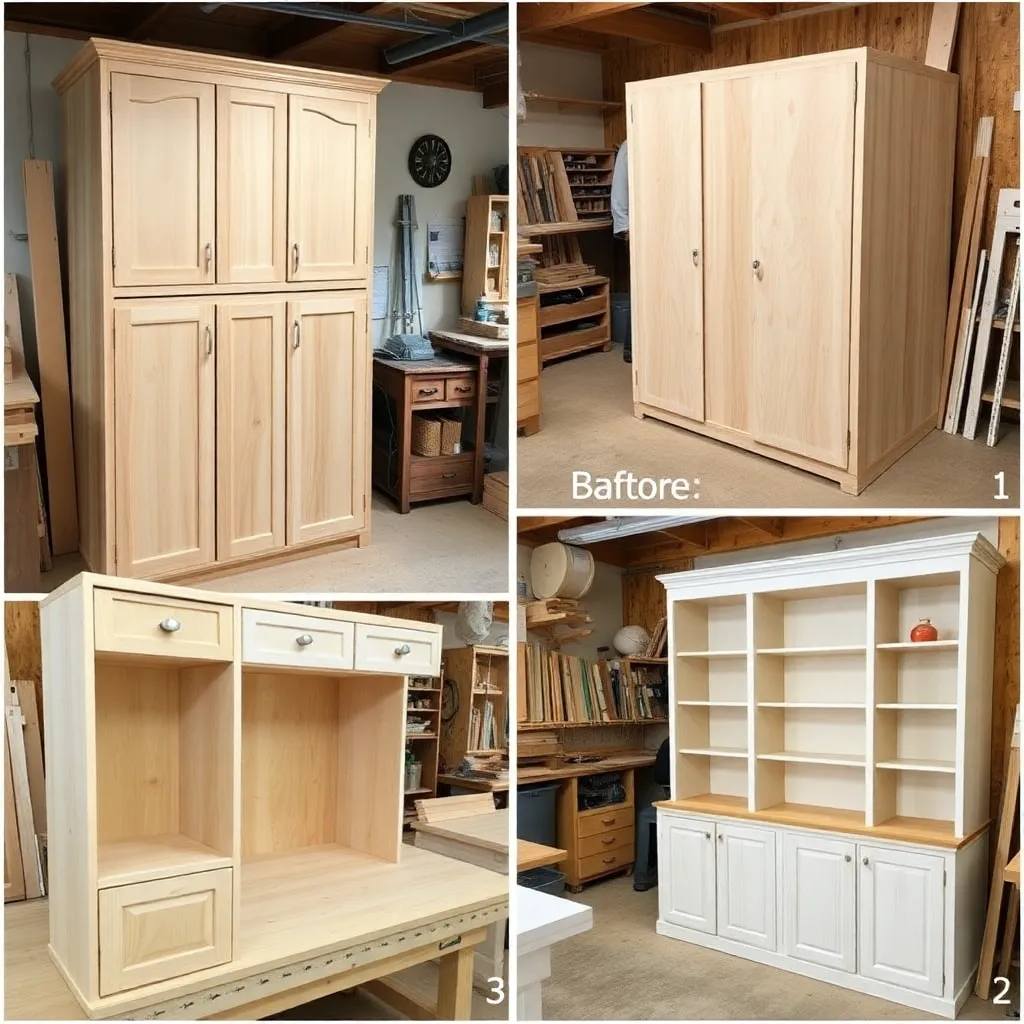
Goal: Build a fold-down Murphy bed with cabinet surround — a major furniture project.
Materials: 6–8 sheets of ¾” plywood (and ½” for interior panels), Murphy bed hardware kit (includes the spring or piston mechanism), edge banding, paint.
Why plywood is ideal: Murphy bed cabinets must be rigid (to support the weight of a mattress and sleeper in the folded-down position) and dimensionally precise (to fit the hardware correctly). Plywood provides both.
The hardware: Murphy bed hardware kits (available from Lee Valley, Rockler, and Murphy Bed Depot) provide the spring or piston mechanism that makes the bed easy to fold up and down. The hardware has specific dimensional requirements for the cabinet — follow these exactly.
Cabinet construction: the cabinet is essentially a large plywood box with reinforced internal structure. The bed folds into the cabinet on the hardware; the cabinet can have flanking wardrobes or bookshelves to make it look like built-in furniture.
Estimated time: 40–60 hours for a complete Murphy bed cabinet.
Skill focus: large-scale sheet layout, rigid case construction, hardware installation, fitting the mechanism to the exact specifications.
Milestone: Test the fold-down mechanism before installing the mattress — the bed should be easy to lower and raise with one hand.
Step 8: Frameless Kitchen Cabinets (Advanced)
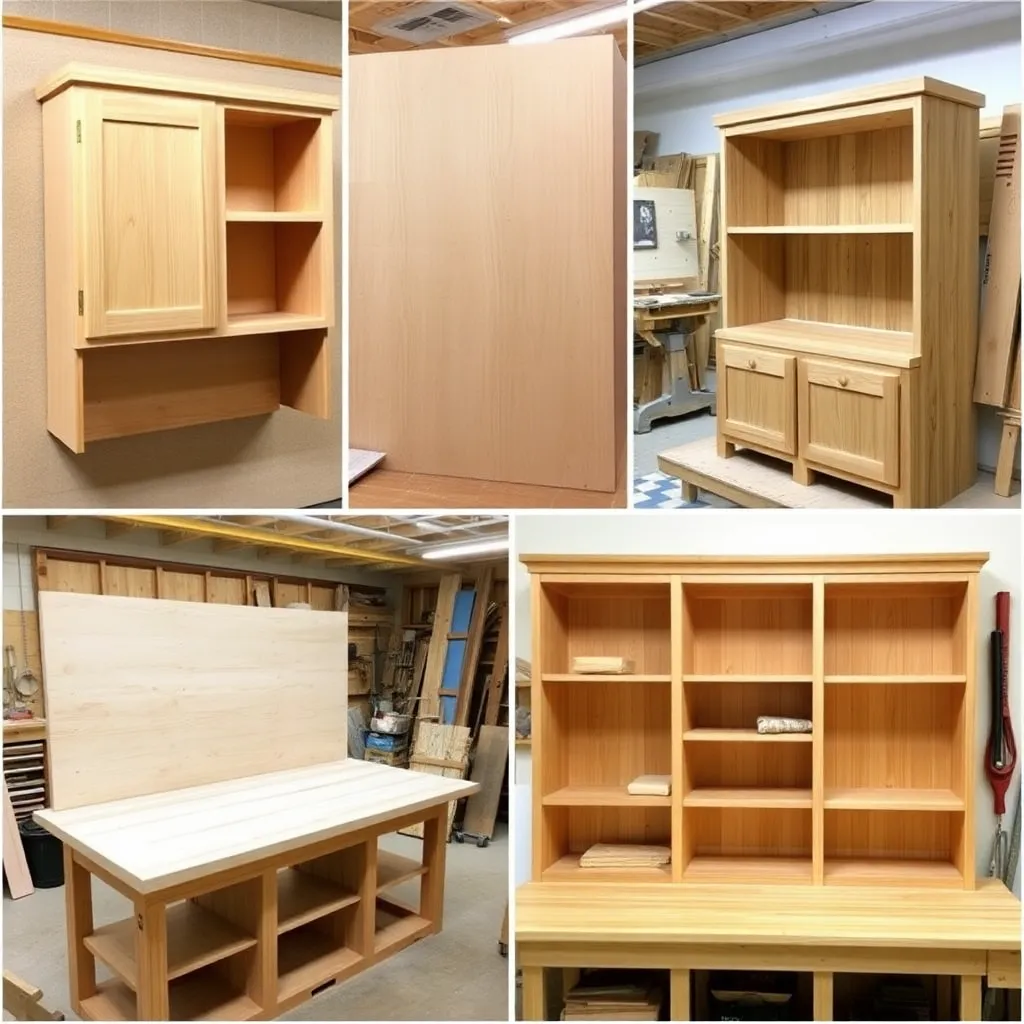
Goal: Build a complete set of European-style (frameless) kitchen cabinets.
Materials: 8–16 sheets of ¾” plywood (cabinet grade, birch or maple veneer), ¼” plywood for backs, pocket screws, European hinges, drawer slides, and hardware.
Frameless construction: unlike face-frame cabinets, frameless (European) cabinets use the plywood box itself as the finished front — there’s no solid wood face frame. The cabinet doors and drawer fronts attach directly to the box sides. This construction is faster to build and produces a clean, contemporary look.
Key dimensions: base cabinets: 24″ deep, 34.5″ tall (to accept a 1.5″ countertop for a standard 36″ height). Wall cabinets: 12″ deep, 30″ or 42″ tall. These are the industry standards that all appliances, countertops, and hardware are designed around.
Cabinet-building process: build all boxes to final dimensions, install in the kitchen, hang doors with European hinges (which are adjustable in three directions for perfect alignment), install drawer boxes and fronts.
Estimated time: 4–8 hours per cabinet box; full kitchen 80–150 hours.
Skill focus: consistent precision across many identical parts, level installation on out-of-level floors, European hinge adjustment, countertop fitting.
Milestone: Build and install one base cabinet, verify it’s level and plumb, and hang one door — adjust until the door sits flush with no twist.
Plywood Projects FAQ
What can I build with one sheet of plywood?
One 4×8 sheet of ¾” plywood yields: a simple tool cabinet (sides, top, bottom, door); a step stool with room for a shelf; a wall-mounted shelf unit with 3–4 shelves; a medium-sized storage box with lid; or a set of 4–6 drawer boxes. With ½” plywood, one sheet makes approximately 8 drawer boxes or a small toy box. The key to maximizing yield is planning the cut list on paper before cutting — lay all parts out on an 48″×96″ rectangle and find the most efficient arrangement. A 10% waste allowance is typical for a first build.
Is plywood strong enough for furniture?
Yes — plywood is as strong or stronger than solid wood for most furniture applications. The cross-laminated construction (alternating grain directions in each veneer layer) distributes loads across the panel width, eliminating the weak axis that makes solid wood panels prone to splitting along the grain. A ¾” plywood shelf can support comparable loads to a ¾” solid wood shelf of the same species. For furniture that requires edge joinery (mortise-and-tenon, dovetails), solid wood is technically stronger in those specific joints — but for panel construction (cabinet boxes, tabletops, shelves), plywood is excellent.
What finish is best for plywood furniture?
For painted plywood furniture: sand to 150 grit, apply an oil-based primer (which seals the grain better than water-based primer), sand to 180 grit after the primer dries, and apply two coats of latex or oil-based paint. The primer step is critical — skipping it produces a surface where the paint soaks in unevenly and grain shows through. For natural-finish hardwood veneer plywood: sand to 180 grit, apply a dewaxed shellac as a sealer coat (especially important on birch which blotches with stain), then apply your chosen topcoat (lacquer, waterborne poly, or oil-varnish blend). Avoid oil alone on plywood — the veneer is too thin to sand between coats without risking sanding through.
How do I hide plywood edges?
Four options, from fastest to most durable: (1) iron-on edge banding — pre-glued veneer strips that bond with a household iron in minutes, trim flush with a utility knife or edge banding trimmer; (2) self-adhesive edge banding — similar to iron-on but with peel-and-stick adhesive, slightly less durable; (3) solid wood edge strips — glue and clamp strips of solid wood to the edge, then flush-trim with a router; the most durable and can be shaped with a router profile; (4) routed decorative edge — a roundover, chamfer, or other profile routed directly on the plywood edge softens the appearance without covering it. Iron-on edge banding is the professional cabinet shop standard for painted or veneer-faced plywood; solid wood edging is preferred for natural-finish furniture.

“DIY woodworking enthusiast who started with zero experience and a YouTube tutorial.
I build simple, practical projects for my home and share free plans
so other beginners can skip the guesswork.If I can build it, you can too.”