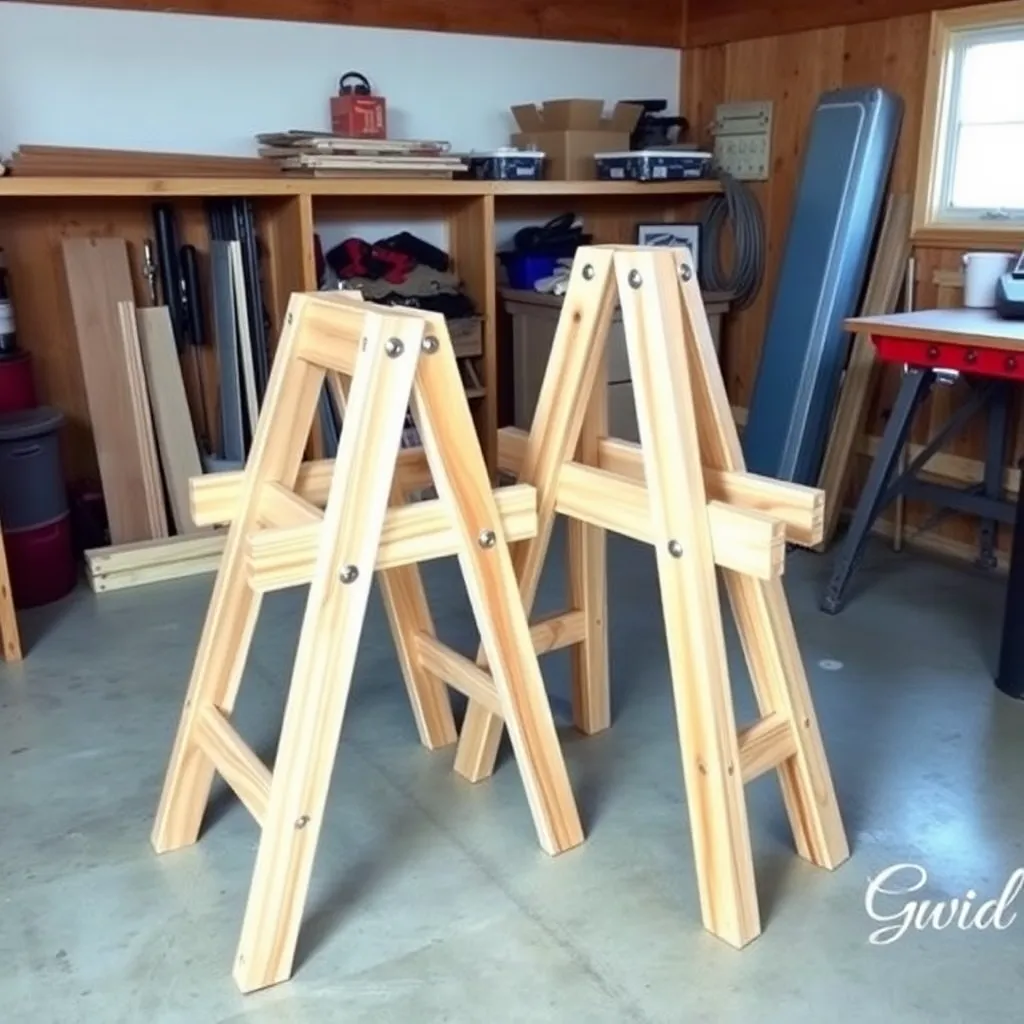
A collapsible sawhorse is one of the most useful shop and job site tools you can build — it supports panels for cutting, holds lumber at a comfortable height for hand sawing, and provides a temporary assembly surface anywhere in the shop. The folding design stores flat against a wall when not in use, taking up almost no space. A pair of these sawhorses takes 3–4 hours to build from a single 2×4 and a small amount of hardware.
Ted’s Woodworking has complete sawhorse plans including fixed-leg, folding, and adjustable height designs. Browse Ted’s plans →
This guide is part of our complete Workbench Plans: Shop Benches, Sawhorses & Tool Storage — covering workbench designs, sawhorses, tool storage, and more.
Step 1: Understand the Folding Sawhorse Geometry
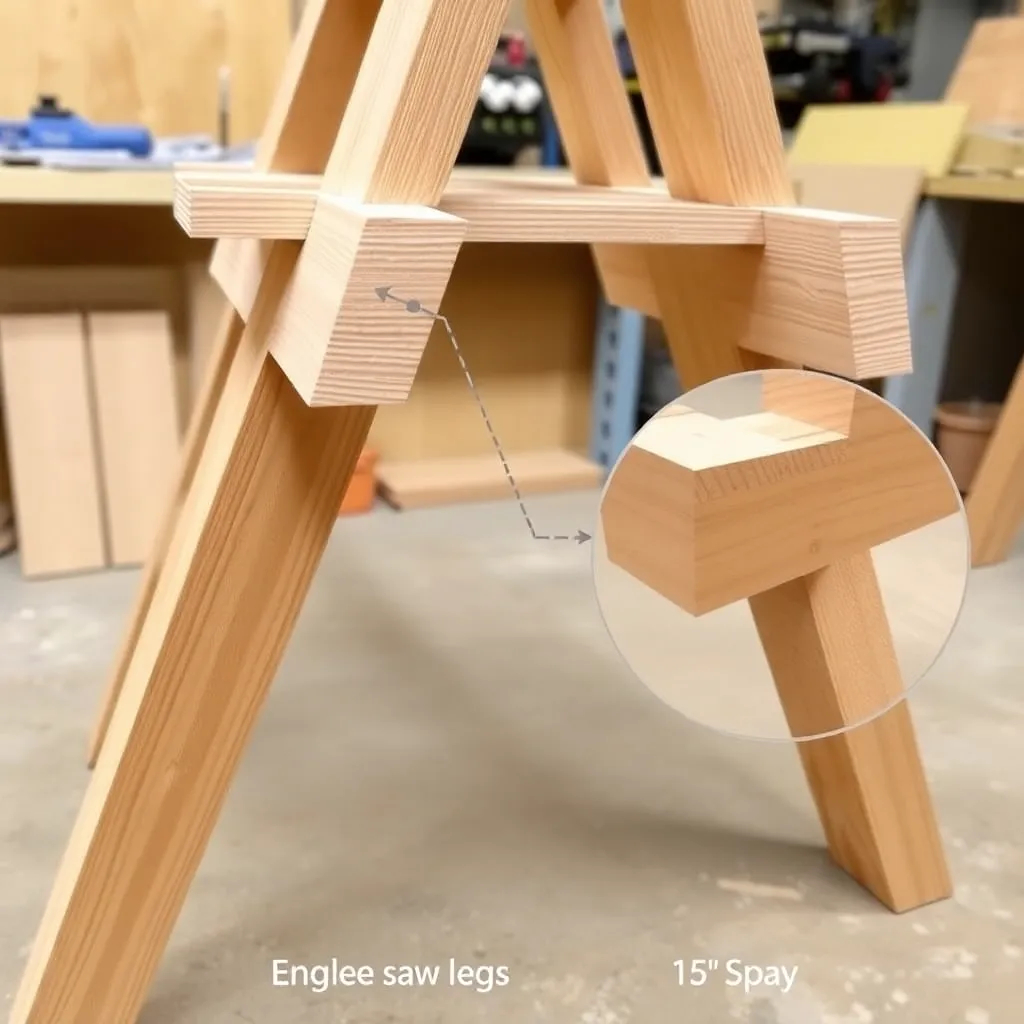
Goal: Know the leg angle geometry that produces a stable, strong folding sawhorse.
The key to a useful sawhorse is the leg angle. Vertical legs produce an unstable sawhorse that tips under side load. Angled legs spread the base and resist tipping.
Optimal leg angle: 15–20 degrees from vertical (70–75 degrees from horizontal). At 15 degrees outward splay, a sawhorse 28 inches tall has a base approximately 15 inches wide on each side — stable under most loads.
How the fold works: the two pairs of angled legs are joined at the top by the sawhorse beam (the top rail). Each pair of legs is connected by a pivot bolt at the top. When you fold the sawhorse, the leg pairs swing toward each other — the sawhorse collapses to approximately 2 inches thick and can be stored flat.
The cross brace: a single crosspiece between the two leg pairs (at mid-height) keeps the sawhorse at the correct width when open. The crosspiece must be the right length to produce the target sawhorse height and can be cut with a simple angle cut on each end.
Milestone: Sketch the sawhorse geometry and calculate the leg length and crosspiece length for a 28-inch height sawhorse.
Step 2: Cut the Parts
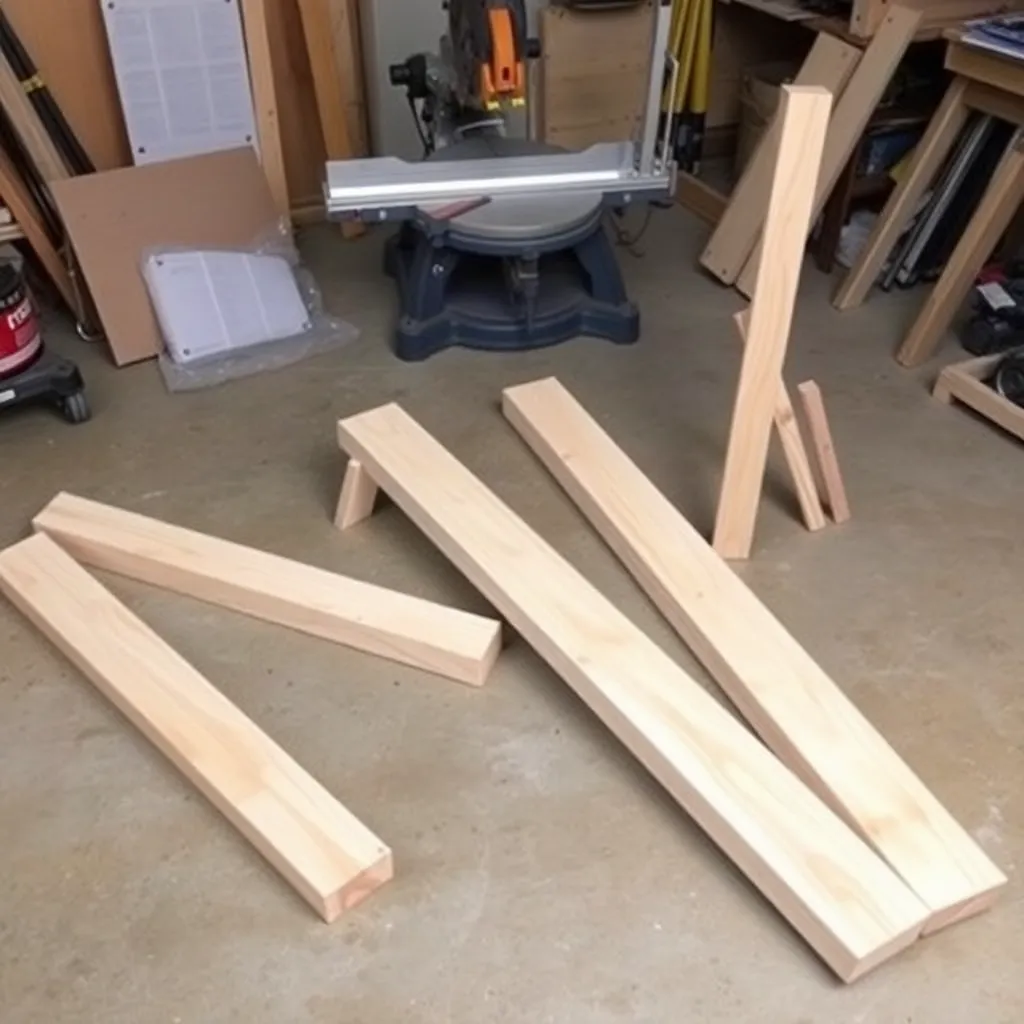
Goal: Cut all sawhorse parts accurately from 2×4 construction lumber.
Materials for one sawhorse:
- One 8-foot 2×4 (for the four legs)
- One 6-foot 2×4 (for the beam and crosspiece)
- Two 3/8-inch × 4-inch carriage bolts with nuts and washers
- One 3/8-inch × 3-inch carriage bolt with nut and washer (for the crosspiece pivot)
- Wood screws (2-inch and 3-inch)
Cut list:
- Beam (top rail): 1 piece at 36 inches (adjust for desired sawhorse length)
- Legs: 4 pieces at 32 inches each (with 15-degree angle cuts on each end)
- Crosspiece: 1 piece at approximately 20 inches (cut to fit during assembly)
Angle cuts: the top and bottom of each leg receive a 15-degree bevel cut. The top angle allows the leg to sit flush against the beam; the bottom angle provides a flat foot on the floor despite the leg splay. Set the miter saw to 15 degrees and cut all eight ends (4 legs × 2 ends each) without moving the stop.
Milestone: Cut all parts and verify the angle cuts are consistent across all four legs.
Step 3: Drill the Pivot Holes
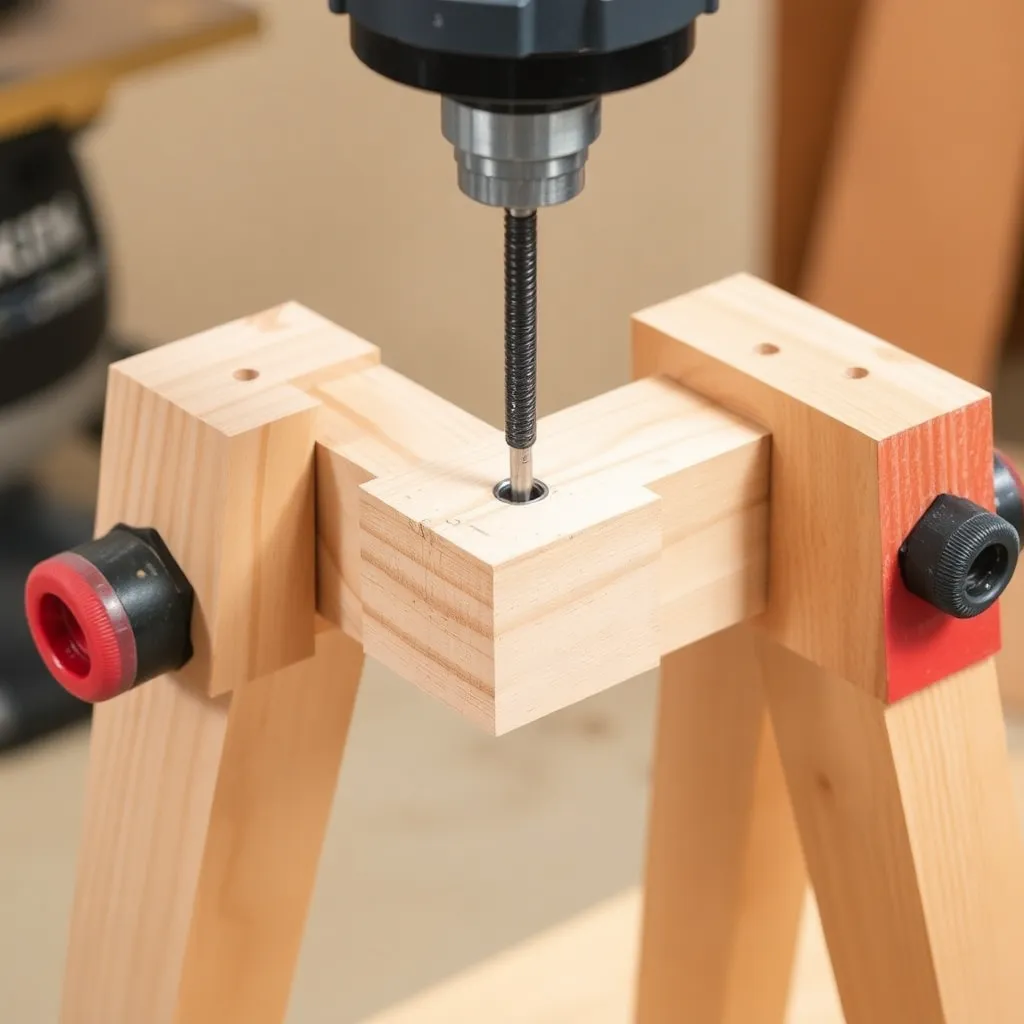
Goal: Drill accurate pivot bolt holes that allow the legs to fold smoothly.
The pivot joint is the most critical part of a folding sawhorse — it must be positioned correctly for the sawhorse to fold flat and open to the correct width.
Leg pair assembly:
- Lay two legs side by side (one for each pair), matching their top ends
- Mark the pivot hole position: 1.5 inches from the top end, centered on the 1.5-inch face of the 2×4
- Clamp the two legs together for drilling to ensure both holes align perfectly
- Drill a 3/8-inch hole through both legs simultaneously
Beam attachment holes:
The beam has two holes at each end — one for each leg pair’s pivot bolt. Space the holes approximately 1.5 inches apart (matching the combined thickness of two 2×4s) to allow both leg pairs to pivot on the beam end.
Milestone: Test the pivot motion with the bolt loosely installed — both legs should swing through 180 degrees freely.
Step 4: Assemble the Leg Pairs
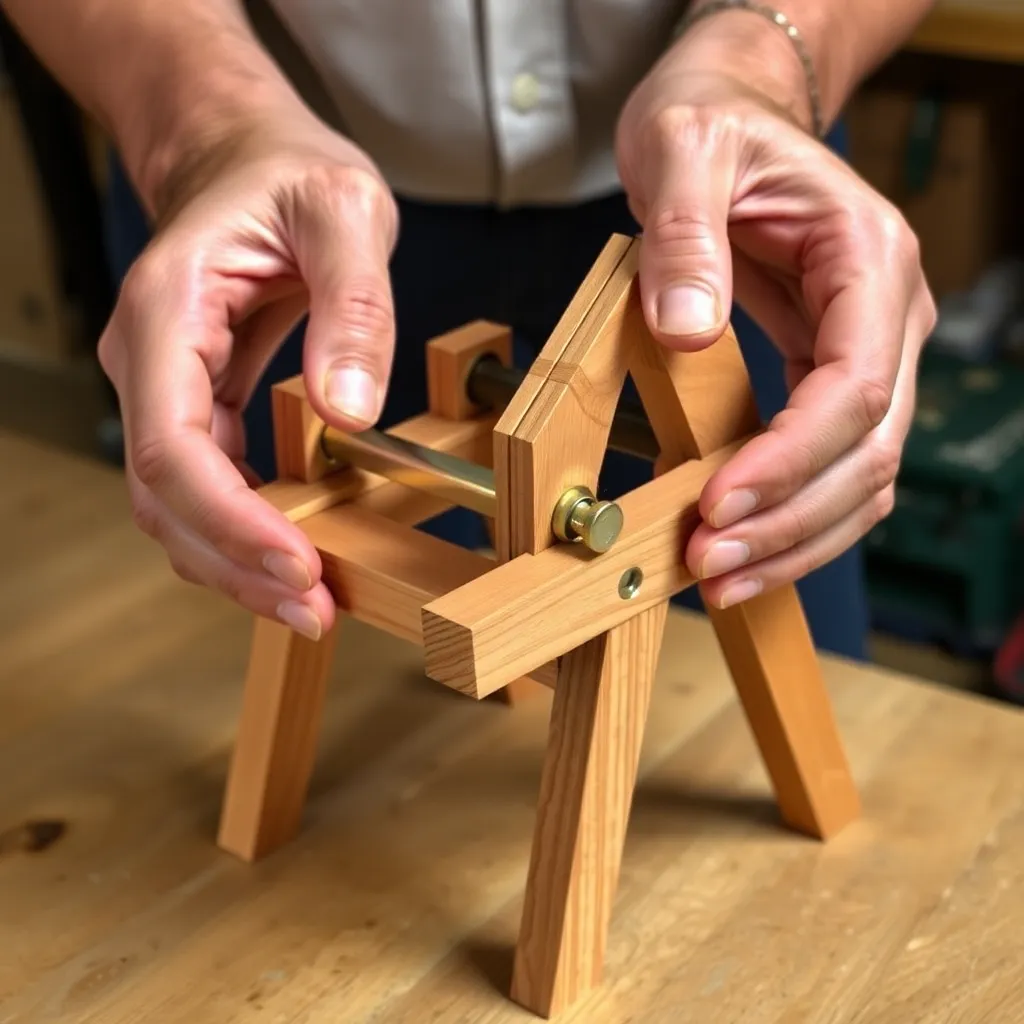
Goal: Bolt the leg pairs together at the pivot and verify the fold motion.
- Place the two legs of one pair with their faces together (not edge to edge)
- Insert the 3/8-inch × 4-inch carriage bolt through both pivot holes
- Add a washer, then the nut — tighten snugly but not fully (the joint must pivot freely)
- Repeat for the second leg pair
Check the fold: hold the pivot bolt and swing both legs — they should open like scissors and close flat. If they bind: check that the bolt isn’t overtightened; check that the hole positions are aligned.
Important: the two leg pairs pivot in opposite directions. When both pairs are assembled on the beam, one pair will be on the left side and one on the right. When the sawhorse folds, the left legs swing right and the right legs swing left — they pass each other and the sawhorse lies flat.
Milestone: With both leg pairs assembled, fold and unfold each pair 10 times to verify smooth operation.
Step 5: Attach the Beam and Set the Width
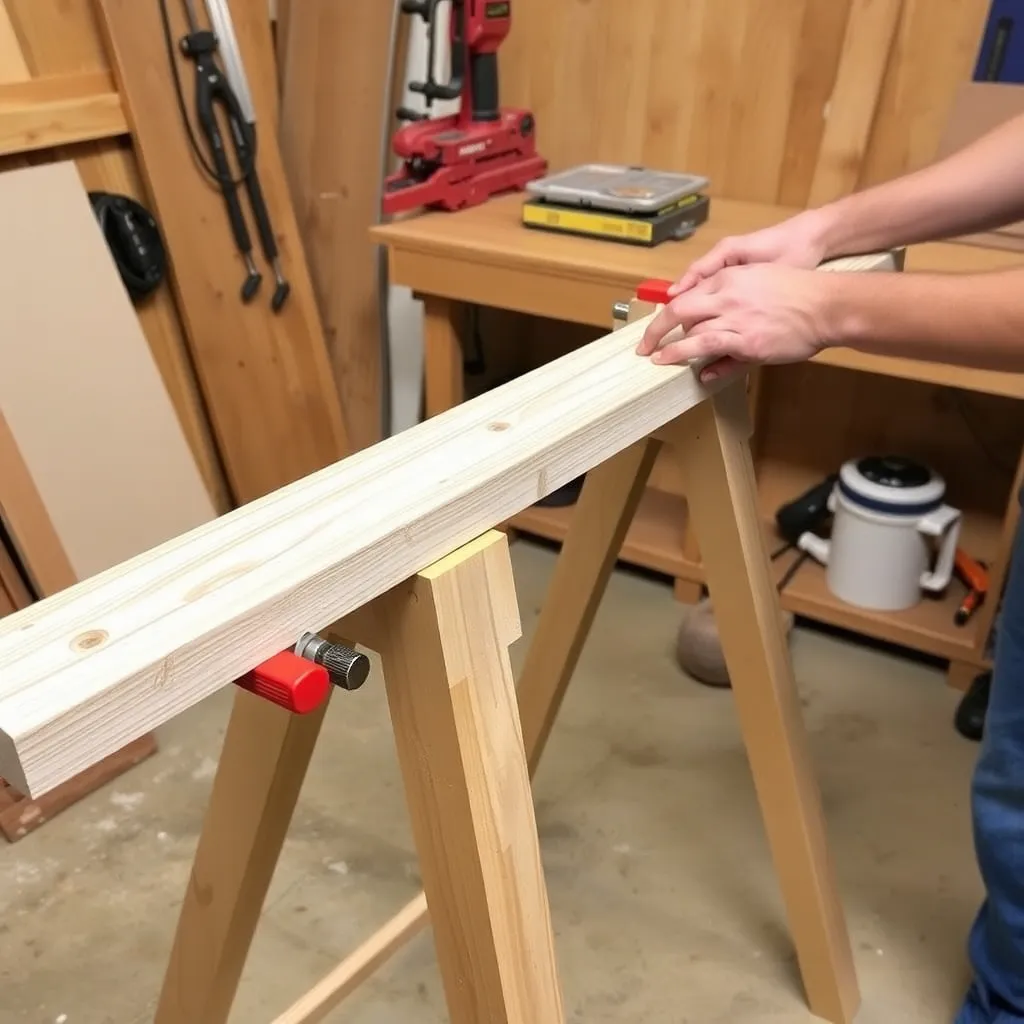
Goal: Attach the beam to both leg pairs and set the sawhorse to the correct open width.
- Place the beam on a flat surface
- Position one leg pair at each end of the beam, legs pointing downward and outward
- Drive 3-inch screws through the beam into the top of each leg pair’s upper leg — these screws set the open position
Setting the width: before driving the screws, open the legs to the target width (approximately 30 inches from foot to foot on each side for a stable sawhorse). Hold in position with a clamp while driving the screws.
The crosspiece: cut the crosspiece to fit between the two leg pairs at mid-height (approximately 14 inches from the floor). This crosspiece is what keeps the sawhorse at the correct width during use — it must be exactly the right length. Drill a pivot hole in each end and attach with a single bolt per end (so the crosspiece folds with the sawhorse).
Milestone: With the crosspiece installed, fold and unfold the complete sawhorse and verify that the height and width are consistent each time it opens.
Step 6: Finish and Build the Second Sawhorse
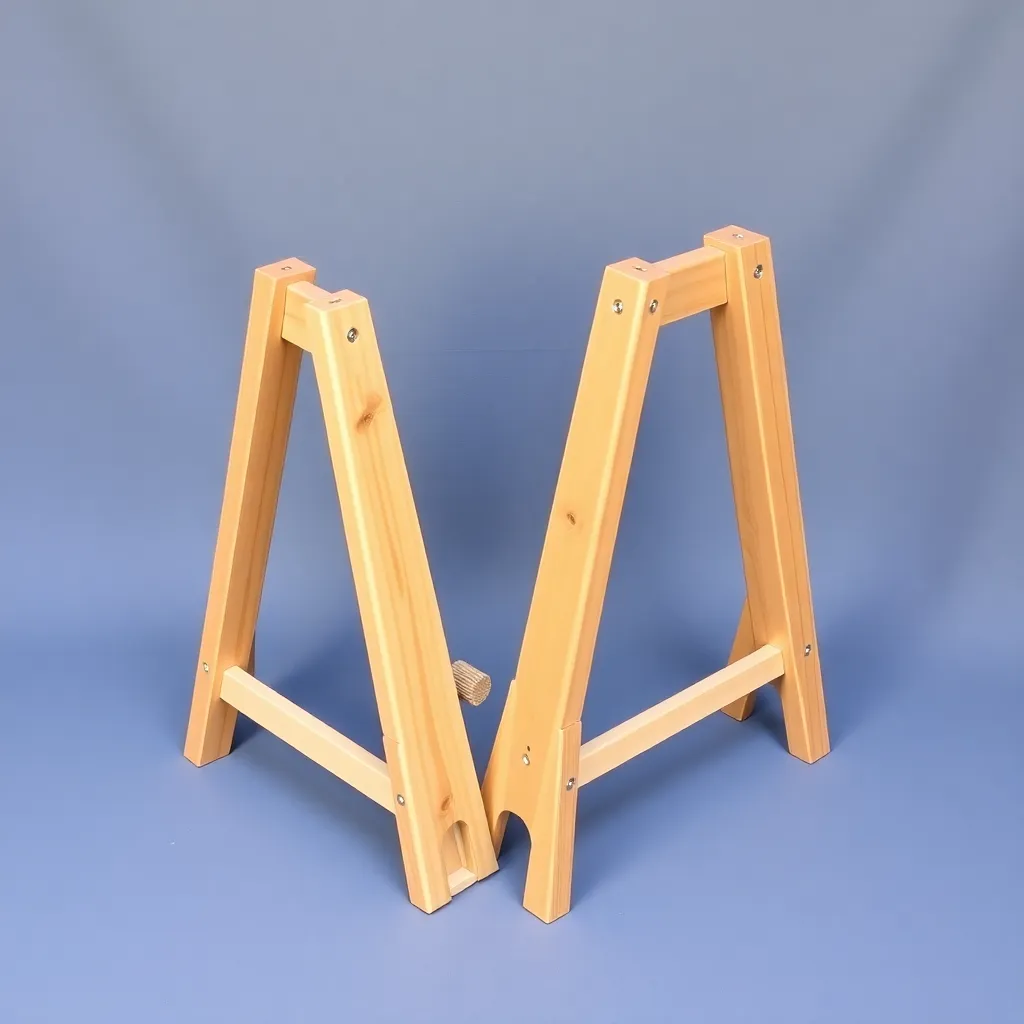
Goal: Complete the first sawhorse and build an identical second one.
Optional finishing touches:
- Non-slip feet: cut rubber pads from an old inner tube or buy adhesive rubber feet — glue to the bottom of each leg foot to prevent the sawhorse from sliding on smooth floors
- Top padding: a strip of carpet stapled to the top of the beam prevents the sawhorse from marking the bottom of finished lumber
- Chain stop: a short length of chain attached between the two leg pairs at mid-height replaces the crosspiece design for an even simpler fold
Build the second sawhorse: use the first sawhorse’s parts as templates for cutting the second set. Cut all four legs to the same length using the first leg as a stop on the miter saw. Drill pivot holes at the same position. The finished pair should be identical in height within 1/8 inch.
Milestone: Set both sawhorses on a level floor and check that their tops are at the same height — a long straightedge placed across both should touch both tops without rocking.
Collapsible Sawhorse FAQ
What is the best height for a sawhorse?
Standard sawhorse height is 26–30 inches for most applications. At 28 inches, sawhorses bring a full sheet of plywood to a comfortable height for circular saw use (slightly below waist height for most people), and support lumber at a good height for hand sawing. Adjustable-height sawhorses (available commercially and buildable with sliding leg brackets) work at 24–36 inches — useful for job site work where different tasks require different heights. For a fixed-height build: match the height to the most common task. If most of your sawhorse use is circular saw sheet breakdown, 26 inches is good. If most use is hand sawing or general support, 28–30 inches is more comfortable.
How much weight can a sawhorse hold?
A properly built 2×4 sawhorse holds 600–1,000 lbs per pair (300–500 lbs per horse) depending on construction quality and lumber grade. A full sheet of ¾” plywood weighs approximately 65 lbs — well within any reasonable sawhorse capacity. The limiting factor is usually lateral stability (tipping under side load) rather than vertical load capacity. The 15-degree leg splay in this design provides adequate lateral stability for most woodworking applications. For very heavy loads (large timbers, heavy stone, automotive components): use wider leg splay (20–25 degrees) and increase the beam and leg dimensions to 2×6.
Can I build a sawhorse from a single 2×4?
Yes — a single 8-foot 2×4 provides the four legs (cut from one 8-footer). A second 2×4 (6 feet) provides the beam and crosspiece. Total lumber: two 2×4s (one 8-foot, one 6-foot). The only hardware required: three carriage bolts with nuts and washers, and a handful of screws. Total material cost for a pair of sawhorses: $15–$25. This is one of the highest value-to-cost ratios in woodworking — the sawhorses that result from $20 of lumber and 4 hours of work will be used in every major project for years.
What is the difference between a sawhorse and a workmate?
A sawhorse is a simple A-frame support — it holds work at a convenient height but has no clamping mechanism. Two sawhorses support a panel or board for cutting or assembly. A Workmate (Black+Decker’s portable workbench) is a more complex folding bench with a clamping top (two parallel jaws that clamp work between them), a lower shelf for storage, and adjustable height settings. The Workmate does more (clamping, vise work) but is less suitable as a pure panel support because the top is narrow and the clamping jaw design isn’t ideal for supporting wide panels. For a home shop: a pair of sawhorses for panel support and a Workmate (or small dedicated bench) for clamping operations is a practical combination.

“DIY woodworking enthusiast who started with zero experience and a YouTube tutorial.
I build simple, practical projects for my home and share free plans
so other beginners can skip the guesswork.If I can build it, you can too.”