Part of: Hand Tools Woodworking Guide →
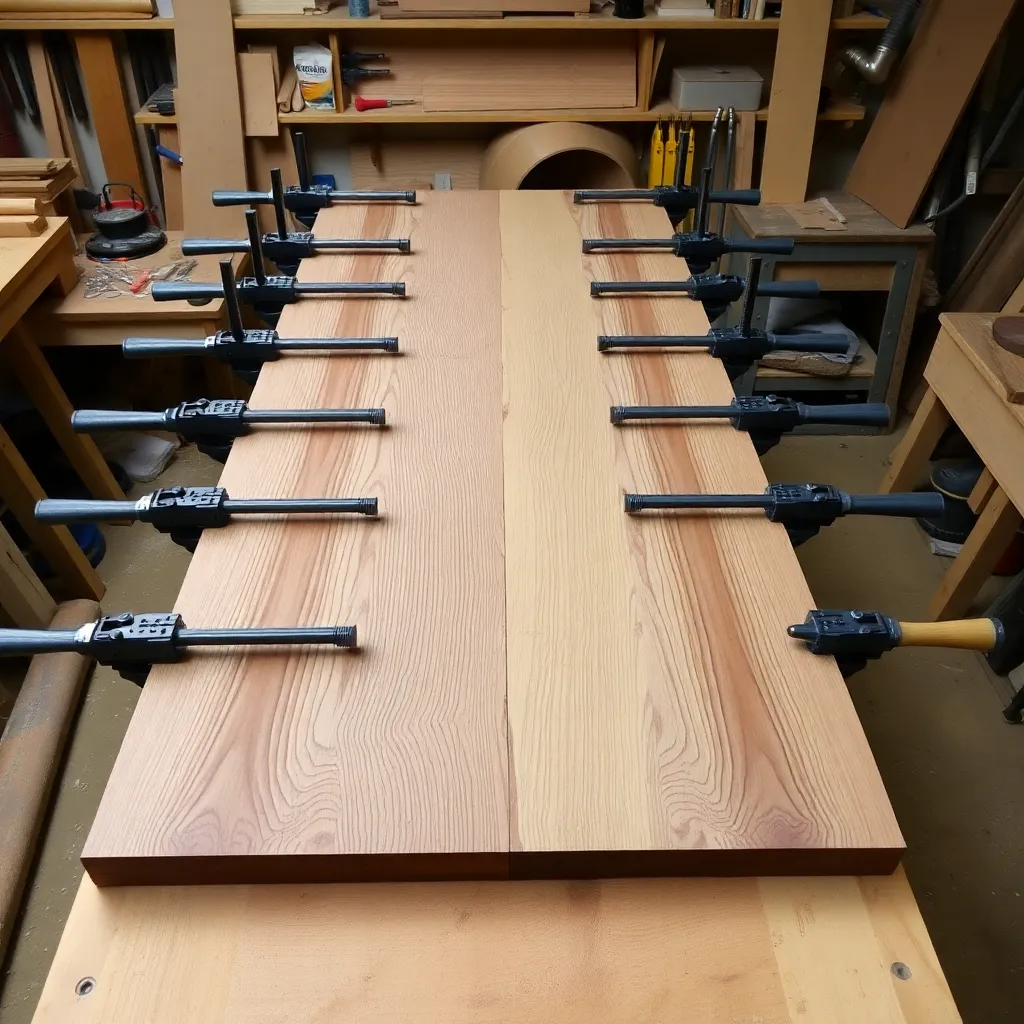
Clamping is the step between applying glue and having a finished joint — and how well it’s done determines whether the joint holds for decades or fails in months. A correctly clamped joint: applies even pressure across all glue surfaces, keeps the pieces aligned while the glue cures, and maintains square during cure without introducing twist. Getting there requires the right clamps for the task, enough clamps to apply even pressure, and the discipline to check for square before the glue begins to set. “You can never have too many clamps” isn’t just a woodworker’s joke — it’s the operating reality of anyone who’s tried to glue up a cabinet with two clamps and wondered why the joints failed.
Ted’s Woodworking has 16,000+ plans with complete assembly and clamping specifications. Browse Ted’s plans →
Step 1: Understand Clamp Types and Their Uses
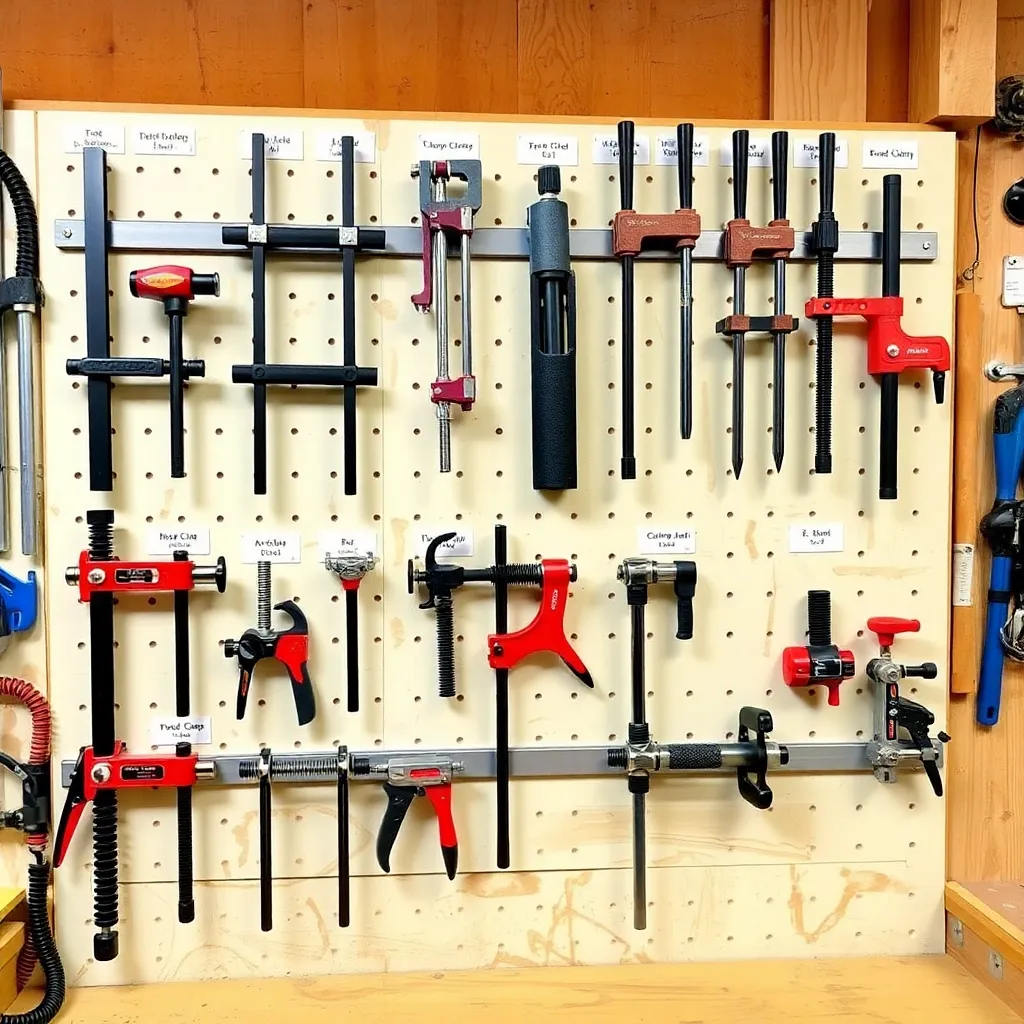
Goal: Know which clamp is the right tool for each clamping task.
Bar clamps / F-clamps:
Bar clamps have a fixed jaw on one end of a steel bar and a sliding jaw that locks at any position along the bar. A screw mechanism at the fixed end provides clamping pressure. F-clamps (named for their shape) are a compact version with a shorter reach. Uses: general-purpose clamping for glue-ups, holding workpieces to benches, edge-gluing panels, clamping cabinet assemblies. The most versatile clamp type. Available from 6″ to 60″+ in reach. Budget: $10-30 each; buy at least 4 in 24″ length and 4 in 12″ length for a starter set.
Pipe clamps:
A pipe clamp consists of two fittings (a fixed head with a screw and a sliding tail stop) that mount on a length of standard threaded pipe. The pipe length is user-selected — pipe clamps scale from 18″ to 8′ or longer by simply changing the pipe. Uses: large panel glue-ups, wide cabinet assemblies, any glue-up too wide for bar clamps. Very economical for large clamps — buy the fittings once ($10-15/pair) and use any pipe length needed. The clamping pressure is somewhat lower than parallel jaw clamps but adequate for most furniture work.
Parallel jaw clamps:
Parallel jaw clamps (Bessey K-Body, Jet, Jorgensen) have wide wooden or aluminum jaws that remain parallel under pressure — unlike bar clamps, which can rack and apply uneven pressure at the jaw tips. The parallel jaws distribute pressure evenly across the full jaw width and apply it perpendicular to the glue surface regardless of workpiece thickness. Uses: cabinet face frames, furniture assemblies, any glue-up where even pressure and no racking are critical. The best clamps for serious furniture work. Budget: $40-80 each; three or four pairs cover most needs.
Spring clamps:
Spring clamps (large clothespin-style clamps) apply light, constant pressure with one hand. Uses: holding trim, edging, small assemblies, holding parts in position while screws are driven, and any situation where light pressure is sufficient and quick application is needed. Limited clamping force — not suitable for structural glue joints, only for light-duty holding. Budget: $2-5 each; buy 12 or more.
Band clamps (strap clamps):
A band clamp has a fabric or nylon strap that wraps around an irregular assembly and tightens with a ratchet mechanism. Uses: clamping assembled chair legs, picture frames, round objects, and any assembly with an irregular perimeter that can’t be clamped with bar clamps. Essential for chairs and other pieces with multiple angled legs. Budget: $15-30 each.
Pocket hole clamps:
A pocket hole clamp holds two boards in alignment while pocket hole screws are driven — the clamp prevents the boards from shifting as the screw pulls them together. Essential for pocket hole joinery. Budget: $15-25.
Milestone: For a starting clamp collection: 4 × 24″ bar clamps, 4 × 12″ bar clamps, 8 spring clamps, and 1 band clamp. This handles most hobby woodworking assembly tasks.
Step 2: Prepare for the Glue-Up
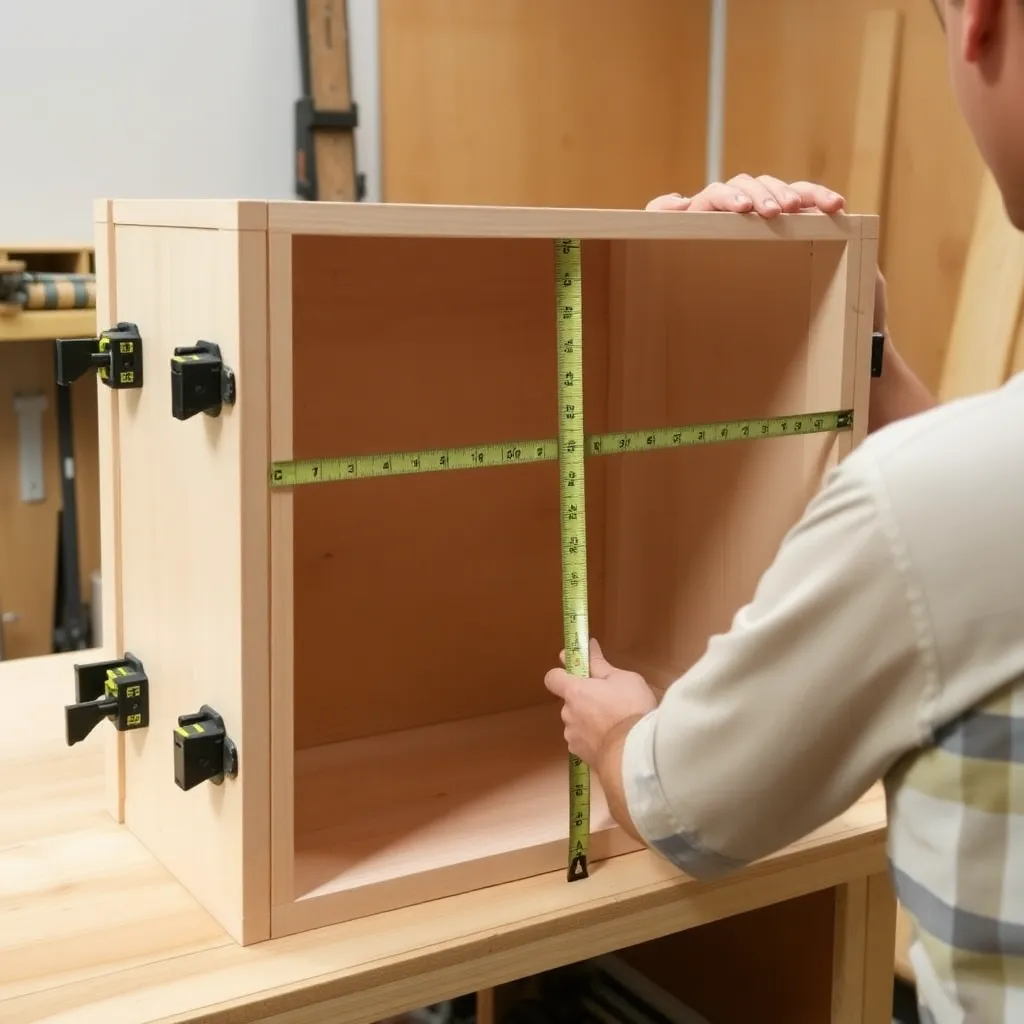
Goal: Set up everything needed before glue is applied.
Dry fit first:
Before applying any glue: assemble the entire project dry (without glue) and clamp it. Check that every joint closes completely, the assembly is square, and you have enough clamps in the right positions. A dry fit reveals problems — a joint that doesn’t close, a piece that’s slightly too long, a missing clamp — before glue is involved. Any problem found in the dry fit is easily fixed; the same problem found after glue is applied is a crisis.
Caul preparation:
Cauls are straight boards clamped between the clamp jaws and the workpiece to: distribute pressure over a wider area, prevent clamp jaw marks on the workpiece surface, and keep curved or narrow pieces from buckling under clamp pressure. Cut cauls from scrap wood or MDF slightly longer than the glue-up. Wax the caul face (paste wax, candle wax) so glue squeeze-out doesn’t bond the caul to the workpiece.
Clamp placement planning:
Plan clamp spacing before gluing: for an edge-glued panel, clamps every 8-12″ along the panel length. For a box or cabinet, clamps on opposite faces to prevent racking. For a mortise-and-tenon joint, one clamp across the joint applying pressure directly at the tenon shoulder.
Working time awareness:
PVA wood glue has a working time (open time) of 5-15 minutes depending on temperature and humidity — after this, the glue begins to gel and repositioning becomes impossible. Have all clamps pre-set to approximately the right opening before applying glue. Apply glue, assemble, and clamp within the working time. In warm, dry conditions: working time is shorter — work faster or use a slow-set PVA.
Milestone: Dry fit complete, cauls waxed and in position, clamps pre-set. Time from glue application to full clamping pressure should be under 5 minutes.
Step 3: Clamping Technique for Edge-Glued Panels
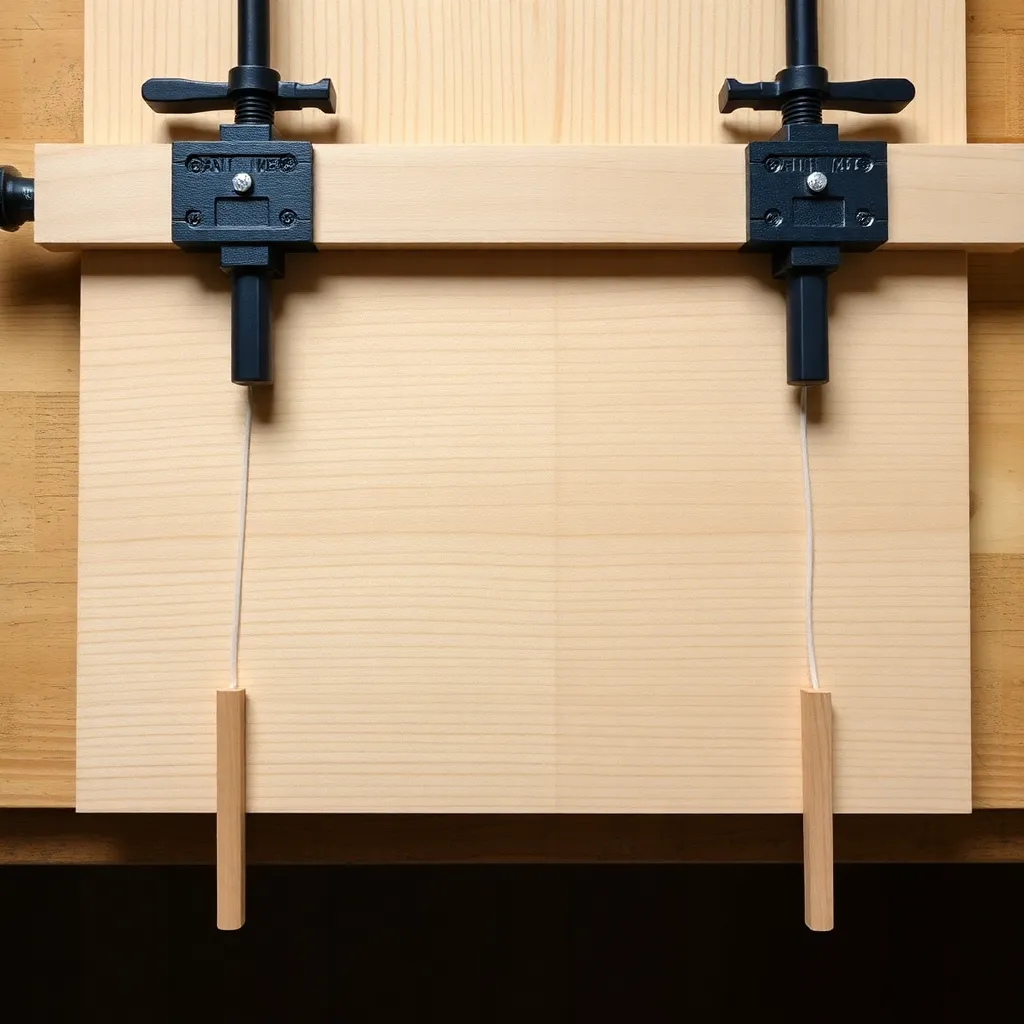
Goal: Glue up flat panels with even pressure and no bow or twist.
Edge preparation:
The mating edges must be flat and square to the face — any gap in the joint becomes a visible seam in the panel. Joint the edges on a jointer or with a hand plane (No. 7 jointer plane) until a light test shows no gaps along the full length. For panels longer than 24″: glue the joint first, then check with a straightedge and re-joint if there’s any bow.
Alternating grain:
When gluing up a panel from multiple boards: alternate the grain direction (crown up, crown down, alternating) across the panel width. This prevents the panel from cupping — if all boards cup in the same direction, the panel cups; alternating boards produce opposing forces that keep the panel flat.
Clamping sequence:
1. Apply a thin, even film of PVA glue to both mating edges (not just one)
2. Press the edges together by hand and align the faces flush
3. Apply clamps every 8-12″ — alternate top and bottom of the panel to prevent bowing
4. Tighten clamps until a consistent bead of squeeze-out appears along the full glue line
5. Immediately check the panel for flat (lay a straightedge across the face) and for twist (winding sticks at each end)
6. Adjust clamping if needed to correct any bow or twist
Reading squeeze-out:
Even squeeze-out along the full length of the glue line indicates: sufficient glue was applied, sufficient pressure is applied, and the joint is closing completely. No squeeze-out indicates either too little glue or insufficient pressure. Excessive squeeze-out indicates too much glue (waste) but doesn’t indicate a joint problem — wipe off excess before it cures.
Milestone: After clamping, check with winding sticks — two parallel sticks placed across the panel at each end. Looking across them from one end: they should be parallel. Any twist shows as the sticks appearing angled relative to each other; adjust clamps to correct.
Step 4: Clamping Boxes and Cabinet Assemblies
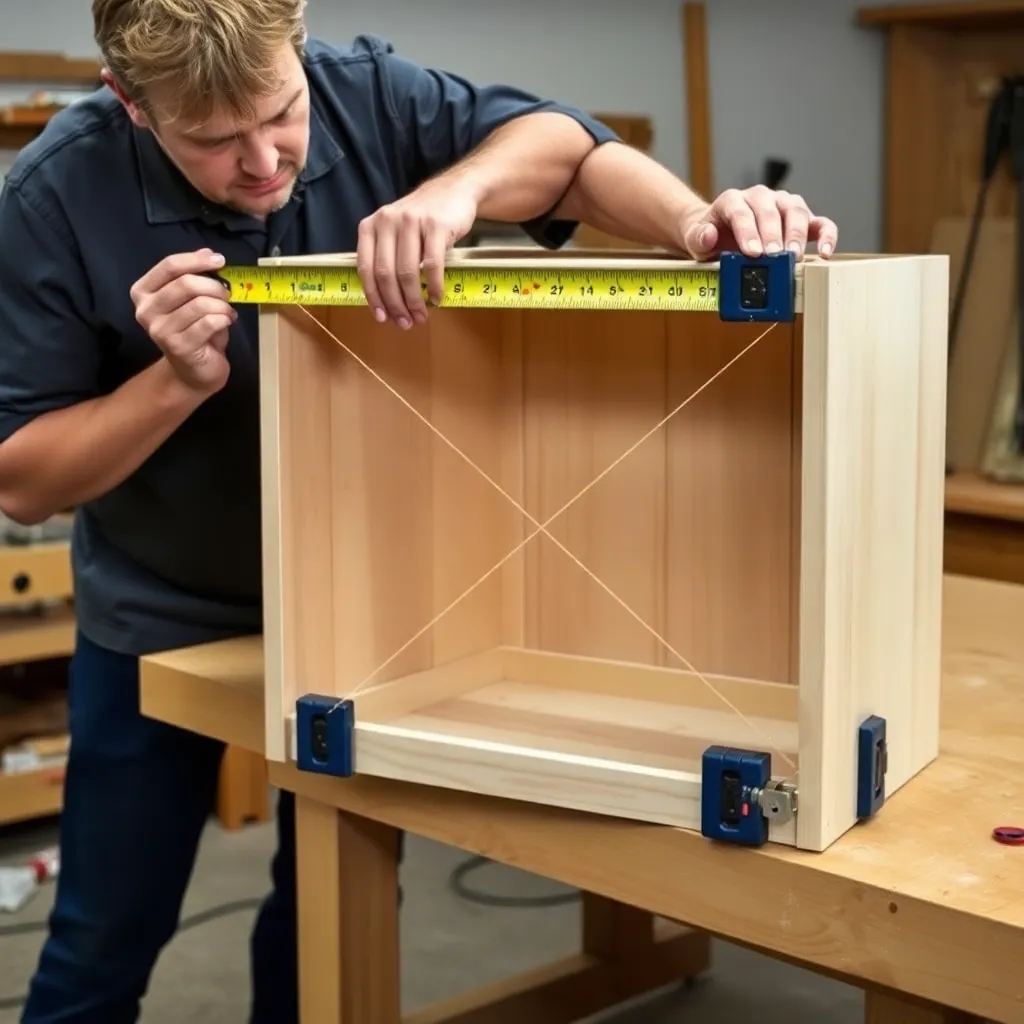
Goal: Clamp square box and cabinet assemblies that stay square during cure.
Checking square:
The most critical check after clamping a box or cabinet: measure the diagonals. Equal diagonals = square. If the diagonals are unequal: the assembly is racked (a parallelogram instead of a rectangle). Correct by adding a clamp across the long diagonal — this pulls the racked corner square. Check diagonals again after adjusting.
Clamping sequence for a box:
1. Apply glue to all joint surfaces
2. Assemble and apply clamps across the width (pulling the sides in against the top and bottom)
3. Check square immediately (diagonal measurement)
4. Apply clamps across the depth if needed
5. Re-check square
6. Allow to cure without disturbing
Cauls for face frames:
When clamping a face frame flat: lay the frame on a flat surface (a torsion box workbench or a verified-flat MDF panel). Clamp the frame to the flat surface with cauls — this keeps the frame flat while the joints cure. Without this step, a face frame with slightly non-flat joints can cure with twist.
Preventing glue creep:
Some assemblies move slightly after clamping as the glue lubricates the joint — pieces shift out of alignment. Prevent by: using biscuits, dowels, or Dominoes to provide mechanical registration between pieces; using a fast-grab PVA (Titebond III has less creep than Titebond Original); or driving a few pin nails through the joint immediately after clamping to mechanically lock the position.
Milestone: After clamping a cabinet: verify square diagonals, verify the cabinet sits flat on a flat surface (no rocking), and verify all face joints are flush (no steps between pieces). Correct any issue before the glue sets.
Clamping FAQ
How many clamps do I need for woodworking?
More than you have — this is always the answer. A practical starting set: 4 × 24″ bar clamps (panel glue-ups and assembly), 4 × 12″ F-clamps (smaller assemblies, holding workpieces), 8 spring clamps (light-duty holding), 1 band clamp (frames and chairs). Add pipe clamps as panel sizes grow and parallel jaw clamps when budget allows. In practice: any project involving a glue-up reveals a clamp shortage. Professional shops run 20-50 clamps or more of various sizes.
How long should I leave clamps on after gluing?
PVA wood glue (Titebond, Elmer’s carpenter’s glue) reaches handling strength in 30-60 minutes at 70°F — enough to remove clamps and move the assembly carefully. Full cure for a fully stress-free joint takes 24 hours. For structural joints (mortise-and-tenon, dovetail), leave clamps on for at least 1 hour before handling; don’t stress the joint for 24 hours. In cold conditions (below 60°F): glue cures slower — add 50% to clamp time. PVA doesn’t cure at all below 50°F — bring cold assemblies inside to cure.
Why is my glued panel bowing?
Bowing in a glued panel has three causes: (1) clamping too few clamps allowed the joints to close under pressure in some areas but not others; (2) all boards’ grain was oriented the same direction (all crowning the same way); (3) one face was finished before the other (moisture imbalance causes cupping). Fix: let the panel fully cure, then flatten with a hand plane, belt sander, or drum sander. Prevention: alternate grain orientation, apply finish to both faces simultaneously, and use enough clamps (every 8-12″ along the panel length).
Can I use too much clamping pressure?
Yes — excessive clamping pressure squeezes too much glue out of the joint (glue-starved joint) and can crush softwood fibers, creating a joint that’s weaker than one with correct pressure. Correct clamping pressure produces a steady bead of squeeze-out along the full glue line — if the squeeze-out is copious, reduce pressure slightly. For most furniture joints: 100-200 lbs of clamping force per clamp is adequate. Parallel jaw clamps are self-limiting — they apply even pressure without requiring gorilla-strength tightening.

“DIY woodworking enthusiast who started with zero experience and a YouTube tutorial.
I build simple, practical projects for my home and share free plans
so other beginners can skip the guesswork.If I can build it, you can too.”