Part of: Woodworking Jigs Guide →
A woodworking jig is a device that guides a tool or holds a workpiece in a fixed position to produce consistent, repeatable results. The jig does the work of measuring, aligning, and positioning that would otherwise have to be done fresh for each cut or joint — once the jig is set up correctly, every subsequent piece comes out identical. Jigs range from a simple fence clamped to a workpiece (guiding a router straight) to complex shop-built fixtures for box joints, dovetails, and mortise-and-tenon work. Understanding what jigs do and when to build them is a core skill that separates efficient woodworkers from those who struggle with repetitive work.
Ted’s Woodworking has 16,000+ plans, many including jig designs for efficient, repeatable builds. Browse Ted’s plans →
Step 1: Understand What a Woodworking Jig Does
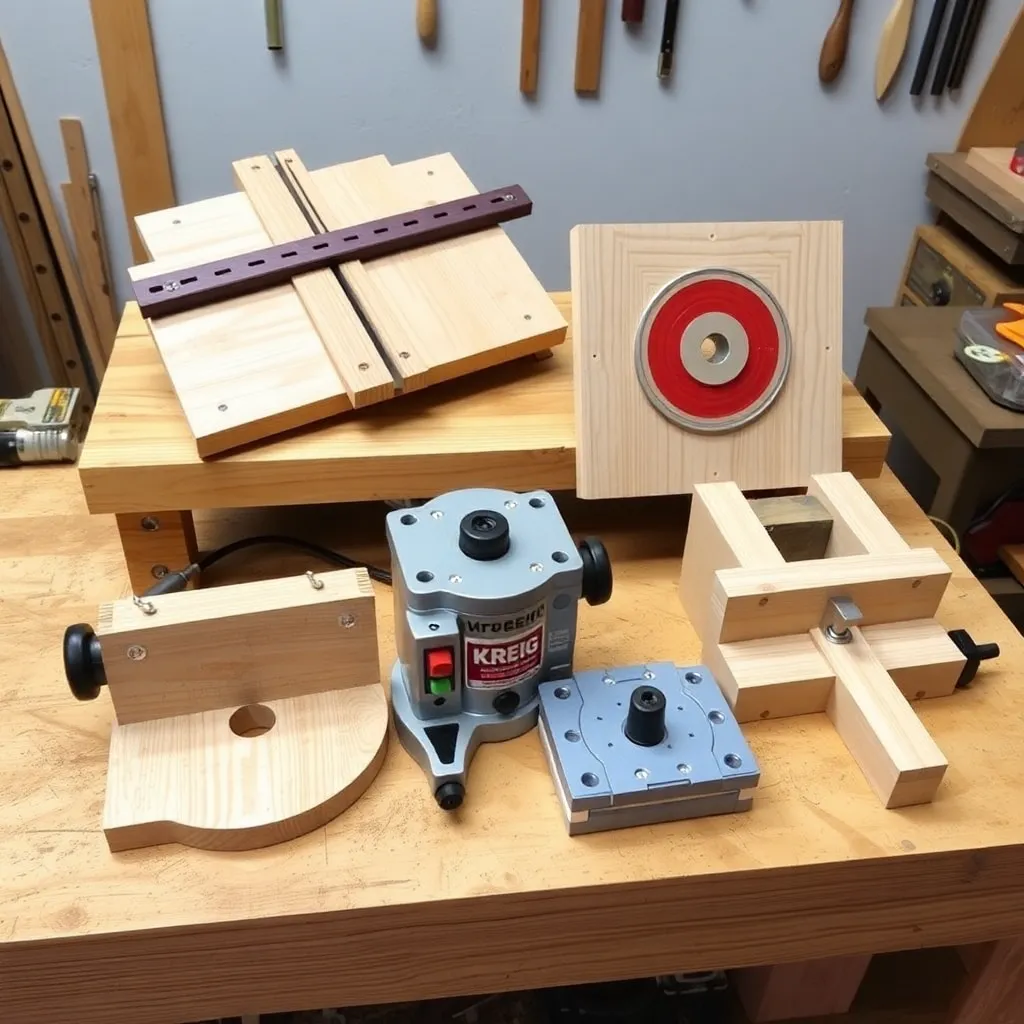
Goal: Know the purpose and categories of woodworking jigs.
What a jig does:
A jig performs one or more of three functions: (1) it guides a tool along a fixed path (a straight-edge guides a circular saw; a dovetail jig guides a router); (2) it holds a workpiece at a specific angle or position (a miter jig holds a board at 45 degrees for a hand saw cut); (3) it indexes repetitive cuts to be spaced consistently (a box joint jig advances the workpiece one finger-width between each pass).
Commercial jigs:
Many jigs are sold commercially. The most common: the Kreg pocket hole jig (clamps a board and guides a stepped drill bit at the correct angle for pocket hole joinery); the Leigh dovetail jig (guides a router to cut hand-cut-looking dovetails); the Festool Domino (not technically a jig but a dedicated joinery tool); and the box joint jig (available as a commercial product or shop-built). Commercial jigs are precise, well-documented, and save build time.
Shop-built jigs:
Woodworkers also build their own jigs from scrap wood, MDF, and hardware. Shop-built jigs are custom to specific tasks: a crosscut sled for the table saw (larger and more accurate than the factory miter gauge); a taper jig for cutting tapered legs; a circle jig for routing circles; a dado jig for routing dadoes at exact positions. The ability to design and build a jig is one of the most valuable woodworking skills.
When to build a jig:
Build a jig when: you’re making more than one of a part (any repetition justifies the setup time); accuracy is critical and layout-and-cut per piece introduces error accumulation; the operation is difficult to control without a guide (routing a circle, cutting a mortise to exact depth); or safety requires it (pushing narrow stock past a blade without a jig is dangerous).
Milestone: The decision to build a jig: if the jig setup time is less than the sum of layout-and-check time for all the individual pieces, build the jig. For 10 identical parts: even a 30-minute jig build saves time and improves accuracy if each piece would otherwise take 5+ minutes to mark and cut individually.
Step 2: Essential Jigs for Every Woodworker
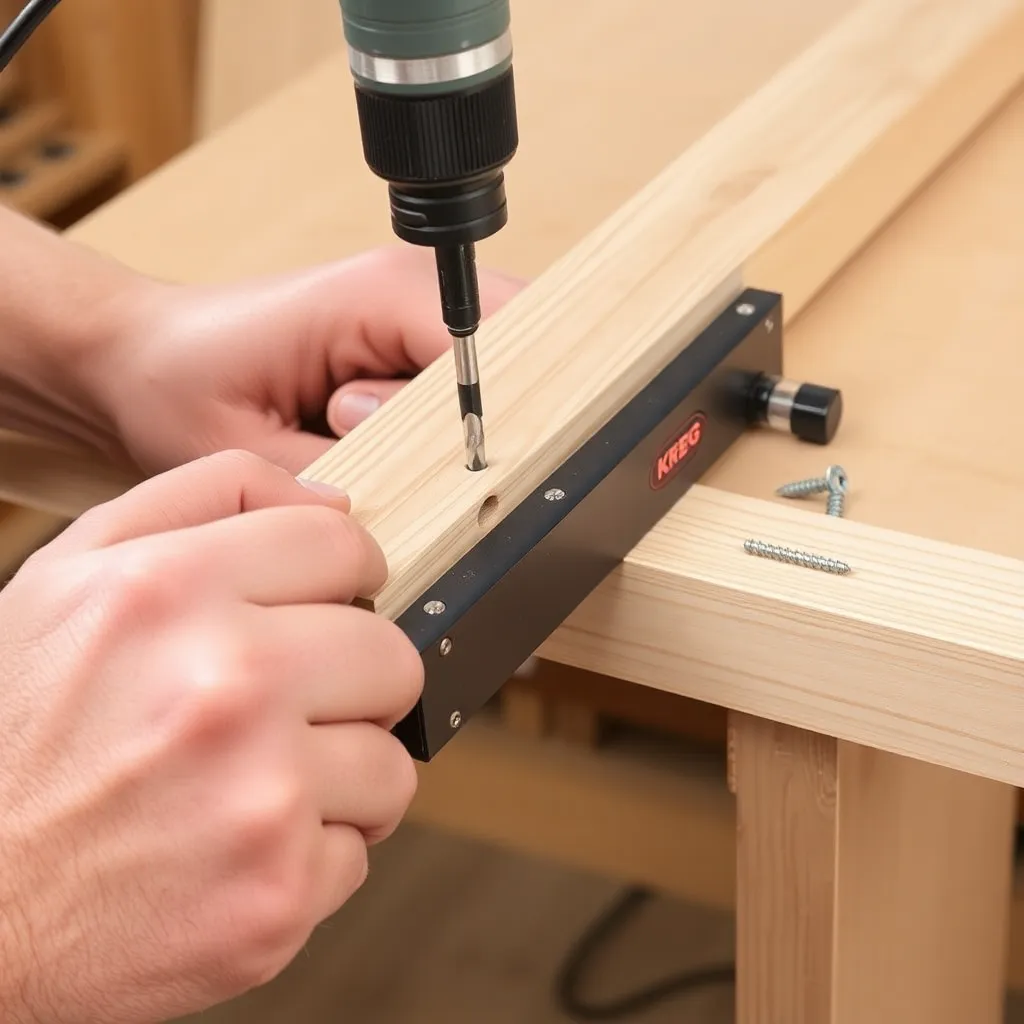
Goal: Know the most useful jigs to build or buy.
Table saw crosscut sled:
The crosscut sled is the most useful shop-built jig. It replaces the factory miter gauge with a large sled that rides in the table saw’s miter slots and carries the workpiece through the blade. Advantages over a miter gauge: longer fence for supporting wider pieces, no flex in the cut, easier to add stop blocks for repetitive cuts. Every woodworker who owns a table saw should build a crosscut sled — it’s typically the first shop-made jig built.
Build: two runners that fit the miter slots (hardwood or UHMW plastic), a front and back fence perpendicular to the blade (verified square), and a base of 3/4″ Baltic birch plywood. Build time: 2-3 hours. Cost: $15-25 in materials.
Pocket hole jig (Kreg):
The Kreg pocket hole jig is the most used commercial jig in amateur and professional woodworking. It clamps a board and guides a stepped drill bit at 15 degrees, creating a pocket hole that accepts a self-tapping pocket hole screw. Pocket hole joinery builds face frames, boxes, and furniture quickly without clamps or glue. Cost: $25-170 depending on model.
Drill press fence and stop:
A fence clamped to a drill press table positions holes at a consistent distance from the edge of each workpiece. A stop block on the fence positions holes at a consistent distance from the end. With fence and stop, a series of identical parts gets identical hole placement without marking each piece individually.
Router circle jig:
A router circle jig is a shop-built base plate with a pivot pin that allows the router to swing in a circle, cutting a perfect disk or circular cutout. Build from 1/4″ or 1/2″ MDF or plywood: extend the base plate to one side, drill a series of holes at measured distances from the bit center, and drive a screw through the appropriate hole as the pivot. Cutting circles from 3″ to 36″ diameter from a single jig.
Mortise jig:
A mortise jig holds a workpiece in a fixed position under a router and provides fence and depth stop for routing mortises. Commercial mortise jigs (Festool, Porter-Cable) are expensive but precise. Shop-built mortise jigs using clamps and fences are effective and free. Critical: the mortise must be centered on the workpiece thickness exactly — a jig ensures this without re-marking each piece.
Taper jig:
A taper jig for the table saw guides a board through the blade at an angle, cutting tapered legs and parts. The jig is adjustable for different taper angles. Build from two pieces of hardwood connected by a hinge at one end and an adjustable stop at the other — the angle between them determines the taper.
Milestone: For a first jig build: start with the crosscut sled. It produces immediate results, teaches jig-building principles, and is used on nearly every project.
Step 3: Building a Shop-Made Crosscut Sled
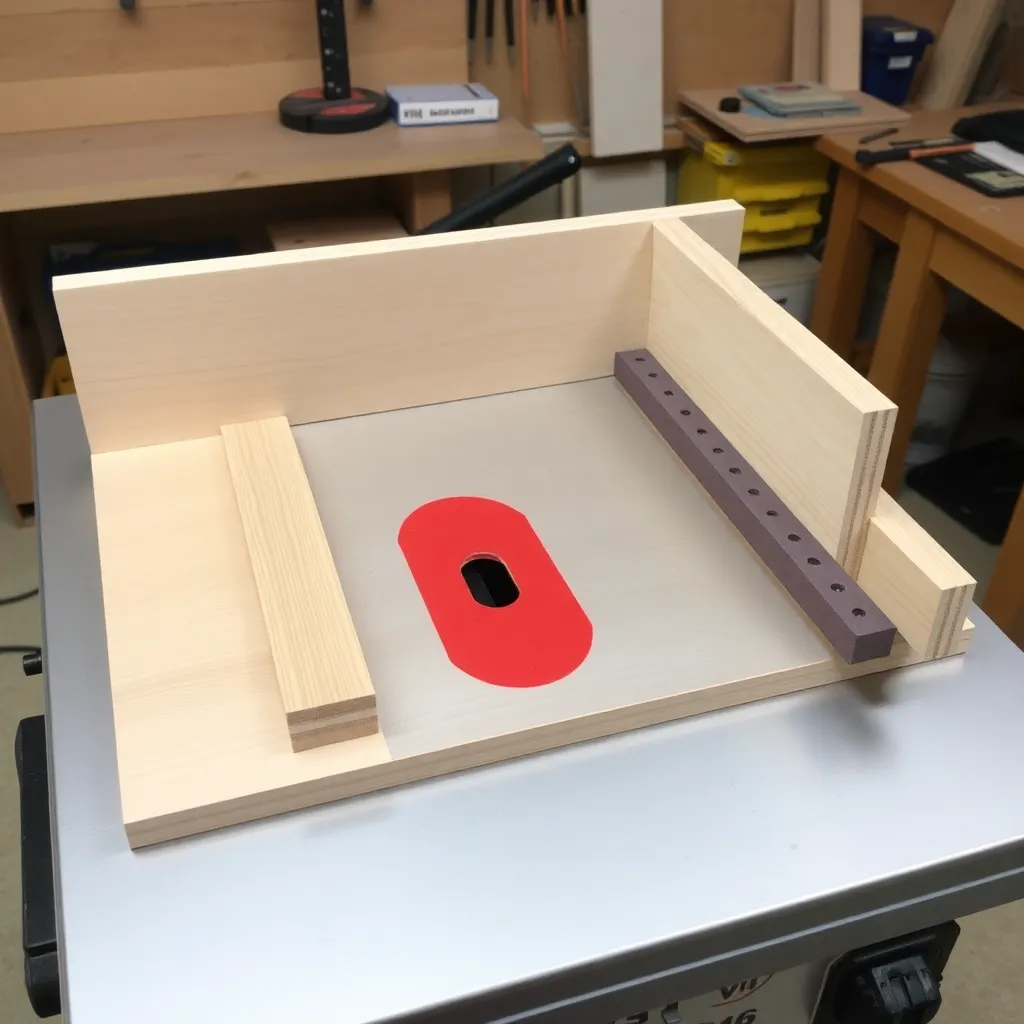
Goal: Build the most useful jig in the shop.
Materials:
- 3/4″ Baltic birch plywood, 24″×36″ minimum (sled base)
- Hardwood runners: 3/4″×3/8″ strips that fit the miter slots (or UHMW plastic strip)
- Hardwood for front and back fences: 3/4″×3″ stock, at least 24″ long each
- Screws (1-1/4″ and 1-5/8″), wood glue
Step-by-step:
1. Fit the runners: The runners must slide smoothly in the miter slots without side play. Test fit: the runner should slide without binding and without rocking side to side. Sand or plane to fit. Wax the runners and slots.
2. Attach runners to base: Set runners in the miter slots. Apply a thin bead of CA glue (super glue) to the top of each runner. Set the plywood base down onto the runners, press firmly, and let cure for 2 minutes. The base is now attached to the runners perfectly aligned to the slots. Reinforce with screws from above once cured.
3. Make the first cut: Push the sled through the blade to establish the kerf in the base. This is the reference line for squaring the back fence.
4. Square and attach the back fence: The back fence must be exactly perpendicular to the kerf. Use the 5-cut squaring method (cut 5 pieces and measure the cumulative error) for accuracy within 0.001″. Glue and screw the back fence to the base once verified square.
5. Attach the front fence: The front fence prevents the sled from tipping and adds rigidity. It doesn’t need to be perfectly square to the blade — it just supports the workpiece from the front.
6. Add stop block: A stop block clamps to the back fence to position repetitive cuts at exactly the same length from the blade.
Milestone: Test with the 5-cut method after attaching the back fence. Cut 5 pieces and measure: the last cut’s error equals 4 times the fence’s angular error. Adjust the fence until the error is under 0.010″ over 24″ — this is woodworking-quality square.
Step 4: Using Jigs Safely and Effectively
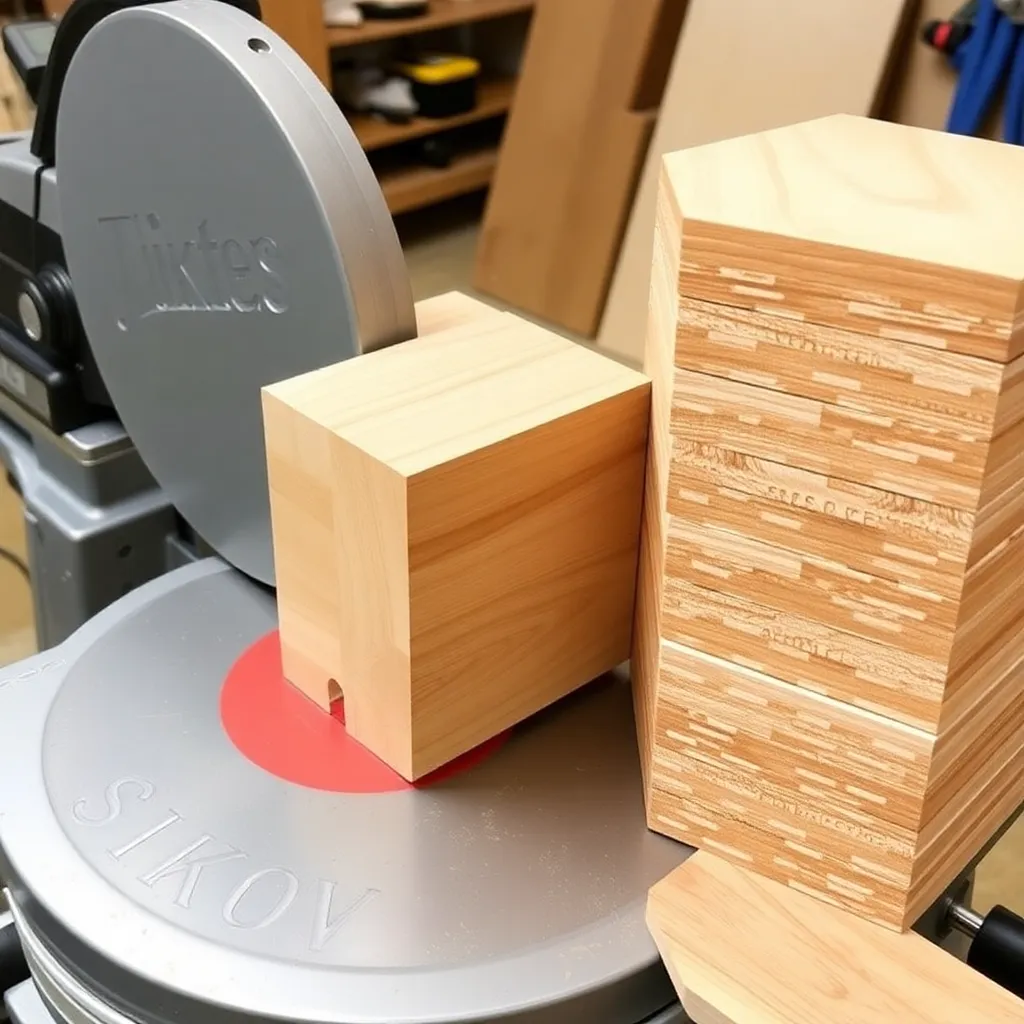
Goal: Get maximum value from jigs while avoiding common errors.
Verify before production:
Every jig produces consistent results — consistent right or consistent wrong. Always test a jig on scrap material before cutting actual workpieces. A pocket hole jig set for the wrong material thickness produces incorrect pocket angle; a circle jig with the pivot in the wrong hole cuts the wrong diameter. One test piece reveals the error; a production run of wrong pieces is waste.
Stop blocks for repetitive cuts:
Stop blocks are the jig within the jig. A stop block clamped to a fence positions each piece at exactly the same distance from the blade or bit — every piece in a series is cut to identical length without measuring. Use stop blocks for: cutting table legs to equal length, cutting shelf pins holes at equal spacing, cutting drawer parts to identical width.
Jig maintenance:
Wooden jigs expand and contract with humidity changes. Check a jig’s accuracy at the start of each use session — a crosscut sled that was perfectly square in dry winter may be slightly off after a humid summer. Re-square if needed. Store jigs flat to prevent warping.
Document jig settings:
Mark critical settings on the jig itself. A router circle jig should have the radius marked at each pivot hole. A taper jig should have the angle marked at each stop position. A drill press fence should have common positions penciled on the fence. This prevents having to re-derive settings each session.
Milestone: A well-maintained jig collection reduces setup time for common operations to seconds — grab the jig, clamp it, cut. The investment in jig building pays dividends on every subsequent project that uses the same operation.
Woodworking Jig FAQ
What is the most useful woodworking jig?
The most universally useful woodworking jig is the crosscut sled for the table saw. It makes accurate crosscuts on any workpiece width, accepts stop blocks for repetitive cuts to identical length, and is safer and more accurate than a miter gauge. After the crosscut sled: the Kreg pocket hole jig (for fast joinery), a router fence/straightedge (for guided router cuts), and a drill press stop and fence (for consistent hole placement). These four jigs cover the majority of accuracy and repetition problems in shop work.
What is the difference between a jig and a fixture?
In woodworking practice the terms are often used interchangeably, but technically: a jig guides a tool (the tool moves relative to the jig), while a fixture holds a workpiece in a fixed position (the workpiece stays still while the tool operates on it). A dovetail jig is a true jig — the router moves through it. A mortise fixture holds the workpiece while the router bit plunges into it. Most shop-made devices are hybrids that both guide the tool and hold the workpiece.
Can I make my own woodworking jigs?
Yes — shop-made jigs are a fundamental part of woodworking. Most simple jigs (straightedge fences, stop blocks, crosscut sleds, circle jigs) require only scrap plywood, a few pieces of hardwood, and basic hardware. The skills needed to build jigs (accurate measuring, square assembly, basic joinery) are the same skills used in general woodworking — jig building teaches and reinforces those skills. Start with simple jigs (a straight-edge fence for the router, a stop block for the miter saw) and progress to more complex ones (crosscut sled, box joint jig) as skills develop.
How accurate do woodworking jigs need to be?
Accuracy requirements depend on the operation. For joinery (mortise-and-tenon, dovetails, box joints): the jig should be accurate to 0.005″ or better — visible gaps in joinery are 0.010″ or larger. For crosscut sleds: 0.001″-0.005″ squareness error over 24″ produces nearly invisible errors in most furniture. For pocket hole jigs: the commercial Kreg jigs are factory-accurate and need no user calibration. For rough operations (dadoes for drawer bottoms, shelf pin holes): 0.020″-0.030″ accuracy is sufficient. The 5-cut test for crosscut sleds is the most rigorous jig calibration method in common woodworking use.

“DIY woodworking enthusiast who started with zero experience and a YouTube tutorial.
I build simple, practical projects for my home and share free plans
so other beginners can skip the guesswork.If I can build it, you can too.”