Part of: Woodworking Tools Guide →
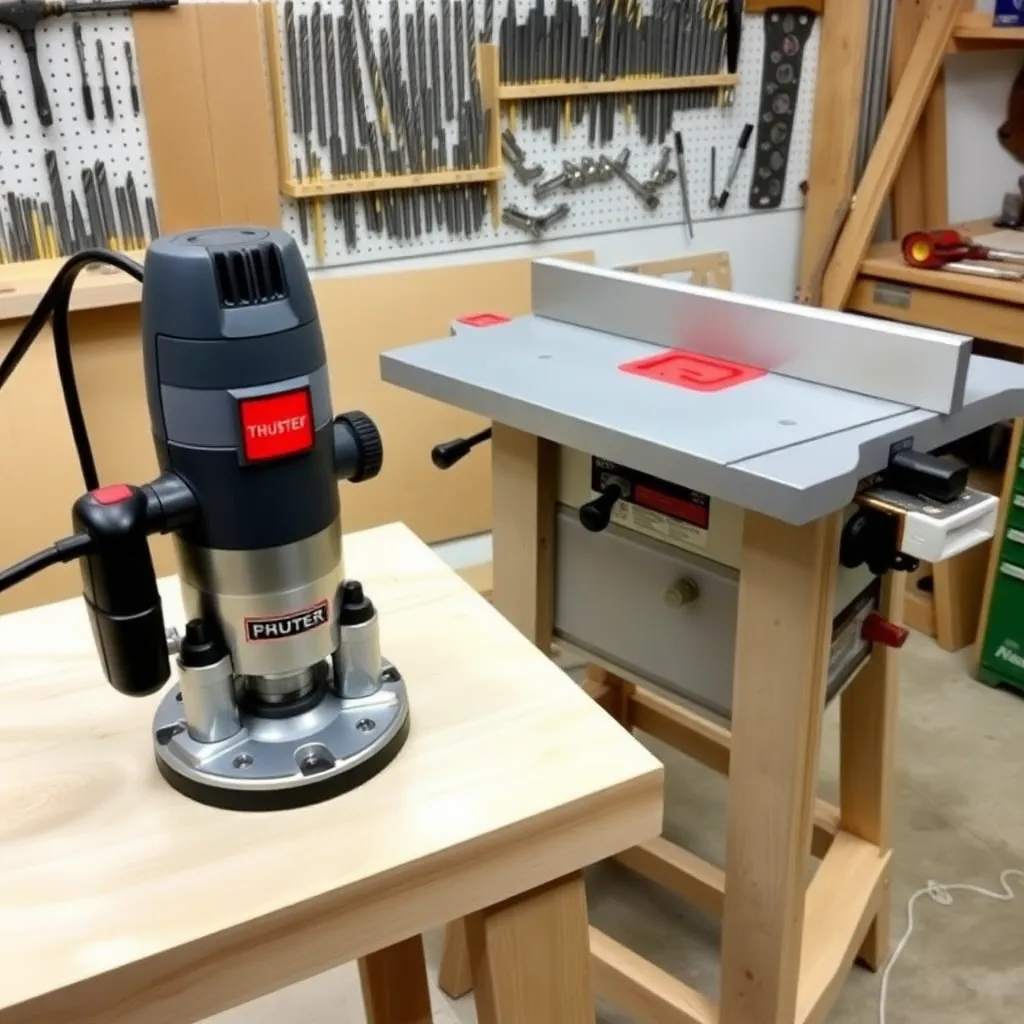
The wood router is one of the most versatile tools in any woodworking shop. In handheld form, it profiles edges, cuts dadoes, trims laminates, and follows templates. Mounted in a router table, it becomes a stationary tool for raised panel doors, cope-and-stick joinery, box joints, and consistent edge profiles. Understanding both modes — handheld and table-mounted — gives a woodworker access to a range of operations that would otherwise require multiple dedicated machines.
Ted’s Woodworking has 16,000+ plans that use router and router table joinery throughout. Browse Ted’s plans →
Router Table
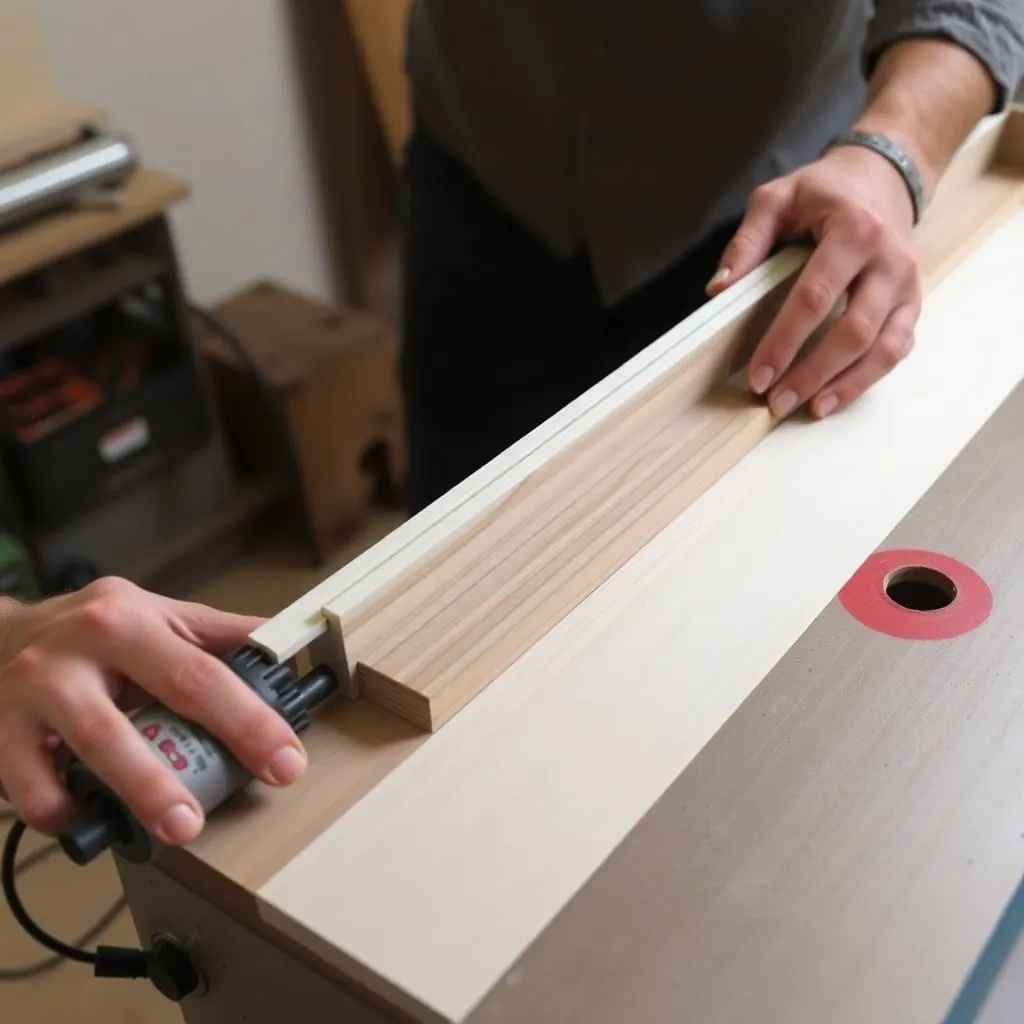
A router table mounts the router beneath a flat work surface so the bit protrudes upward through a hole in the table — the workpiece passes over the bit rather than under it. This inverted position adds two hands for workpiece control, adds a fence for precise depth control, and makes operations like raised panel doors and cope-and-stick joinery practical that would be difficult or dangerous with a handheld router.
What’s covered: choosing a router table configuration (benchtop vs freestanding vs table saw wing); router lift benefits; setting up and aligning the fence including featherboard placement; the most important router table operations (edge profiling, raised panel doors, cope-and-stick joinery, dadoes, box joints); feed direction and the danger of climb cutting; matching bit RPM to bit diameter; depth of cut per pass; and the pre-operation safety checklist.
Key principle: always feed right to left (conventional feed direction) at the fence — the workpiece feeds into the bit’s rotation, allowing controlled cutting. Feeding in the wrong direction creates a climb cut: the bit grabs and pulls the workpiece violently. Every router table operation begins with a test pass on scrap material identical to the workpiece.
Router Basics: Handheld Use
Fixed base vs plunge router:
A fixed-base router is set to a specific cutting depth before the cut begins and stays at that depth throughout the cut. It’s the correct choice for router table use, edge profiling, and any operation where the full depth is established before the cut starts. A plunge router has a spring-loaded base that allows the bit to be plunged into the material during the cut — required for starting cuts in the middle of a panel (mortises, interior dadoes) and useful for through-mortises. A combination kit (one motor, two bases) gives both capabilities at lower cost than buying two separate routers.
Collet size:
Use a 1/2″ collet whenever possible. The 1/2″ shank is 41% larger in cross-section than a 1/4″ shank — significantly stiffer, with less bit deflection under cutting load, producing smoother, more accurate cuts. Most quality router bits over 1″ diameter are available in 1/2″ shank only. Buy a router with both collet sizes (or interchangeable collets).
Handheld edge profiling:
For handheld edge profiling: feed direction is critical. On a straight edge, feed left to right when the router is between you and the workpiece (conventional feed — the bit’s rotation pulls the router into the workpiece edge). On interior routing (routing the inside edge of a frame), feed clockwise. Feeding in the wrong direction produces a climb cut. Use both hands on the router handles and keep the base flat on the workpiece surface throughout the cut.
Template routing:
With a template guide bushing or a flush-trim bit, a handheld router follows a template to reproduce a shape in the workpiece. The template is clamped or tacked to the workpiece; the bit’s bearing (flush-trim bit) or the bushing (template guide) rides against the template edge. Template routing produces identical shapes consistently — essential for chair legs, cabinet parts, and any part that requires multiples of the same profile.
Dadoes and grooves:
A straight bit in a handheld router cuts dadoes (across grain) and grooves (with grain) guided by a fence or straightedge clamped to the workpiece. Router dadoes are cleaner than many table saw dado cuts and don’t require a dado stack. For through-dadoes: make the cut in a single pass if under 3/8″ deep; for deeper dadoes, make multiple passes.
Router Bit Guide
Bit types for common operations:
- Straight bits: dadoes, grooves, mortises, rabbets, template routing. Available 1/8″ to 1-1/2″ diameter; use 1/2″ shank for anything over 1/2″ diameter.
- Spiral bits (up-cut and down-cut): cleaner cuts than straight bits. Up-cut spirals evacuate chips upward (good for through-cuts, mortises). Down-cut spirals push chips down (good for plywood top surfaces where tear-out is visible).
- Roundover bits: round the edge of a board to a specific radius (1/8″, 1/4″, 3/8″, 1/2″). The most common edge profile in furniture and cabinet work.
- Chamfer bits: cut a 45-degree bevel along an edge. Used for decorative chamfers and for easing sharp edges.
- Cove bits: cut a concave profile (cove) along an edge. Often combined with roundovers in multi-step profiles.
- Roman ogee bits: cut the classic S-curve profile used in traditional furniture and cabinet doors.
- Flush-trim bits: bearing-guided bit that trims one material flush to another — trimming laminate, template routing, trimming solid wood edging flush to plywood.
- Raised panel bits: large diameter bits (3″-4″) that cut the full raised panel profile in one or two passes on the router table. Require variable-speed router at reduced RPM.
- Cope-and-stick sets: matched pair (or reversible set) for cutting rail-and-stile door frame joints.
Buying bits:
Buy individual quality carbide bits (Freud, CMT, Whiteside) for operations you do regularly. Avoid cheap bit sets — the carbide quality and grind precision are poor, producing rough cuts and short bit life. One quality Freud roundover bit lasts longer and cuts better than a 15-piece set of economy bits.
Router and Table FAQ
What is a wood router used for?
A wood router is used for: edge profiling (cutting decorative or functional profiles along board edges); dadoes and grooves (slots across or with the grain for shelves, drawer bottoms, and panel grooves); mortises for mortise-and-tenon joinery; template routing (reproducing a shape using a template guide); trimming laminates and solid wood edging; and, when table-mounted, raised panel doors, cope-and-stick joinery, and box joints. It’s the most versatile tool in woodworking after the table saw — capable of operations that no other single tool can perform.
What size router should I buy?
For a first router: a 2.0-2.25 HP variable-speed router in a combination kit (fixed base + plunge base, one motor). This handles: all edge profiling, dadoes and grooves, template routing, and router table use with most bits. For router table use with raised panel bits: 2.25-3.5 HP is better — raised panel bits are large and require sustained torque. The 1-3/4 HP “compact” routers are excellent for edge work and template routing but may bog down on large router table bits and heavy routing.
How do I prevent router tear-out in wood?
Tear-out (grain lifting and tearing at the cut edge) is prevented by: (1) routing with the grain rather than against it where possible; (2) making light finish passes (1/16″ or less final depth); (3) using sharp bits — dull bits push fibers rather than cutting them; (4) using down-cut spiral bits on plywood top surfaces; (5) scoring the cut line with a marking knife before routing to sever the fibers before the bit reaches them. For routing end grain (the most tear-out-prone operation): make the end-grain cuts first, then the long-grain cuts — the long-grain cuts clean up any tear-out at the corners.
Do I need a router table or can I use a handheld router?
Many operations work well with either a handheld router or a router table; some strongly favor one approach. Handheld works better for: large panels (easier to bring the router to a panel than to feed a panel over a table); interior routing (mortises, interior dadoes); and template routing of irregular shapes. Router table works better for: narrow stock (safer than handheld on boards under 3″ wide); repetitive identical profiles (the fence maintains consistent depth without repositioning); raised panels; and cope-and-stick joinery. Own both capabilities: a router table for production and precision, a handheld setup for flexibility.

“DIY woodworking enthusiast who started with zero experience and a YouTube tutorial.
I build simple, practical projects for my home and share free plans
so other beginners can skip the guesswork.If I can build it, you can too.”