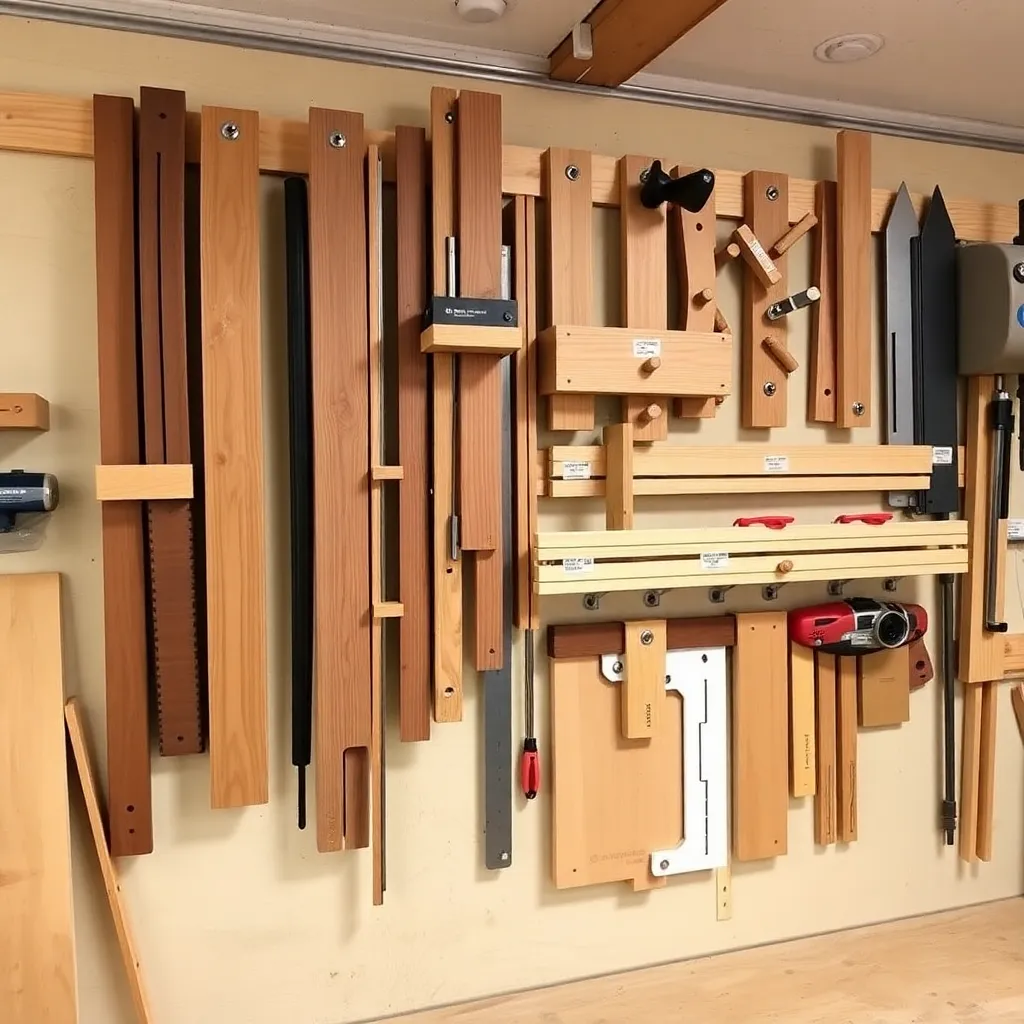
Part of: Woodworking Tools Guide →
Woodworking jigs are the secret behind consistent, repeatable work. A jig removes the need to measure and mark every piece individually — instead, the jig holds the position, guides the tool, or indexes the cut, and every piece comes out identical. Experienced woodworkers have a collection of jigs for their most common operations: a crosscut sled on the table saw, a circle jig for the router, a box joint jig, stop blocks everywhere. Building and using jigs well is what separates efficient, accurate woodworking from slow, variable work.
Ted’s Woodworking has 16,000+ plans, many with jig designs built right into the project instructions. Browse Ted’s plans →
For precision beyond jigs, see how CAD helps you plan woodworking projects.
Woodworking Jig
The foundation: what a woodworking jig is, why jigs are built, and how to use them effectively. Covers the three functions every jig performs (guides a tool, holds a workpiece, indexes repetitive cuts); commercial jigs vs shop-built jigs; when to build a jig vs cut individually; the essential jigs every woodworker should have (crosscut sled, pocket hole jig, circle jig, mortise jig, taper jig); step-by-step build instructions for the crosscut sled — the most useful shop jig; and the 5-cut squaring method for calibrating a sled to 0.001″ accuracy.
What’s covered in depth: the crosscut sled build from scratch (runners, base, squaring the fence using the 5-cut method); the pocket hole jig (Kreg) setup for different material thicknesses; shop-built circle jig for the router; mortise jigs; taper jigs for tapered legs; using stop blocks for repetitive cuts without remeasuring; jig maintenance and accuracy documentation.
Key principle: always test a jig on scrap before cutting actual workpieces. Jigs produce consistent results — consistent right or consistent wrong. A 2-minute test on scrap reveals any setup error before it ruins a production run of parts.
Essential Jig Types and Their Uses
Crosscut sled:
The table saw crosscut sled is the first jig to build. It’s a plywood base riding on hardwood runners in the miter slots, with a fence perpendicular to the blade. The sled supports the full width of the workpiece (unlike a miter gauge, which only contacts one edge), adds stop blocks for repetitive cuts, and is more accurate than any factory miter gauge. Building a sled takes 2-3 hours; it then serves for years on virtually every project.
Pocket hole jig:
The Kreg pocket hole jig is the most widely used commercial woodworking jig. It clamps a board and guides a stepped bit at 15 degrees to drill a pocket — a cavity that accepts a pocket hole screw and draws two pieces of wood together without clamps. Pocket hole joinery builds face frames, boxes, furniture carcasses, and drawer boxes quickly. The jig is adjusted for material thickness (1/2″, 3/4″, 1-1/2″) using a collar on the bit.
Featherboard jig:
A featherboard is a jig that presses the workpiece against the table saw fence or router table fence with spring pressure. Shop-built featherboards are a board with angled fingers cut into one end — the fingers flex and apply constant sideways pressure. The featherboard prevents the workpiece from drifting away from the fence mid-cut, producing a consistent depth of cut along the full length. Essential for table saw ripping and router table edge profiling.
Dado jig for the router:
A shop-built dado jig clamps to the workpiece and guides the router to cut a dado at exactly the right position. The jig is two fences clamped to the workpiece (one for each edge of the dado opening) with the router base riding between them. Used for cutting shelf dadoes in cabinet sides — the same jig positions the dado identically in both sides.
Box joint jig:
The box joint (finger joint) jig indexes each successive cut one finger-width from the previous. Built from a sled that rides in the miter slots (like a crosscut sled) with a key that fits into the previously cut slot and positions the workpiece for the next cut. Every cut is spaced exactly one finger-width from the last, producing a perfectly regular box joint pattern. Box joint jigs work on the table saw (dado blade) or router table (straight bit).
Drilling jig:
A drilling jig positions holes at consistent locations without measuring each piece. The simplest: a block of hardwood with a hole drilled through it at the correct position — clamp it to each workpiece and drill through the guide hole. Shelf pin holes in cabinet sides, hinge screw holes in door stiles, and dowel holes in frame joints are all practical applications for drilling jigs.
Building Your First Jig: Stop Block System
A stop block is the simplest jig and the most used. It’s a block of wood (or commercial clamp-on stop) attached to a fence that positions the workpiece at a fixed distance from the blade or bit. Every piece cut with the stop block in position is cut to exactly the same length.
Miter saw stop block: clamp a block to the fence of a miter saw at the measured distance from the blade. Every crosscut produces pieces of identical length. No measuring, no marking, no error accumulation.
Table saw stop block: clamp a block to the rip fence (set back from the blade to prevent the cut piece from being trapped between the blade and block) for repetitive rip cuts to the same width.
Router table stop block: position a stop block on the router table fence to stop the workpiece at a fixed position — for routing stopped dadoes, stopped chamfers, and any profile that ends before the end of the board.
A complete stop block system (blocks of various sizes, clamps that fit your fences) costs under $20 and saves hours on any project requiring multiple identical parts.
How to use jigs effectively: setup, safety, and expert tips
Proper jig setup is the foundation of successful results. Start by adjusting guides and stops to match your desired measurement, then secure both the jig and your workpiece firmly. Clamps should hold everything without flexing, and fences must align square to your tool’s motion. Always test your setup on scrap wood that matches the thickness and grain of your final material. This reveals any alignment issues or tearout problems before you commit to your good stock.
Follow this sequence for safe and accurate jig use:
- Measure and mark your workpiece clearly, even though the jig will guide the cut.
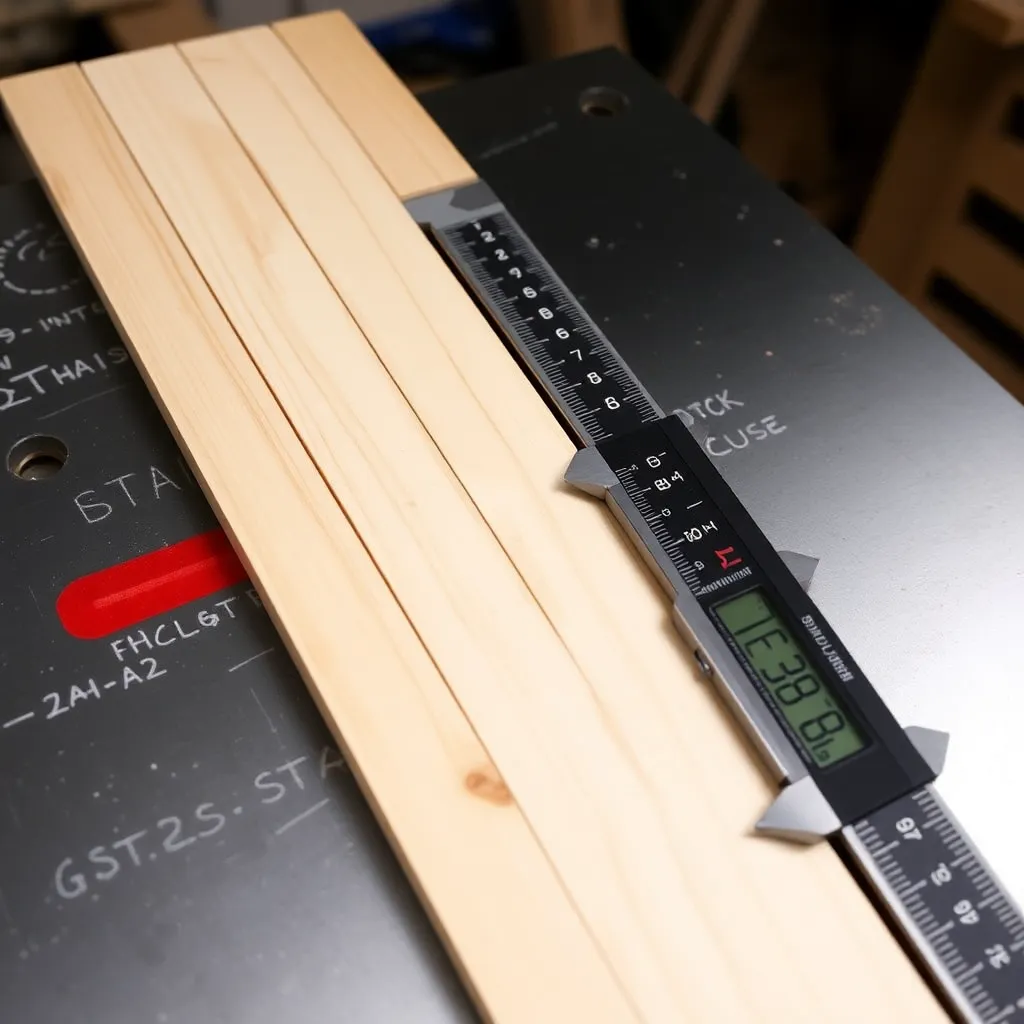
- Set up the jig with all adjustments locked and double-check measurements with calipers or a ruler.
- Clamp the workpiece securely, ensuring it sits flat against the jig’s reference surfaces.
- Run a test cut on scrap wood to verify the setup produces the intended result.
- Make your final cut with steady, controlled pressure, letting the tool do the work without forcing it.
- Inspect the result and adjust the jig if needed before moving to the next piece.
Pro Tip: Always use sharp router bits and saw blades when working with jigs. Dull cutters increase friction, produce rough surfaces, and make it harder to control the tool, defeating the precision advantage that jigs provide.
Jigs control tool motion and location via fences, guides, and clamps, and methodologies involve setup, testing on scrap, precise measurement, and sharp bits. This systematic approach minimizes common issues like tearout, where wood fibers splinter at the exit point of a cut. Backing boards clamped behind your workpiece support fibers and prevent tearout, especially when routing across end grain. Jigs also help manage wood movement by holding pieces firmly during cuts, preventing shifts that cause inaccurate results.
Safety extends beyond setup. Always wear eye protection and hearing protection when using power tools with jigs. Keep your hands clear of the cutting path by using push sticks or the jig’s built-in handles. Route dust collection hoses to your router or saw to maintain visibility and reduce airborne particles. Clean sawdust from the jig’s surfaces between cuts to prevent slipping and maintain accuracy.
Maintaining your jigs ensures longevity and consistent performance. Wipe down surfaces after each use to remove resin buildup. Check that screws and clamps remain tight, and replace worn guide bushings or fences promptly. Store jigs flat or hanging to prevent warping, especially if they’re made from plywood or MDF. For more foundational skills, explore woodworking tips for beginners and integrate jigs into your woodworking project workflow from day one.
Precision and craftsmanship: the real impact of jigs in woodworking
The measurable benefits of jigs go beyond convenience. They directly improve the quality and efficiency of your work. Consider the difference between routing a dado freehand versus using a router jig. Freehand routing relies on steady hands and visual estimation, often resulting in wavy edges and inconsistent depth. A router jig locks in the path and depth, producing a clean, uniform channel every time.
| Factor | Without Jigs | With Jigs |
|---|---|---|
| Precision | ±1/16 inch variation | ±1/64 inch or better |
| Material Waste | 20-30% from errors | Under 10% |
| Setup Time | Minimal | 10-15 minutes |
| Repeatability | Low, each cut varies | High, identical results |
| Skill Required | Advanced hand control | Intermediate with practice |
Dovetail jigs achieve 0.008 inch gap tolerances, and router jigs enhance accuracy by 85%, while jigs reduce waste and improve repeatability. These numbers translate to tighter joints, less sanding, and furniture that looks professionally made. For hobbyists, this precision means you can tackle projects like jewelry boxes or fine cabinets that demand exacting standards.
Good jig makers are good woodworkers. Investing time in jigs pays dividends in quality and reduces costly errors across every project.
This industry adage reflects a truth recognized by craftspeople at all levels. Jigs don’t replace skill, they amplify it. A beginner using a well-made dovetail jig can produce joints that rival those cut by hand after years of practice. Empirical tests confirm jigs enable professional results for DIYers and reduce material waste, making them essential for anyone serious about woodworking.
Pro Tip: Practice your jig setups on scrap wood until you can run through the process smoothly. This builds muscle memory and confidence, so when you work on your final pieces, the process feels automatic and stress-free.
Repeatability is where jigs truly shine. If you’re building a set of dining chairs, each leg, rail, and stretcher must be identical for the chairs to look and function properly. A tenoning jig ensures every tenon is cut to the same width and shoulder position, so assembly is straightforward and joints fit snugly. Without jigs, you’d spend hours measuring, cutting, and adjusting each piece individually, with inconsistent results.
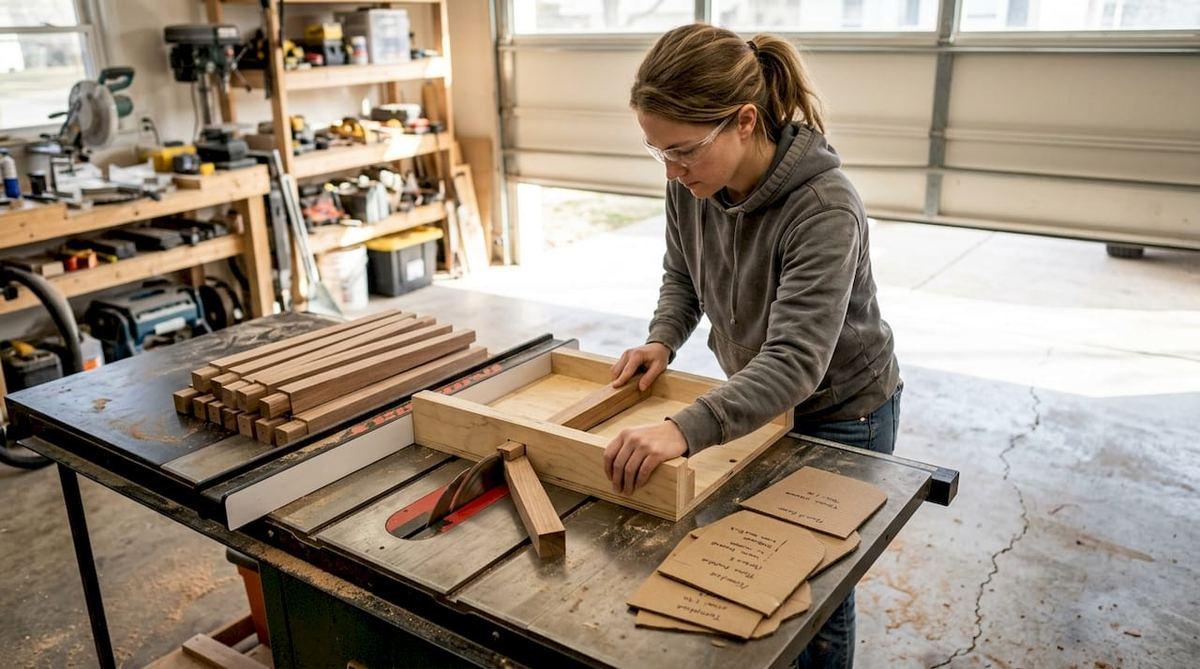
Jigs also enable craftsmanship techniques that would be impractical otherwise. Stopped dadoes, angled mortises, and compound miters all become manageable with the right jig. This expands your design possibilities and allows you to execute beginner woodworking projects with features typically reserved for advanced work. As you explore wood joinery methods, jigs will be your most reliable partner in achieving clean, strong connections.
Choosing and customizing jigs: buy vs. build considerations
Deciding whether to build your own jigs or purchase commercial ones depends on your goals, budget, and the complexity of the task. Building jigs offers several advantages. You can customize dimensions and features to fit your specific projects and shop layout. The process teaches you about tool mechanics and problem solving, deepening your understanding of woodworking principles. Homemade jigs are also cost effective, often requiring only scrap plywood, hardwood, and basic hardware.
Buying jigs makes sense when precision and time are priorities. Commercial dovetail jigs, for example, come with precision-machined templates and guide bushings that ensure perfect results out of the box. These jigs are tested and refined, eliminating the trial and error involved in designing your own. For complex joints or high-volume production, the time saved justifies the investment.
Here’s how to weigh your options:
- Cost: Building jigs uses inexpensive materials, while commercial jigs range from $50 to $300 or more.
- Skill Level: Beginners benefit from commercial jigs with clear instructions, while experienced woodworkers enjoy the challenge of custom builds.
- Precision: Commercial jigs offer factory precision, ideal for tight tolerances; homemade jigs work well for general tasks.
- Project Complexity: Simple jigs like crosscut sleds are easy to build, but specialized jigs like dovetail or mortising jigs are better purchased.
Some woodworkers prefer building all jigs for learning and customization, while others buy specialized jigs for precision and time savings. The adage about good jig makers being good woodworkers holds true because both approaches develop your skills and understanding.
Evaluate your personal woodworking style and goals. If you enjoy tinkering and have time to experiment, building jigs is rewarding and educational. If you’re focused on completing projects efficiently, buying proven jigs lets you concentrate on the creative aspects of woodworking. Many hobbyists adopt a hybrid approach, building simple jigs and purchasing specialized ones.
As you refine your woodworking project workflow, jigs become central to planning and execution. Whether built or bought, they’re tools that grow with you, adapting to new projects and techniques. For those just starting, reviewing woodworking tips for beginners alongside jig fundamentals creates a strong foundation for long-term success.
Woodworking Jigs FAQ
What woodworking jigs should a beginner make first?
Start with these in order: (1) a stop block for the miter saw — 15 minutes to make, immediate payoff on every project; (2) a crosscut sled for the table saw — 2-3 hours to build, used on nearly every project; (3) a router straightedge fence — a piece of MDF clamped to a workpiece to guide the router, 10 minutes to set up. These three simple jigs cover the most common accuracy and repetition problems. After these: consider a Kreg pocket hole jig (commercial, $25-50) for fast frame and box joinery.
Are woodworking jigs worth the time to build?
Yes, consistently. The time investment in a jig pays off whenever the jig is used more than a few times. A crosscut sled that takes 3 hours to build saves 10+ minutes of setup per project session for years — it pays off within the first month. A circle jig that takes 20 minutes to build produces perfect circles in minutes rather than the hour of layout and cutting it would take otherwise. Even single-use jigs (a one-time mortise setup, a specific taper cut) often save time by eliminating the need to carefully check each cut individually.
What materials are used to make woodworking jigs?
Most shop jigs are built from: 3/4″ Baltic birch plywood (flat, stable, consistent thickness — better than construction-grade plywood); MDF (flat and stable, good for router bases and sleds but heavy and not moisture-resistant); hardwood (for runners, fences, and wear surfaces — maple and oak are common for their hardness and stability); UHMW plastic (ultra-high molecular weight polyethylene — used for runners in miter slots because it slides smoothly and doesn’t swell with humidity changes). Hardware: T-track for adjustable fences and stop blocks, toggle clamps for holding workpieces, and carriage bolts with star knobs for adjustable components.
How do I make sure my jig is accurate?
The key to accurate jigs: measure twice, test on scrap before using on actual workpieces, and use reference measurements rather than accumulated measurements. For a crosscut sled: use the 5-cut method (cut 5 pieces and measure the accumulated error; divide by 4 to get the fence’s angular error) rather than just checking square with a try square. For router jigs: measure the distance from the bit to the fence edge with calipers rather than a tape measure. For drilling jigs: drill the guide hole in the jig with the drill press (the most accurate drilling method) rather than by hand. Document the calibration — tape a note to the jig with the date and accuracy check result so you know when it was last verified.

“DIY woodworking enthusiast who started with zero experience and a YouTube tutorial.
I build simple, practical projects for my home and share free plans
so other beginners can skip the guesswork.If I can build it, you can too.”