Part of: Hand Tools Woodworking Guide →
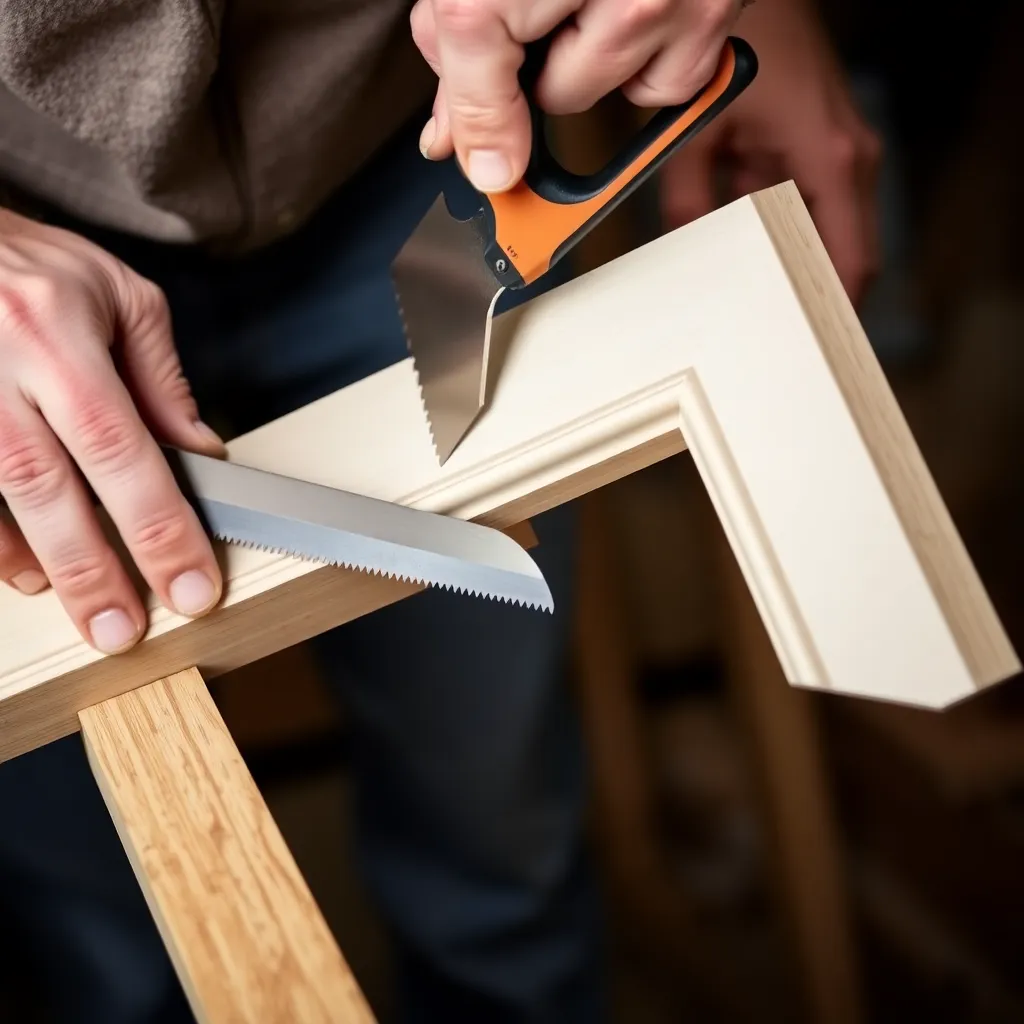
A coping saw is a small hand saw with a thin, narrow blade held in a C-shaped metal frame under tension. It cuts curves, shapes, and scrollwork in wood — and it’s the traditional tool for coping the profile of one molding piece to fit over another in an inside corner. Despite the availability of jigsaws and scroll saws, the coping saw remains in regular use because it’s inexpensive, portable, cuts in any direction, and handles coping operations and intricate cuts that require more control than a power tool provides.
Ted’s Woodworking has 16,000+ plans covering every hand tool and power tool technique. Browse Ted’s plans →
Step 1: Understand Coping Saw Anatomy and Blade Selection
Goal: Know the parts of a coping saw and how to choose the right blade.
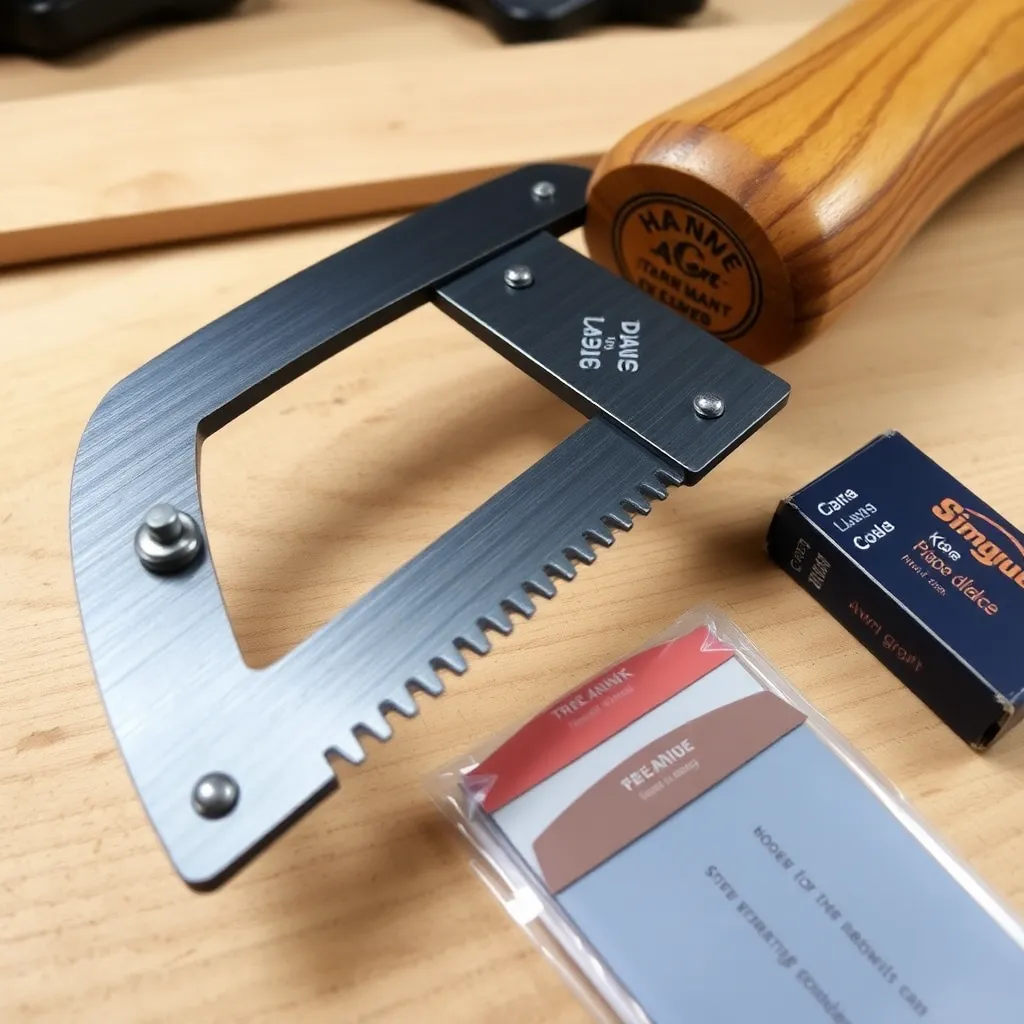
Coping saw anatomy:
- Frame: The C-shaped metal frame that holds the blade under tension. The frame’s depth (distance from blade to spine) determines how far from an edge the saw can cut.
- Blade: A thin, narrow blade with teeth along one edge. Typical blade length is 6-1/2″. The blade is pinned at both ends and can be rotated in the frame for cutting in different directions.
- Tension: The handle screws in or out to increase or decrease blade tension. Correct tension keeps the blade tracking straight and prevents it from buckling during the cut.
- Blade rotation: The pins at each end of the blade allow the blade to be rotated independently of the frame — 360 degrees at each end. This allows cutting in any direction without moving the workpiece.
Blade selection:
Coping saw blades are sold by TPI (teeth per inch):
- 10-15 TPI: Aggressive cut for fast material removal in softwood and medium hardwoods.
- 18-24 TPI: Fine cut for scrollwork and molding profiles in hardwood.
- 32 TPI: Very fine cut for delicate work and thin materials.
For coping molding (the primary woodworking use): 15-18 TPI produces a clean enough cut to fit directly against the adjacent molding piece.
Blade direction:
The teeth can point toward the handle (cut on the push stroke) or away (cut on the pull stroke). Traditional coping saws cut on the pull stroke — the blade is under tension on the pull, which prevents buckling. Japanese-style coping saws cut on the pull stroke by default. When coping molding: pull-stroke cutting gives more control.
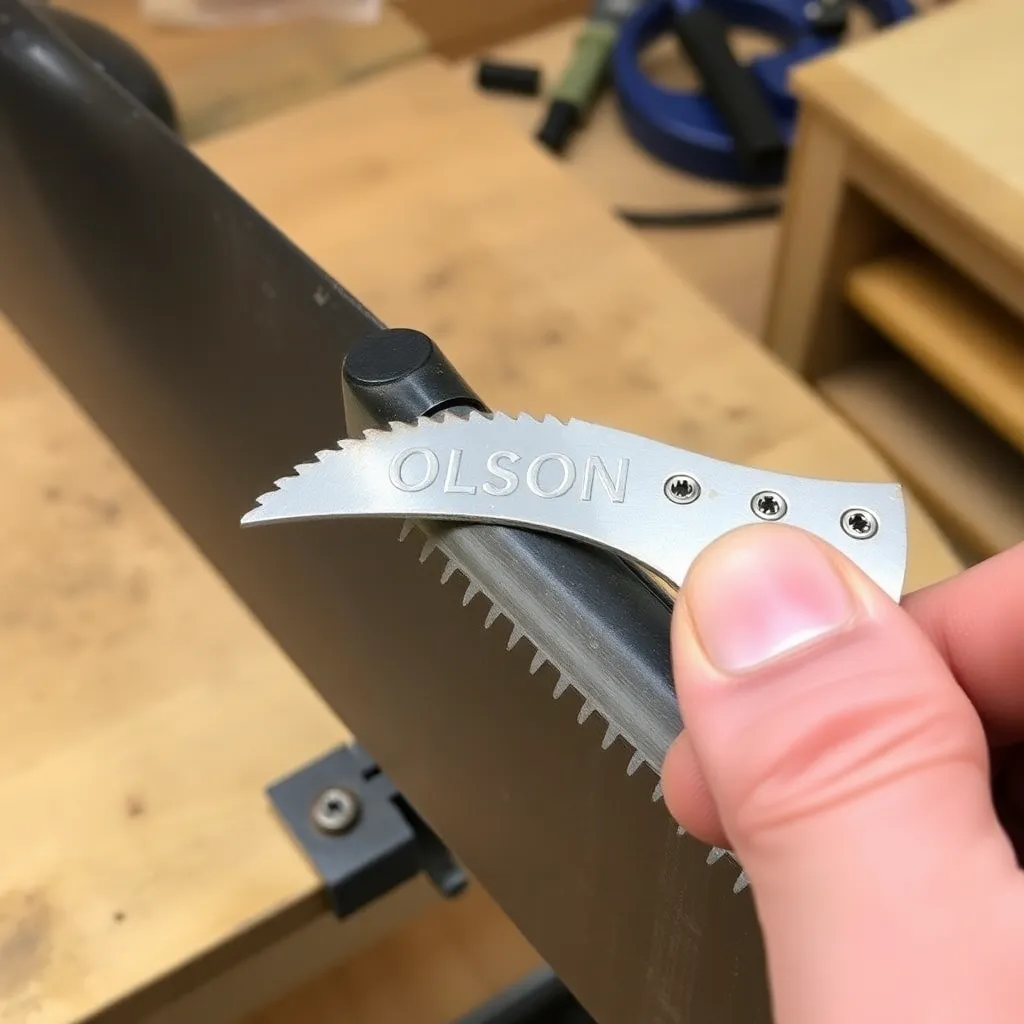
Milestone: For woodworking use: buy quality blades (Olson, Pégas) rather than the blades included with budget saws. Quality blades stay sharp longer and track more accurately.
Step 2: Use a Coping Saw to Cope Molding
Goal: Cope a piece of baseboard or crown molding for an inside corner joint.
What is coping:
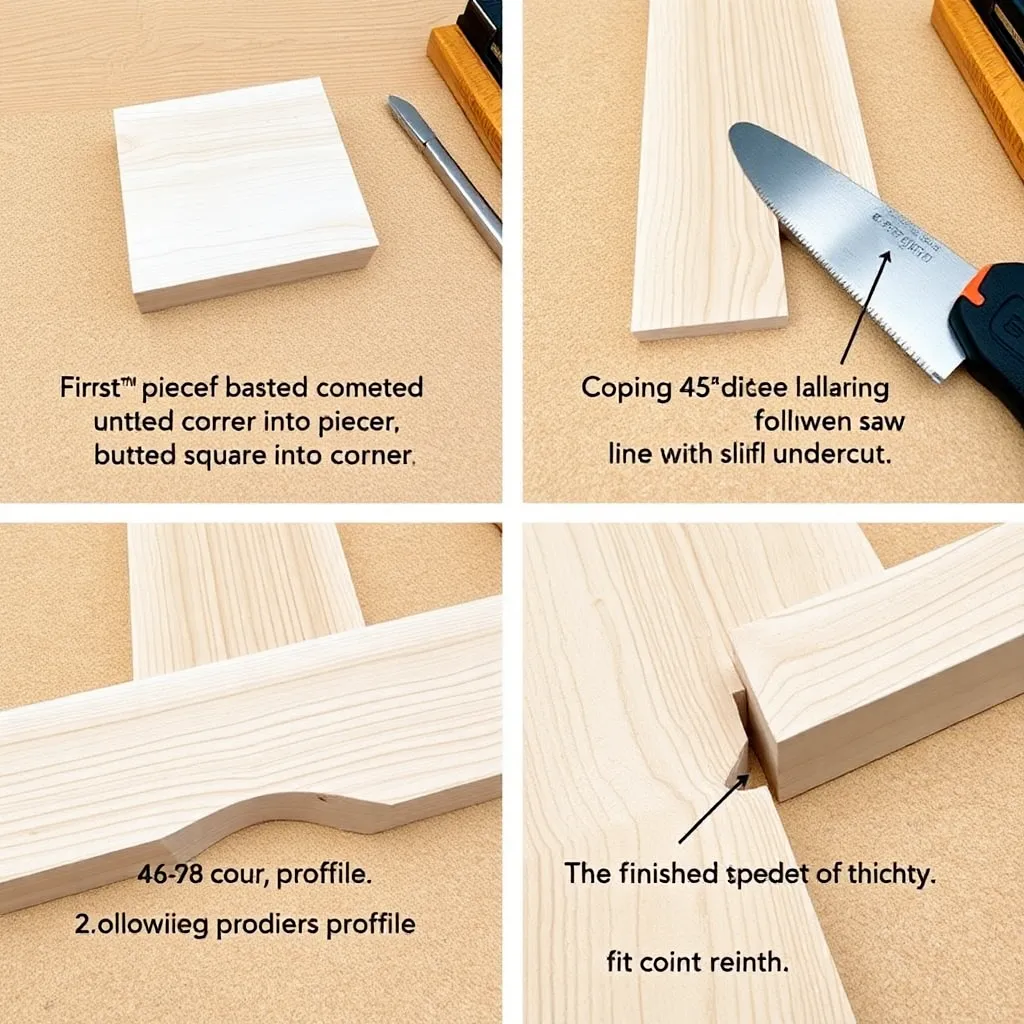
Coping is cutting one piece of molding to follow the profile of an adjacent piece. At an inside corner, instead of mitering both pieces (which opens gaps as wood moves), one piece runs straight into the corner with a square cut; the second piece is coped — its end is cut to follow the exact profile of the first piece. The coped end slips over the face of the square-cut piece, fitting tightly regardless of corner angle or wood movement.
Why cope instead of miter inside corners:
Mitered inside corners open up over time as wood expands, contracts, and the house settles. The gap that appears at an inside miter is one of the most common trim complaints. A coped joint doesn’t open because it fits over the face of the adjacent piece — any movement just slides the coped piece along the square piece rather than opening a gap.
Step-by-step coping process:
1. Cut the first piece of molding with a square cut at the corner end — it butts straight into the corner.
2. Install and nail the first piece.
3. Cut the second piece at a 45-degree miter (as if making an inside corner miter). This cut reveals the exact profile of the molding on the cut face.
4. Using the revealed profile as a guide, cut along the profile line with the coping saw, undercutting slightly (tilting the coping saw blade back 5-10 degrees from vertical so only the front face contacts the adjacent piece).
5. Test fit the coped piece against the installed piece — the coped profile should slip over the face of the installed molding with no gaps.
6. Fine-tune with a rasp, file, or sandpaper if needed.
The undercut:
The slight back angle on the coping cut is critical — if the cut is perfectly vertical, any small error in the profile produces a gap visible from the front. An undercut means only the front edge of the coped piece contacts the adjacent molding; the rest clears. Small errors in the cut are hidden behind the front contact line.
Milestone: A correctly coped joint shows no gap from the front view and requires no caulk to look tight. Test by pushing the coped piece against the installed piece — it should close tightly along the full profile with light finger pressure.
Step 3: Cutting Curves with a Coping Saw
Goal: Cut smooth curves in wood for scrollwork and shaped parts.
Marking the curve:
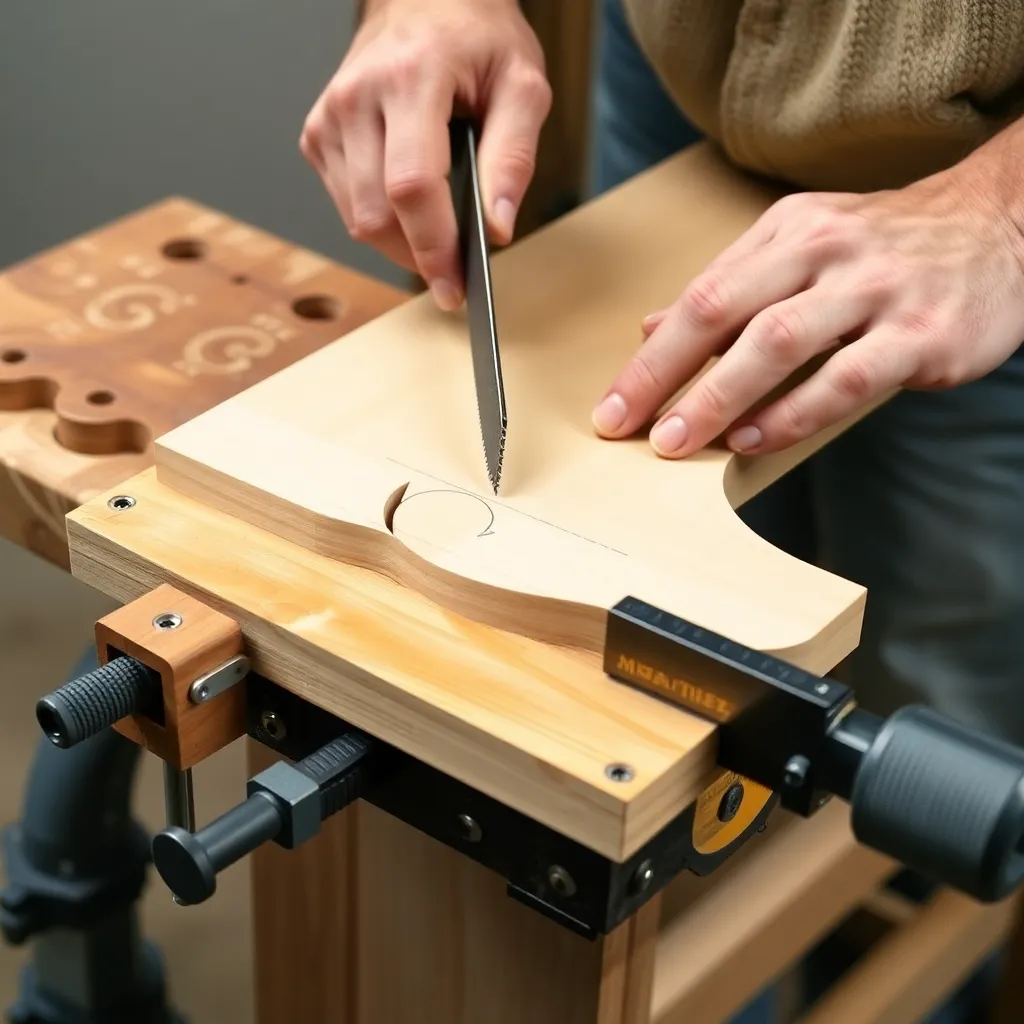
Draw the curve clearly with a pencil — use a compass, french curve template, or flexible ruler for smooth, fair curves. The layout line is what the blade follows; a poorly drawn curve produces a poorly cut result.
Starting the cut:
For internal cuts (cutting a shape out of the middle of a piece rather than from an edge): drill a blade-entry hole inside the waste area. Disconnect one end of the blade from the frame, thread the blade through the hole, and reconnect it. Now the saw can cut the interior shape.
Feeding technique:
Keep both hands on the saw — one on the handle, one steadying the far end of the frame. Feed slowly, letting the blade cut rather than forcing it. Keep the blade perpendicular to the work surface (don’t tilt). Turn the workpiece as needed to keep the cut approaching the layout line at a comfortable angle — it’s easier to turn the workpiece than to redirect the saw mid-cut.
Tight corners:
For tight inside corners in scrollwork: make a relief cut straight into the corner from the nearest edge, then approach the corner from each side. The relief cut allows waste to fall away and the blade to pivot at the corner without binding.
Blade rotation for direction changes:
To change cutting direction significantly (more than 45 degrees) without moving the workpiece: rotate the blade in the frame. Loosen the handle, rotate the blade pins to the new direction, re-tension. This allows cutting in any direction relative to the frame — the frame can even be oriented sideways for cuts deep into a panel where the spine would otherwise limit reach.
Milestone: After cutting, check the cut edge against the layout line — it should be within 1/16″ along its full length. Any deviation can be cleaned up with a rasp, file, or sandpaper.
Step 4: Maintenance and Care
Goal: Keep the coping saw and blades in good condition.
Blade replacement:
Coping saw blades are inexpensive consumables — replace them when they feel dull (require significantly more force) rather than trying to sharpen them. A dull blade wanders and produces ragged cuts; a sharp blade tracks smoothly with minimal force. Keep a pack of replacement blades in the shop.
Tension adjustment:
Correct blade tension is slightly tighter than feels necessary. An under-tensioned blade buckles under cutting pressure and cuts curves even on intended straight cuts. An over-tensioned blade may snap. Test: push the blade sideways with a finger — it should deflect 1/8″ to 3/16″ under moderate pressure. Adjust the handle until this tension is achieved.
Frame care:
The frame needs no maintenance beyond keeping it clean and free of sawdust. Inspect the blade pins periodically — worn or cracked pins can cause blades to slip or break during use. Replace the saw if the pins are damaged.
Milestone: A well-maintained coping saw with a sharp blade follows layout lines accurately and cuts smoothly with a comfortable pace. Any tendency to wander, require excessive force, or produce ragged cuts indicates a blade replacement is due.
Coping Saw FAQ
What is a coping saw used for?
A coping saw is used primarily for: (1) coping molding — cutting one piece of baseboard, crown, or casing to fit over the face of an adjacent piece at an inside corner (the traditional inside corner joint that doesn’t open up with wood movement); (2) cutting curves and scrollwork in wood; (3) cutting internal shapes (by threading the blade through a drilled hole). In modern trim carpentry: the coping saw is the standard tool for coping baseboard inside corners — it produces a joint that’s more durable than any mitered inside corner.
What is the difference between a coping saw and a jigsaw?
A coping saw is hand-powered, slow, very precise, and cuts in any direction regardless of the frame’s orientation. A jigsaw is power-operated, faster, and cuts curves efficiently but has limited direction control (the blade always cuts perpendicular to the base plate). For coping molding: the coping saw is preferred — its slow, controlled cut follows the molding profile precisely. For rough curve cutting in thick material: the jigsaw is faster. Professional trim carpenters use both — jigsaw for rough shaping, coping saw or miter saw for final profile cuts.
How tight should a coping saw blade be?
The blade should be tight enough that it deflects 1/8″ to 3/16″ under moderate finger pressure from the side. Looser than this: the blade buckles during cutting and wanders from the layout line. Tighter than this: risk of snapping the blade, especially on tight curves. Adjust tension by turning the handle — clockwise increases tension on most designs. New blades may need re-tensioning after a few minutes of use as the pins seat fully.
Can a coping saw cut hardwood?
Yes — a coping saw cuts hardwood efficiently with the correct blade. Use a higher TPI blade (18-24 TPI) for hardwood — fewer teeth per inch (coarser blades) tend to wander in dense hardwood grain. Feed more slowly than in softwood and let the blade do the work without forcing. Very hard species (ebony, lignum vitae) are slow going with any hand saw — for production curve cutting in hardwood, a scroll saw or bandsaw is more efficient.

“DIY woodworking enthusiast who started with zero experience and a YouTube tutorial.
I build simple, practical projects for my home and share free plans
so other beginners can skip the guesswork.If I can build it, you can too.”