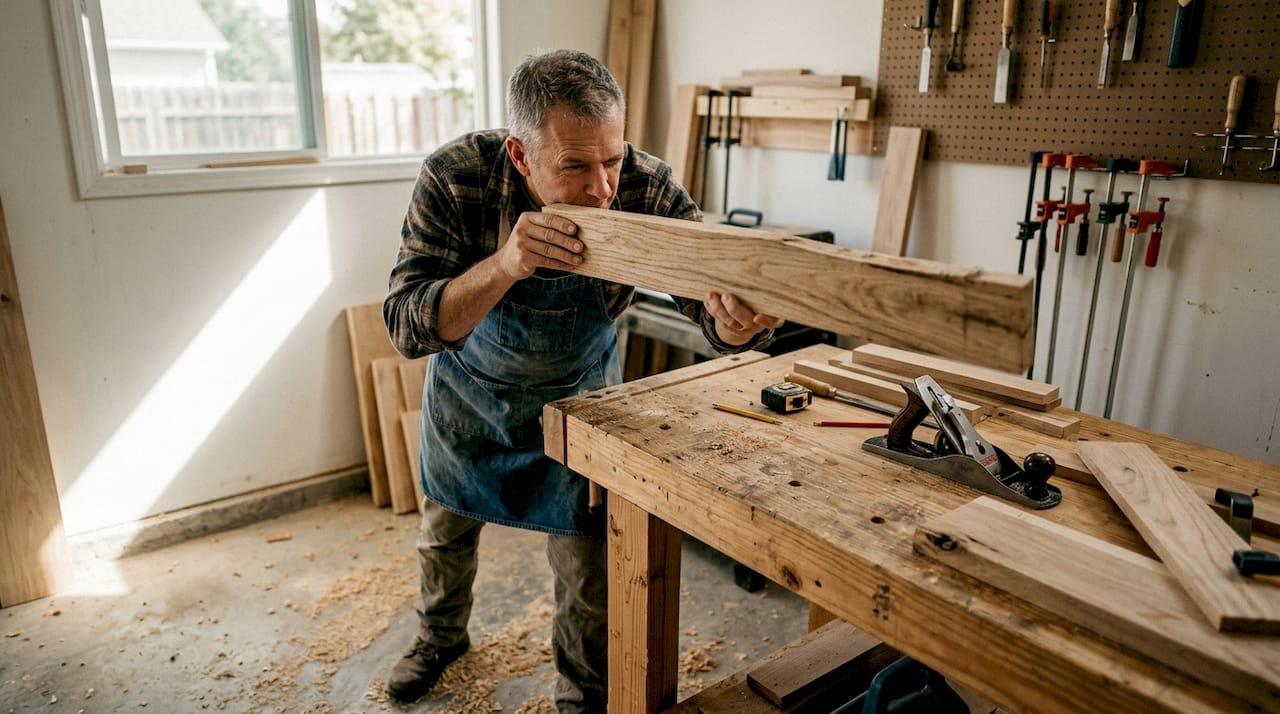
You milled a board dead flat on Tuesday. By Thursday it rocks on the bench like a seesaw, cupped across its width, useless for the panel you had planned. Or worse: the tabletop you sweated over, sanded to 220, and finished until it glowed cupped three weeks after it left your shop. That specific frustration, the sense that the wood betrayed you after you did everything right, is why you are here.
Here is the short answer to why does wood warp: wood is hygroscopic. It constantly trades moisture with the air, swelling when the air is damp and shrinking when it is dry, and it never fully stops. Warp is what you see when that swelling and shrinking happens unevenly across a board. One face dries faster than the other, or the wood shrinks more in one direction than another, and the board bends to relieve the imbalance.
You will learn what drives warp at the cellular level, how to identify all five warp types in ten seconds, which species warp most and why, how to measure moisture and acclimate lumber for your climate, and how to prevent warp in storage. Then the part most guides skip: step-by-step methods to flatten cupped, bowed, and twisted boards you already own.
What Causes Wood to Warp: Moisture, Grain, and the Fiber Saturation Point
Wood does not shrink at all until it dries below roughly 28% moisture content. Above that threshold, water leaves the wood with zero change in dimension. You can pull a green board from 60% MC down to 30% MC and it will not move a hair. That threshold has a name, and it explains almost everything about warp.
Hygroscopy and equilibrium. Wood always moves toward equilibrium moisture content (EMC), the moisture level it reaches when it stops trading water with the surrounding air. Leave a board in a dry heated shop and it gives up moisture until it matches that room. Move it to a damp basement and it drinks moisture back. This exchange never ends, which is why solid wood furniture moves seasonally for its entire life.
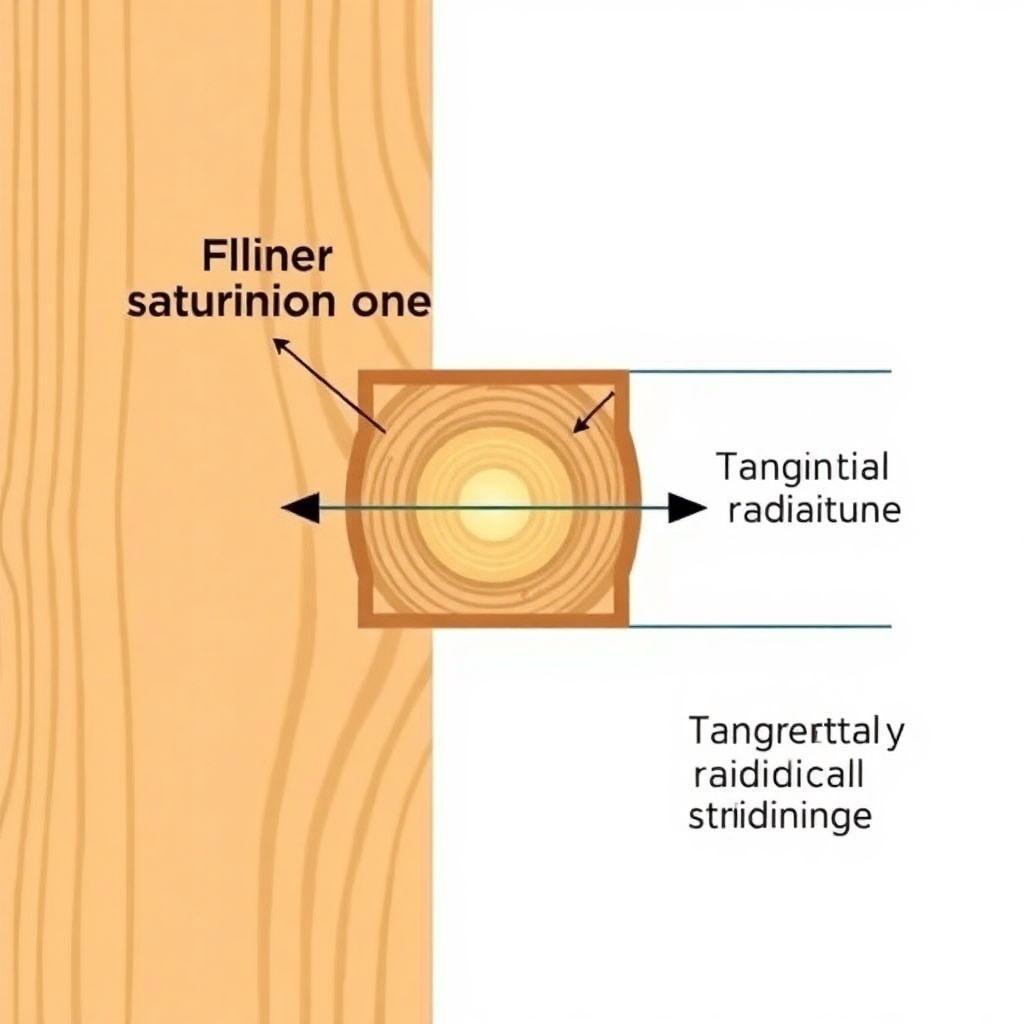
The fiber saturation point. Wood holds water two ways: free water sitting in the hollow cell cavities, and bound water locked inside the cell walls. Free water leaves first, and losing it costs you no shrinkage. Only when the cavities empty and bound water starts leaving the cell walls does the wood begin to shrink. That transition sits around 28% MC and is called the fiber saturation point (FSP). Every dimensional change you care about happens below it.
Anisotropic shrinkage. Wood does not shrink equally in all directions. It shrinks roughly twice as much tangentially (along the growth rings) as it does radially (across them), and almost not at all along its length, under 0.2%. This uneven behavior is the engine of warp. When one part of a board shrinks more than the part beside it, the board has no choice but to curve. The ratio between tangential and radial shrinkage, the T/R ratio, predicts how badly a species will misbehave.
What triggers the imbalance. Uneven drying is the usual culprit: one face exposed to sun while the other sits against concrete, a board leaned against a wall so airflow hits only one side, kiln stresses baked in at the mill, or a fresh finish sealing one face while the other breathes. Give a board an uneven moisture gradient and it will warp to match. Which warp you get depends on grain and geometry, covered next.
The 5 Types of Wood Warp: Cup, Bow, Twist, Crook, and Kink
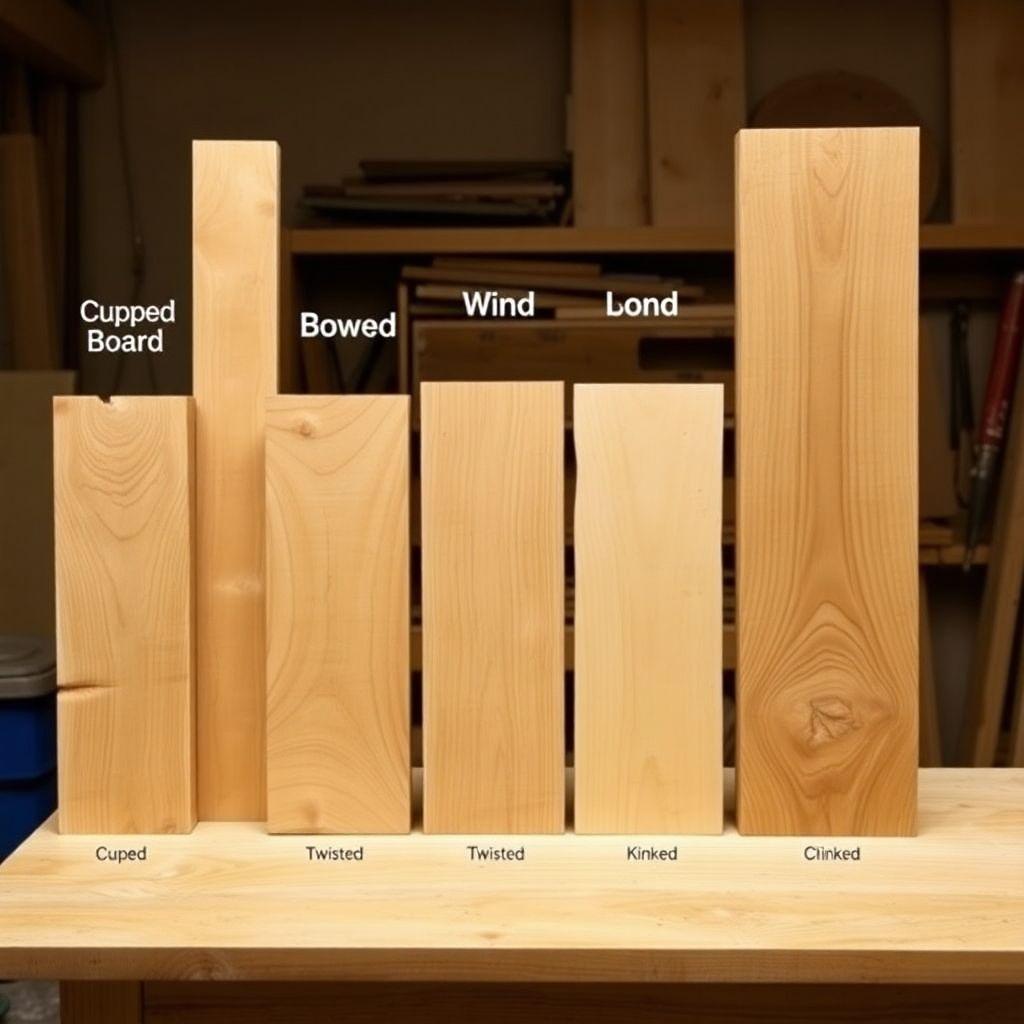
Lay the board on a known-flat surface, put a hand on one corner, and press. Watch which way it rocks and where it lifts. In about ten seconds you can name the warp and know whether it is worth saving.
| Type | Shape / description | Primary cause | Fixable? |
|---|---|---|---|
| Cup | Edge-to-edge curl across the width | Moisture differential between faces | Yes, easily |
| Bow | End-to-end curve along the face | Uneven lengthwise drying, poor stacking | Yes, jointer |
| Twist | Corners lift out of plane (propeller) | Spiral/interlocked grain, reaction wood | Hardest |
| Crook | End-to-end curve along the edge | Grain runout, uneven edge drying | Usually rip around |
| Kink | Localized bend at a knot | Knot | Cut it out |
Cup is a curl across the width, edge to edge, so the board looks like a shallow trough. It comes from one face losing or gaining moisture faster than the other, and it is most common in flat-sawn boards and tabletops. It is also the most fixable warp you will meet.
Bow is a curve along the length of the face, like a ski. The board stays flat across its width but lifts at both ends when you press the middle. Poor stacking and uneven lengthwise drying cause it. A jointer pulls most bows flat.
Twist, sometimes called wind, is when the four corners no longer sit in the same plane, giving the board a propeller shape. It usually traces back to spiral or interlocked grain, or to reaction wood that grew under stress. Twist is the hardest warp to correct and the most likely to come back.
Crook, also called crown, is a curve along the edge rather than the face, so a straightedge laid on the edge shows a gap. Grain runout and uneven edge drying cause it. You rarely flatten a crook; you rip a straight strip out of it.
Kink is a sharp localized bend, almost always at a knot where the grain swirls. There is no flattening it. Cut the knot out and use the clear pieces.
Cup, bow, and twist all get full step-by-step fixes in the flattening section below.
Which Woods Warp Most? Species Stability and T/R Shrinkage Ratios
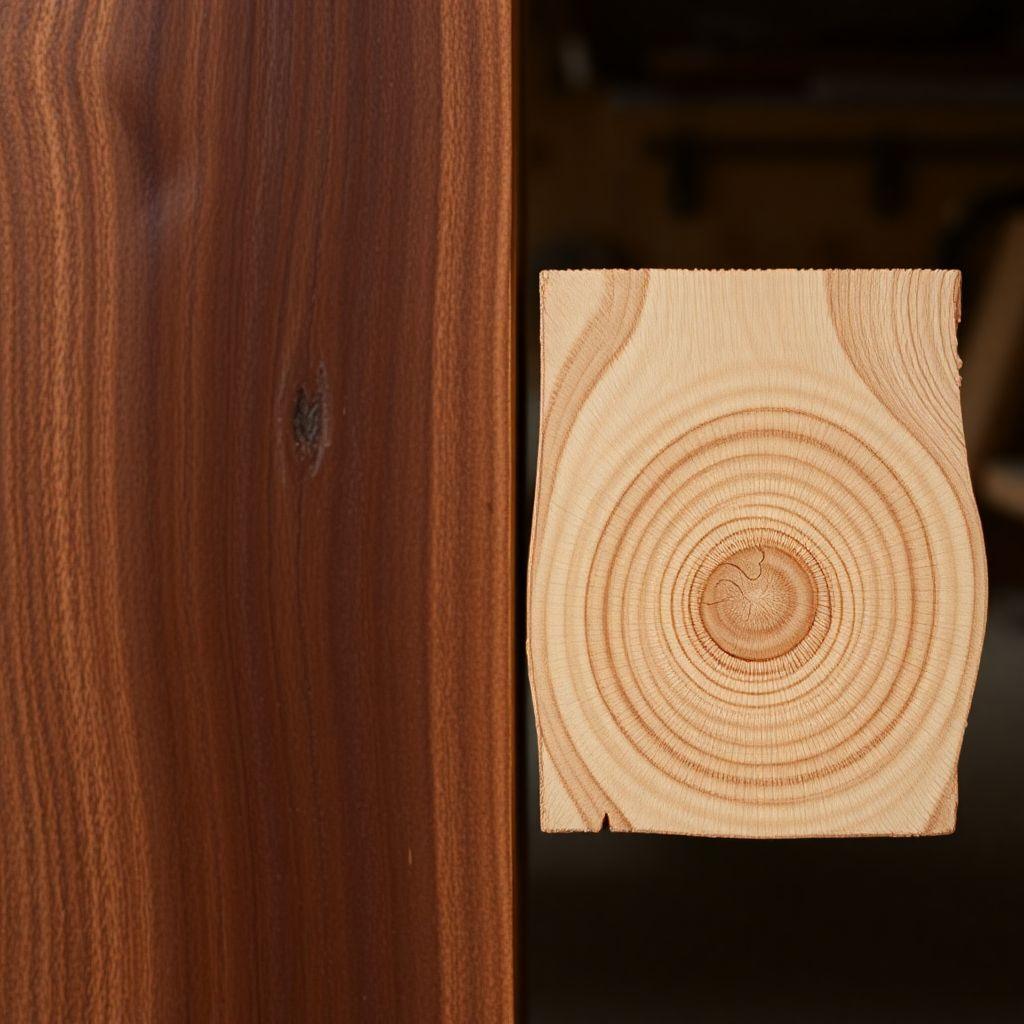
Eastern white pine (T/R ratio 2.9) is more than twice as warp-prone as black walnut (T/R 1.4). The single number that predicts this is the tangential-to-radial shrinkage ratio, and almost no woodworker checks it before buying.
The logic is simple. A board shrinks more tangentially than radially no matter what. The bigger the gap between those two numbers, the more lopsided the shrinkage, and the harder the board fights to stay flat. A low T/R ratio means the two directions shrink at nearly the same rate, so the board moves evenly and holds its shape. A high ratio means trouble.
| Species | T/R ratio | Stability |
|---|---|---|
| Mesquite | 1.1 | Most stable |
| Black Walnut | 1.4 | Very stable |
| True Mahogany | 1.4 | Very stable |
| White Oak | 1.9 | Moderate |
| Sugar Maple | 2.1 | Moves noticeably |
| Teak | 2.3 | Moves noticeably |
| Black Oak | 2.5 | Warp-prone |
| Eastern White Pine | 2.9 | Most warp-prone |
Quartersawn lumber sidesteps the T/R problem entirely. When a board is quartersawn, the growth rings run roughly perpendicular to the face, so the stable radial direction faces up instead of the volatile tangential one. Quartersawn stock moves about half as much as flat-sawn from the same log and cups far less. You pay more per board foot, and for a wide tabletop or a door panel it is often worth every cent.
This also explains the box-store pine problem. Construction and shelving pine is usually eastern white or a similar softwood with a high T/R ratio, flat-sawn for yield, and dried fast. That combination is why a pine board can look flat on the rack and cup within a week of coming home to your shop.
How to Measure Moisture and Acclimate Wood by Climate Zone

You did everything right and the piece still moved, because the wood sat at 12% MC when your shop lives at 8%. It kept drying after you built it, and the joinery paid the price. A moisture meter turns this from guesswork into a number.
Choosing a moisture meter. The market splits into pin meters, which push two probes into the wood, and pinless meters, which read through a flat sensor with no holes.
| Type | Price | Best use |
|---|---|---|
| Budget pin (e.g. General) | $25-$40 | Leak detection and rough checks only |
| Mid-range pin | $150-$350 | Reliable species-corrected readings |
| Entry pinless | $50-$100 | Quick surface scans, no holes |
| Precision pinless (e.g. Wagner Orion 910) | ~$400 | Accurate readings on finished/valuable stock |
Budget pin meters have their place, but keep expectations low. Cheap units like the General are good for leak detection and telling wet from dry; do not trust them to the tenth of a percent. Pin meters read moisture at the depth of the pins and leave holes. Pinless meters read a broader zone below the surface without marking the wood, but they need a flat face and are fussy about density. For most furniture work a good pinless or a mid-range pin meter earns its keep.
Know your climate’s EMC. Equilibrium moisture content depends on where you live. The US average is around 8% at 40-45% relative humidity, but the spread is huge. Las Vegas sits near 5.9%, coastal Quillayute, Washington runs about 17.3%, and the Midwest lands anywhere from 12.4% to 14.9% depending on season. Build for your shop, not the mill’s.
How to acclimate. Sticker the lumber (stack it with spacers between boards for airflow) and let it rest in your shop for one to two weeks or longer. Measure every few days until the reading stops changing and matches your shop’s EMC. For indoor furniture in a heated home, target roughly 6-8% MC before you cut a single joint.
The movement math. Flat-sawn stock moves about 1/4″ per 12″ of width across a full seasonal humidity swing; quartersawn moves about 1/8″ for the same width. A 24″ flat-sawn oak tabletop can expand and contract close to 1/2″ over the year. Design for that movement, because you cannot stop it.
How to Prevent Wood Warping: Storage, Stacking, and Sticker Rules
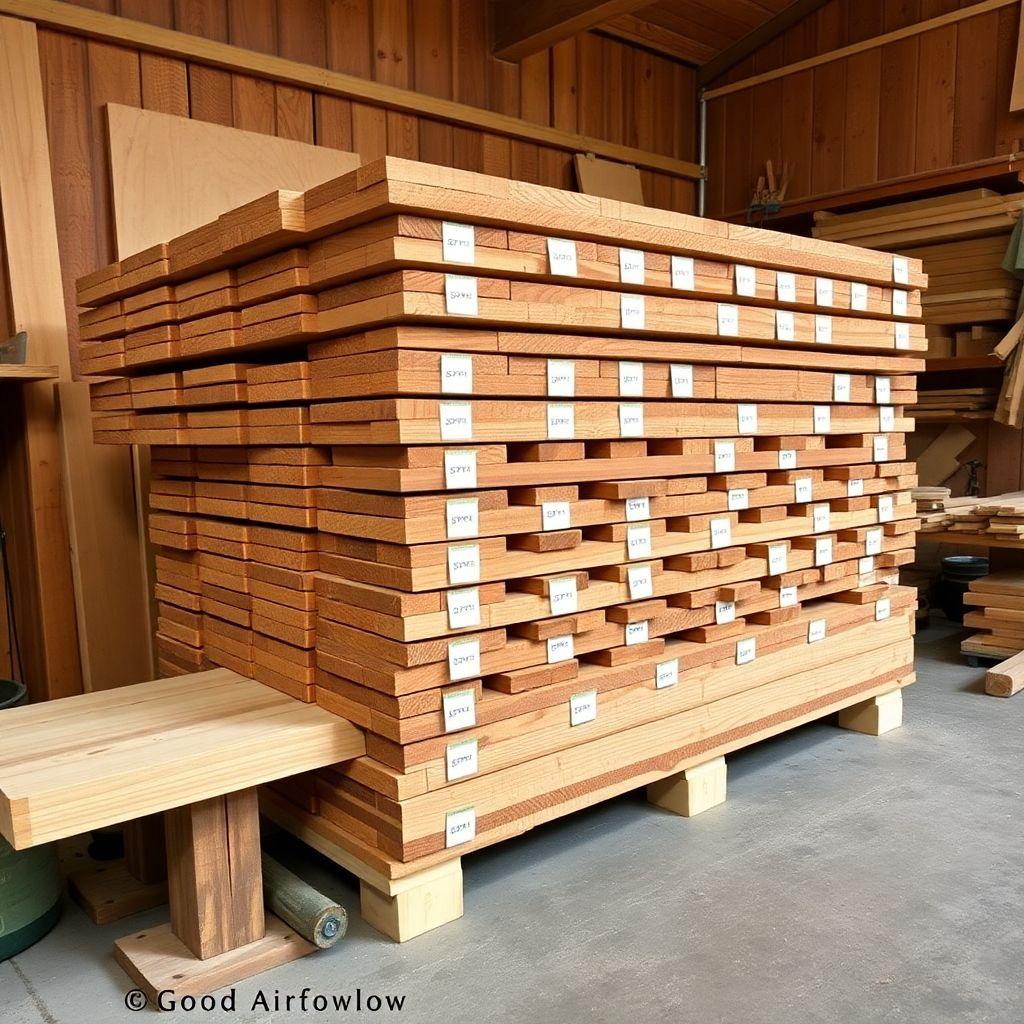
Dry stickers, evenly spaced, aligned top to bottom. This one upgrade costs nothing and prevents the most common storage warp you will ever cause. Most warp is not the lumberyard’s fault; it happens after the wood reaches your shop.
Even airflow and flat support. Store boards flat and fully supported, never leaned against a wall where only one face breathes and gravity pulls a curve into them. Both faces need to dry at the same rate. Elevate the stack off a concrete floor, which wicks moisture straight into the bottom board.
Sticker rules and sticker shadow. Stickers are the spacers between layers in a stack, and they must be bone-dry hardwood. Wet or green stickers cause “sticker shadow,” a permanent defect where the damp sticker transfers moisture into the board at each contact point, leaving both a stain and a localized warp that never fully relaxes. Space stickers about 24″ apart for 4/4 and thicker stock, and 12-16″ apart for thin stock that sags. Align every sticker vertically through the stack so the load transfers straight down instead of bending the boards between supports.
Control the environment. Aim for stable relative humidity and keep one-sided sun or a heat source off one face of the stack. Weighting the top of the pile, with cinder blocks or a few heavy boards, holds the whole stack flat while it acclimates.
Seal and fasten for movement. Coat the end grain of fresh boards, because end grain loses moisture ten to twelve times faster than face grain and drives end-checking and warp. When you build, use breadboard ends, slotted screw holes, or figure-8 fasteners so the piece can move without splitting or cupping.
How to Flatten Warped Wood: Step-by-Step Fixes for Cup, Bow, and Twist
Most warp pulls back flat with the right method, so check the offcut pile twice before you commit a board to it. The method depends entirely on the warp type. Diagnose it first with the rock test from the five-types section, then follow the matching steps below.
Flattening a cup
- Identify the concave (hollow) face, the side that curves inward like the inside of a bowl.
- Lightly dampen that concave face with a damp cloth or a spray bottle. You want it moist, not soaked.
- Place the board concave-face-DOWN on a flat surface, so the dampened side sits against the flat.
- Stack weight evenly across the entire board, not just the center.
- Leave it 24-48 hours. The dampened side swells, relaxes, and the board settles flat.
- Re-acclimate before use: sticker it in your shop and remeasure MC until it stabilizes.
- Seal both faces equally with finish to keep the moisture balanced and stop the cup from returning.
Flattening a twist
- Set the board on your jointer table or another dead-flat reference. Note which two diagonal corners rock; those are the high spots.
- Mark both high corners clearly with chalk or pencil.
- If the twist is severe, start with a hand plane: flip the board and take diagonal passes between the two high corners to knock them down first.
- On the jointer, feed the board while shifting downward pressure from one high corner toward the other as it crosses the cutter head.
- Use a push paddle that applies both downward and forward pressure so the board cannot rock as it feeds.
- Take multiple light passes, 1/32″ to 1/16″ per pass, and check flatness after each one. Rushing reintroduces twist.
- Once one face reads flat, run the opposite face through a thickness planer to make it parallel.
Flattening a bow
- On the jointer, run the bowed face along its length while keeping your pressure placement consistent, so you flatten the high points instead of following the curve.
- Take light passes until the face is flat, then thickness-plane the opposite face parallel.
- For glued-up panels that bow, cambered clamping cauls (curved battens clamped across the panel) pull the whole assembly flat during glue-up.
Know when to quit. Crook, kink, and severe twist in thin stock cost more time than the board is worth; rip around the defect or cut it out. Any heat-and-moisture fix can relapse if the moisture imbalance returns, so re-acclimate the board and finish both faces equally. That last point drives the next problem.
Why Tabletops Warp After Finishing and How to Stop It
Your tabletop was dead flat when you laid down the last coat on the show face. Three weeks later it has cupped into a shallow trough. This mechanism catches even careful builders, because nothing looked wrong when you finished.
One-face finishing causes cupping. When you seal only the top face, that face resists moisture exchange while the bare underside keeps breathing freely. The underside swells in humid weather and shrinks in dry weather while the sealed top stays comparatively stable. Unequal movement between the two faces forces the panel to cup, every time.
Curing shrinkage adds force. Hard-curing and catalyzed finishes shrink measurably as they cure. A thick film on one face only puts that face under a slight constant pull, tightening the cup you already set up by finishing one side.
Prevent it. Finish both faces with equal coats, always. The underside never shows, but it must be sealed to match the top so both faces move together. Let the panel reach your shop’s EMC before you finish, and attach the top to the base with slotted holes, figure-8 fasteners, or breadboard ends so seasonal movement has somewhere to go.
If it already cupped. Finish the bare underside to balance the panel, then apply the dampen-and-weight method from the flattening section: moisten the concave face, weight it flat for 24-48 hours, re-acclimate, and seal both sides.
Once the top is flat and sealed, the next step is building something worth putting on it. realwoodworkplans.com has free woodworking plans for tables, benches, and furniture that account for wood movement in the joinery.
Case-Hardened Lumber: What It Is and How to Test for It
You rip a perfectly flat board down the middle and both halves immediately curl away from each other, or the kerf pinches shut and traps your blade. The board looked fine. What you hit is case hardening, a hidden stress defect you cannot see.
What it is. Case hardening comes from drying lumber too fast, usually a rushed kiln schedule. The outer shell of the board dries and sets while the core is still wet. When the core finally shrinks, the hardened shell holds it, so the board ends up with its shell locked in compression and its core locked in tension. The board sits flat only because those opposing stresses balance.
Why it warps when cut. Ripping or resawing releases that balance. Remove wood from one side and the trapped stresses spring free: the pieces bow away from each other, or the tension in the core snaps the kerf closed onto your blade. The wood was a loaded spring the whole time.
Two quick tests. Both use a cutoff from the end of the board.
- Prong test. Cut a U-shaped fork into the end grain, leaving two prongs. If the prongs pinch inward toward each other, the board is case-hardened.
- Rip test. Rip an 8″ wide test piece down the middle into two 4″ halves. If a gap opens between them or they pinch together, internal tension is present.
Home shops cannot reverse case hardening; reconditioning requires controlled kiln steaming. It shows up often in fast-dried box-store pine, so run a rip test on a cutoff before you commit a suspect board to a project.
Wood Warping FAQ: Quick Answers to Common Questions
Can warped wood be fixed?
Usually, yes. Cup and bow flatten reliably: cup responds to dampening the concave face and weighting it flat, and bow cleans up on a jointer. Twist is harder and sometimes not worth the effort, while crook and kink are better cut around than corrected.
Does warped wood straighten on its own?
Sometimes, if the warp came from a temporary moisture imbalance and you fix the storage. Sticker the board flat with even airflow on both faces and let it re-acclimate; a mild cup may relax as moisture evens out. Stress-based warp like twist or case hardening will not self-correct.
Why does wood warp after cutting or ripping?
Because cutting releases internal stress that was holding the board flat. Case-hardened or reaction-wood boards carry balanced tension and compression; removing material from one side unbalances them, and the pieces bow or pinch the blade instantly. A rip test on a cutoff warns you before you commit good stock.
What wood warps the least?
Species with a low tangential-to-radial shrinkage ratio. Mesquite (1.1), black walnut (1.4), and true mahogany (1.4) top the stability list. Choosing quartersawn boards of any species also cuts movement roughly in half compared to flat-sawn.
How do I keep a tabletop from cupping?
Finish both faces with equal coats, let the panel reach your shop’s EMC before finishing, and attach the top with slotted holes, figure-8 fasteners, or breadboard ends. Sealing only the show face is the single most common cause of tabletops cupping after the build.
Will kiln-dried wood still warp?
Yes. Kiln drying sets the moisture content at the mill, but wood keeps trading moisture with your shop for its whole life. If your shop is drier than the wood, it keeps shrinking and can warp. Always acclimate kiln-dried lumber to your own space before building.
How long should I acclimate lumber?
At least one to two weeks in the shop, and longer for thick or wet stock. Sticker the boards for airflow and measure the moisture content every few days. Stop waiting when the reading stops changing and matches your shop’s EMC, typically 6-8% for indoor furniture in a heated home.
Want 16,000+ step-by-step woodworking plans?
Ted’s Woodworking has plans for every skill level — from simple shelves to full bedroom sets. Each plan includes a cut list, material list, and detailed diagrams. Browse Ted’s plans →

“DIY woodworking enthusiast who started with zero experience and a YouTube tutorial.
I build simple, practical projects for my home and share free plans
so other beginners can skip the guesswork.If I can build it, you can too.”