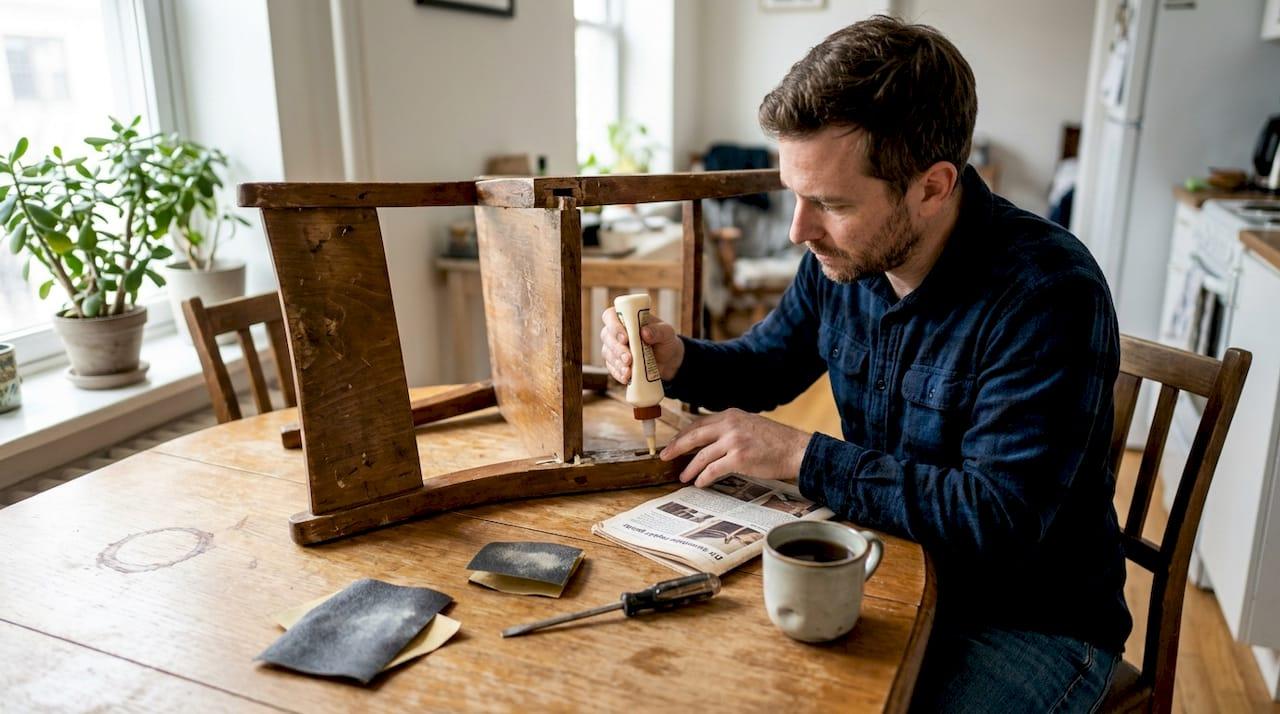
That favorite dining table with the ring stain from last Thanksgiving. The chair your grandfather built that’s now wobbling at the joints. Worn wooden furniture carries real memories, and tossing it out feels wrong when a careful repair could bring it back to life. The good news is that most common wood furniture problems are absolutely fixable at home, without professional help or expensive tools. This guide walks you through identifying damage, gathering supplies, executing a clean repair, and keeping your results looking great for years. Whether you’re dealing with a surface scratch or a loose joint, you’ll find clear, actionable steps here.
Table of Contents
- Understanding the damage: Types of common wood furniture problems
- Gathering your tools and supplies for furniture repair
- Step-by-step repair process: Refreshing and restoring wood surfaces
- Troubleshooting, touch-ups, and making repairs last
- Why repairing wooden furniture is a win for DIYers
- Take your woodworking further with expert resources
- Frequently asked questions
Key Takeaways
| Point | Details |
|---|---|
| Assess the damage first | Identify the type and severity of damage to choose the best repair approach. |
| Use the right tools | Having basic supplies like sandpaper, wood filler, and finishing products makes repairs smoother and more effective. |
| Follow step-by-step processes | A careful workflow—prep, repair, sand, and finish—leads to the best results. |
| Troubleshoot as you go | Don’t panic about mistakes; most can be fixed with patience and know-how. |
| Maintain for longevity | Protect your repaired furniture with routine care and simple preventive tricks. |
Understanding the damage: Types of common wood furniture problems
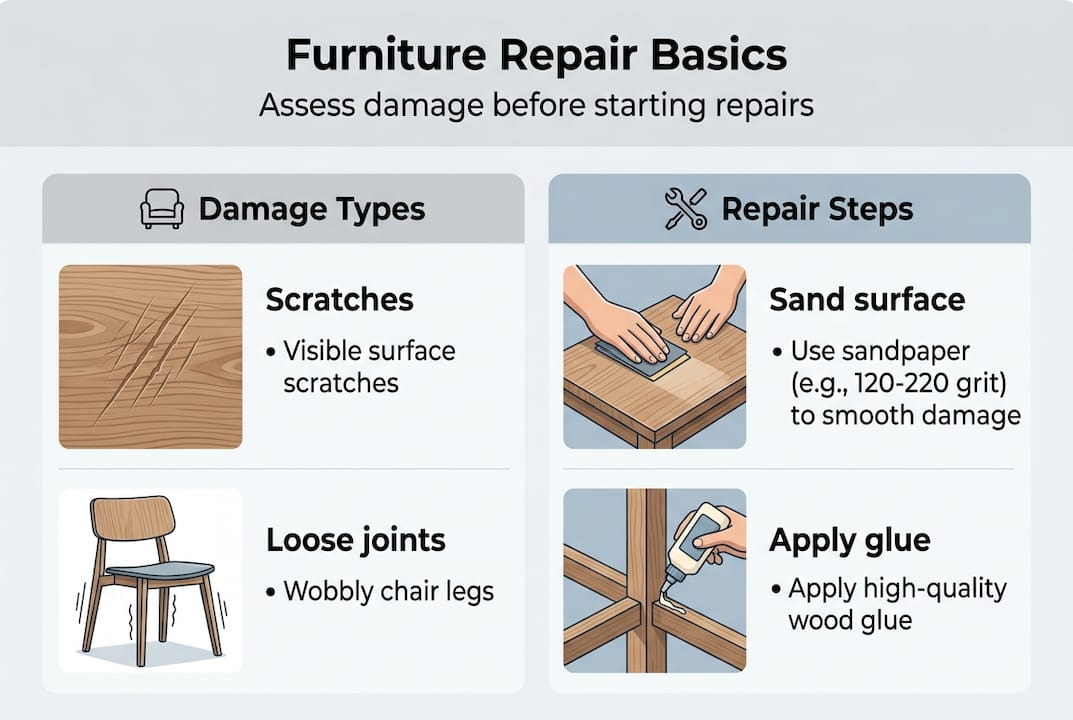
Before you grab sandpaper or wood filler, take a few minutes to really look at what you’re dealing with. Not all furniture problems are the same, and the repair approach changes depending on the type and depth of the damage.
Here are the most common issues you’ll encounter:
- Surface scratches: Shallow marks in the finish or top layer of wood, often from keys, pet claws, or sliding objects
- Dents: Compressed wood fibers from impact, usually fixable without replacing material
- Water marks: White rings or dark stains caused by moisture sitting on the surface
- Faded or peeling finish: UV exposure and age break down varnish, lacquer, or paint over time
- Loose joints: Dried-out glue or worn dowels that cause wobbling in chairs and tables
The key distinction is between cosmetic damage and structural damage. Cosmetic repairs fix how the piece looks. Structural repairs fix how it holds together. You can tackle both at home, but you need to address structural issues first. Refinishing a wobbly chair before fixing the joints is wasted effort.
For DIY wood furniture repair to go smoothly, assess the full picture before starting. Run your hand along the joints, press on the legs, and check underneath the piece for cracks or hidden breaks.
The basic refinishing process involves removing hardware, washing off contaminants, sanding with the grain using progressive grits, then priming, painting, or staining and sealing. That sequence only works well when the underlying structure is solid.
Pro Tip: Before doing any cosmetic work, flip the piece over and check every joint and connection point. A loose leg you missed will crack your fresh finish the first time someone sits down.
Gathering your tools and supplies for furniture repair
Once you’ve identified the problem, here’s what you’ll need for a successful repair. Having everything ready before you start saves you from stopping mid-project with wet stain on your hands.
Essential tools and materials:
- Screwdrivers (flathead and Phillips) for removing hardware
- Sandpaper in multiple grits: 80, 120, 180, and 220
- Wood filler or wood putty for dents and scratches
- Wood glue for loose joints
- Clamps to hold glued joints while they cure
- Tack cloth or a lint-free rag for cleaning between sanding stages
- Paintbrushes or foam applicators for finish application
- Wood stain, paint, or clear finish depending on your chosen look
- Safety gear: dust mask, safety glasses, and gloves
| Tool | Purpose |
|---|---|
| Sandpaper (80 grit) | Strip old finish or level rough surfaces |
| Sandpaper (220 grit) | Final smoothing before finish application |
| Wood filler | Fill scratches, dents, and gouges |
| Wood glue + clamps | Reattach loose joints and hold while curing |
| Tack cloth | Remove fine dust before applying finish |
| Foam applicator | Apply stain or finish evenly without brush marks |
For a deeper look at what you should own before tackling repairs, the essential woodworking tools checklist covers everything from beginner basics to advanced options. If you’re still building your skill set, reviewing basic woodworking skills first will help you use these tools with confidence.
When you’re unsure about product labels, brushing up on furniture repair terminology can save you from buying the wrong thing at the hardware store.
The refinishing process calls for sanding with progressive grits, which means starting coarse and working finer. Skipping grits leaves visible scratch patterns under your finish.
Pro Tip: Always test your chosen stain or finish on a hidden spot, like the underside of a shelf, before applying it to a visible surface. Wood absorbs color differently depending on grain and species, and a test patch saves you from a bad surprise.
Step-by-step repair process: Refreshing and restoring wood surfaces
With tools and materials ready, follow these steps for a successful repair and refinish.
- Remove all hardware. Take off knobs, pulls, hinges, and any metal pieces. Set them aside or replace them if they’re worn.
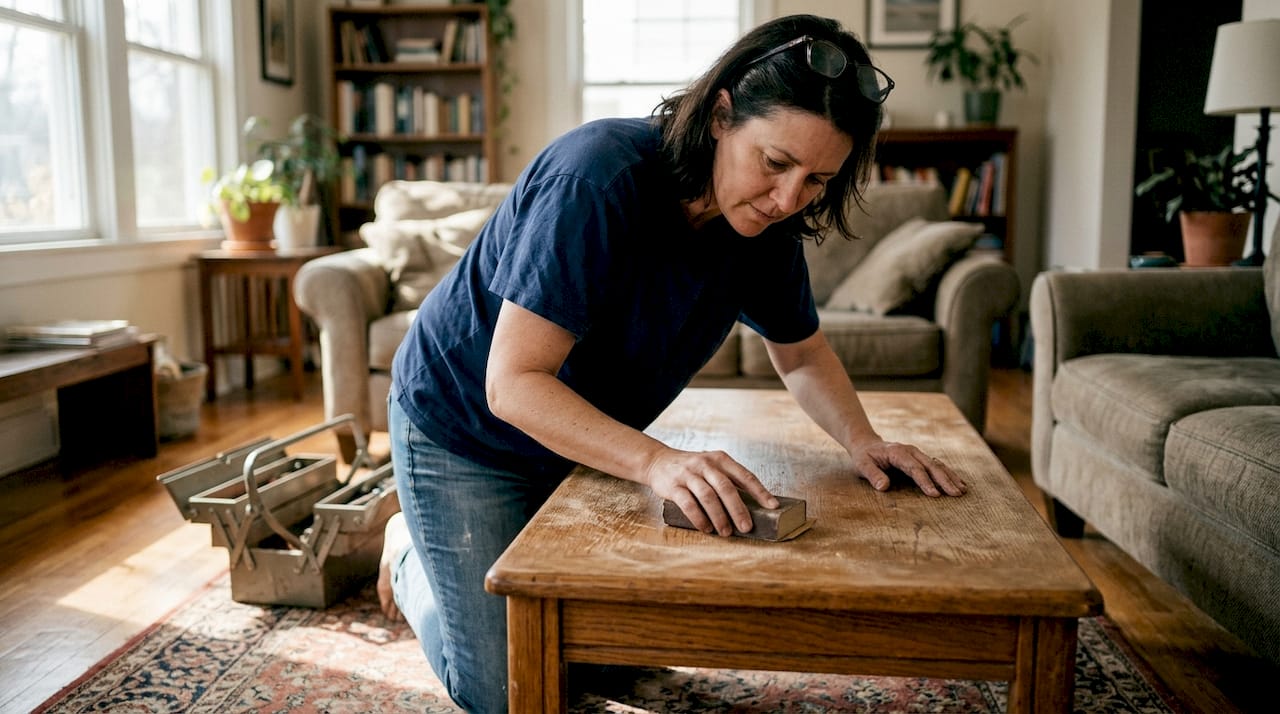
- Clean the surface thoroughly. Wipe down the entire piece with a damp cloth to remove grease, wax, and dust. Let it dry completely before sanding.
- Sand with the grain, starting coarse. Begin with 80 or 100 grit to remove the old finish. Move to 120, then 150, and finish with 180 or 220 for a smooth surface. Good sanding techniques make a visible difference in the final result.
- Fill dents and scratches. Apply wood filler to any damaged areas, slightly overfilling. Let it dry fully, then sand flush with the surrounding surface.
- Wipe clean with a tack cloth. Remove every trace of dust before applying any finish. Even tiny particles will show under paint or stain.
- Choose your finish and apply it. See the comparison below for help deciding.
- Let each coat dry fully. Follow the manufacturer’s recommended drying time between coats.
| Factor | Painting | Staining |
|---|---|---|
| Appearance | Solid color, hides grain | Enhances natural wood grain |
| Protection | High, especially with primer | Moderate, needs a topcoat sealant |
| Skill level | Beginner-friendly | Requires even application technique |
| Best for | Painted furniture, hiding damage | Natural wood look, quality pieces |
Understanding the benefits of finishing wood helps you pick the right product for your project. A clear polyurethane over stain, for example, adds protection without changing the color.
The full refinishing workflow confirms: remove hardware, wash contaminants, sand progressively, then prime and paint with two coats allowing 24 hours of drying time, or stain and seal.
Safety note: Always work in a well-ventilated space when sanding or applying finishes. Open windows, use a fan to move air out of the room, and wear your dust mask and gloves throughout the process. Finish fumes are more concentrated indoors than they seem.
Troubleshooting, touch-ups, and making repairs last
Even with careful work, challenges and mistakes can crop up. Here’s how to handle them and preserve your results.
Common problems and quick fixes:
- Uneven finish or lap marks: Sand lightly with 220 grit between coats and reapply. Foam applicators reduce streaking compared to bristle brushes.
- Stubborn stains that bleed through: Apply a stain-blocking primer before your topcoat. Some tannin-rich woods like oak can bleed color even through fresh paint.
- Glue squeeze-out at joints: Wipe excess glue immediately with a damp cloth before it cures. Dried glue resists stain and creates visible patches.
- Bubbles in the finish: Usually caused by shaking the can or applying too fast. Sand smooth and recoat slowly with a light hand.
- Color mismatch on touch-ups: Mix stain colors to match, or feather the new finish into the surrounding area with a fine brush.
For ongoing care, a simple routine goes a long way. Dust weekly with a soft cloth, avoid harsh chemical cleaners, and use furniture polish every few months to keep the finish nourished.
Reviewing beginner woodworking tips can help you avoid the most common first-timer mistakes before they happen. And when you’re choosing filler or replacement material, selecting wood for repairs explains how to match species and grain for invisible results.
According to furniture care research, most surface scratches can be prevented with basic daily habits like using placemats, coasters, and keeping sharp objects off bare wood surfaces.
Pro Tip: Stick felt pads under every leg and use coasters religiously. These two habits alone prevent the majority of surface damage that leads to full refinishing jobs down the road.
Why repairing wooden furniture is a win for DIYers
Here’s something most repair guides skip: the real value of fixing your own furniture isn’t just saving money. It’s what the process does to you as a maker.
Every repair teaches you something. A loose joint teaches you how wood moves with humidity. A blotchy stain teaches you about grain porosity. A bubbled finish teaches you patience and surface prep. These aren’t failures. They’re the fastest way to build real, lasting skill.
There’s also an environmental angle worth considering. Repairing and restoring furniture keeps usable wood out of landfills and reduces demand for new manufacturing. That’s a meaningful choice, even if it’s just one chair.
Restoration can be just as satisfying as building something from scratch. Sometimes more so, because you’re working against constraints, matching existing colors, preserving original details, and solving problems that don’t have a clean answer in any plan.
The DIY woodworking benefits go well beyond cost savings. Confidence, problem-solving, and a sharper eye for materials all grow with every project you take on. Each repair you complete makes the next one easier and the next build more ambitious.
Pro Tip: Keep a small notebook of what worked and what didn’t on each repair. After a few projects, you’ll have a personal reference that’s more useful than any generic guide.
Take your woodworking further with expert resources
Ready for even more woodworking mastery? Here’s how to keep your momentum going.
Repair projects are a fantastic gateway into bigger builds. Once you’ve refinished a table or reglued a chair, you already understand wood behavior, finish application, and surface prep. That foundation transfers directly into building new pieces from scratch.

At realwoodworkplans.com, you’ll find free woodworking plans and project ideas designed for exactly where you are right now. Whether you want to sharpen your skills or start a new build, resources on improving DIY success and project ideas for skill-building give you the next clear step. Your repaired furniture is proof you can do this. Now build on it.
Frequently asked questions
What is the safest way to remove old finish from wood furniture?
The safest method is to use sandpaper, working with the grain and wearing a dust mask and safety glasses throughout. Start with a medium grit to remove the bulk of the old finish, then move to finer grits to smooth the surface.
How do I fix a deep scratch or gouge in wooden furniture?
Fill the area with wood filler, let it dry completely, then sand it flush with the surrounding surface. Finish with matching stain or paint to blend the repair into the rest of the piece.
Can I repair water stains on wood surfaces at home?
Yes, minor white water rings often respond to gentle sanding or a paste of baking soda and water applied with a soft cloth. Darker stains that have penetrated the wood may need light sanding followed by a fresh coat of stain and sealant.
What’s the best way to protect repaired wood furniture?
Apply a topcoat of polyurethane, furniture wax, or an oil-based sealant after your stain or paint has fully cured. Reapply every one to two years depending on how much use the piece gets.
Recommended
- Home decor woodworking guide: craft custom furniture
- How to make wooden joints: beginner’s guide in 2026
- What is furniture grade wood? A DIY guide for quality
- Home Decor Woodworking: 4 Best Projects + 10-Hour Guide
- When to repair or replace weatherboards: Melbourne guide

“DIY woodworking enthusiast who started with zero experience and a YouTube tutorial.
I build simple, practical projects for my home and share free plans
so other beginners can skip the guesswork.If I can build it, you can too.”