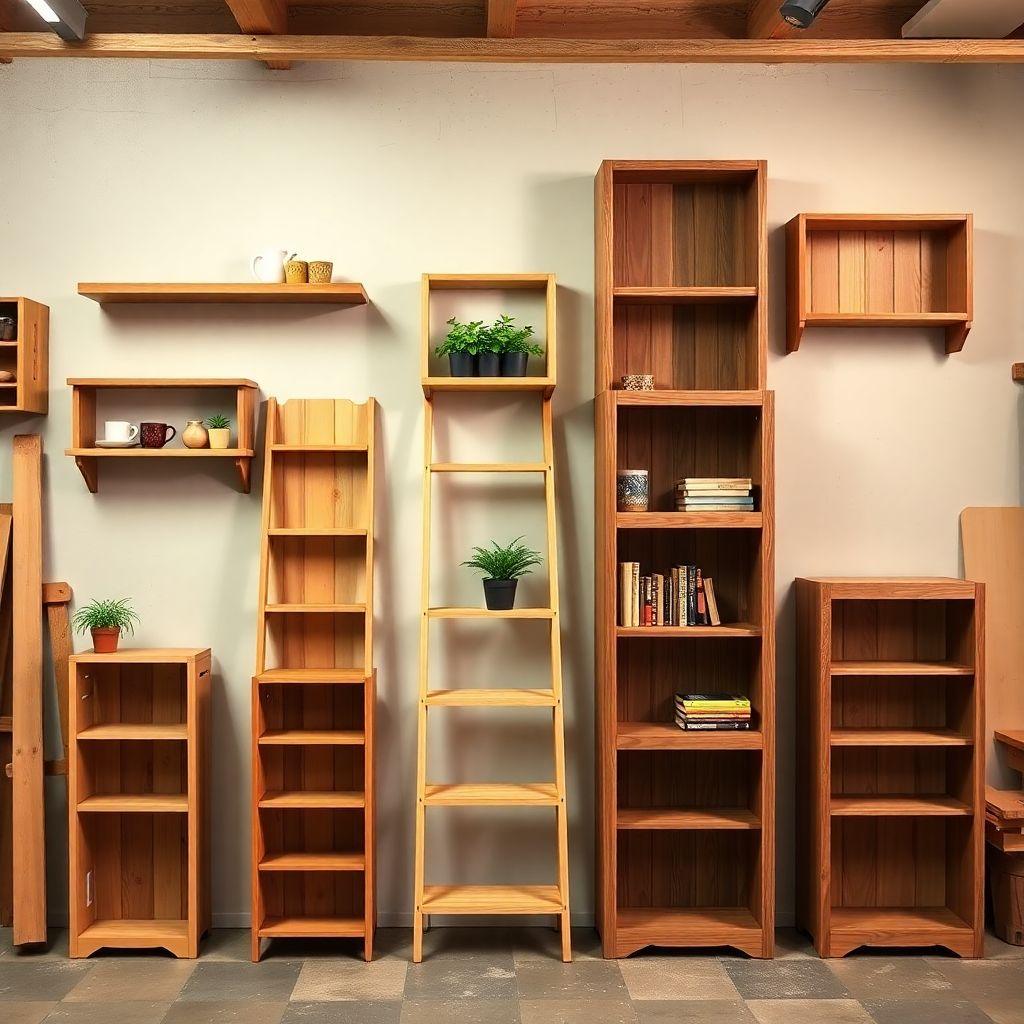
The right shelf takes two hours. The wrong one takes a weekend and still wobbles. Most bookshelf and shelving plans throw you straight into cut lists before you have decided whether you even want a floating DIY shelf, a leaning ladder, or a full built-in. This hub does the opposite. It is a decision tool, not a how-to. This guide is part of our complete woodworking furniture plans library.
Below you will find seven shelf types compared side by side, a skill progression path that tells beginners what to build first, and a wall anchor guide that most DIY shelving guides skip entirely. Pick the right build here, then follow the linked plans to make sawdust. By the end you will know exactly which of these seven fits your room, your budget, and your skill level before you buy a single board.
Which Shelf Should You Build? Master Comparison
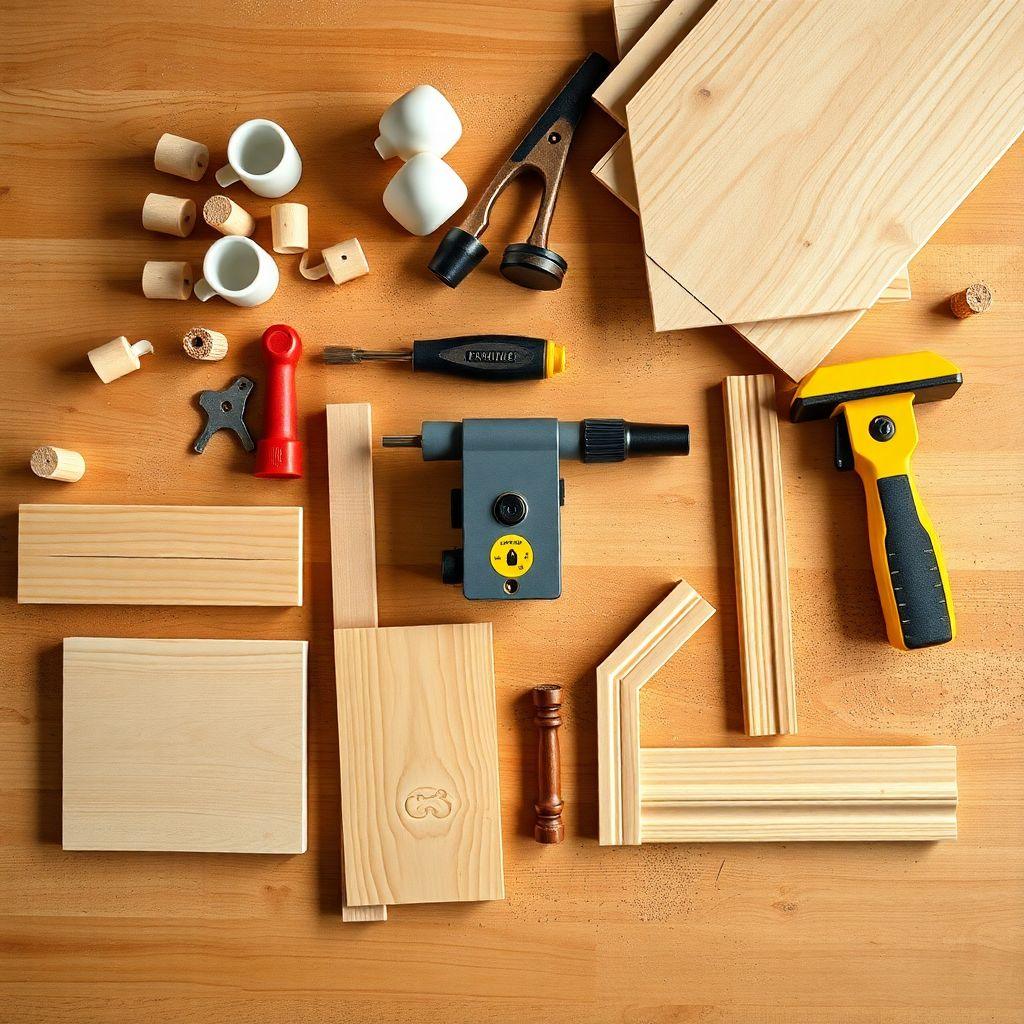
This is the table no other shelving guide gives you: every type in one place, ranked by what actually decides the project. Scan it, find your fit, then read that type’s card for the details.
| Shelf Type | Skill | Cost (2026) | Time | Wall Mount | Max Load |
|---|---|---|---|---|---|
| Floating wall shelf | Beginner | $15–40 | 1–2 hrs | Yes | 25–100 lb |
| Mug shelf | Beginner | $15–35 | 2 hrs | Yes | 10–20 lb |
| Corner shelf | Beginner | $20–60 | Half-day | Yes | 20–50 lb |
| Ladder shelf | Beginner | $25–60 | Half-day | No | 30–50 lb/shelf |
| Indoor plant shelf | Beginner | $30–80 | Half-day | Optional | 20–30 lb/shelf |
| Freestanding bookcase | Intermediate | $80–250 | 1–2 weekends | No | 30–50 lb/shelf |
| Built-in bookshelf | Int–Advanced | $200–600 | 2–3 weekends | Yes | 50+ lb/shelf |
The Beginner-to-Built-In Skill Path
Do not start with the built-in. Each shelf type builds a skill the next one needs, so working up this path means every project feels achievable instead of overwhelming.
Skill Progression Path
Level 1 — No jig, 1-2 hours: Floating shelf, Mug shelf
Level 2 — Miter cut helpful, half-day: Corner shelf, Ladder shelf, Plant shelf
Level 3 — Pocket-hole jig, weekend: Freestanding bookcase
Level 4 — Trim carpentry, multi-weekend: Built-in bookshelf
The jump from Level 1 to Level 2 is the miter saw. The corner shelf lives at Level 2, not Level 1, because its 45-degree cuts demand real saw confidence even though the rest of the build is simple. Once you trust your cuts, Levels 3 and 4 are mostly a matter of scale and patience.
Wall Anchor Quick Guide (Read This First)
Every wall-mounted shelf on this list lives or dies by how it is anchored. Drywall-only mounting is the number one reason shelves fall, so decide your anchor before you decide your shelf. Here are the practical DIY limits:
- Plastic drywall expansion anchor: 10–25 lb. Fine for light decor, not for books.
- Toggle bolt into drywall: 25–50 lb. The move when a stud is not where you need it.
- Lag screw into one stud: 45–50 lb per point. Two studs give you roughly 100 lb of total shelf capacity.
The rule is simple: always prefer studs. Use toggle bolts only when a stud is not aligned with where the shelf has to go. This applies directly to the floating, mug, and corner shelves below, so keep these numbers in mind as you read their cards.
Floating Wall Shelf
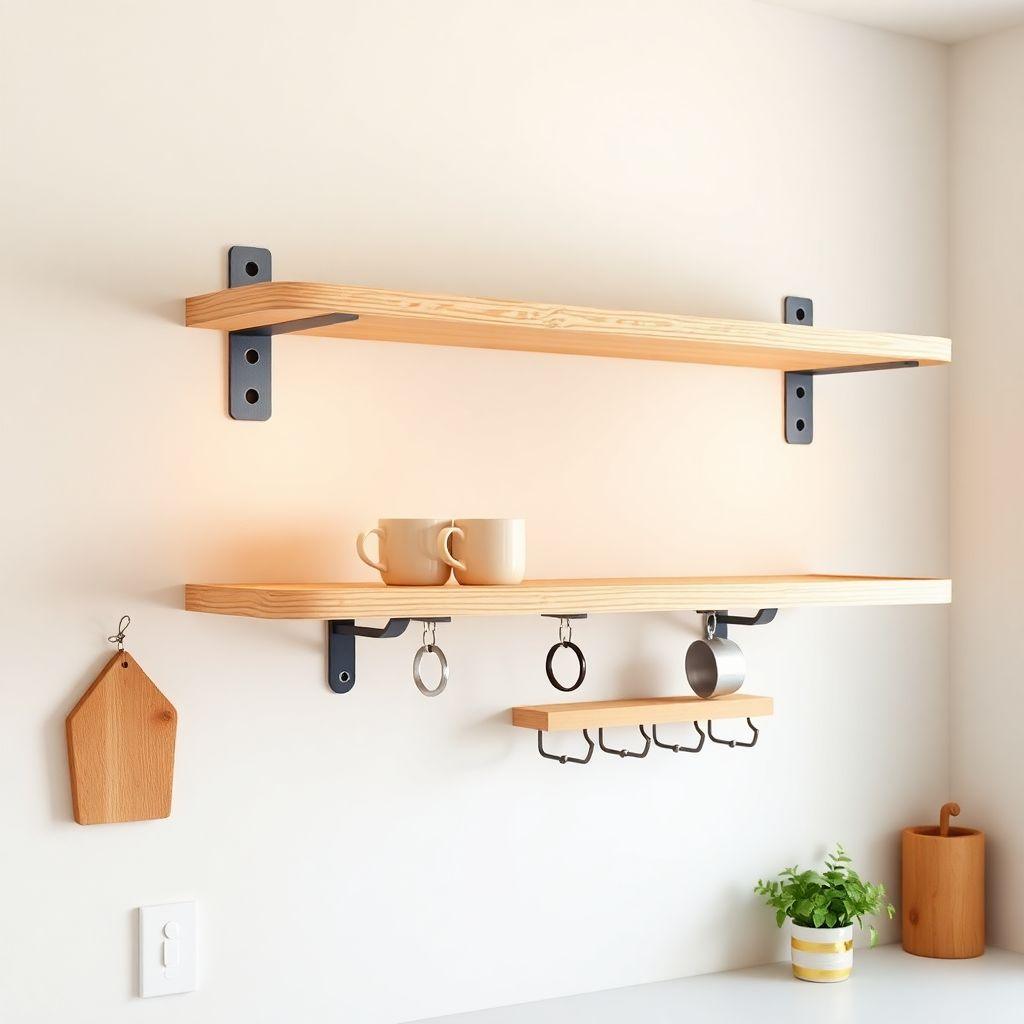
Skill: Beginner | Cost: $15–40 | Time: 1–2 hours
The floating wall shelf is the cleanest-looking DIY shelf you can build, and the best first project on this list. There are no visible brackets, no legs, no frame, just a solid slab that appears to grow out of the wall. That hidden-hardware look is what makes it distinctive, and it is far easier to achieve than it appears.
Mounting is where the magic happens. A keyhole bracket, a blind support rod, or a French cleat all hide behind the board; the French cleat spreads the load best and is the most forgiving of the three. Weight capacity is set entirely by your anchor, not the shelf itself, so a stud-mounted floating shelf can carry up to about 100 lb across two studs while a drywall-anchored one tops out much lower.
Standard specs land at 8 to 12 inches deep, 24 to 48 inches long, and 3/4 inch thick, which means minimal material and minimal waste. The only real challenge is locating your studs and getting the board dead level. Minimum tools: a drill, a level, and a stud finder. Best used for display pieces, books, and kitchen storage.
Mug Shelf
Skill: Beginner | Cost: $15–35 | Time: 2 hours
The mug shelf is the easiest genuinely useful thing you can build, and it earns its spot the moment your cabinet runs out of room. Purpose-built for a coffee bar or kitchen display, it turns a bare wall into daily-use storage in about two hours. It is the rare beginner project that looks intentional rather than improvised.
The design is refreshingly simple: a 1×6 board for the shelf, a 1×2 lip glued and nailed to the front edge, and cup hooks screwed into the underside of that lip. Screw-in cup hooks in the 1 inch or 1-1/4 inch size are the standard choice. Hook spacing runs 3 to 5 inches on center; since a standard mug is roughly 4 inches wide, closer spacing means your mugs will clink, and 5 inches keeps them apart.
Because the load is light, 10 to 20 lb of mugs, you can mount this with anchors or studs per the guide above. Minimum tools: a drill, sandpaper, and a level. The one thing to get right is even hook spacing, with pilot holes drilled first so the lip does not split.
Corner Shelf
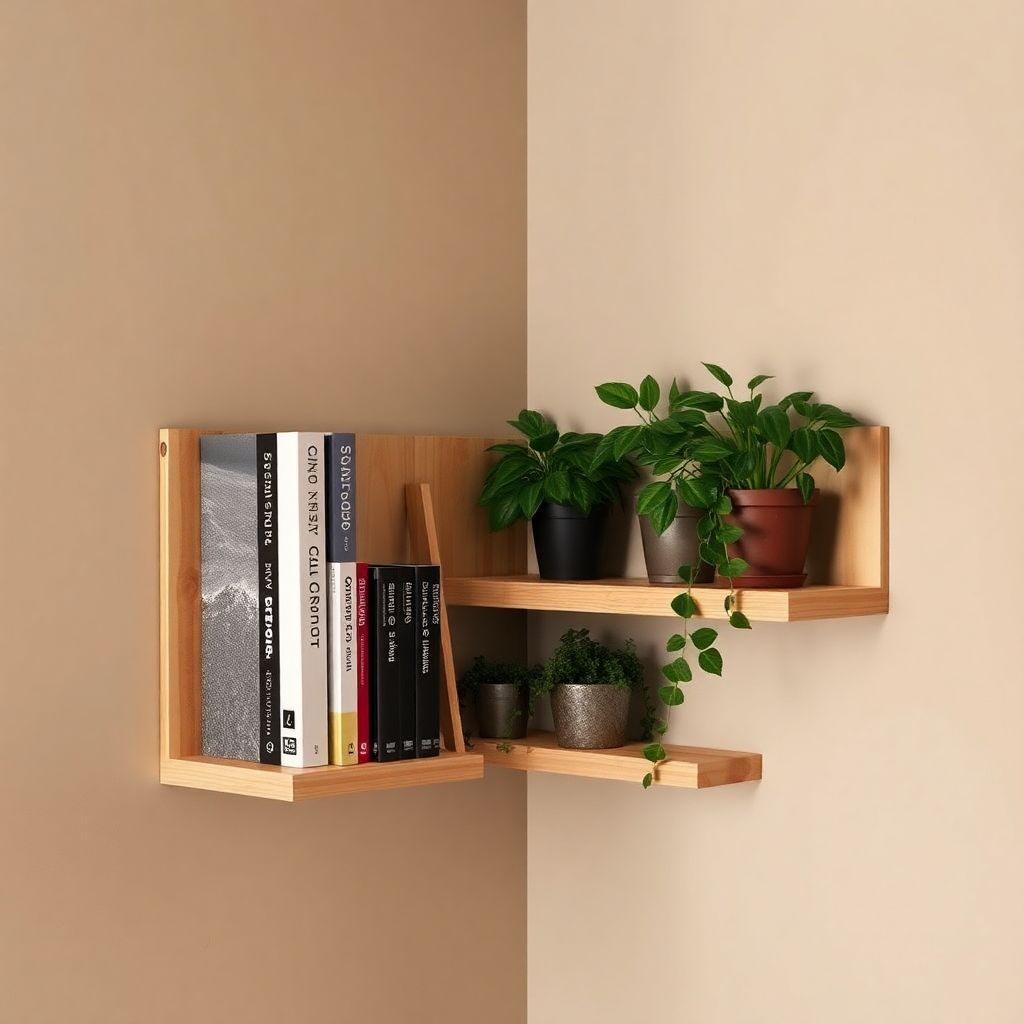
Skill: Beginner | Cost: $20–60 | Time: Half-day
The corner shelf is the space-saving upgrade from a floating shelf, and a favorite corner shelf DIY project because it reclaims the one spot in every room that otherwise goes to waste. It fits into a 90-degree wall corner as a triangle or quarter-circle, usually 10 to 16 inches per side, turning dead space into display or storage.
What sets corner shelf DIY builds apart from a straight shelf is the geometry. Each end of the board gets a 45-degree miter, and the two cuts meet in the corner. Cut accuracy is everything here: tight, matching miters give you a gap-free fit against both walls, while sloppy ones leave a visible wedge. A compound angle is only needed when the walls are not truly square, which is rare in most homes.
Mounting is straightforward, with screws into studs or anchors and L-brackets on the underside for support. Load capacity runs 20 to 50 lb depending on your anchor. Minimum tools: a miter saw, or a circular saw with a miter guide, plus a drill and a level. This is the project that graduates you from Level 1 to Level 2.
Get 16,000+ woodworking plans →
Ladder Shelf
Skill: Beginner | Cost: $25–60 | Time: Half-day
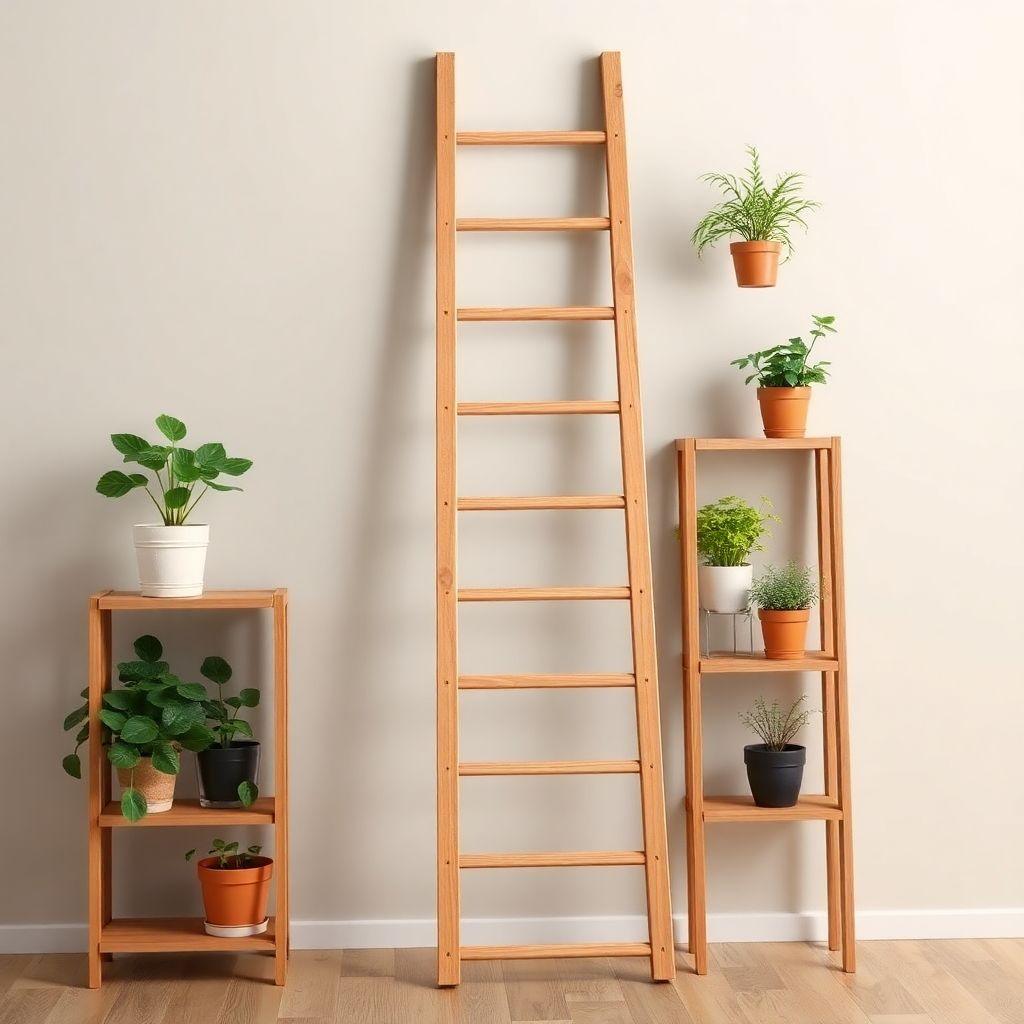
The ladder shelf is the no-drill option, which makes it the go-to for renters and anyone who does not want to open up a wall. It simply leans against the wall at a 9 to 15 degree angle with zero anchoring. Its tapered tiers, shallow at the top and deep at the base, give it a light, modern profile that reads as furniture rather than storage.
A typical unit stands 60 to 72 inches tall with 4 to 5 shelves spaced 11 to 14 inches apart. The taper is functional as well as stylish: top shelves run 7 to 8 inches deep and bottom shelves 12 to 14 inches, which keeps the weight low and the balance stable. Legs are 2×2 or 2×3 stock; shelves are 1×10 or 1×12 boards or plywood cut to width.
Joinery is beginner-friendly, with pocket screws being the easiest route and lap or dado joints a sturdier step up. The legs get a roughly 10-degree miter at the bottom so they sit flat on the floor while the frame leans. Because it is freestanding, the upper shelves can tip if you overload them, so keep heavy items low and consider an anti-tip strap in homes with kids. Minimum tools: a miter saw, a drill, and an optional pocket-hole jig.
Indoor Plant Shelf
Skill: Beginner | Cost: $30–80 | Time: Half-day
The indoor plant shelf trades solid tops for open slats, and that single design choice is what makes it distinctive. The gaps let light reach lower tiers and let water drain instead of pooling, which is exactly what a wall of potted plants needs. Cedar or treated wood handles the inevitable moisture better than untreated pine.
Most designs run 10 to 14 inches deep and 18 to 36 inches wide across 2 to 4 tiers, with slats spaced 1/2 to 1 inch apart. It can lean or mount to the wall depending on your space, and each shelf comfortably holds 20 to 30 lb of pots and soil. It is a Level 2 build, on par with a corner or ladder shelf in effort.
Because this type has its own dedicated guide, we will keep the card short and hand you off to the full plans: DIY indoor plant shelf designs with cut lists covers eight complete designs with dimensions and materials.
Freestanding Bookcase
Skill: Intermediate | Cost: $80–250 | Time: 1–2 weekends
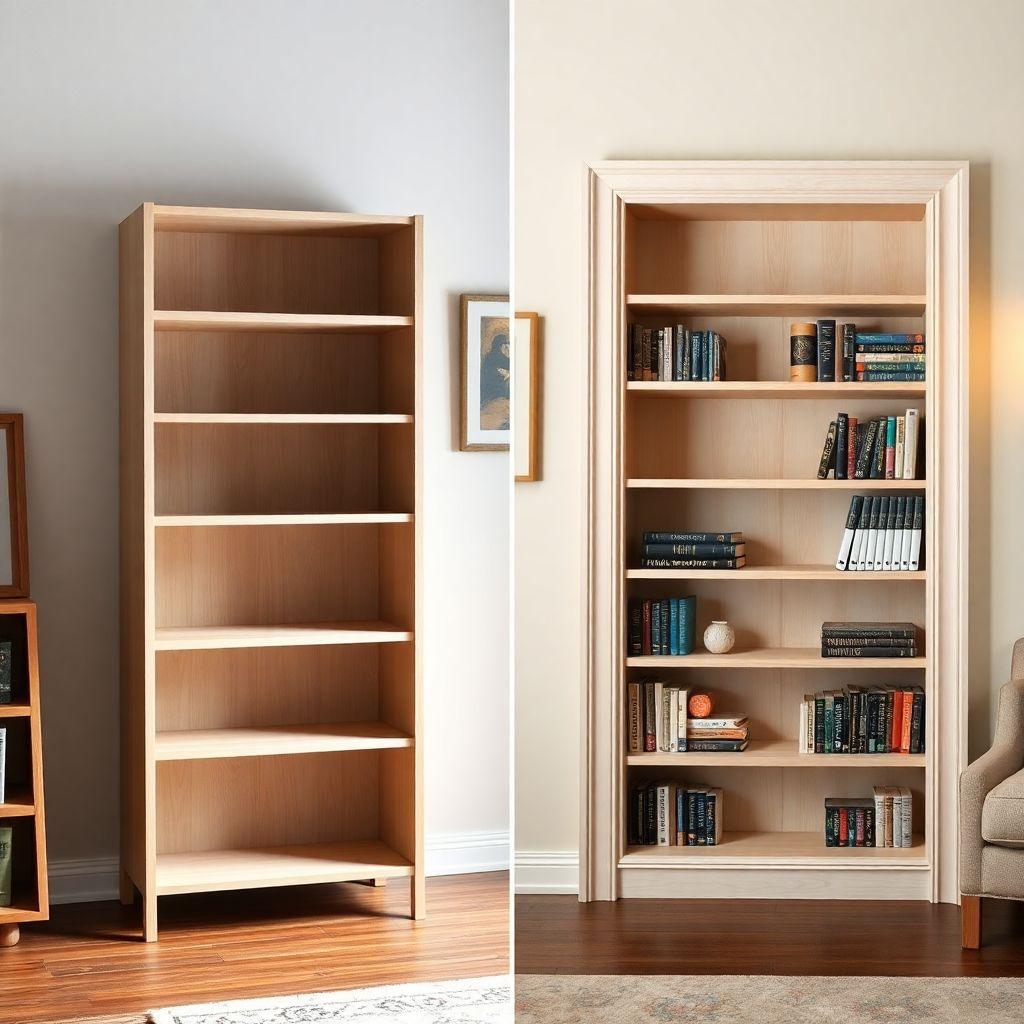
The freestanding bookcase is the first true furniture-grade project on this list, and the point where DIY shelves stop being wall decor and start being real storage. It is movable, holds a genuine book load, and looks finished enough for a living room. This is the natural step up once wall shelves feel easy.
Standard dimensions are 30 to 36 inches wide, 72 to 84 inches tall, and about 12 inches deep. The number that matters most is span: 3/4 inch plywood can bridge about 36 inches before it visibly sags under books, so 32 inches is the safer target for heavy loads. Solid wood edge banding or a center support pushes that span further, and dado joints run 15 to 20 percent stronger than shelf pins alone. For adjustable shelves, drill your pin holes on the 32mm system so they match standard cabinet hardware.
Joinery scales with your comfort: pocket screws for a beginner-friendly build, dados for a cleaner intermediate result. Minimum tools: a table or circular saw, a drill, a pocket-hole jig or router, clamps, and a square. Budget realistically, since two to three sheets of plywood put a typical build in the middle of that cost range.
Built-In Bookshelf
Skill: Intermediate–Advanced | Cost: $200–600 | Time: 2–3 weekends
The built-in bookshelf is the highest-value, most advanced build here, and it is not a starter project. Instead of sitting in a room, it becomes part of the room, fitted wall-to-wall or into an alcove so it looks original to the house. That seamless result is exactly what makes it hard.
Fitting to real walls is the whole challenge. A face frame hides the raw plywood edges, scribe molding closes the gaps against walls that are never perfectly straight, and your trim has to match the existing baseboard and crown. Typical units run 8 to 12 feet wide, 12 to 14 inches deep, and often floor-to-ceiling, which may mean adding in-wall blocking to anchor the top rail. The shelves themselves carry 50+ lb once tied into the wall framing.
The skills involved, trim carpentry, scribing, face-frame construction, and finish work, are why this sits at Level 4. It is the most expensive build on the list and the slowest, but it delivers the highest visual impact and adds real value to the home. Minimum tools: a table saw, a miter saw, a router, a nail gun or pocket-hole jig, a level, and clamps.
Frequently Asked Questions
What is the easiest shelf to build?
A floating shelf or a mug shelf. Both need only a drill, a level, and 1 to 2 hours, with no complex cuts. If you have never built a shelf before, start with the floating shelf and you will have a finished piece on the wall the same afternoon.
What shelf needs no wall mounting?
The ladder shelf leans against the wall with no anchoring at all, which makes it ideal for renters. A freestanding bookcase is also unattached, though anchoring a tall unit to the wall is smart insurance against tipping.
How far apart should mug hooks be?
Space them 3 to 5 inches on center. Five inches is the sweet spot, because a standard mug is about 4 inches wide and closer spacing lets the mugs clink together. Always drill pilot holes before screwing in the hooks so the lip board does not split.
What is the max span for a 3/4-inch plywood shelf?
About 36 inches before you see noticeable sag under a full load of books. Aim for 32 inches to stay comfortably within margin. Adding solid wood edge banding to the front edge or a center support extends the usable span significantly.
How much weight can a floating shelf hold?
It depends entirely on the anchor. A plastic expansion anchor holds 10 to 25 lb, a toggle bolt holds 25 to 50 lb, and lag screws into two studs bring the total up to roughly 100 lb. Whenever you can, mount into studs rather than drywall alone.
What is a corner shelf DIY build?
It is a shelf cut with a 45-degree miter on both ends so it fits flush into a 90-degree wall corner. The two mitered ends meet in the corner for a gap-free fit. It is a beginner-level, half-day project once you are comfortable making accurate cuts with a saw.
What tools do I need for a basic shelf?
A drill and a level cover a floating or mug shelf completely. Add a miter saw once you move up to corner or ladder shelves, since those require accurate angled cuts. Everything beyond that, like a pocket-hole jig or router, only comes into play at the bookcase and built-in level.

“DIY woodworking enthusiast who started with zero experience and a YouTube tutorial.
I build simple, practical projects for my home and share free plans
so other beginners can skip the guesswork.If I can build it, you can too.”