TL;DR:
- Proper sanding prepares the wood surface for even stain absorption and better finish adhesion.
- Skipping grit stages or applying too much pressure can cause visible scratches and uneven results.
- Patience and tactile inspection are key to achieving a smooth, durable, and professional-looking finish.
Most woodworkers spend hours choosing the right wood species, cutting precise joinery, and selecting premium finishes. Then they rush through sanding. That single shortcut can ruin everything. The truth is, even a beautifully crafted piece of furniture will look amateur if the surface prep is poor. Sanding is not a tedious afterthought. It is the step that separates a rough, blotchy result from a smooth, professional finish that lasts for years. This guide covers why sanding matters at a material level, the real benefits it delivers, the most common mistakes to avoid, and the techniques that give you consistent, high-quality results every single time.
Table of Contents
- The science behind sanding: Why wood needs surface prep
- Practical benefits of sanding: Durability, finish, and visual impact
- Common mistakes and misconceptions about sanding wood
- Sanding techniques and tools: Getting it right every time
- How sanding fits into the entire woodworking process
- A pro woodworker’s perspective: What most guides miss about sanding
- Take your woodworking to the next level with expert plans and tips
- Frequently asked questions
Key Takeaways
| Point | Details |
|---|---|
| Surface prep is vital | Sanding is essential for achieving a smooth, professional-looking wood finish. |
| Better finish adhesion | Proper sanding creates surfaces that hold paint, stain, and varnish more effectively. |
| Mistakes can be costly | Common errors like skipping grits or over-sanding lead to visible flaws in wood projects. |
| Right tools and methods matter | Using the correct sanding tools and techniques ensures consistent, high quality results. |
The science behind sanding: Why wood needs surface prep
Now that we’ve established why sanding shouldn’t be skipped, let’s dig into what actually happens during the process.
Wood is not a flat, uniform surface, even when it looks like one. Every board carries tool marks from the mill, tiny ridges from the planer, and a grain structure that opens and closes depending on the species and cut. When you apply a stain or finish directly to an unsanded surface, those imperfections do not disappear. They get magnified. The finish settles into grooves unevenly, creating a blotchy, inconsistent look that no amount of extra coats will fix.
Here is what is actually happening at the surface level when you sand:
- Tool marks and mill glaze create a sealed, slightly burnished layer that resists stain penetration. Sanding breaks through that layer.
- Open grain pores on species like oak or ash absorb finish unevenly. Sanding helps regulate how much finish soaks in.
- Surface tension changes when wood is properly sanded. A smoother surface allows finishes to flow and level more evenly.
- Raised wood fibers from moisture or previous coats create a fuzzy texture. Sanding knocks those fibers flat before they get locked in by the finish.
As the sanding basics resource from Wood Magazine explains, every species behaves differently under sandpaper, and understanding that behavior helps you choose the right grit and technique.
“Proper sanding removes tiny surface imperfections that finishing can’t hide.”
The goal of sanding is not just smoothness. It is uniformity. A surface that looks smooth to the eye but has inconsistent texture will still absorb stain unevenly. Running your hand across the wood after each grit progression tells you more than your eyes will. If it feels silky and consistent in every direction, you are ready for the next step. Achieving flawless sanding results starts with understanding that sanding is a surface engineering process, not just a cleanup task.
Practical benefits of sanding: Durability, finish, and visual impact
Understanding the underlying reasons for sanding leads us to see its direct benefits for every type of woodworking project.
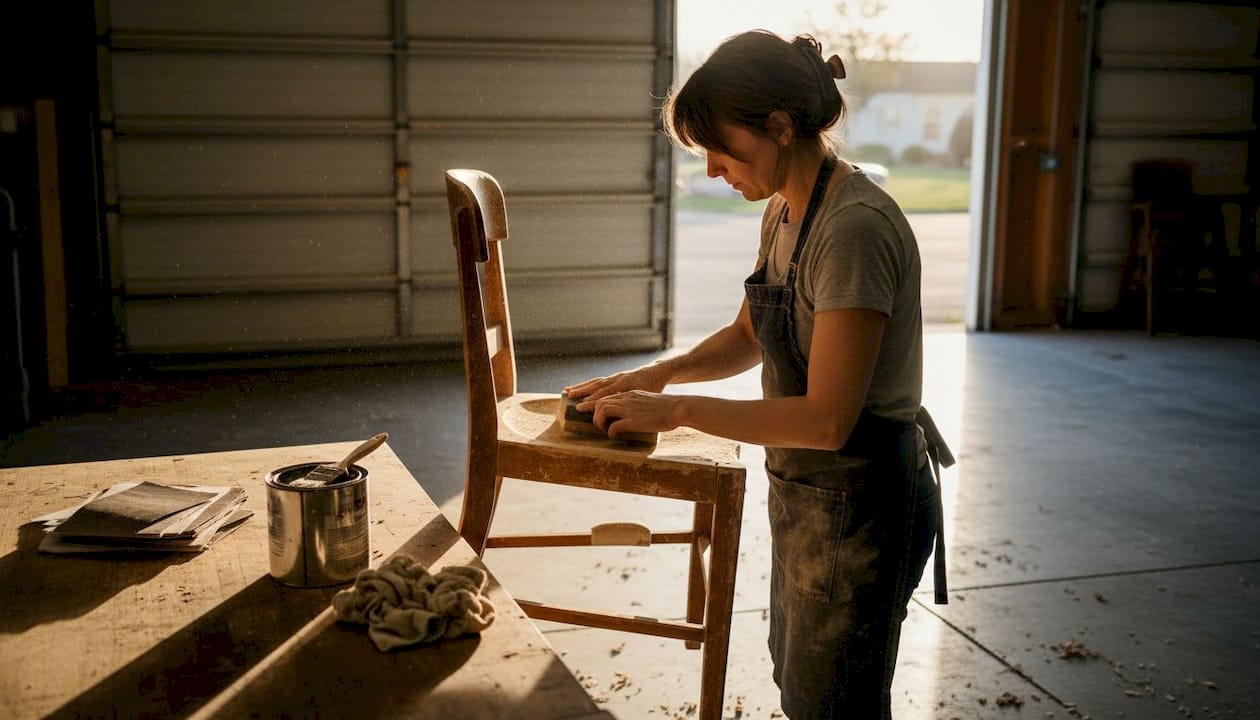
The payoff from proper sanding shows up in three clear ways: how the piece looks, how well the finish holds up over time, and how easy it is to apply that finish in the first place. Skip sanding and you fight all three of these battles at once.
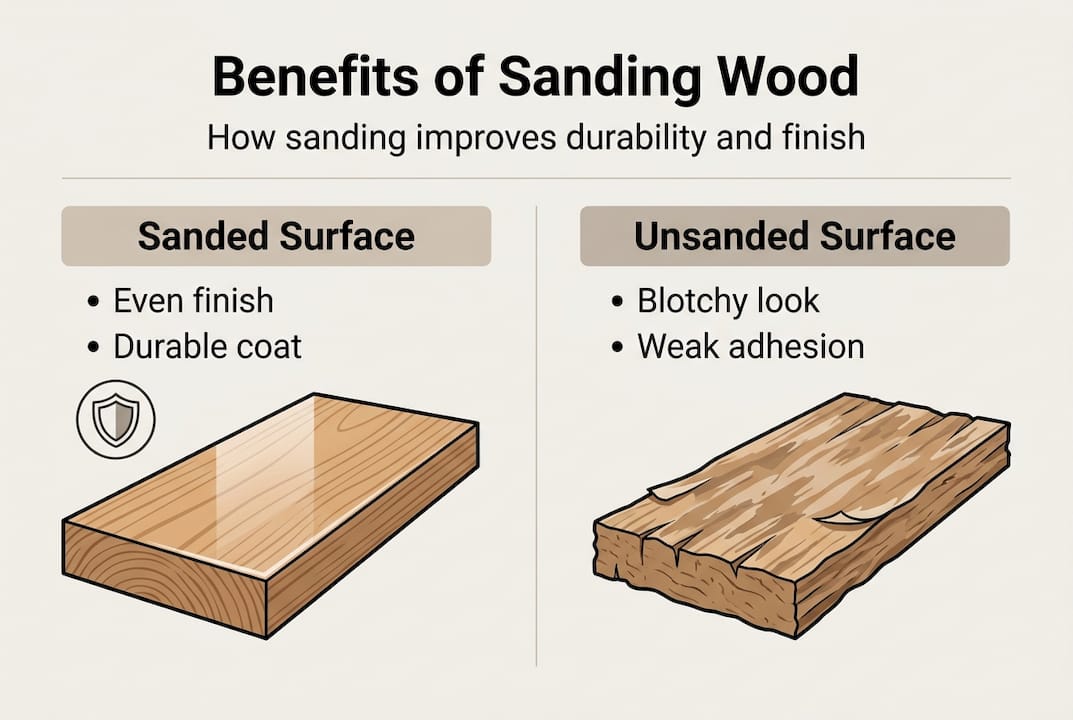
Visually, sanding removes the tool marks, scratches, and grain inconsistencies that catch light at the wrong angle. Stain absorbs evenly across the surface instead of pooling in some areas and barely touching others. The result is a piece that looks intentional and crafted rather than rough and rushed.
From a durability standpoint, finishing wood techniques consistently show that finishes applied over sanded surfaces bond more effectively to the wood. That means better resistance to moisture, scratches, and everyday wear. A finish that peels or chips within a year is almost always a sign of poor surface prep.
“Sanding is essential to achieving a flawless, durable finish.”
Here is a quick comparison that shows the real-world difference:
| Feature | Sanded surface | Unsanded surface |
|---|---|---|
| Stain absorption | Even and consistent | Blotchy and unpredictable |
| Finish adhesion | Strong and long-lasting | Weak, prone to peeling |
| Visual appearance | Smooth, professional | Rough, tool marks visible |
| Finish application | Easy, flows well | Difficult, clumps and drags |
| Durability | High | Low |
Another benefit that often gets overlooked is how much easier sanding makes the finishing process itself. When you understand why finish wood matters for protection and aesthetics, it becomes clear that sanding is the foundation that makes every finishing product perform at its best. As sanding between coats data from Popular Woodworking confirms, even light sanding between finish coats dramatically improves the final result.
Common mistakes and misconceptions about sanding wood
Even when you understand the benefits, it’s easy to slip up during sanding. Here’s what to watch for.
The most expensive sanding mistakes are not the dramatic ones. They are the small, easy-to-miss errors that quietly ruin a project. Many DIYers make avoidable mistakes like skipping grits or using too much pressure, and the damage does not show up until the finish goes on.
Here are the most common sanding mistakes and what they actually cost you:
- Skipping grit stages. Jumping from 60-grit to 220-grit leaves deep scratches that finer grits cannot remove. Those scratches become visible the moment stain hits the wood.
- Using too much pressure. Pressing hard does not sand faster. It creates uneven surfaces and can round over edges that should stay crisp.
- Ignoring the edges and corners. Flat surfaces get all the attention, but edges are what people touch. Rough edges feel unfinished and can splinter over time.
- Sanding across the grain. Always sand with the grain on the final passes. Cross-grain scratches are nearly invisible until finish is applied, then they stand out clearly.
- Over-sanding one area. Focusing too long on a single spot creates a low spot or a rounded surface that catches light differently than the rest of the piece.
- Forgetting to remove dust. Sanding dust left on the surface gets trapped under the finish, creating a gritty texture.
For more guidance on avoiding sanding mistakes and building better habits from the start, reviewing structured beginner resources can save you a lot of frustration. The sanding tips for beginners section at Real Wood Work Plans is a solid starting point.
Pro Tip: Use a bright light held at a low angle to the surface after each grit stage. This raking light technique reveals scratches and high spots that are invisible under normal lighting, letting you catch problems before they get locked in by finish.
For deeper wood sanding advice on grit selection and pressure control, Wood Magazine offers practical guidance backed by hands-on testing.
Sanding techniques and tools: Getting it right every time
If you want professional-looking woodwork, using the right sanding approach is as important as understanding why you sand.
Grit selection is where most people either get it right or lose the game early. Start with a grit that removes the existing imperfections without creating new, deeper scratches. For raw, rough-sawn lumber, that might mean starting at 60 or 80-grit. For pre-surfaced boards from a lumber yard, 100 or 120-grit is usually the right entry point.
Here is a simple step-by-step sanding process that works for most furniture projects:
- Inspect the surface under raking light and identify all tool marks, scratches, and rough areas.
- Choose your starting grit based on how rough the surface is (60 to 120-grit for initial passes).
- Sand with the grain using consistent, overlapping strokes across the full surface.
- Remove all dust with a vacuum and a tack cloth before moving to the next grit.
- Move up one grit stage (for example, 120 to 150, then 150 to 180, then 180 to 220).
- Do a final inspection by touch and by raking light before applying any finish.
As noted in sanding wood methods from This Old House, the progression matters more than the speed. Rushing between grits is where most projects go wrong.
Different sanding tools offer different levels of surface control and efficiency, and choosing the right one depends on your project size and surface type.
| Tool | Best use | Control level | Speed |
|---|---|---|---|
| Sanding block | Flat surfaces, final passes | High | Slow |
| Random orbital sander | Large flat panels | Medium | Fast |
| Detail sander | Corners, tight spaces | High | Medium |
| Belt sander | Material removal, rough prep | Low | Very fast |
Building beginner sanding skills starts with hand sanding, which develops the tactile sensitivity you need to feel when a surface is truly ready. Once you have that baseline, power tools help you work faster without losing quality. Developing essential sanding skills takes practice, but the results speak for themselves.
Pro Tip: After your final grit pass, lightly dampen the wood surface with a clean, damp cloth. This raises the grain one last time. Let it dry completely, then do a quick pass with your finest grit. The result is a surface that stays smooth even after the first coat of water-based finish.
How sanding fits into the entire woodworking process
With solid sanding skills and the right tools, it’s important to know when to use them for maximum impact on your project.
Sanding is not a one-time event at the end of a project. It happens at multiple stages, and knowing when to sand is just as important as knowing how. Placed correctly in your woodworking workflow, sanding prevents problems that would otherwise require starting over.
Here is where sanding belongs in a typical project sequence:
- After rough milling. Remove mill marks and level any surface inconsistencies before cutting joinery.
- Before assembly. Sand individual parts while they are still flat and easy to access. Interior surfaces of boxes or cabinets are nearly impossible to sand after glue-up.
- After glue-up. Sand glue squeeze-out and level any slight misalignments at joints.
- Before the first finish coat. This is the critical final prep pass. End at 180 or 220-grit depending on your finish type.
- Between finish coats. Light sanding with 320-grit or higher knocks down dust nibs and improves adhesion for the next coat.
Sanding is one of several core preparation steps before finishing wood, and skipping any stage creates compounding problems. A glue smear missed before the first coat will show through every layer of finish you apply.
Following a structured wood finishing sequence ensures that each stage of your project builds on a solid foundation. The wood sanding guide from Family Handyman also outlines how sanding integrates into full project workflows, which is useful for planning larger builds.
Pro Tip: Keep a sanding log for each project. Note the grits you used, which surfaces needed extra attention, and what finish you applied. After a few projects, patterns emerge that help you refine your process and cut down on rework.
A pro woodworker’s perspective: What most guides miss about sanding
After exploring the practical hows and whys, let’s zoom out to what years of woodcraft reveal about the real value of careful sanding.
Most sanding guides focus entirely on technique, and that is useful. But the real lesson that experience teaches is about patience and attention. Every woodworker, at some point, rushes through sanding because the exciting part (assembly, finishing, seeing the piece come together) is just ahead. That impatience is the single biggest quality killer in DIY woodworking.
What separates good results from great ones is not the brand of sandpaper or the price of the sander. It is the willingness to slow down and trust your hands over your eyes. A surface can look smooth under shop lighting and still feel rough when you run your fingertips across it. That tactile check is more reliable than any visual inspection.
Even experienced woodworkers benefit from revisiting their sanding habits. It is easy to develop shortcuts that work most of the time but fail on certain species or grain patterns. Staying curious about the process, the way a beginner would, keeps your results consistent. The DIY woodworking benefits of slowing down at the sanding stage go far beyond surface quality. They build the discipline that improves every other part of your craft.
Take your woodworking to the next level with expert plans and tips
Ready to bring more professionalism and quality to your wood projects? Here’s how you can keep advancing.
Knowing why and how to sand is a huge step forward, but putting that knowledge into practice consistently is where structured guidance makes a real difference. At Real Wood Work Plans, you get access to step-by-step woodworking plans for DIY projects that build sanding and finishing steps directly into the workflow, so nothing gets skipped.

Whether you are just starting out or refining your technique after years of building, understanding why use plans can help you avoid the trial-and-error that wastes time and materials. Browse the full collection of free woodworking plans and find your next project, complete with surface prep guidance built right in.
Frequently asked questions
Can I skip sanding if the wood looks smooth?
Even if wood appears smooth, skipping sanding can lead to poor finish adhesion or visible surface defects. Proper sanding is important even on pre-surfaced woods because mill glaze and micro-scratches are not always visible to the naked eye.
Do I have to sand between coats of finish?
Light sanding between coats helps improve adhesion and creates a more even, long-lasting finish. Sanding between coats improves finish adhesion by giving the next layer a clean, slightly abraded surface to bond to.
What grit sandpaper should I start with on raw wood?
Begin with a medium grit such as 80 to 120 and move to finer grits for best results. Progressing through sandpaper grits ensures a smoother finish because each stage removes the scratches left by the previous one.
What happens if I skip grits or over-sand?
Skipping grits can leave scratches that show through the finish, while over-sanding can round edges and affect the final appearance. Skipping grits or over-sanding are common mistakes that hurt quality and often require starting the surface prep process over from scratch.
Recommended
- Master sanding in woodworking for flawless finishes
- Finishing wood explained: techniques and tips for DIY projects
- Why Finish Wood: Protecting and Enhancing Projects
- Role of Wood Selection in DIY Woodworking Projects

“DIY woodworking enthusiast who started with zero experience and a YouTube tutorial.
I build simple, practical projects for my home and share free plans
so other beginners can skip the guesswork.If I can build it, you can too.”