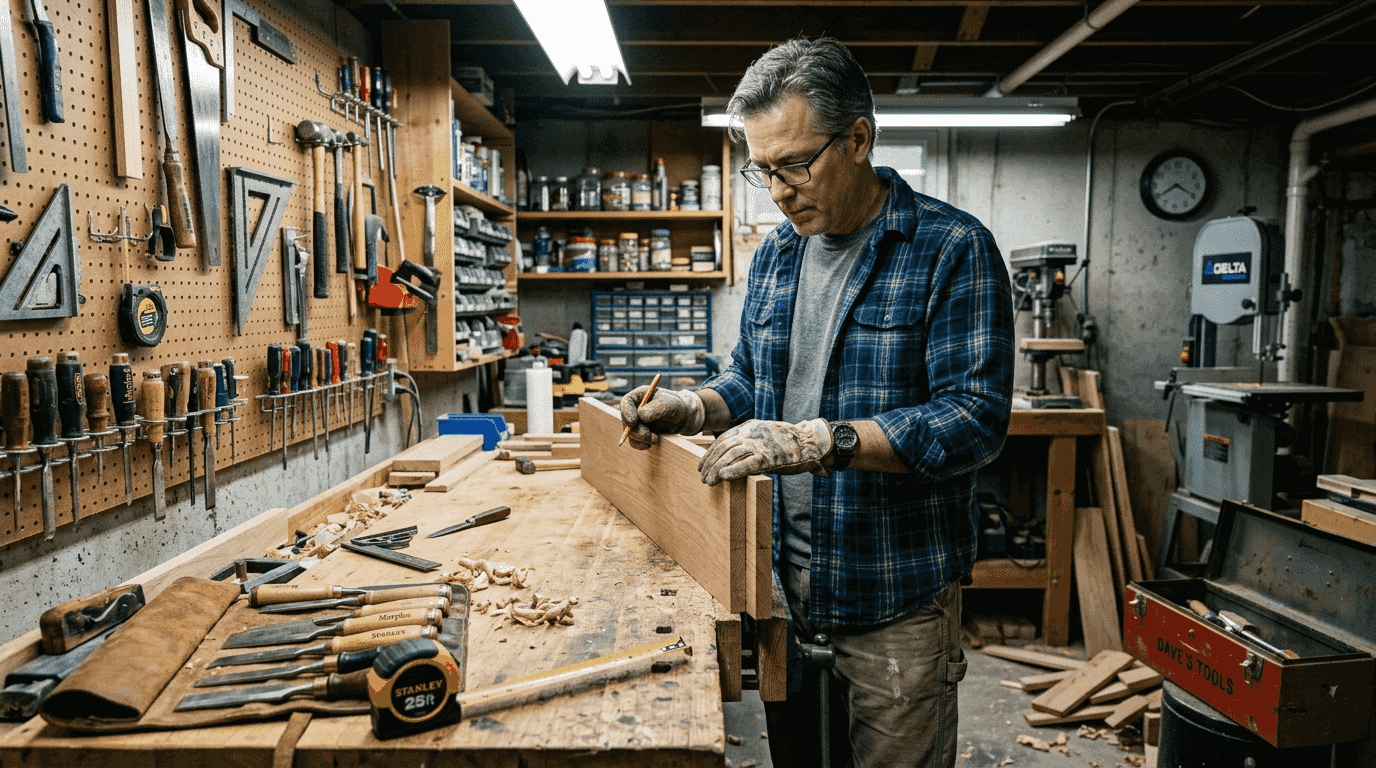
Choosing the right joinery technique can make or break your furniture project. Strong joints create pieces that last decades, while weak connections lead to wobbling chairs and sagging shelves. Many DIY woodworkers struggle to select the best method for their builds, unsure whether dovetails, mortise and tenon, or simpler options suit their skill level and project needs. This guide breaks down seven essential joinery techniques with clear explanations of their strengths, weaknesses, and ideal applications. You’ll discover which methods work best for tables, cabinets, and decorative pieces, plus learn pro tips to avoid common mistakes that compromise joint quality.
Table of Contents
- Understanding Joinery Selection Criteria For Durable Furniture
- Seven Essential Joinery Techniques Explained
- Common Mistakes And Pro Techniques To Improve Joinery Quality
- Choosing The Right Joinery Technique For Your Project Type
- Discover Woodworking Plans To Master Joinery In 2026
- FAQ
Key takeaways
| Point | Details |
|---|---|
| Seven essential techniques | Master butt, mortise and tenon, dovetail, lap, rabbet, biscuit, and pocket hole joints for diverse projects. |
| Selection criteria matter | Choose joints based on strength needs, wood type, skill level, and available tools. |
| Avoid common pitfalls | Dry-fit before gluing, maintain sharp tools, and respect wood grain direction for stronger bonds. |
| Match method to project | Tables need robust mortise and tenon joints while decorative boxes benefit from precise dovetails. |
Understanding joinery selection criteria for durable furniture
Selecting the right joinery method starts with understanding three core criteria: strength requirements, aesthetic goals, and construction complexity. Choosing the right joinery technique greatly impacts furniture strength and longevity, so consider how much weight or stress your piece will endure. A dining table supporting heavy loads demands different joints than a decorative wall shelf.
Wood species influences your joinery decisions significantly. Hardwoods like oak and maple accept mortise and tenon joints beautifully because their density supports precise cuts and strong mechanical locks. Softer woods such as pine may split under aggressive joinery techniques, making biscuit or pocket hole joints safer choices. The wood types for furniture durability you select should align with your chosen joinery method to prevent failures.
Consider these practical factors when selecting your technique:
- Tool availability in your workshop limits or expands your options
- Your current skill level determines which joints you can execute reliably
- Project timeline affects whether you choose quick pocket holes or time-intensive dovetails
- Budget constraints influence whether you invest in specialty jigs or stick with basic methods
Moisture and wood movement present real challenges in joinery. Wood expands and contracts with humidity changes, so rigid joints may crack over time. Frame and panel construction allows movement, while solid wood tabletops need joinery that accommodates seasonal shifts. Think about where your finished piece will live and how environmental conditions might stress the joints.
Pro Tip: Start with a single joinery method and practice it on scrap wood until you achieve consistent, tight fits before moving to your actual project pieces.
Seven essential joinery techniques explained
Each joinery method offers distinct advantages for specific applications. Understanding the essential wood joinery methods helps you build stronger, more professional furniture. Here’s a detailed breakdown of seven fundamental techniques every DIY woodworker should know.
Butt joints connect two pieces of wood end to end or edge to face, creating the simplest possible joint. You’ll find these in basic boxes and frame backs where appearance matters less than speed.
Advantages:
- Fastest joint to cut and assemble
- Requires only basic tools like a saw and square
- Works well with reinforcement like screws or corner brackets
Disadvantages:
- Weakest joint without mechanical fasteners
- Limited glue surface area reduces bond strength
- End grain gluing provides minimal holding power
Mortise and tenon joints feature a projecting tenon that fits into a corresponding mortise cavity, creating exceptional strength through mechanical interlocking. This method dominates traditional furniture construction for good reason.
Advantages:
- Provides maximum strength for load-bearing furniture
- Large glue surface creates durable bonds
- Proven technique used for centuries in fine furniture
Disadvantages:
- Requires precision cutting and fitting skills
- Time-consuming to execute properly
- Needs chisels, drills, or specialized mortising machines
Here’s how to create a basic mortise and tenon joint:
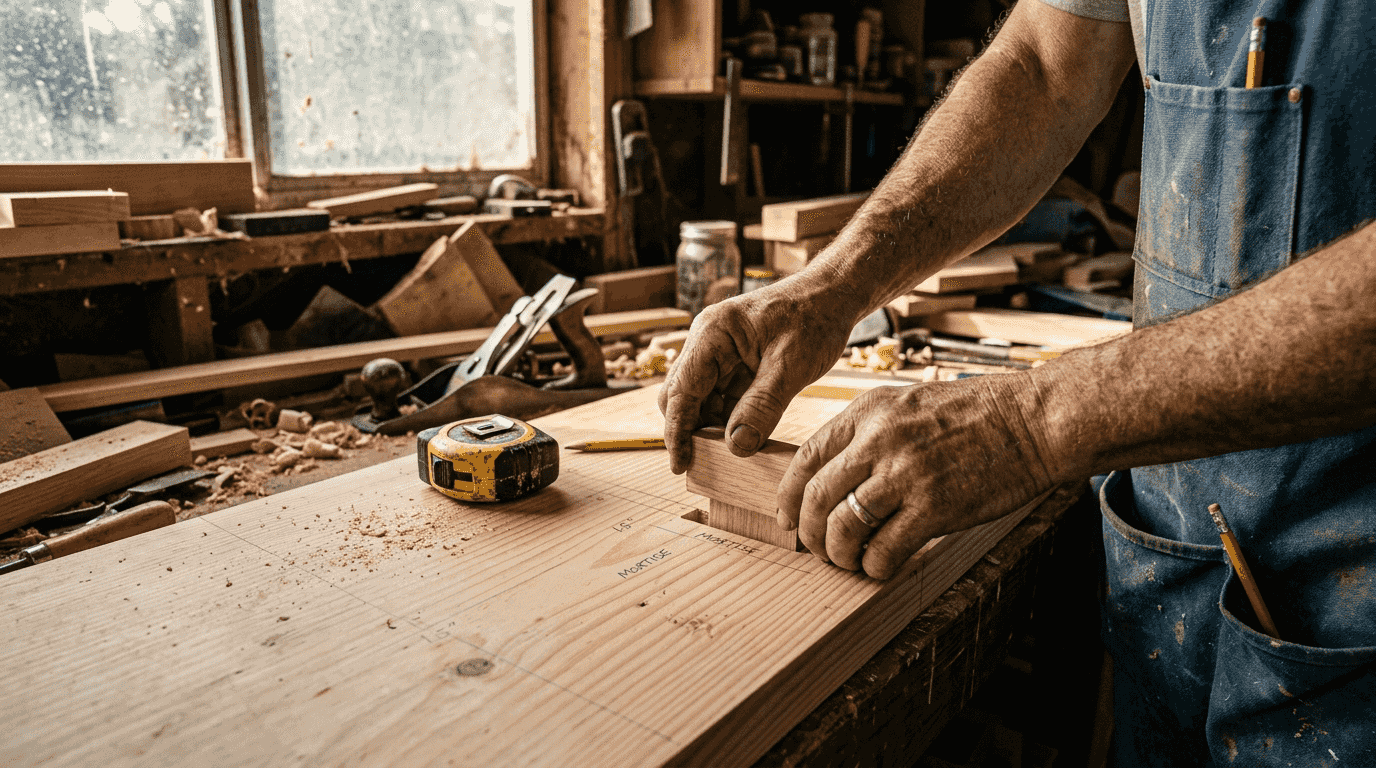
- Mark the mortise location on your receiving piece using a marking gauge
- Drill out waste material inside mortise boundaries with a drill press
- Square the mortise walls and corners using sharp chisels
- Cut the tenon on your mating piece using a table saw or hand saw
- Test fit and adjust until the tenon slides snugly into the mortise
- Apply glue to both surfaces and clamp until dry
Dovetail joints interlock wedge-shaped pins and tails, creating joints that resist pulling apart. You’ll recognize these distinctive triangular shapes on drawer fronts and fine boxes.
Advantages:
- Exceptional tensile strength resists pulling forces
- Visually striking when executed well
- No fasteners needed once glued
Disadvantages:
- Steep learning curve for hand-cut dovetails
- Requires patience and practice for tight fits
- Mistakes are difficult to hide or fix
Lap joints overlap two pieces of wood with matching notches cut halfway through each board’s thickness. These work well for frame construction and cross bracing.
Advantages:
- Stronger than butt joints with more glue surface
- Relatively simple to cut with basic tools
- Creates flush surfaces when done correctly
Disadvantages:
- Reduces effective thickness at the joint location
- Visible from edges unless covered
- Requires accurate depth control when cutting
Rabbet joints feature an L-shaped notch cut along a board’s edge that accepts another piece, commonly seen in cabinet backs and drawer bottoms.
Advantages:
- Quick to cut with a table saw or router
- Provides better alignment than butt joints
- Hides plywood edges in cabinet construction
Disadvantages:
- Moderate strength without additional fasteners
- Short grain at the rabbet edge can break easily
- Limited decorative appeal
Biscuit joints use football-shaped wooden wafers inserted into matching slots cut by a biscuit joiner, offering excellent alignment for edge-to-edge panels.
Advantages:
- Fast and accurate for panel glue-ups
- Invisible when assembled correctly
- Requires minimal skill after initial setup
Disadvantages:
- Needs a dedicated biscuit joiner tool
- Provides alignment more than structural strength
- Biscuits can swell if exposed to moisture before assembly
Pocket hole joints drive screws at an angle through one board into another using a specialized jig, popular for face frames and quick assembly projects.
Advantages:
- Extremely fast assembly process
- Strong enough for most furniture applications
- Beginner-friendly with consistent results
Disadvantages:
- Visible pocket holes on one side
- Screws can strip in softer woods
- Less traditional appearance than classic joinery
Here’s a comparison of all seven techniques:
| Joint Type | Strength | Difficulty | Best Applications |
|---|---|---|---|
| Butt | Low | Easy | Simple boxes, backs |
| Mortise and Tenon | Very High | Advanced | Tables, chairs, frames |
| Dovetail | High | Advanced | Drawers, boxes |
| Lap | Moderate | Intermediate | Frames, crosses |
| Rabbet | Moderate | Easy | Cabinet backs, drawers |
| Biscuit | Moderate | Easy | Panel glue-ups |
| Pocket Hole | Moderate | Easy | Face frames, cabinets |
Pro Tip: Match your joint complexity to your current skill level rather than forcing advanced techniques before you’re ready, as poorly executed complex joints often fail faster than well-made simple ones.
Applying joinery for stronger furniture means selecting the right method for each connection point in your project.
Common mistakes and pro techniques to improve joinery quality
Even experienced woodworkers make joinery errors that weaken their projects. Recognizing these pitfalls helps you avoid frustration and build better furniture. Building beginner woodworking projects successfully means learning from common mistakes before they happen.
Overcutting or undercutting joints creates the most frequent problems. A mortise cut too deep leaves gaps that glue can’t fill effectively. A tenon cut too thin wobbles in its mortise, creating a weak connection. Both errors compromise structural integrity and create visible flaws in your finished piece.
Wood grain direction matters more than many beginners realize. Gluing end grain to face grain produces weak bonds because end grain absorbs adhesive like a sponge, starving the joint of bonding material. Whenever possible, orient joints so long grain meets long grain for maximum glue strength. Cross-grain construction also fights wood movement, leading to cracks as humidity changes.
Inadequate clamping produces another set of problems:
- Insufficient pressure leaves gaps between mating surfaces
- Uneven pressure causes joints to shift during glue-up
- Too much pressure crushes wood fibers and squeezes out all the glue
- Wrong clamp placement allows pieces to bow or twist
Sharp tools make the difference between clean, tight joints and sloppy ones. Dull saw blades tear wood fibers instead of cutting them cleanly. Dull chisels crush mortise walls rather than paring them smooth. Invest time in sharpening your tools regularly, and you’ll see immediate improvement in joint quality.
Pro Tip: Always dry-fit your joints before applying glue to identify problems you can still fix, and use this opportunity to plan your clamping strategy and gather all necessary tools within reach.
“Patience and precision separate amateur joinery from professional work. Rushing through layout and cutting always shows in the final assembly, while careful measurement and test fits create joints that last generations.”
Measurement errors multiply through a project. If your first mortise sits 1/16 inch off center, every subsequent joint must compensate for that error. Use a story stick or setup blocks to ensure consistent spacing across multiple identical joints. Woodworking tips for beginners emphasize measuring twice and cutting once for good reason.
Glue application requires a balanced approach. Too little glue creates starved joints that fail under stress. Too much glue makes a mess and doesn’t improve strength. Apply a thin, even coat to both mating surfaces, and look for a small amount of squeeze-out when you apply clamps.
Choosing the right joinery technique for your project type
Matching joinery methods to specific furniture projects ensures both structural integrity and appropriate construction complexity. Different pieces demand different approaches based on how you’ll use them and where they’ll be visible. The role of joinery in furniture strength and craftsmanship means selecting techniques that serve both function and form.
Tables and chairs endure constant stress from weight and movement, requiring the strongest possible joints. Mortise and tenon connections dominate these applications because they resist racking forces that would pull simpler joints apart. A dining chair experiences tremendous leverage when someone leans back, concentrating force at the leg-to-rail connections. Only robust mechanical joints survive this punishment over years of use.
Cabinets and case goods benefit from different joinery approaches. Rabbet joints work beautifully for attaching backs because they hide plywood edges while providing adequate strength for a non-structural component. Dado joints support shelves by creating a mechanical ledge that prevents sagging. Pocket hole screws speed up face frame assembly while maintaining enough strength for doors and drawers.
Decorative boxes and small projects showcase joinery as a design element. Dovetails on a jewelry box demonstrate craftsmanship while providing excellent corner strength. The visible pins and tails become decorative features rather than hidden structural elements. Box joints offer a similar aesthetic with slightly easier execution for those still developing their skills.
Here’s how different project types align with joinery methods:
| Project Type | Primary Joinery | Secondary Options | Strength Priority | Visibility |
|---|---|---|---|---|
| Dining Table | Mortise and Tenon | Dowels | Critical | Hidden |
| Bookcase | Dado, Rabbet | Biscuit | Moderate | Mostly Hidden |
| Drawer | Dovetail | Box Joint | High | Visible |
| Face Frame | Pocket Hole | Mortise and Tenon | Moderate | Hidden |
| Decorative Box | Dovetail | Miter with Spline | Low | Featured |
| Picture Frame | Miter | Lap | Low | Visible |
Several factors should guide your joinery decisions beyond just project type:
- Load-bearing requirements determine minimum strength thresholds
- Visible surfaces need aesthetically pleasing joints or complete concealment
- Your skill level limits which techniques you can execute successfully
- Available tools constrain your realistic options
- Project timeline affects whether you choose quick or time-intensive methods
- Wood species influences which joints work best without splitting
Outdoor furniture presents unique challenges. Moisture cycling and UV exposure stress joints differently than indoor pieces. Use waterproof glue and consider mechanical fasteners as insurance. Mortise and tenon joints with drawbored pegs create outdoor furniture that survives seasonal extremes.
Understanding wood types explained diy projects helps you select compatible joinery. Dense hardwoods accept precise joinery better than soft pine. Plywood edges need different treatment than solid wood. Match your technique to your material for best results.
Small shop projects with limited tools might rely more heavily on pocket holes and biscuits. These methods deliver professional results without requiring a full workshop. As you acquire more tools and skills, you can graduate to more complex joinery that offers superior strength and traditional aesthetics.
Pro Tip: Start each project by listing every joint location, then assign the simplest adequate technique to each connection rather than overbuilding with complex joinery where it doesn’t add value.
Familiarity with furniture making terminology helps you understand joinery instructions and communicate with other woodworkers about techniques and results.
Discover woodworking plans to master joinery in 2026
Putting these joinery techniques into practice becomes much easier with detailed plans that guide you through each step. Real Wood Work Plans offers comprehensive project blueprints specifically designed to help you master these essential methods while building beautiful furniture. Each plan breaks down complex joints into manageable steps, showing exactly where to cut, how to fit, and when to glue.

Explore free woodworking plans that incorporate the joinery techniques covered in this guide, from beginner-friendly pocket hole projects to advanced mortise and tenon builds. You’ll find detailed cutting lists, assembly diagrams, and finishing instructions that take the guesswork out of your next project. Understanding why use woodworking plans means recognizing how they accelerate your learning while reducing costly mistakes. Access woodworking tips for beginners alongside project plans to build both skills and confidence throughout 2026.
FAQ
What is the strongest joinery technique for furniture?
Mortise and tenon joints provide the highest strength for load-bearing furniture like tables and chairs. Mortise and tenon joinery is widely regarded as among the strongest methods for load-bearing furniture because it creates large glue surfaces and mechanical interlocking that resists both tension and racking forces. Dovetails offer comparable strength for drawer construction but require more skill to execute properly.
How do I avoid gaps in my wood joints?
Dry-fit every joint before applying glue to identify fit problems while you can still adjust them. Dry-fitting your joints before gluing helps identify and fix gaps for a tighter fit. Use sharp tools and measure twice to prevent cutting errors that create loose joints. Practice on scrap wood until you achieve consistent results before cutting your actual project pieces.
Which joinery technique is best for beginners?
Start with butt joints reinforced with screws for simple projects, then progress to biscuit joints for improved alignment. Butt joints and biscuit joints are good beginner-friendly techniques due to simplicity and minimal tool requirements. Pocket hole joinery also delivers strong results with a short learning curve. Gradually advance to mortise and tenon or dovetails as your skills and tool collection grow.
Can I use different joinery techniques in the same project?
Absolutely, and you should match each joint to its specific function within the piece. Use mortise and tenon for structural leg-to-rail connections, rabbet joints for attaching backs, and pocket holes for face frames. This approach optimizes strength where needed while saving time on less critical connections. Professional furniture makers routinely combine multiple joinery methods in a single project.
Do I need expensive tools for quality joinery?
No, many traditional joints require only hand tools like saws, chisels, and marking gauges. Mortise and tenon joints predate power tools by centuries. While routers, table saws, and biscuit joiners speed up the process, sharp hand tools and patience produce equally strong results. Start with basic tools and invest in specialty equipment as your skills and project ambitions grow.
Recommended
- Wood joinery methods list: 9 essential DIY techniques
- Why Use Joinery Techniques? 50% Stronger Furniture
- Role of joinery in furniture: strength and craftsmanship
- 7 Inspiring Woodworking Project Ideas 2026 for DIY Skill-Building
- Blog Standard – Ecolife Homes – Park Model Home Manufacturer – Florida – USA
- 7 Essential Sourcing Tonewood Tips for Expert Luthiers

“DIY woodworking enthusiast who started with zero experience and a YouTube tutorial.
I build simple, practical projects for my home and share free plans
so other beginners can skip the guesswork.If I can build it, you can too.”