A woodworking bench is fundamentally different from a general work table — it’s a precision instrument for securing work in any orientation while cutting, planing, and shaping. The design elements (height, vise type, dog hole placement) are the result of centuries of refinement by craftsmen who needed to hold any board in any position without it moving under tool pressure. This guide covers the traditional designs, how to choose the right bench for your work, and how to build or buy one that will last a lifetime.
Ted’s Woodworking has complete workbench plans with cut lists, vise installation instructions, and dog hole layouts. Browse Ted’s plans →
This guide is part of our complete Workbench Plans: Shop Benches, Sawhorses & Tool Storage — covering workbench designs, sawhorses, tool storage, and more.
Step 1: Understand the Three Classic Bench Designs
Goal: Know the Roubo, Nicholson, and split-top designs and which suits different shops.
The Roubo bench (French, 18th century): massive single slab top (4–5 inches thick), leg vise on the left front, optional tail vise on the right end. The thick top is extremely heavy and stiff — it doesn’t move under hand plane pressure. The leg vise (a large wooden screw vise mounted between the front left leg and a parallel guide) holds boards of any width. This is the traditional fine-furniture bench.
The Nicholson bench (English, 19th century): thinner top (2–3 inches), apron (a board running the full length of the front) that provides clamping positions without a tail vise. Less expensive to build than the Roubo, easier to build with power tools. The apron replaces the tail vise for many clamping functions.
The split-top Roubo: two parallel slab tops with a gap between them. The gap allows work to be clamped below the surface (for routing operations, jig work, and securing boards that would otherwise overhang the solid-top bench). Popularized by Chris Schwarz in the 2010s. The most versatile modern design.
Milestone: Decide which design matches your primary work: Roubo for fine furniture and hand planes; Nicholson for a simpler build; split-top for combined hand-tool and power-tool work.
Step 2: Determine the Correct Bench Height
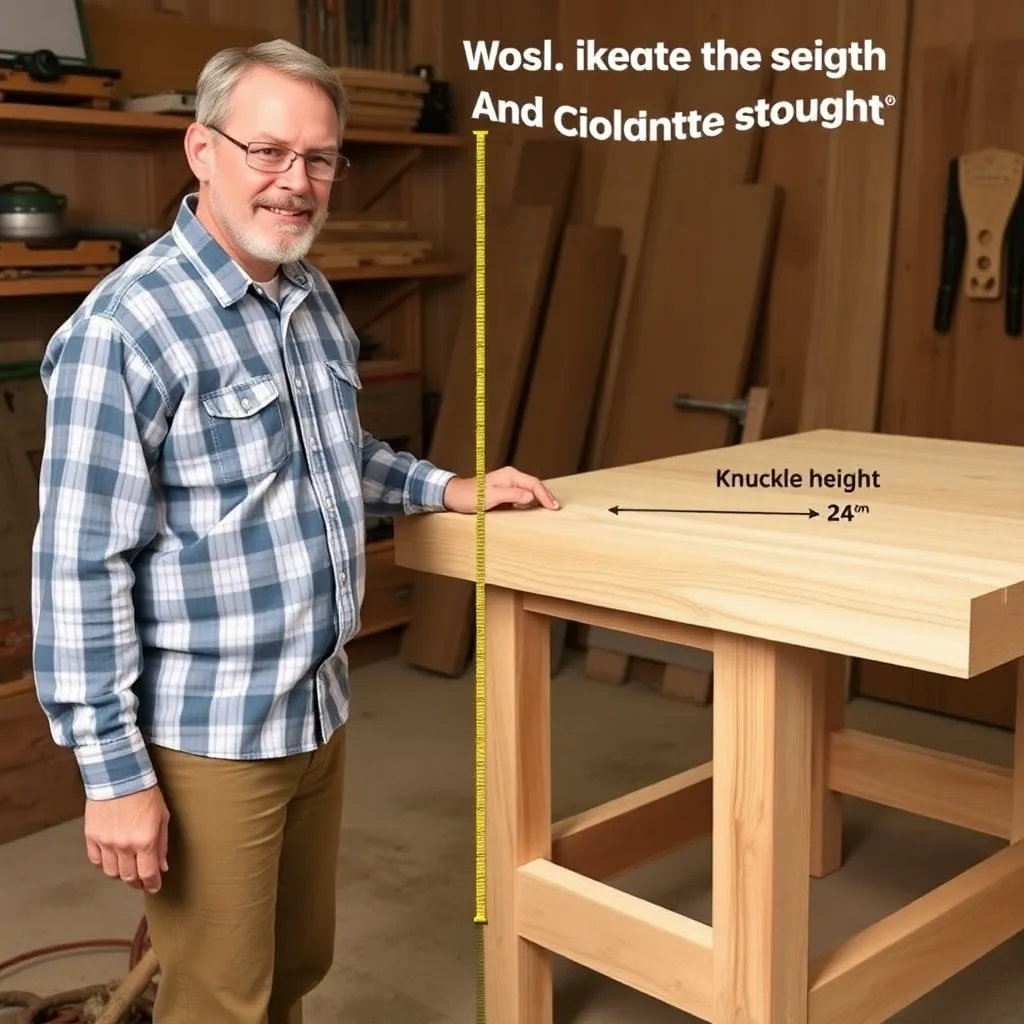
Goal: Calculate the bench height that works for your body and your primary tools.
Bench height is personal — it depends on your height, the tools you use most, and how you use them.
The knuckle-height rule: stand upright, arms relaxed at sides. The height of your knuckles is approximately the correct bench height for most woodworking. For most people between 5’8″ and 6’0″, this is 34–36 inches.
Adjustments:
- Hand planing: go 2–3 inches below knuckle height. Planing requires pushing down and forward; a lower bench allows body weight to be engaged through the upper body without bending the elbows upward.
- Detailed work (carving, small joinery): go 2–3 inches above knuckle height. Close-up work is more comfortable when the surface is closer to the eyes.
- Assembly: exact knuckle height is ideal — lifting large panels is easier at this height.
Build for the right height: most bench plans call for the top surface (not the frame) to be at a specific height. Account for the thickness of the top when setting leg length.
Milestone: Measure your knuckle height and determine your target bench height before building the frame.
Step 3: Choose and Install the Right Vises
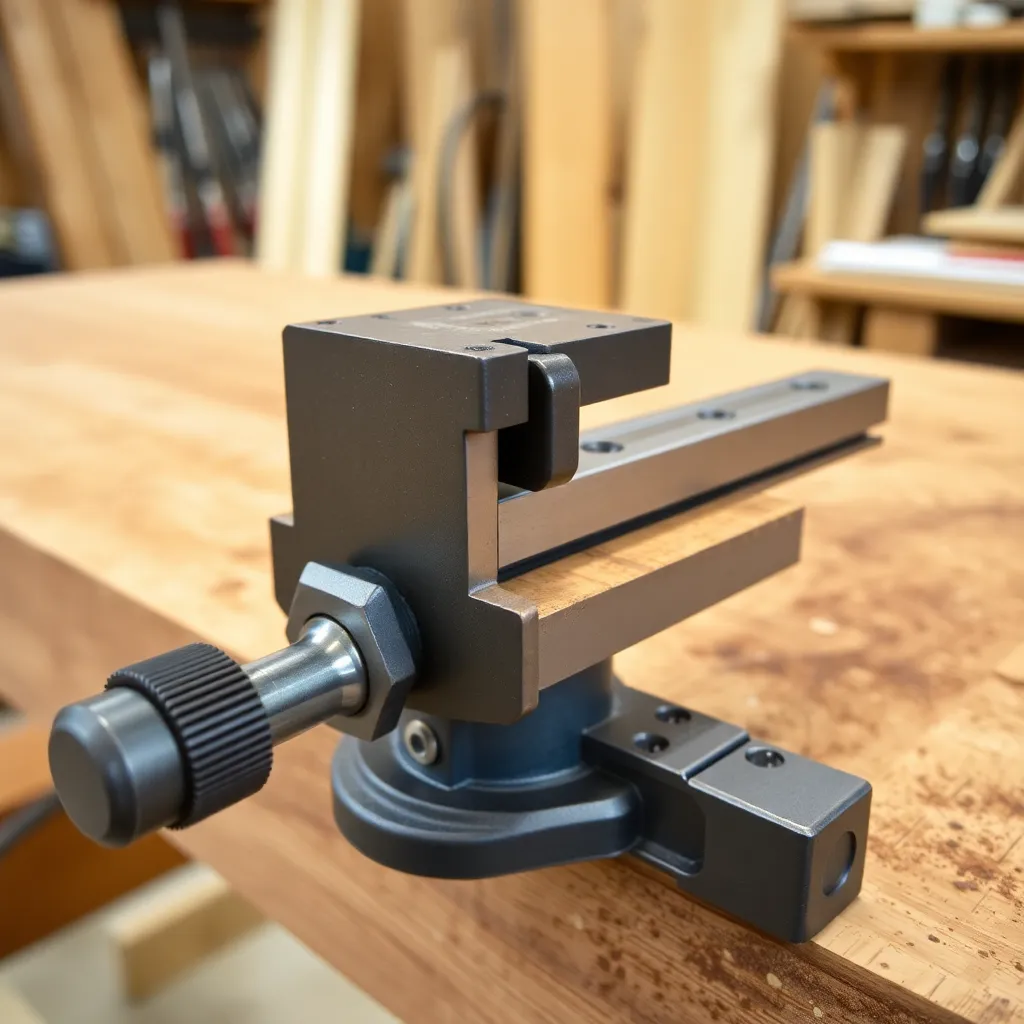
Goal: Select vise types appropriate for the work you do and understand their installation.
Face vise (front vise): mounted on the left front leg (for right-handed users), parallel to the bench. Grips boards for edge planing, end grain work, and dovetail cutting. The most essential vise — start here if you’re adding one vise.
Tail vise (end vise): mounted at the right end of the bench. Works with bench dogs (round or square pegs in holes in the bench top and vise face) to clamp boards flat on the bench surface for face planing. Complex to build (wooden tail vises) or expensive to buy (cast iron tail vises).
Leg vise: a large wooden-screw vise mounted between the front leg and a parallel guide. Grips boards of any width, including very wide panels. The traditional alternative to the modern quick-release face vise — more work to open and close (no quick release) but holds wider work.
Quick-release vs traditional: modern quick-release vises (Yost 750, Irwin Record) release the screw with a lever and then slide the jaw to the approximate width before engaging the screw for final tightening. Much faster than traditional full-turn screw vises. For most shops, quick-release is the right choice.
Milestone: Install a face vise on a test piece of lumber (mock up the leg connection) to understand the mounting geometry before attaching it to the finished bench.
Step 4: Lay Out Dog Holes
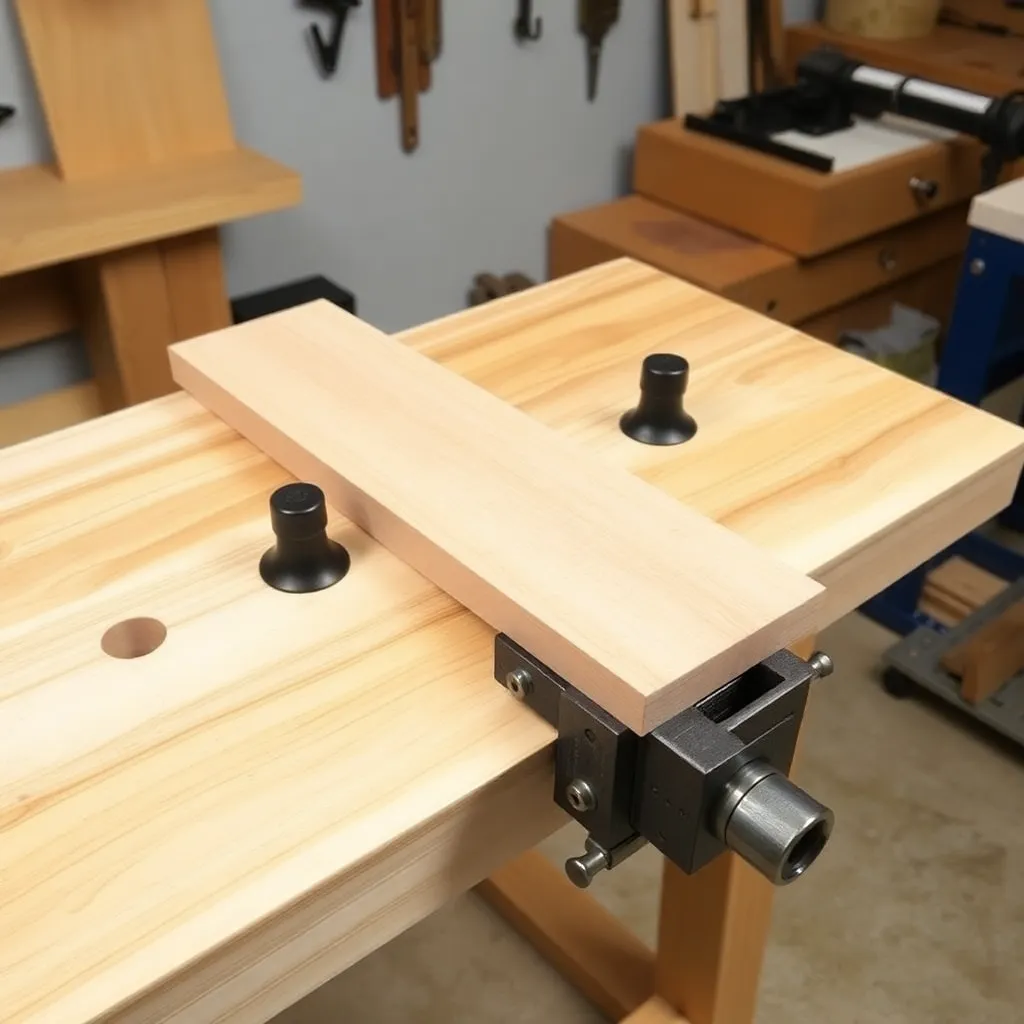
Goal: Drill or cut dog holes in the correct positions for bench dogs and holdfasts.
Dog holes are holes drilled through the bench top and, on a Roubo bench, through the vise face — a bench dog in the hole and a dog in the vise work as a clamp to hold boards flat on the bench surface.
Round dog holes: 3/4-inch diameter, drilled with a Forstner bit. Work with round bench dogs (store-bought cast iron or shop-made wooden dogs). Standard spacing: 4–5 inches on center in a row parallel to the bench front, offset from the front edge by 2–4 inches.
Square dog holes: 3/4-inch square, cut with a chisel. Traditional for wooden benches — square dogs don’t spin in the holes.
Holdfast holes: 3/4-inch round holes drilled through the top (and ideally into the top of the leg below for maximum holding power). Holdfasts are iron pegs struck with a mallet — they wedge into the hole and hold work with remarkable force. Spacing: approximately 6 inches from the front edge and every 12 inches along the bench.
Milestone: Mark the dog hole positions on the bench top layout before drilling — verify that the hole row aligns with the vise dog hole.
Step 5: Select the Top Material and Construction
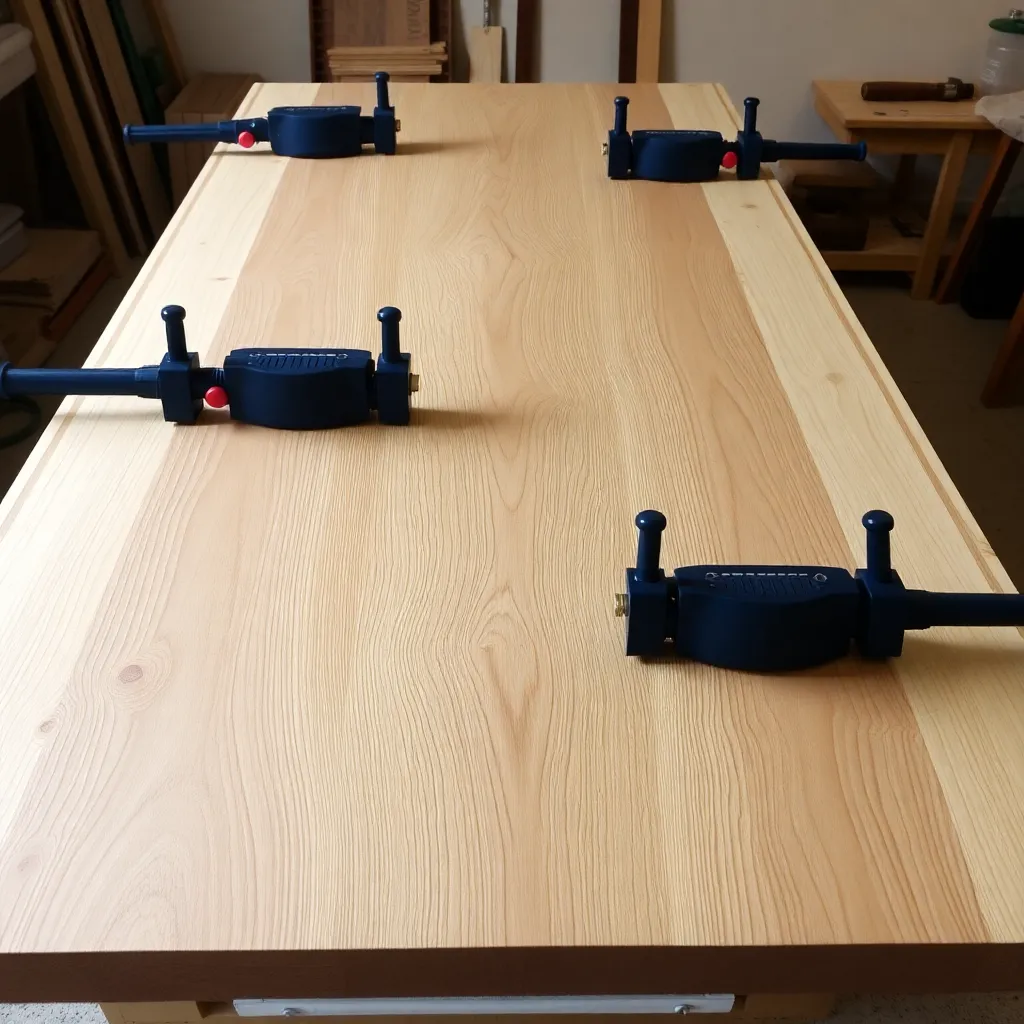
Goal: Choose and build a bench top appropriate for your budget and intended use.
Laminated hard maple: the benchmark. Buy 8/4 (2-inch thick) hard maple, mill flat, glue face-to-face in a slab 3–5 inches thick. Extremely hard (Janka 1450 lbf), stays flat when properly dried and glued, lasts indefinitely. Most expensive option — expect to pay $200–$400 for lumber for a 6-foot top.
Laminated Douglas fir (2×4 construction lumber): the best value. Buy the straightest, driest 2×4s you can find at the home center, mill one face flat, glue face-to-face. A 6-foot top uses approximately 10 studs. Total lumber cost: $25–$40. Not as hard as maple but excellent for most woodworking. Dents slightly more but is easily flattened with a hand plane.
Butcher block (pre-made): available from kitchen suppliers (IKEA, specialty retailers) in various sizes. Convenient, immediately usable, moderate hardness. Less expensive than custom maple but more expensive than laminated fir.
Milestone: Price the lumber for your preferred top material and compare to your budget before committing to a design.
Step 6: Build the Base and Assemble
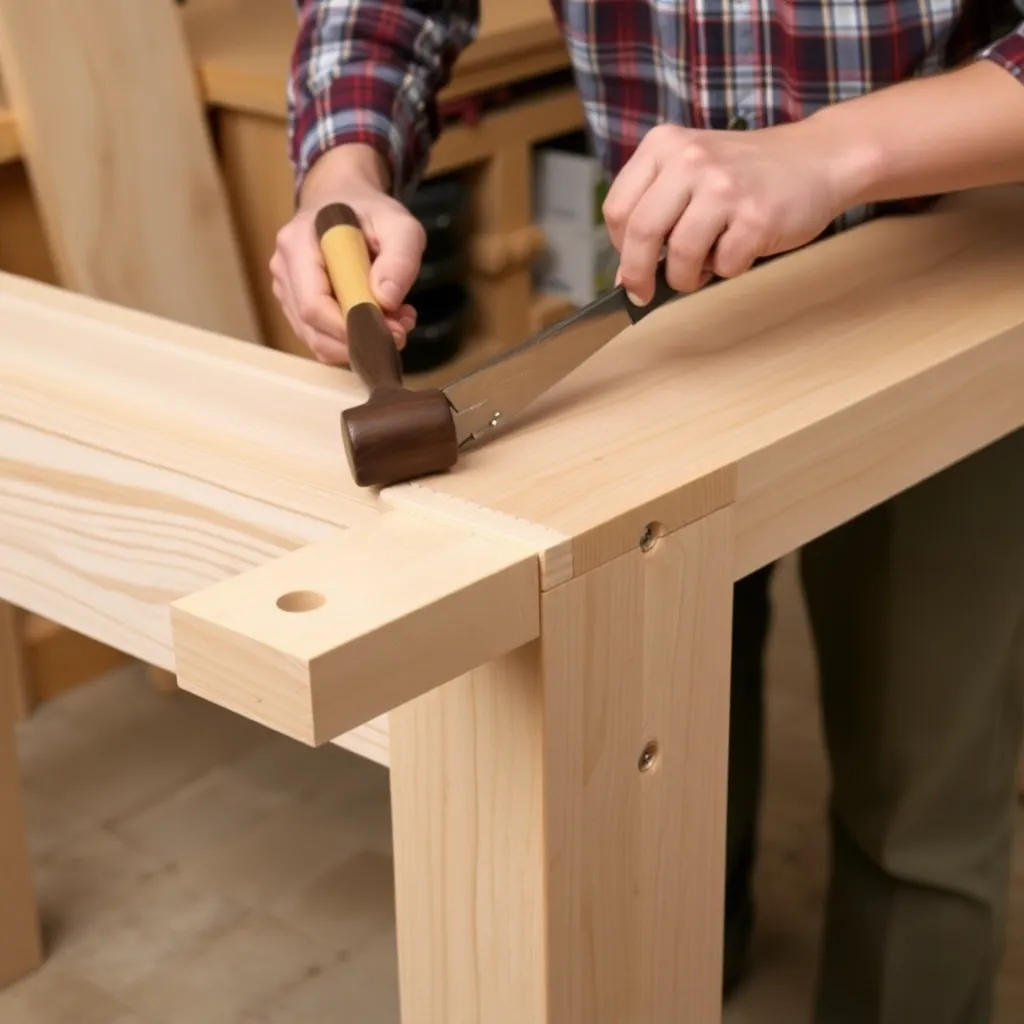
Goal: Build the bench base to the correct dimensions and attach the top.
Traditional mortise-and-tenon base: leg-and-stretcher construction with mortise-and-tenon joints. Very strong, traditional — the right choice for a heavy traditional bench. The mortises and tenons are large (1.5″×3″ or larger) — workable with hand tools or a drill press and router.
Trestle base: two H-shaped trestle assemblies connected by a long stretcher at the bottom. Simpler joinery than a four-leg base — the joints are mostly lap joints that can be cut on a table saw. Suitable for medium-weight benches.
Construction lumber base: 4×4 legs, 2×4 rails, glued and screwed. Simple to build, very strong, appropriate for a first bench. This is the base covered in the DIY workbench plans.
Attaching the top: the top must be attached in a way that allows seasonal wood movement (especially if it’s solid wood). Traditional attachment: wooden buttons (small wooden clips that fit in a groove in the apron or rails and slide as the top moves). Modern alternative: pocket screws driven at a slight angle into oversized holes. Never glue a solid wood top to the base — it will crack.
Milestone: Dry-assemble the base before gluing, check for square, and verify the leg heights are equal before final assembly.
Woodworking Bench FAQ
What is the best wood for a workbench?
Hard maple is the professional standard for the top — Janka hardness 1450 lbf, resists denting from clamps and tools, stays flat in a climate-controlled shop, and with boiled linseed oil treatment lasts indefinitely. The base can be any structural hardwood or softwood — Douglas fir, white oak, and hard maple are traditional choices. For a first bench on a budget: Douglas fir 2×4s for a laminated top and 4×4 construction lumber for the base produces an excellent bench for $100–$150 in materials. The difference between a fir top and a maple top is real (maple is harder) but for most woodworkers the fir bench is entirely adequate for years.
Do I need a tail vise?
A tail vise (end vise) works with bench dogs to clamp boards flat on the bench surface for face planing — it’s one of the defining features of a traditional woodworking bench. But it’s also the most complex component to build and the most expensive to buy. For most woodworkers, especially those starting out: a good face vise plus a planing stop (a cleat screwed to the end of the bench) handles 90% of holding tasks without the complexity of a tail vise. Add a tail vise later, when you’ve used the bench enough to know whether you need it. The split-top Roubo design is an alternative that handles many tail-vise functions (clamping to the bench surface) through its center gap and crisscross clamping positions.
How thick should a workbench top be?
Traditional woodworking benches have tops 3–5 inches thick. The thickness provides mass (weight = stability under hand plane pressure) and depth for holdfast holes to work effectively (holdfasts need at least 3 inches of engagement to hold). A thinner top (1.5–2 inches, typical of an assembly table or simple shop bench) is adequate for power tool work and assembly but lacks the mass and holdfast depth of a traditional woodworking bench. Minimum practical thickness for a workbench used for hand planing: 3 inches (achieved by laminating two layers of 1.5″ construction lumber face-to-face). For a dedicated hand-tool bench: 4 inches or more is preferred.
How long should a workbench be?
The minimum practical length for furniture woodworking: 5 feet (60 inches). This accommodates boards up to 4 feet long with workholding at both ends. Most serious woodworkers prefer 6–8 feet — a 6-foot bench fits comfortably against one wall of a one-car garage shop. The limiting factor is usually the shop space available, not what the bench needs to be. Longer is generally better — an 8-foot bench with storage underneath replaces the need for a separate assembly table in small shops. Width: 22–24 inches is traditional for a woodworking bench focused on hand tool work; 30 inches is practical for assembly work and fits the standard kitchen cabinet depth (24 inches plus a 6-inch apron).

“DIY woodworking enthusiast who started with zero experience and a YouTube tutorial.
I build simple, practical projects for my home and share free plans
so other beginners can skip the guesswork.If I can build it, you can too.”