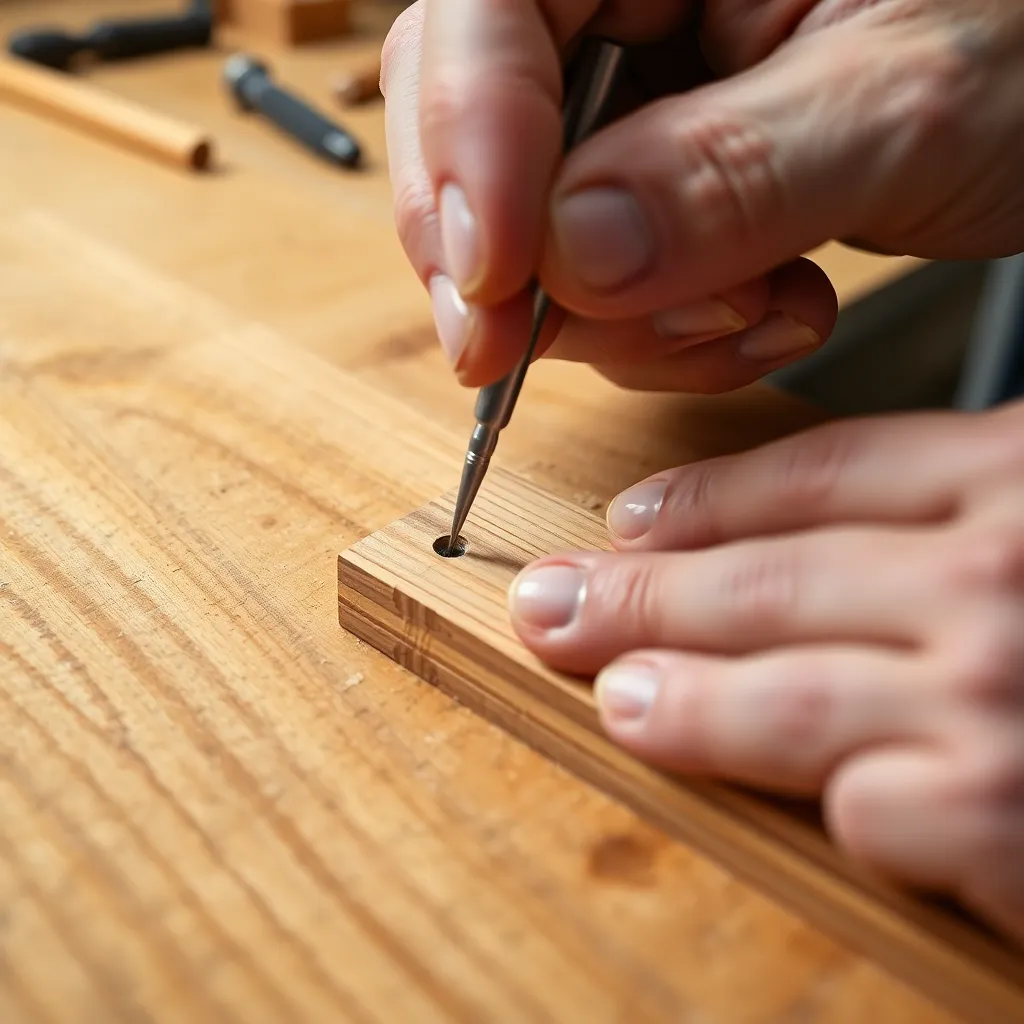
Part of: Hand Tools Woodworking Guide →
An awl is a pointed hand tool used to make small holes, start screws, and mark precise locations in wood. It’s one of the oldest and simplest woodworking tools — a sharp steel spike set in a wooden or plastic handle — and one of the most consistently useful. The awl’s value lies in its precision: a sharp awl pressed firmly into wood creates an exact starting point for screws and drill bits, preventing them from wandering off the mark during drilling. Despite its simplicity, the awl appears in every professional woodworker’s toolkit alongside far more complex and expensive tools.
Ted’s Woodworking has 16,000+ plans with complete tool and hardware specifications. Browse Ted’s plans →
Step 1: Understand What an Awl Is and Its Types
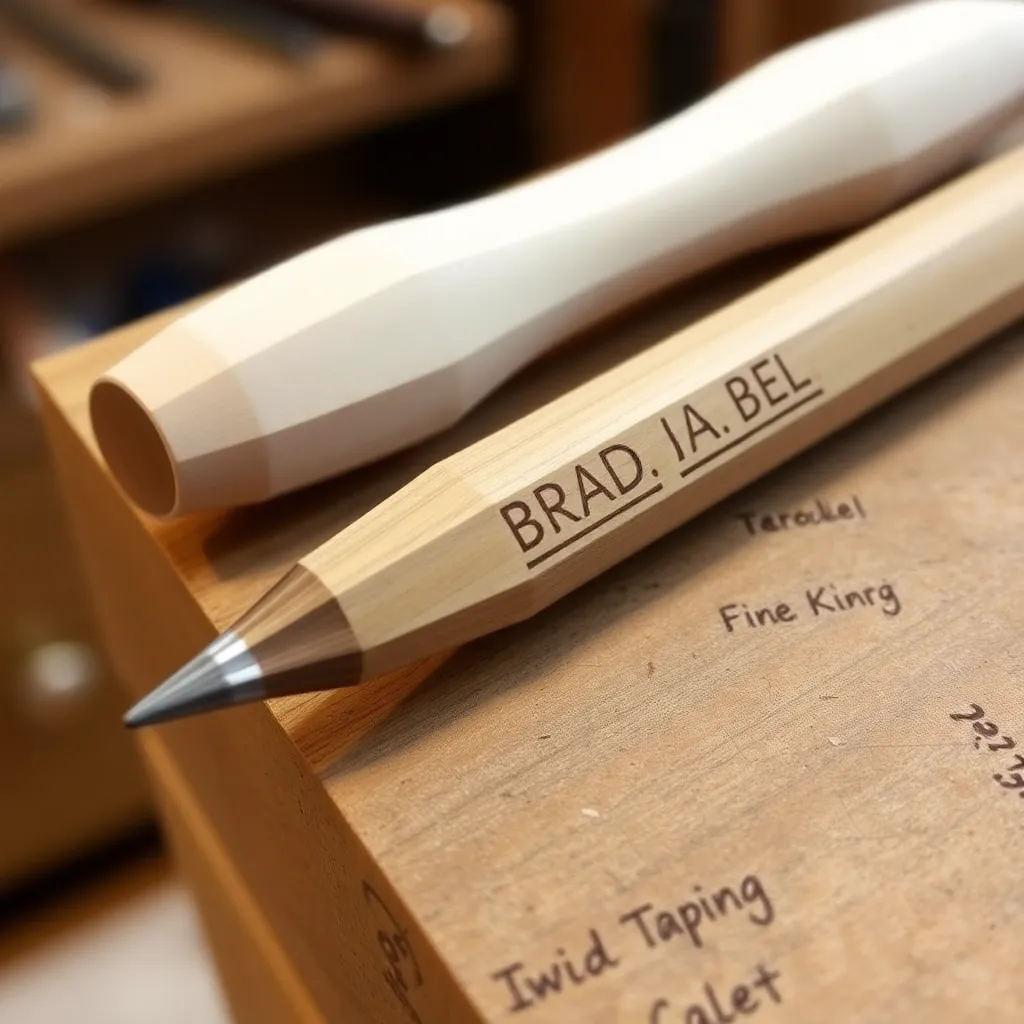
Goal: Learn the awl definition and the different types used in woodworking.
Awl definition:
An awl is a pointed tool used to pierce or mark materials — specifically to create a small indentation (a “dimple”) in wood that acts as a starting guide for screws, brad nails, or drill bits. The word comes from the Old English “æl” and has been used in this sense for over a thousand years. In woodworking and carpentry, the term specifically refers to two main types: the scratch awl and the brad awl.
Scratch awl:
The scratch awl has a round, tapered point — essentially a spike. It’s used to mark locations (scribing a point into the wood surface) and to start pilot holes for screws in soft to medium hardness woods. Press the awl point into the wood at the marked location and rotate while applying downward pressure — the point bores a small conical hole. The scratch awl is the most common type found in woodworking tool sets.
Brad awl:
The brad awl has a chisel-like flat tip rather than a round point. It’s used specifically to start brad nails and small screws by splitting wood fibers rather than displacing them. The chisel tip is placed perpendicular to the grain, then rotated 90 degrees and pressed into the wood — the grain fibers split and open rather than being compressed outward, which reduces the risk of splitting in thin stock near edges. The brad awl is the traditional cabinetmaker’s awl.
Marking awl:
A marking awl (also called a scribe awl) has a very fine, sharp point used for scribing layout lines on wood surfaces. Used with a straightedge or ruler to scribe thin, precise lines for joinery layout — finer than a pencil line and more durable.
Milestone: For general woodworking: a scratch awl handles 90% of use cases. A brad awl is worth adding if you do frequent work with small brads or screws near the edge of thin stock.
Step 2: Primary Uses of an Awl in Woodworking
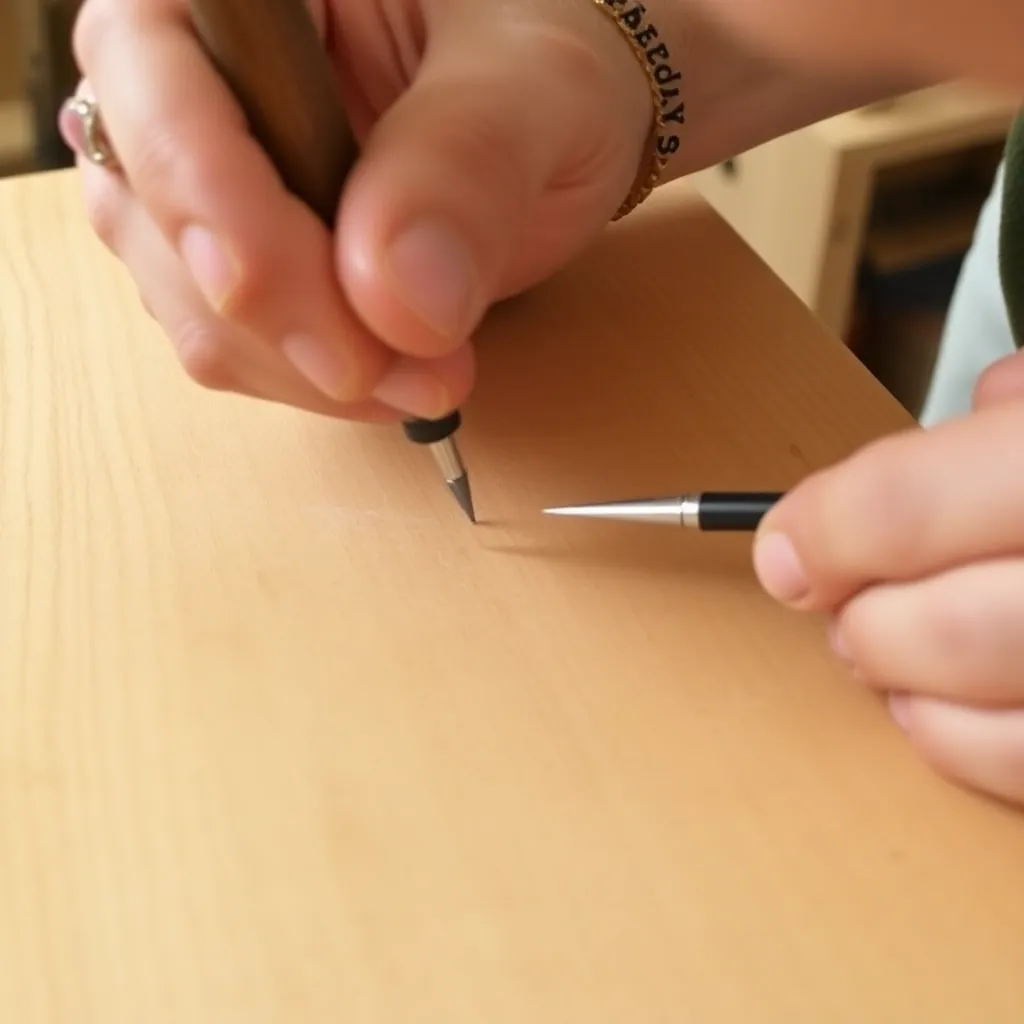
Goal: Know when and how to use an awl for each task.
Starting screw holes:
The most common use of an awl in woodworking is starting pilot holes for screws. Without a pilot hole starter, a screw tip often wanders from its marked location as it contacts the wood — especially in end grain, on angled surfaces, and in hardwoods. The awl creates a small conical indentation at the exact mark location, and the screw tip seats in this dimple and follows it straight in.
How to use: mark the screw location with a pencil. Place the awl point exactly on the mark. Press down firmly while rotating clockwise and counterclockwise — the awl bores into the wood 1/8″ to 1/4″. This indentation is sufficient to guide a hand-driven screw or a drill bit starting a pilot hole.
Marking precise locations:
An awl marks a point more precisely than a pencil. A pencil mark is 1/32″ to 1/16″ wide; an awl point creates a mark 0.01″ or less. For drilling hardware locations (hinges, handles, locks), use an awl to transfer the template hole positions to the workpiece — more accurate than marking through the template holes with a pencil.
Scribing layout lines:
With a ruler or straightedge, an awl scribes layout lines on wood surfaces for joinery. A scribed line is thinner and more permanent than a pencil line — it doesn’t smear, and it’s visible after sanding that would remove pencil marks. Use a marking knife for most joinery layout (it severs fibers cleanly); use a scratch awl when a permanent reference point rather than a line is needed.
Aligning holes:
When driving screws into pre-drilled holes in hardware (hinges, brackets, shelf standards), an awl inserted through each hole and pressed into the wood marks the exact screw location without the hardware moving out of position. Mark all holes with the awl before removing the hardware and drilling pilot holes.
Milestone: After any awl use for screw starting: insert the screw tip into the awl hole and verify it seats without wobbling. If the screw wanders: the awl hole was in the wrong location or the screw tip is too large for the awl hole depth — go deeper with the awl.
Step 3: Using an Awl to Start Drill Bit Pilot Holes
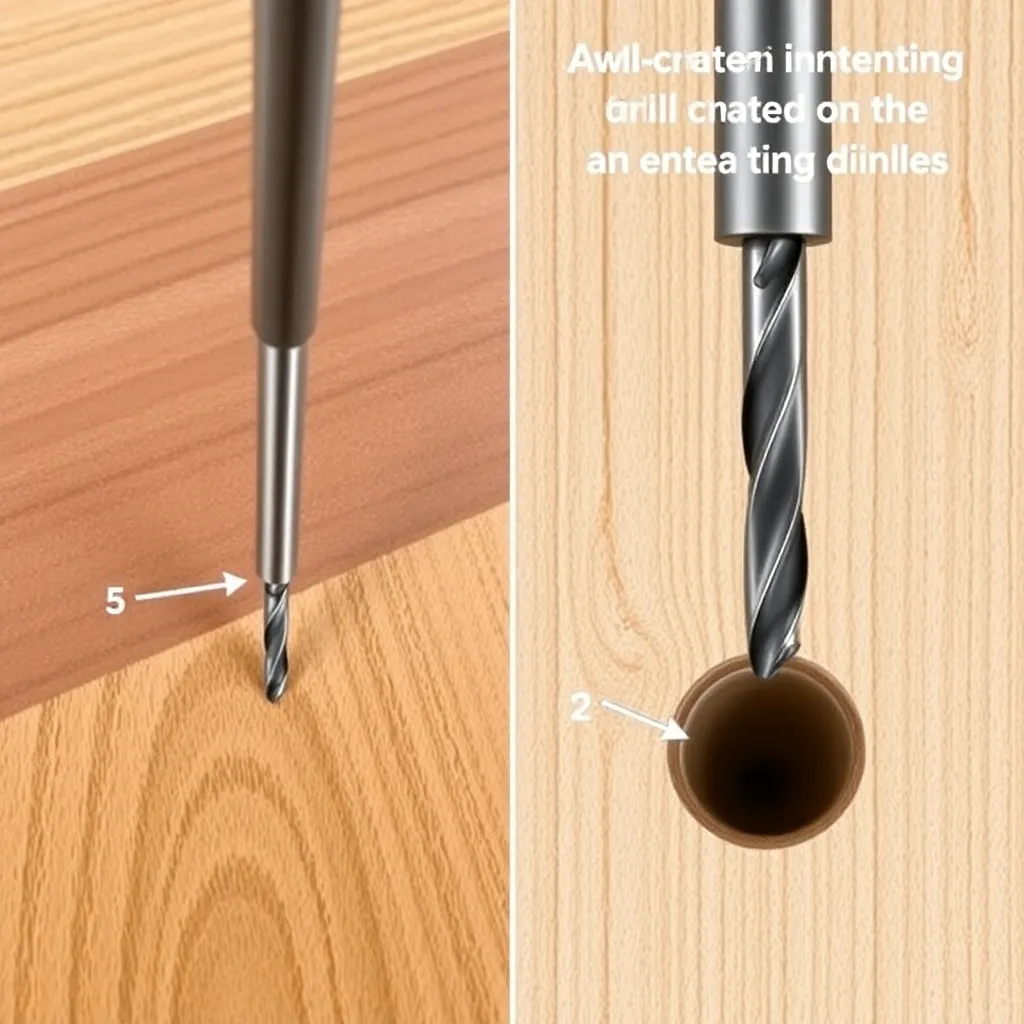
Goal: Use an awl to prevent drill bit wandering on smooth or angled surfaces.
The drill wander problem:
A drill bit tip pressed against a smooth wood surface has nothing to grip before it bites — the spinning tip skates across the surface before the cutting edges engage. On a flat, smooth surface, this wander is small; on a smooth angled surface, on hardwood, or when drilling into the center of a piece of hardware, wander can throw the hole significantly off position.
The awl solution:
An awl hole creates a conical indentation that seats the drill bit tip before it starts rotating — the conical shape matches the drill bit’s geometry and holds it centered. Even a shallow awl mark (1/16″ deep) prevents all wander on flat surfaces. For hardwood or angled surfaces: go deeper (1/8″ to 1/4″).
Sequence:
1. Mark the hole location precisely with a pencil
2. Place the awl point exactly on the mark
3. Press and rotate to create a conical indentation
4. Insert the drill bit tip into the indentation before starting the drill
5. Start the drill at low speed, letting the bit seat and begin cutting before increasing speed
On metal hardware:
When drilling through metal hardware plates that are pre-positioned on the wood: the awl can be used through the hardware’s existing holes to mark the wood below. Insert the awl through each hole and press firmly — the awl mark transfers the position to the wood exactly. Remove the hardware, bore pilot holes at the marks, reposition the hardware, and drive screws.
Milestone: On a smooth hardwood surface, an awl-started drill hole should produce no wander even when the drill is started at full speed. If the bit still wanders: the awl indentation is too shallow — deepen it to at least 1/8″.
Step 4: Maintenance and Sharpening an Awl
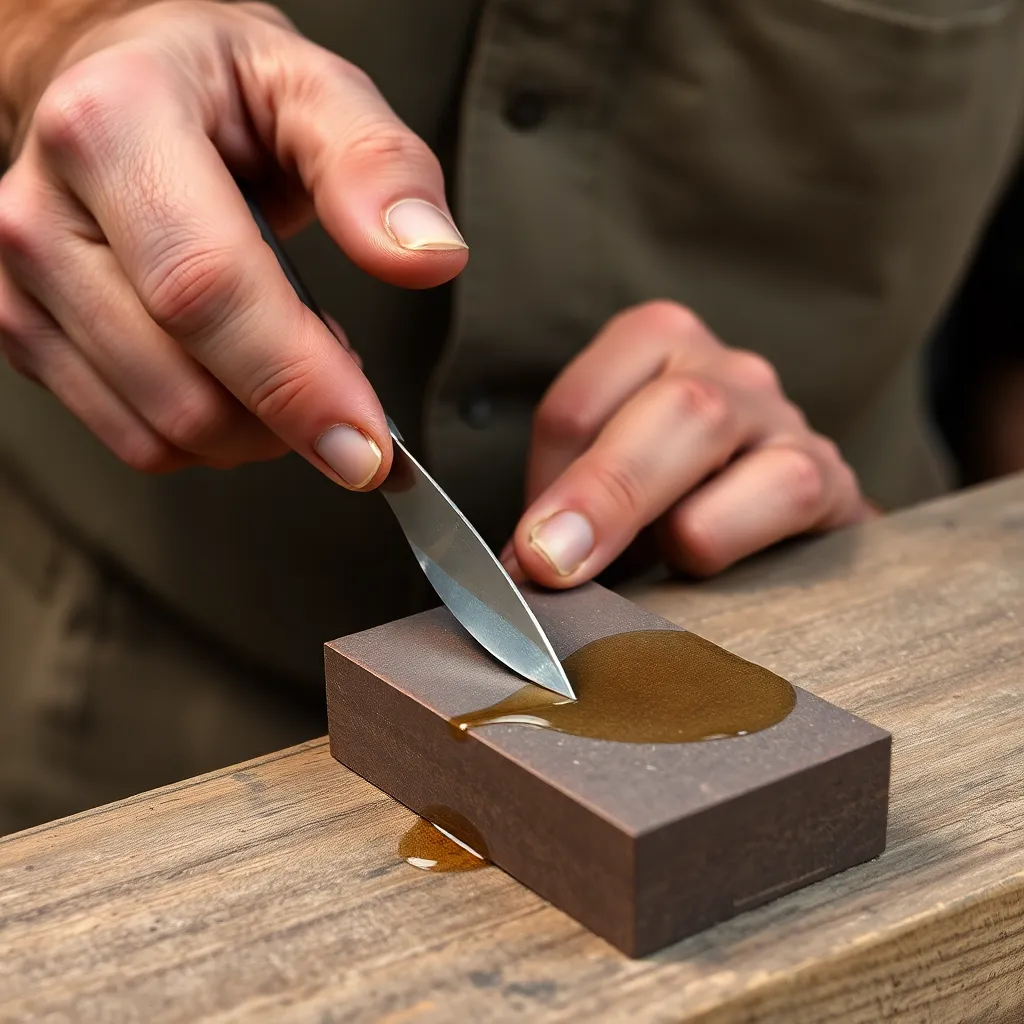
Goal: Keep the awl sharp for clean, accurate work.
Why sharpness matters:
A dull awl point crushes wood fibers rather than parting them — it requires more force, creates a ragged indentation, and can split thin stock. A sharp awl penetrates cleanly with light pressure and leaves a precise, clean hole. Awls dull slowly with use but eventually need resharpening — the point becomes rounded or blunted and no longer starts holes crisply.
Sharpening a scratch awl:
A scratch awl’s round, tapered point is sharpened on a fine whetstone or diamond stone. Hold the awl almost vertical and rotate it against the stone while maintaining consistent pressure — this sharpens the taper uniformly around the full circumference. Finish with a few strokes on a leather strop. The point should be sharp enough to scratch a mark on glass.
Sharpening a brad awl:
The brad awl’s flat chisel tip is sharpened like a small chisel — hone the flat faces on a fine stone to maintain the flat geometry, then sharpen the beveled tip at the correct angle. The tip should be sharp enough to slice through wood fibers cleanly when pressed perpendicular to the grain.
Storage:
Store awls with the point protected — a cork stuck on the tip, or in a tool roll. An unprotected awl point in a toolbox drawer dulls quickly against other tools and poses an injury risk when reaching into the drawer.
Milestone: Test sharpness: press the awl tip lightly against a scrap of hardwood. A sharp awl penetrates with minimal pressure and leaves a clean, conical hole. A dull awl skids or requires significant force — resharpen.
Awl FAQ
What is an awl used for?
An awl is used to: (1) create starting indentations for screws and drill bits so they don’t wander from the marked location; (2) mark precise point locations on wood for drilling hardware holes; (3) scribe layout lines for joinery; (4) start brad nails in hard-to-reach locations. In woodworking, the most common use is screw starting — the awl creates a dimple that guides the screw tip or drill bit. It’s also the correct tool for transferring hole positions from hardware templates to the wood beneath.
What is the difference between a scratch awl and a brad awl?
A scratch awl has a round, tapered point (like a spike) that creates a round hole by displacing wood fibers outward. A brad awl has a flat, chisel-like tip that splits fibers along the grain rather than displacing them. The brad awl is better for starting holes near the edge of thin stock (less splitting risk) and for fine cabinet work. The scratch awl is more versatile for general marking, hardware layout, and starting pilot holes. Most woodworkers use scratch awls for everyday tasks and reserve brad awls for delicate work near thin stock edges.
Do I need an awl if I have a drill?
Yes — an awl and a drill serve different purposes and complement each other. The awl is used before drilling: it creates the starting indentation that prevents the drill bit from wandering when the drill starts. Without an awl-started pilot point, drill bits wander on smooth surfaces, on hardware, and at the start of angled holes. The awl costs $5-15 and weighs almost nothing — it’s one of the highest value-to-cost tools in a woodworker’s kit. Professional woodworkers and trim carpenters carry an awl in their apron pocket and reach for it dozens of times per project.
How do I make an awl hole in hardwood?
For hardwood: use a sharp awl and apply firm, sustained downward pressure while rotating. The rotation is essential — pressing without rotating compresses fibers; rotation parting them. For very hard species (maple, hickory, ebony): use the awl to start a small indentation, then switch to a center punch tapped lightly with a hammer to deepen the starting point before drilling. The center punch creates a deeper, more defined starting point than an awl alone in very hard material.

“DIY woodworking enthusiast who started with zero experience and a YouTube tutorial.
I build simple, practical projects for my home and share free plans
so other beginners can skip the guesswork.If I can build it, you can too.”