Part of: Woodworking Tools Guide →
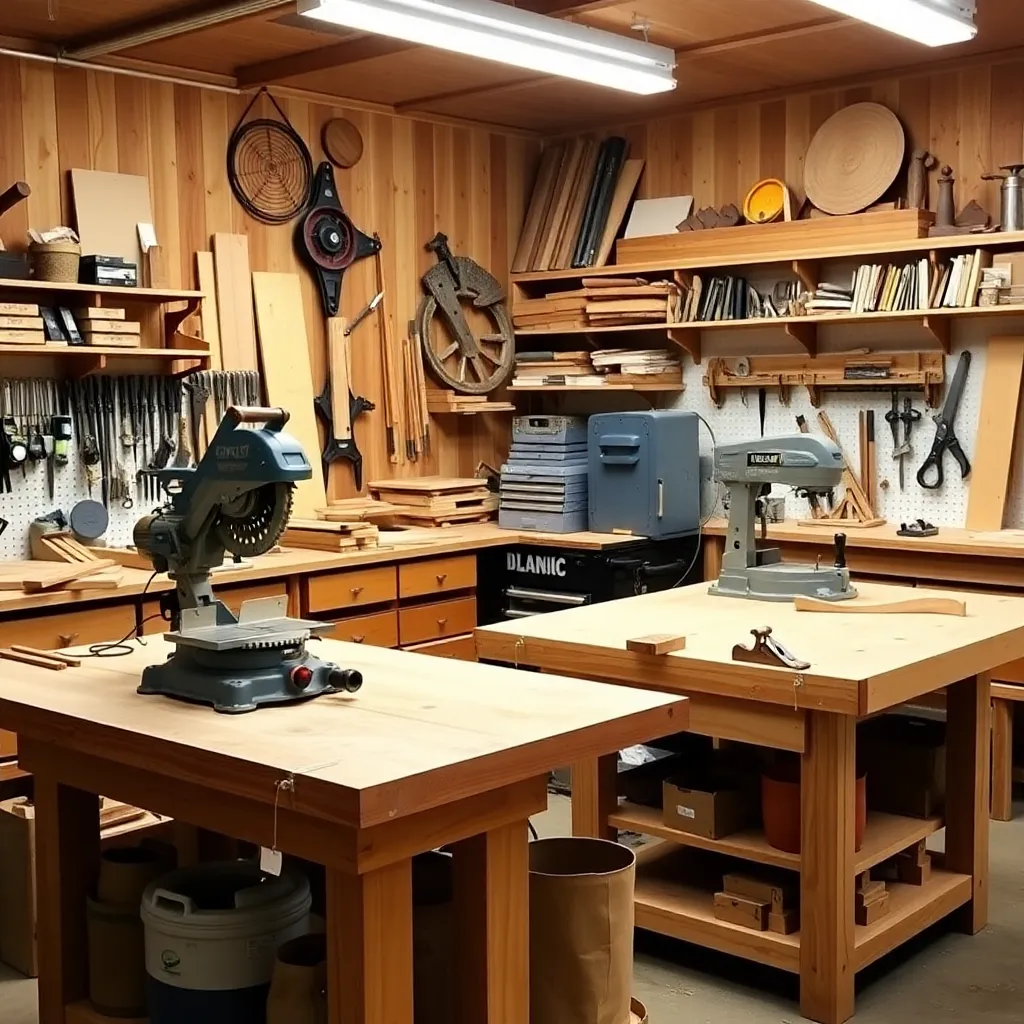
Power tools and saws are the foundation of a productive woodworking shop. A miter saw crosscuts lumber to length in seconds; a bandsaw resaws thick boards into thin slabs that no other saw can produce as safely; a circular saw breaks down full sheets of plywood on the job site without a helper; a hand planer fits a door in minutes rather than hours. Understanding which power tool does which job — and using each correctly — determines both the quality of the work and the safety of the shop.
Ted’s Woodworking has 16,000+ plans with complete tool requirements for every project. Browse Ted’s plans →
Bandsaw
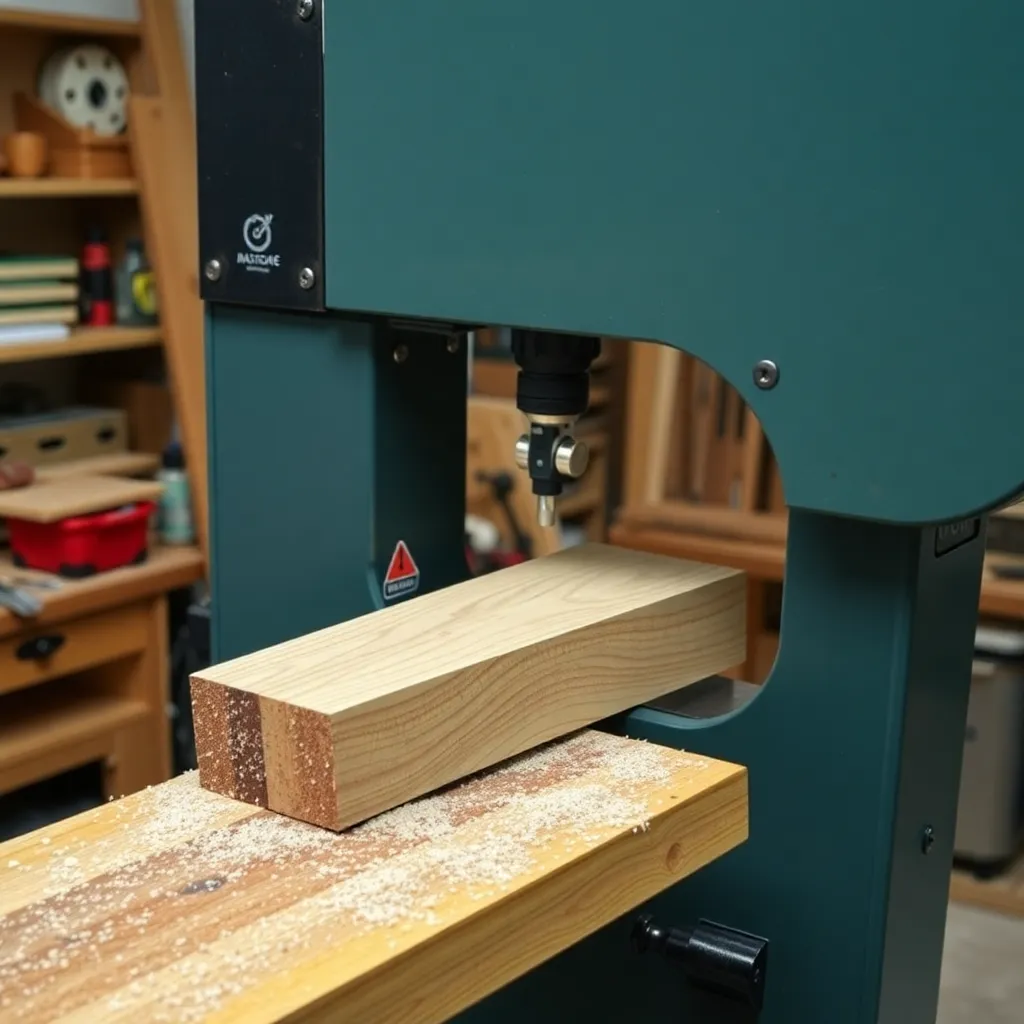
The bandsaw is the most versatile saw in a woodworking shop — and the most underestimated. Its thin blade resaws thick lumber into thin slabs for book-matched panels, cuts tight curves that no other power saw can follow, and rips narrow strips with no kickback risk. A 14″ bandsaw with a quality blade and proper setup produces results that justify its place in any serious shop.
What’s covered: bandsaw types and sizes (9-10″ benchtop vs 14″ floor model), key specifications (resaw capacity, motor size, blade speed), blade selection by width and TPI for curves vs resawing, installing and tensioning blades, setting guides and thrust bearing, understanding and correcting bandsaw drift, resawing technique and book-matching panels, cutting curves with relief cuts, and smoothing sawn edges.
Key principle: blade tension is the most important setup variable. Insufficient tension causes the blade to deflect under cutting pressure, producing curved cuts even on straight-line cuts. The flutter test (blade running steady with no side-to-side wave) confirms correct tension. A properly tensioned blade with sharp teeth cuts accurately with minimal feed force.
Miter Saw for Crown Molding
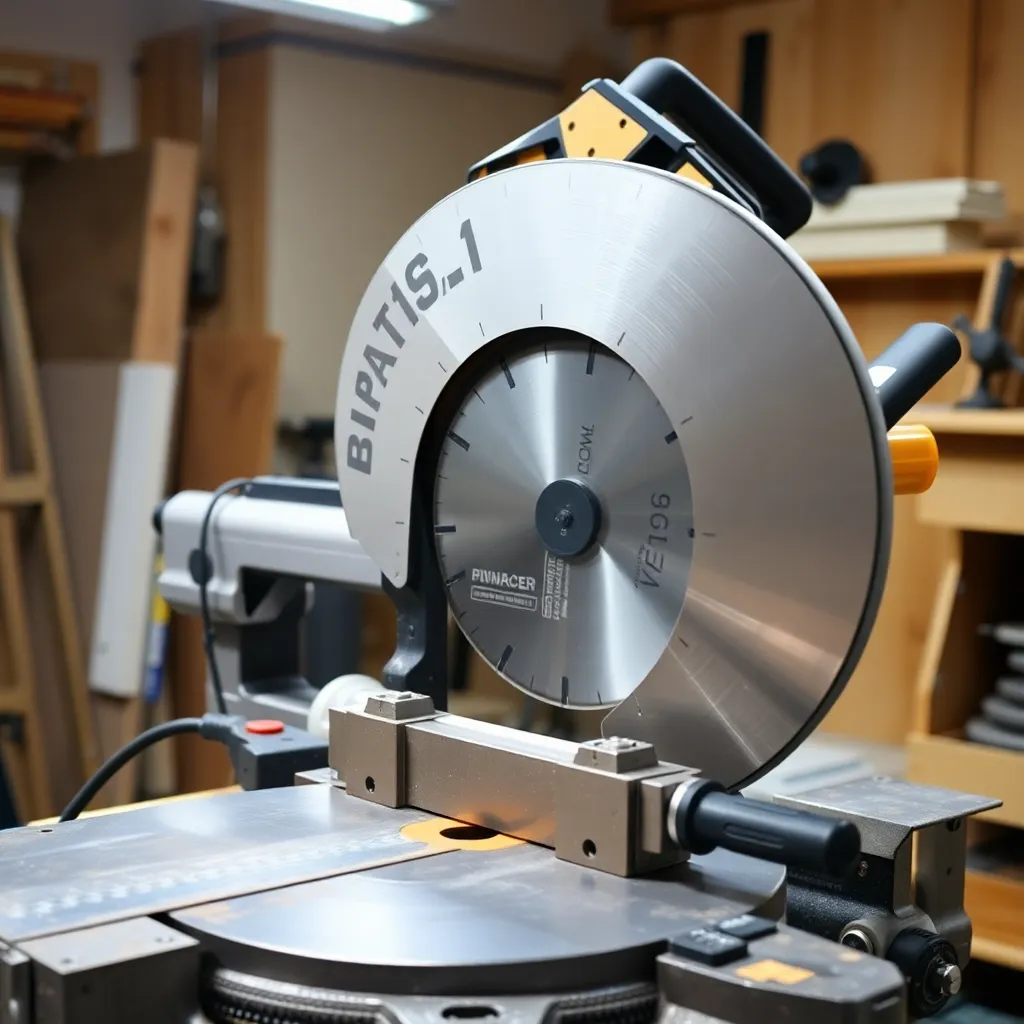
The miter saw is the only practical tool for cutting crown molding corners — its accurate, repeatable angle cuts are what make tight-fitting corners possible. The challenge is crown’s spring angle: the molding installs tilted away from both wall and ceiling simultaneously, which means a simple 45-degree flat miter produces corners with gaps. The nested method (crown held upside down at its spring angle against the fence, saw set to 45-degree miter only) resolves this without compound angle math.
What’s covered: understanding the spring angle and why it changes the cut; the nested method setup including building a crown stop for consistency; cutting inside corners (left-miter and right-miter pieces); the coped joint alternative for long-term gap prevention; cutting outside corners and the reversed miter direction; compound miter settings for 38-degree and 45-degree spring angles on 90-degree corners; handling non-90-degree corners with angle charts.
Key principle: build a crown stop before cutting any project material. The stop is a thin strip clamped to the saw table that holds every piece of crown at the identical spring angle. Without the stop: slight variations in how the crown is held produce slightly different angles, and inside corners don’t close perfectly. With the stop: every cut is identical.
Hand Planer for Wood
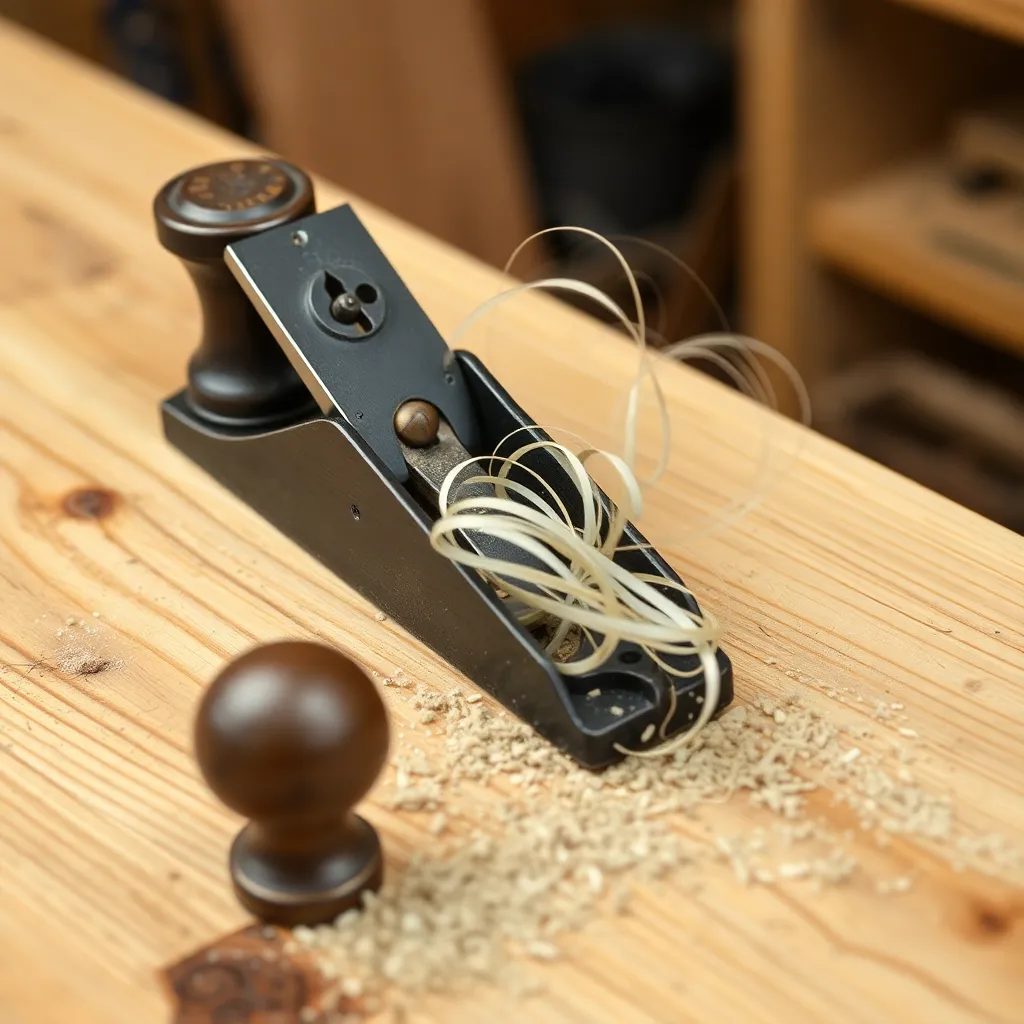
A hand planer — whether a power hand planer (electric, handheld) or a traditional bench plane — removes thin shavings of wood to flatten surfaces, fit joints, and prepare wood for finish. The power hand planer removes material quickly for rough work like fitting doors; the bench plane removes material precisely for final surface preparation and joint fitting. A sharp smoothing plane produces a surface smoother than 220-grit sandpaper — the standard for furniture quality finish work.
What’s covered: power hand planer vs traditional bench planes and when each is appropriate; operating a power hand planer (depth setting, technique, fitting doors safely); tuning and using bench planes (sharpening the iron, setting depth and cap iron, grain direction, technique for flat surfaces); using a block plane for end grain, joint fitting, and trimming plugs flush; and troubleshooting plane tracks, tear-out, and chatter.
Key principle: a hand plane only works when the iron is sharp. Sharp means a mirror-polished back and bevel that produces translucent shavings effortlessly. A dull iron requires force, causes tear-out, and makes the plane feel like fighting the wood rather than reading it. Maintain sharpness by stropping before each use and re-honing when effort increases.
Circular Saw to Cut Wood
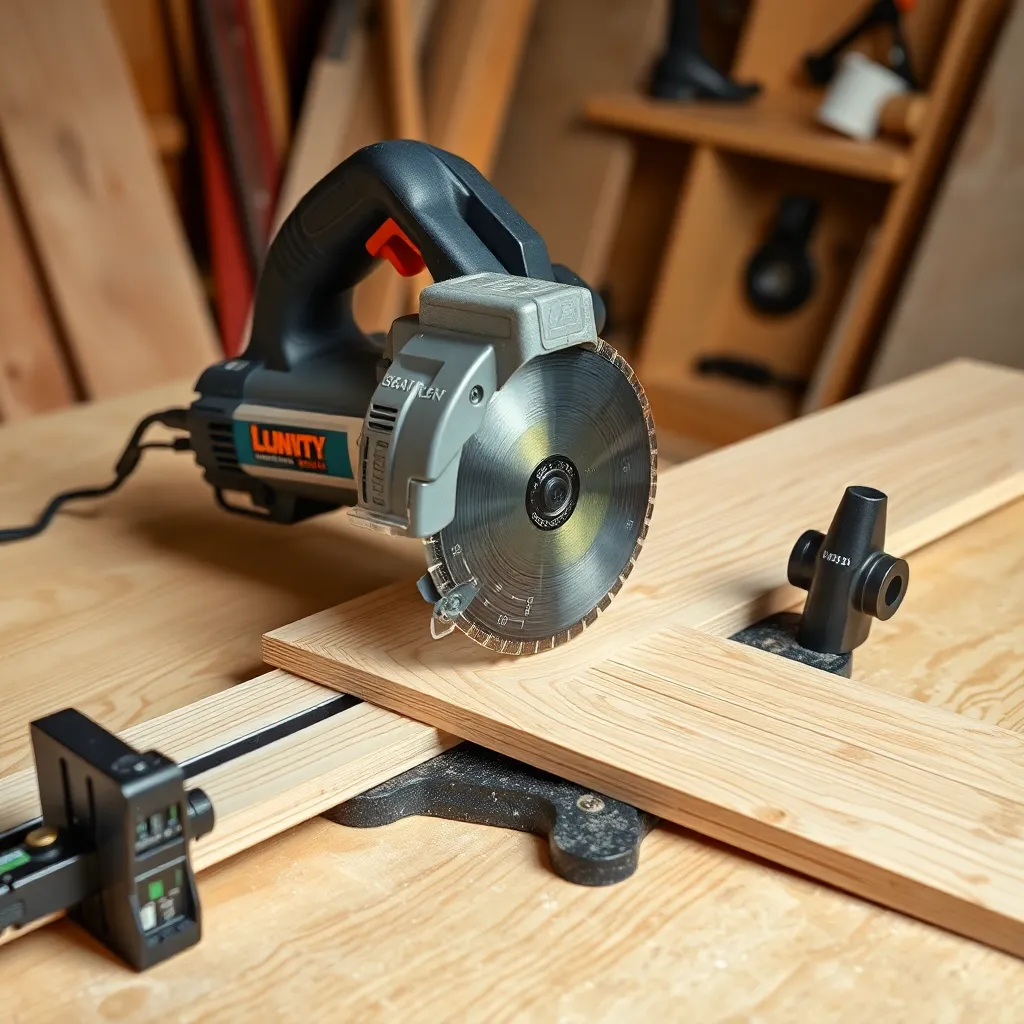
A circular saw breaks down full sheets of plywood, crosscuts lumber to length, and rips boards to width anywhere — without a stationary saw or a helper. Accuracy depends almost entirely on the guide: a freehand circular saw cut is imprecise; a guided cut with a clamped straightedge is accurate to 1/32″ over 8 feet. The saw is portable, powerful, and the right tool whenever the material can’t go to a stationary saw.
What’s covered: circular saw components and safe operation; setting blade depth correctly (1/4″ below material, not deeper); blade selection by tooth count for rough framing vs finish carpentry; crosscutting with a speed square and clamped guide; ripping with the rip fence and clamped straightedge (calculating guide offset); breaking down full sheets of plywood (support setup, two-step breakdown process); minimizing tear-out on plywood (cut face down, score with utility knife, finish blade).
Key principle: the guide determines cut accuracy. A well-clamped 8′ straight edge transforms a circular saw into a precision tool; a warped or loose guide makes any cut imprecise regardless of technique. For recurring sheet good work: a manufactured track guide system (aluminum extrusion + compatible saw) is the most reliable solution — the saw locks to the track and produces factory-quality cuts on every pass.
Power Tool Safety Essentials
Eye and ear protection:
Wear safety glasses every time a power tool runs. Circular saws, miter saws, and bandsaws all eject chips and dust at high velocity — a chip in the eye is a serious injury. Hearing protection is required for sustained power tool use: miter saws, table saws, and routers exceed 90 dB, the threshold for hearing damage over time. Keep glasses and hearing protection within reach at the saw.
Blade guards:
Every saw has a blade guard — use it. The circular saw’s guard retracts automatically during the cut and covers the blade immediately after. Never tie back or remove a blade guard except for specific operations that genuinely require it (some jigs don’t clear the guard), and restore the guard immediately after. A guard that’s removed “temporarily” gets forgotten.
Kickback prevention:
Kickback (the workpiece or the saw being thrown violently backward) is the most serious power tool hazard. Prevention on the table saw: use the riving knife, never rip freehand, and never stand directly behind the blade. Prevention on the circular saw: set correct blade depth, support both sides of the cut, and don’t force the saw through binding. Prevention on the bandsaw: keep hands away from the blade, use push sticks for narrow strips. On all saws: a sharp blade requires less force and causes fewer kickback situations than a dull one.
Push sticks and jigs:
Any time a hand would come within 4″ of a spinning blade: use a push stick. This applies to table saw rips, bandsaw narrow rips, and router table passes. Make or buy push sticks before you need them — reaching for a substitute in the middle of a cut is where accidents happen.
Power Tools and Saws FAQ
What power tools should a beginning woodworker buy first?
Buy in this order: (1) miter saw — used in every project, crosscuts lumber to length accurately; (2) cordless drill/driver — pilot holes, driving screws, boring hardware holes; (3) random orbit sander — surface preparation before finish; (4) circular saw — breaking down sheet goods and ripping lumber when a table saw isn’t available. This four-tool kit handles 80% of beginner woodworking projects and costs $500-800 new. Add a table saw, router, bandsaw, and drill press as specific projects require them.
Is a bandsaw or table saw more useful?
For furniture making and cabinet making: the table saw. It rips boards to width faster, more accurately, and more repeatably than any other tool — and ripping lumber is the most fundamental furniture-making operation. For curve cutting and resawing: the bandsaw has no substitute. In a shop with room and budget for both: buy the table saw first, then add the bandsaw. In a shop where only one can fit: the table saw handles more project types for most woodworkers.
What’s the best circular saw blade for cutting plywood cleanly?
A 60-tooth carbide-tipped finish blade produces the cleanest circular saw cuts in plywood. Pair it with a clamped guide and cut with the good face down (tear-out appears on the top face, which will be less visible). For very critical cuts: score the cut line with a utility knife before sawing — this severs the top veneer fibers and virtually eliminates tear-out even with a 40-tooth blade.
How do I get accurate cuts from a miter saw?
Five steps for accurate miter saw cuts: (1) verify the saw cuts exactly 90 degrees — check with a reliable square and adjust if needed; (2) use a stop block for repeat cuts of the same length — clamp a block to the fence at the correct distance from the blade; (3) cut slightly long on the first cut, then sneak up on the final dimension with a second cut; (4) use a sharp blade — a dull blade deflects under cut pressure and produces imprecise angles; (5) hold the workpiece firmly against the fence during the cut — any movement during the cut changes the angle.

“DIY woodworking enthusiast who started with zero experience and a YouTube tutorial.
I build simple, practical projects for my home and share free plans
so other beginners can skip the guesswork.If I can build it, you can too.”