Part of: Power Tools and Saws →
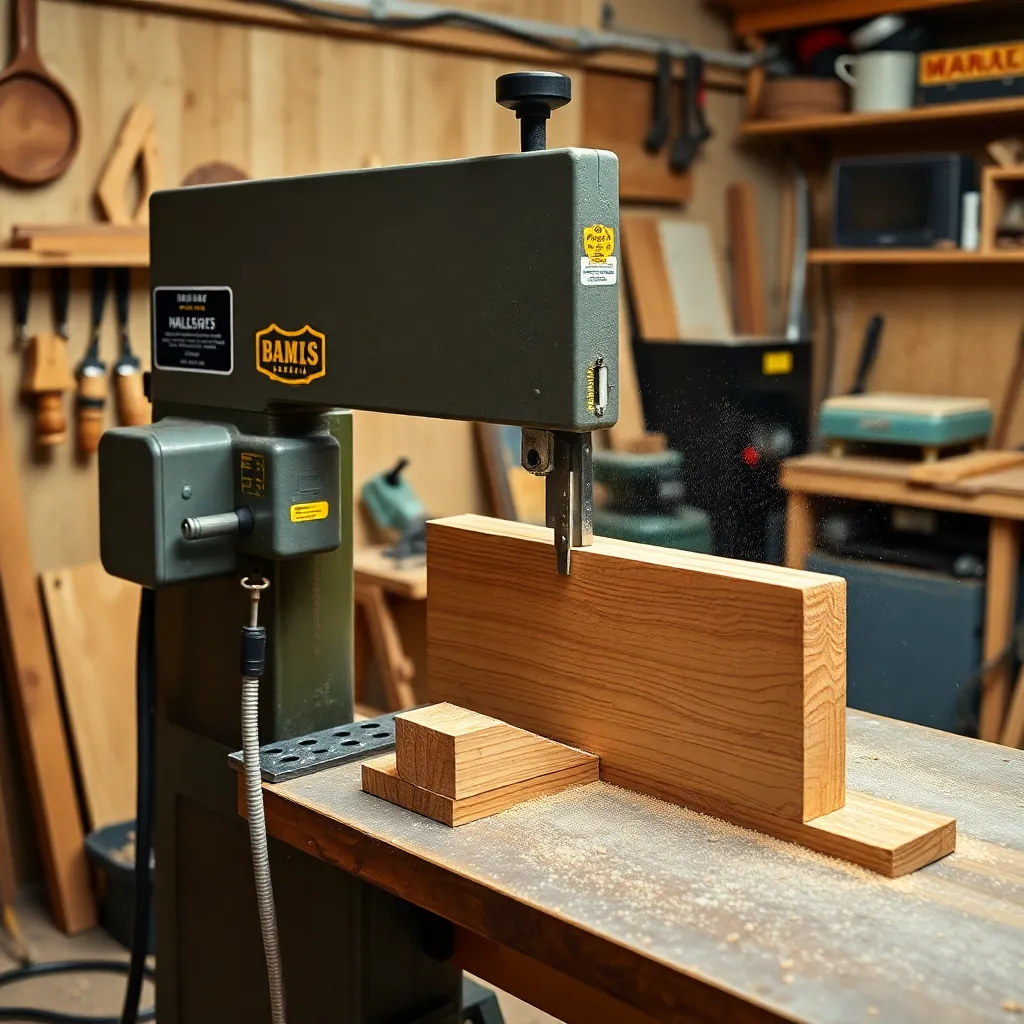
The bandsaw is one of the most versatile saws in a woodworking shop — and one of the most underestimated by beginners who see it as just a curve-cutting tool. A well-tuned bandsaw resaws thick lumber into thin slabs, cuts precise curves, rips narrow strips, creates book-matched panels, and produces joinery cuts that other saws can’t. Unlike a table saw, the bandsaw’s thin blade removes minimal material and leaves no kickback risk. Understanding how to set up and use a bandsaw correctly unlocks a range of capabilities that no other single tool provides.
Ted’s Woodworking has 16,000+ plans — many designed for bandsaw cuts that a table saw can’t match. Browse Ted’s plans →
Step 1: Understand Bandsaw Types and Specifications
Goal: Choose the right bandsaw for your shop and understand what the specifications mean.
Bandsaw sizes:
Bandsaws are sized by the distance from the blade to the vertical column (the throat capacity). A 14″ bandsaw has 14″ of throat capacity — the maximum width of material that can pass through the saw. Common sizes:
- 9-10″ benchtop bandsaws: Adequate for small curved work and thin stock. Limited resaw capacity (usually 4-6″ maximum). Good starting point for a hobby shop with space constraints.
- 14″ floor-standing bandsaws: The standard for serious woodworking. Handles most resaw and curve-cutting tasks. Can be fitted with a riser block to increase resaw capacity to 12″ or more. The most common professional shop saw.
- 17-20″ bandsaws: Production capacity for large resaw work. Found in professional mills and high-volume shops.
Key specifications:
- Resaw capacity: The maximum height of material the saw can cut through. On a 14″ saw without a riser block: typically 6″. With a riser block: 12″+.
- Motor size: 3/4 HP handles most hobby work; 1.5 HP is needed for sustained resawing of hardwoods.
- Blade speed: Most bandsaws have one or two speeds. For woodworking: 2,000-3,000 FPM (feet per minute). Higher speeds for thin stock and curves; lower speeds for thick hardwood resawing.
- Table size and tilt: A larger table provides better support for wide panels. The table should tilt to 45 degrees for bevel cuts.
Milestone: Before purchasing, decide on primary use: curve cutting only (a benchtop saw may suffice), or resawing (get a 14″ floor model with at least 1 HP and a riser block).
Step 2: Select and Install the Right Blade
Goal: Choose the correct blade for the task and install it properly.
Blade width:
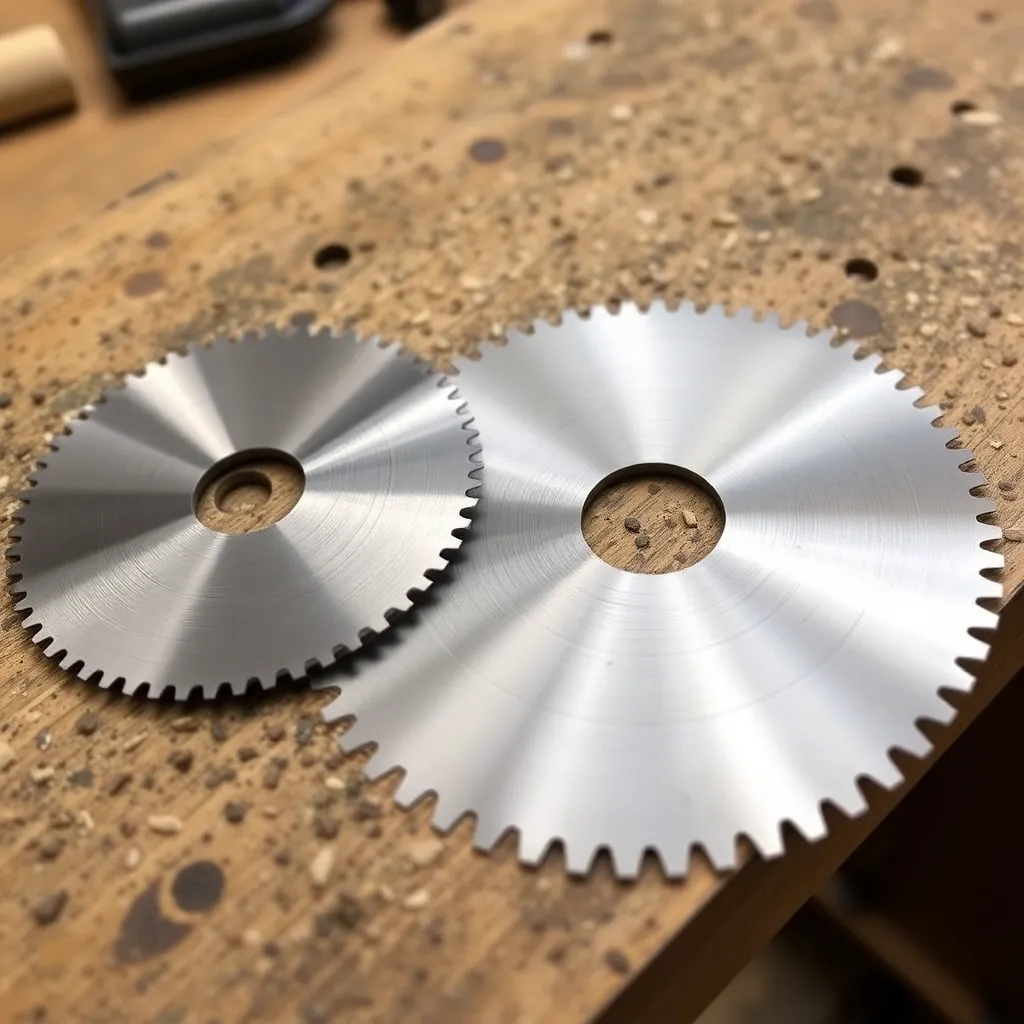
Blade width determines the minimum curve radius the saw can cut. Narrow blades cut tighter curves; wide blades cut more accurately in straight lines.
- 1/8″ blade: Very tight curves, scrollwork, fretwork. Poor for straight cuts.
- 1/4″ blade: Moderate curves, general curve cutting. The most versatile blade for curved work.
- 3/8″ blade: Mild curves and straight cuts. Good general-purpose blade.
- 1/2″ – 3/4″ blade: Resawing and straight cuts only. Cannot cut curves tighter than a 12″ radius. The correct blade for any resaw work.
Blade tooth count (TPI — teeth per inch):
- 3-6 TPI: Aggressive cut, fast material removal, rough surface. For resawing thick hardwoods.
- 10-14 TPI: Moderate cut, cleaner surface. For general furniture work and thin stock.
- 18+ TPI: Fine cut for thin material, veneer, and non-ferrous metals.
Installing the blade:
1. Disconnect power. Open both blade guards.
2. Release blade tension (lower the tension adjustment).
3. Remove the old blade through the table slot.
4. Thread the new blade through the table slot, teeth pointing downward (toward the table).
5. Set the blade on both wheels — the blade should sit in the center of the crown on each wheel.
6. Increase tension until the blade deflects no more than 1/4″ sideways with moderate finger pressure.
7. Close guards. Spin wheels by hand to verify blade tracks correctly.
Milestone: After installing a new blade, run the saw briefly and observe blade tracking. The blade should run centered on the wheels. Adjust tracking with the rear wheel tilt knob until centered.
Step 3: Set Up and Adjust the Bandsaw
Goal: Tune the bandsaw for accurate, drift-free cuts.
Blade guides:
Every bandsaw has blade guides above and below the table — small blocks or bearings that support the blade on both sides and behind the back edge. Correct guide adjustment prevents blade twisting and wandering.
Setting the guides:
1. Side guides: Set 0.004″ (the thickness of a dollar bill) away from the blade on each side. The guides should not contact the blade when it’s running free — they support the blade only during cutting.
2. Thrust bearing (rear guide): Set 0.004″ behind the back edge of the blade. The thrust bearing prevents the blade from being pushed backward during the cut.
3. Guide height: The upper guide assembly should be adjusted to just above the workpiece thickness — the closer to the work, the better the blade support.
Blade tension:
Correct tension is critical. Too little tension: the blade wanders and cuts curves even on straight cuts. Too much tension: the blade stretches and the wheels deform. The “flutter test”: with the saw running, open the upper guard and look at the blade — it should run steadily with no fluttering or waving side-to-side.
Table squareness:
Verify the table is 90 degrees to the blade using a machinist’s square held against the blade (not the teeth) and the table surface. Adjust with the table tilt knob if needed.
Bandsaw drift:
Many bandsaws cut at a slight angle rather than perfectly parallel to the fence — this is called drift. To compensate: make a test cut in scrap wood, note the angle the cut wants to follow, and angle the fence to match that natural cutting angle rather than forcing the fence to be parallel to the miter slot.
Milestone: A properly tuned bandsaw cuts smoothly with minimal effort, tracks straight on straight cuts, and cuts curves that closely follow the layout line.
Step 4: Resawing on the Bandsaw
Goal: Resaw thick boards into thinner slabs accurately and safely.
What is resawing:
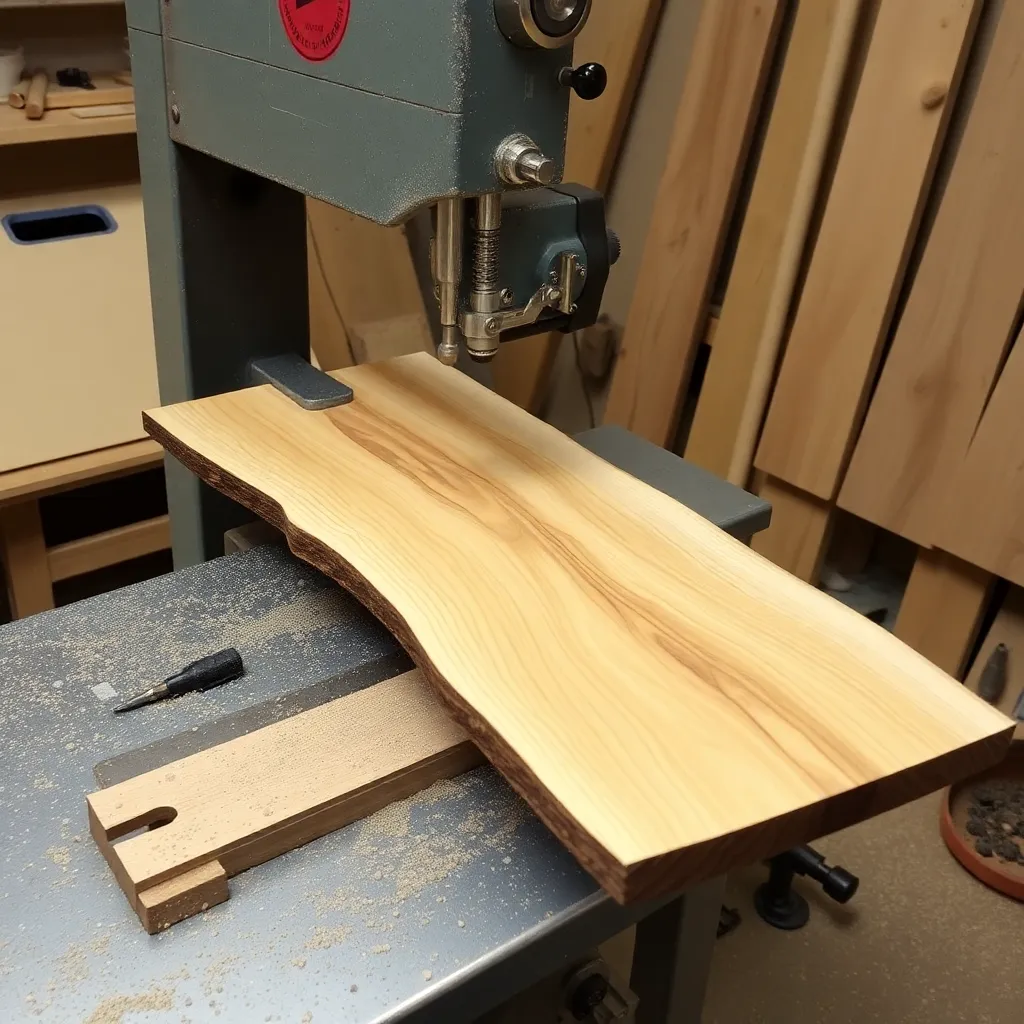
Resawing is cutting a board along its width — essentially splitting a thick board into two or more thinner boards. A 4/4 (1″ thick) board can be resawn into two 3/8″ boards; an 8/4 (2″ thick) board can be resawn into four 1/2″ boards or two thicker slabs for book-matching. Resawing is the only practical way to produce thin stock, book-matched panels, and veneer in a hobby shop.
Setup for resawing:
Use the widest blade that fits (1/2″ or 3/4″). Set the fence to the desired finished thickness plus 1/8″ for planer cleanup. Adjust the fence angle to account for drift. Set the blade guides as close to the work height as possible.
The cut:
Feed the board slowly and steadily — rushing a resaw cut causes the blade to deflect and the cut to bow in the middle. Let the blade do the work. If the motor is laboring: slow down. A sharp blade with correct tension cuts through hardwood resawing without excessive motor load.
Book-matching:
To create a book-matched panel (two panels that mirror each other when opened like a book): resaw a single board into two equal slabs, open them flat, and glue edge-to-edge. The grain pattern mirrors itself at the glue line. Book-matched panels are used for cabinet doors, tabletops, and any panel where a symmetrical figure is desired.
Milestone: A good resaw cut produces a smooth surface that requires only light planing or sanding to reach final thickness. A wandering or bowed resaw cut indicates blade drift, insufficient tension, or a dull blade.
Step 5: Cutting Curves on the Bandsaw
Goal: Cut accurate curves following layout lines.
Marking the curve:
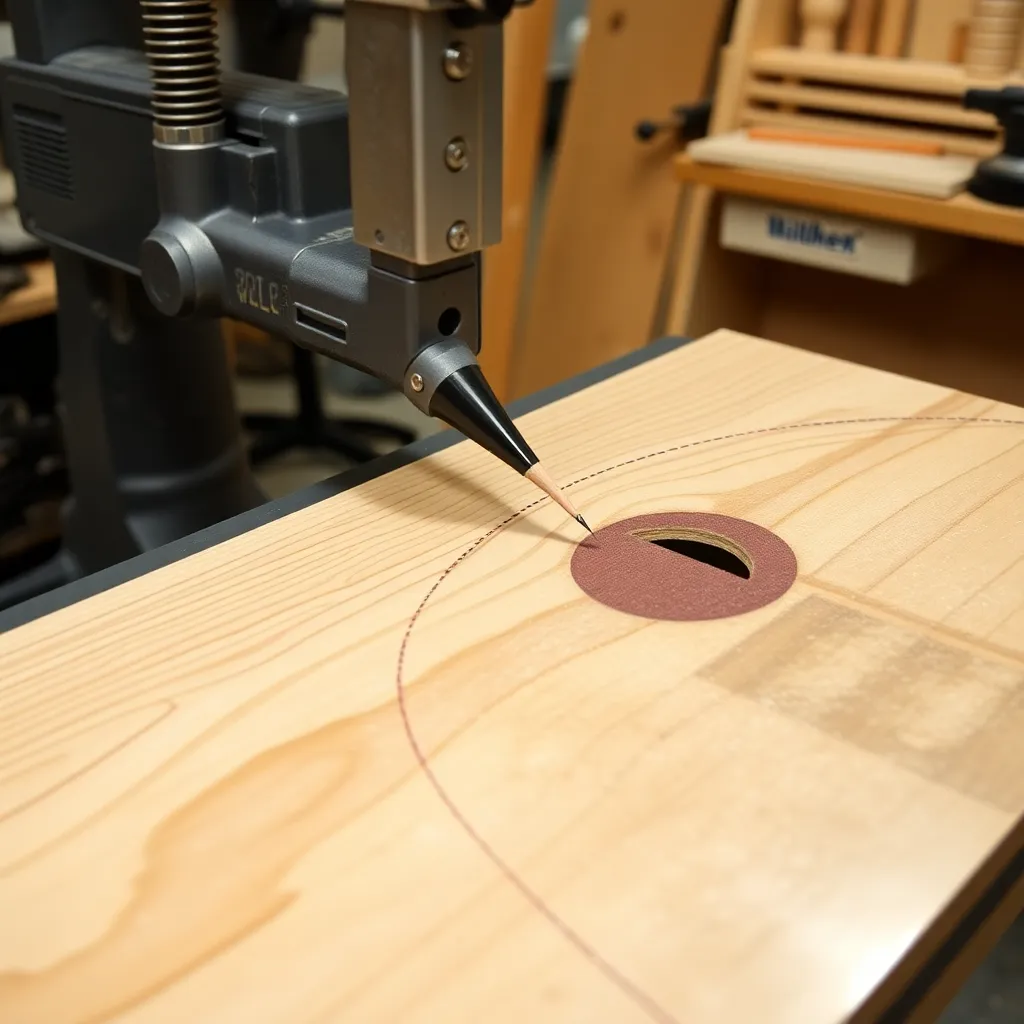
Draw the curve clearly on the workpiece with a pencil. For smooth, fair curves: use a flexible ruler, a french curve template, or a compass. The layout line is what the blade follows — a poorly drawn curve produces a poorly cut curve regardless of cutting skill.
Feeding technique:
Guide the workpiece with both hands, keeping the blade on the waste side of the layout line (the side being cut away, not the finished profile). Rotate the workpiece continuously as you feed to maintain the blade’s relationship to the curve. For tight curves: make relief cuts (straight cuts into the waste area from the edge) before cutting the curve — the relief cuts allow waste pieces to fall away as the blade rounds the corner.
Smoothing the sawn edge:
Bandsaw curves leave a slightly rough surface. Smooth with: a spokeshave (for convex curves), a compass plane (for concave curves), a drum sander in a drill press, or sandpaper wrapped around a curved form. For production curve work: a spindle sander (an oscillating sander with a vertical drum) is efficient.
Milestone: After cutting, check the sawn edge against the layout line — it should be within 1/16″ of the line along its full length. Any deviation can be corrected with a hand tool or sander.
Bandsaw FAQ
What size bandsaw should a beginner buy?
A 14″ floor-standing bandsaw is the most practical choice for a serious beginner or intermediate woodworker. The 14″ class balances capability, cost ($400-700 new), and shop footprint. Key features to look for: a solid cast-iron table, a quality fence, 1 HP or better motor, and compatibility with a riser block (which doubles the resaw capacity). Avoid the cheapest 9-10″ benchtop saws for any serious resawing work — they lack the motor and blade tension for thick hardwoods.
What is a bandsaw used for in woodworking?
The bandsaw’s primary woodworking uses: resawing thick boards into thinner slabs (the most important use), cutting curves and irregular shapes (the most visible use), ripping narrow strips, cutting joints (tenon cheeks, dovetail waste), and cutting non-ferrous metals (aluminum, brass) with the correct blade. The bandsaw is the safest ripping saw in the shop — its thin blade produces minimal waste, it has no kickback risk (unlike a table saw), and the blade moves away from the operator. It’s the first choice for any cut where material waste is a concern.
How do I stop my bandsaw from drifting?
Bandsaw drift has two causes: blade tracking (the blade running off-center on the wheels) and blade tension (insufficient tension allowing the blade to flex under cutting pressure). Fix tracking by adjusting the rear wheel tilt until the blade runs centered on both wheels. Fix tension by increasing tension until the flutter test shows a stable blade. If drift persists after proper tracking and tension: the blade may be dull (replace it) or improperly set (the teeth may be set more on one side than the other, causing the blade to pull to one side).
What blade should I use for resawing hardwood?
For resawing hardwood: a 1/2″ or 3/4″ wide blade with 3-4 TPI (teeth per inch) and hook-style tooth form. The wide blade tracks straight, the hook tooth form aggressively clears chips from the kerf, and the low TPI removes material efficiently without loading up with sawdust. The Timber Wolf and Wood Slicer blades are widely recommended for hardwood resawing in 14″ saws. Replace the blade when it requires noticeably more feed pressure or when the cut surface becomes rougher — a dull blade causes more drift and motor strain than any other factor.

“DIY woodworking enthusiast who started with zero experience and a YouTube tutorial.
I build simple, practical projects for my home and share free plans
so other beginners can skip the guesswork.If I can build it, you can too.”