Part of: Router and Table Guide →
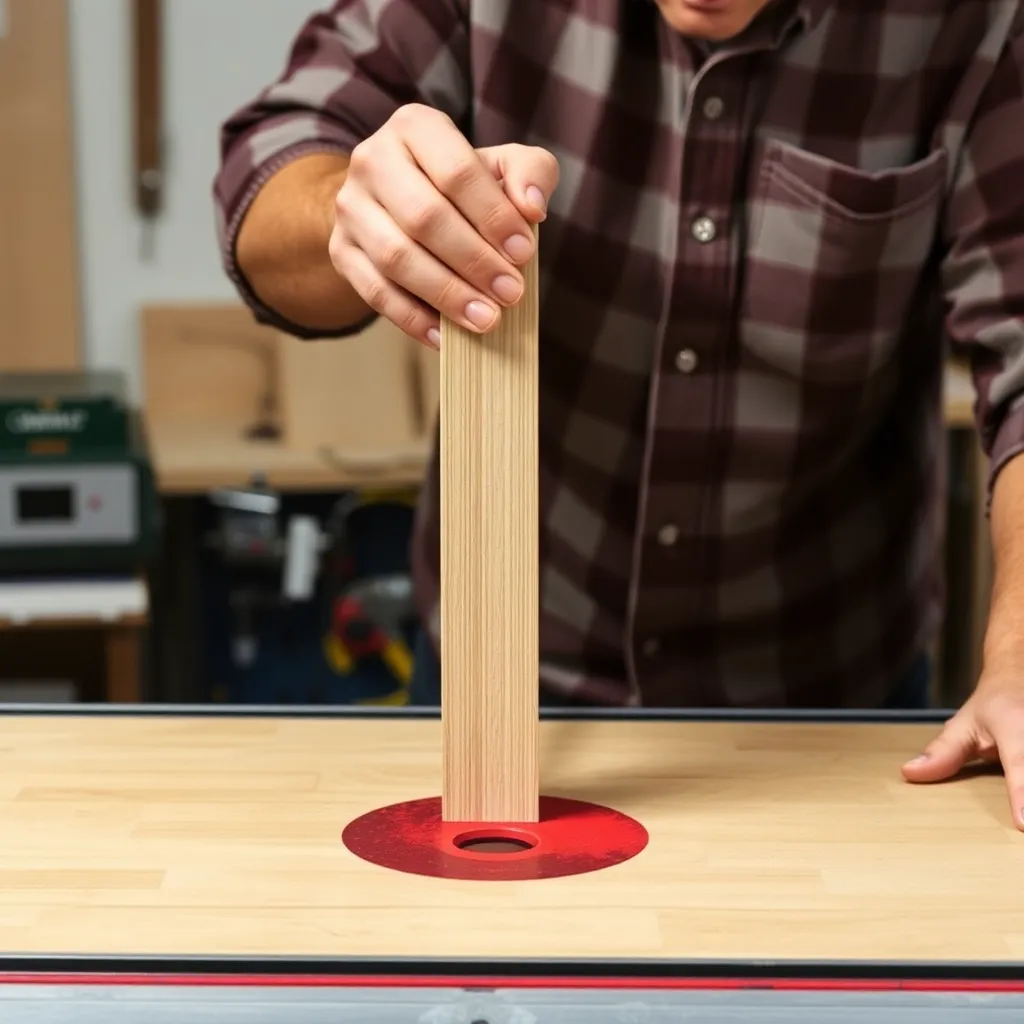
A router table inverts a handheld router beneath a flat table surface, turning it into a stationary tool that the workpiece passes over rather than under. This fundamental change in orientation transforms what the router can do: both hands guide the workpiece, a fence controls the cut precisely, and operations that are difficult or dangerous with a handheld router become safe and repeatable. Edge profiling, raised panel doors, box joints, and cope-and-stick joinery all become practical on a router table. For any woodworker who already owns a router, a router table is the most productive upgrade available.
Ted’s Woodworking has 16,000+ plans including cabinet and furniture projects that rely on router table joinery. Browse Ted’s plans →
Step 1: Choose a Router Table Setup
Goal: Select the right router table configuration for your shop and work.
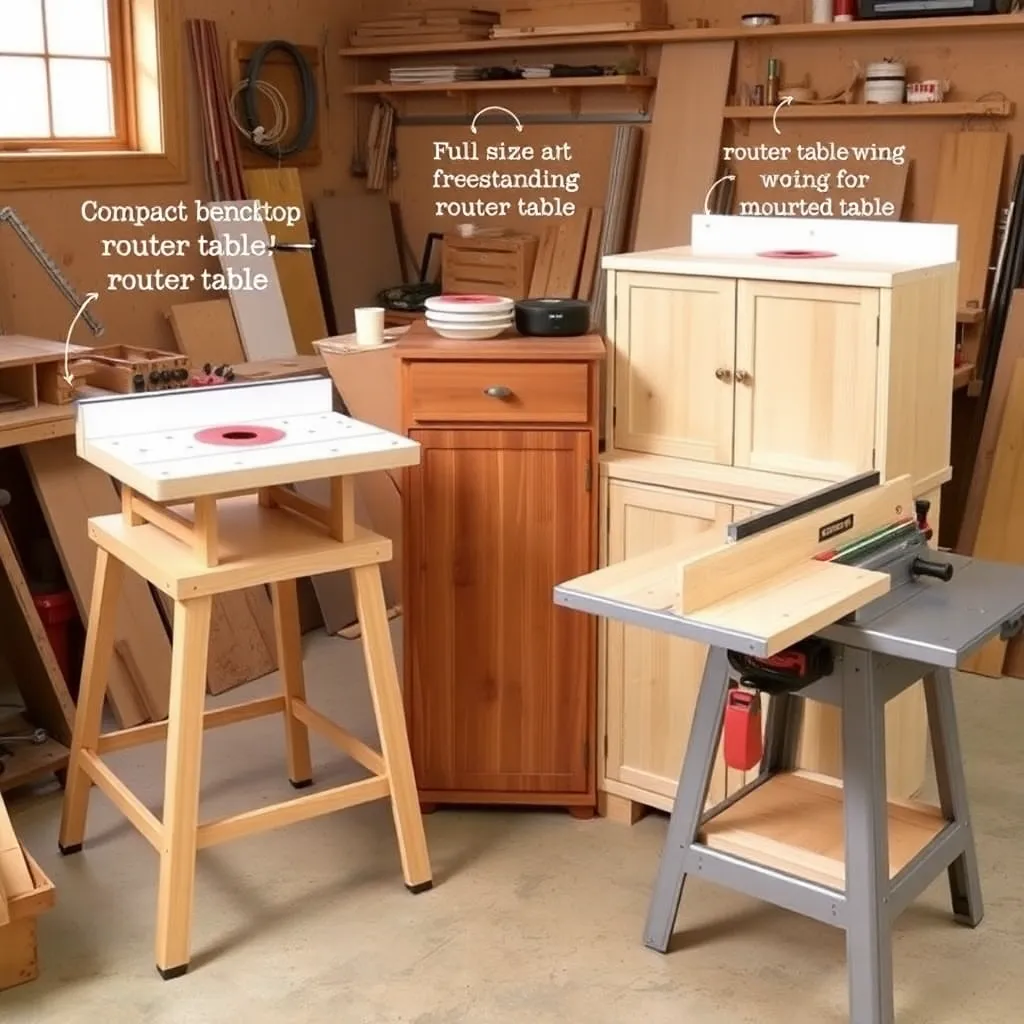
Benchtop router tables:
Benchtop router tables are compact units that sit on a workbench or stand. They have a smaller table surface (typically 16″×24″ to 24″×32″) and accept most mid-size and large routers. Advantages: portable, store easily, lower cost ($150-400 for the table without router). Limitations: the smaller table surface makes guiding large workpieces more difficult, and many benchtop tables flex under heavy cuts. Best for: hobbyists, small shops, occasional router table use.
Freestanding router tables:
Freestanding router tables have a full-size table surface (27″×43″ or larger) on a cabinet or open base. They’re heavy, stable, and often have built-in storage for bits and accessories. Advantages: large table surface for guiding wide panels, maximum stability, professional capability. Cost: $400-1,200 for the table, plus router. Best for: dedicated shops, regular router table use, furniture and cabinet work.
Router table wings on a table saw:
Some woodworkers mount a router table in an outfeed or side extension wing of a table saw — sharing the fence rail and maximizing shop space. This is a practical solution for shops with table saws that have wing extensions, eliminating a separate piece of equipment.
Router lift:
A router lift replaces the standard router base plate with a precision-machined plate that allows the bit height to be adjusted from above the table — turning a knob above the table raises and lowers the router rather than reaching under the table to adjust it. This makes bit height changes fast, precise, and safe. Router lifts cost $150-400 and are worth the investment for regular router table use.
Milestone: For most woodworkers: a benchtop router table on a dedicated stand is the right starting point. Upgrade to a freestanding table when the work regularly involves wide panels or production volumes.
Step 2: Set Up the Router Table Fence
Goal: Configure and align the fence for accurate, safe cuts.
Fence anatomy:
The router table fence has two halves (an infeed side and an outfeed side) that can be independently adjusted. For most operations: both halves are aligned in a straight line, creating a single flat fence face. For edge-jointing operations (taking a small amount off the full edge): the outfeed half is advanced slightly (0.010″-0.020″) to support the workpiece after the cut.
Setting fence position:
1. Lower the bit below the table surface
2. Position the fence at the desired distance from the bit center
3. Lock the fence securely at both ends — a loose fence is the most common cause of inaccurate cuts
4. Raise the bit to the desired cutting height
5. Check that the fence is parallel to the miter gauge slot (if present) using a square or straightedge
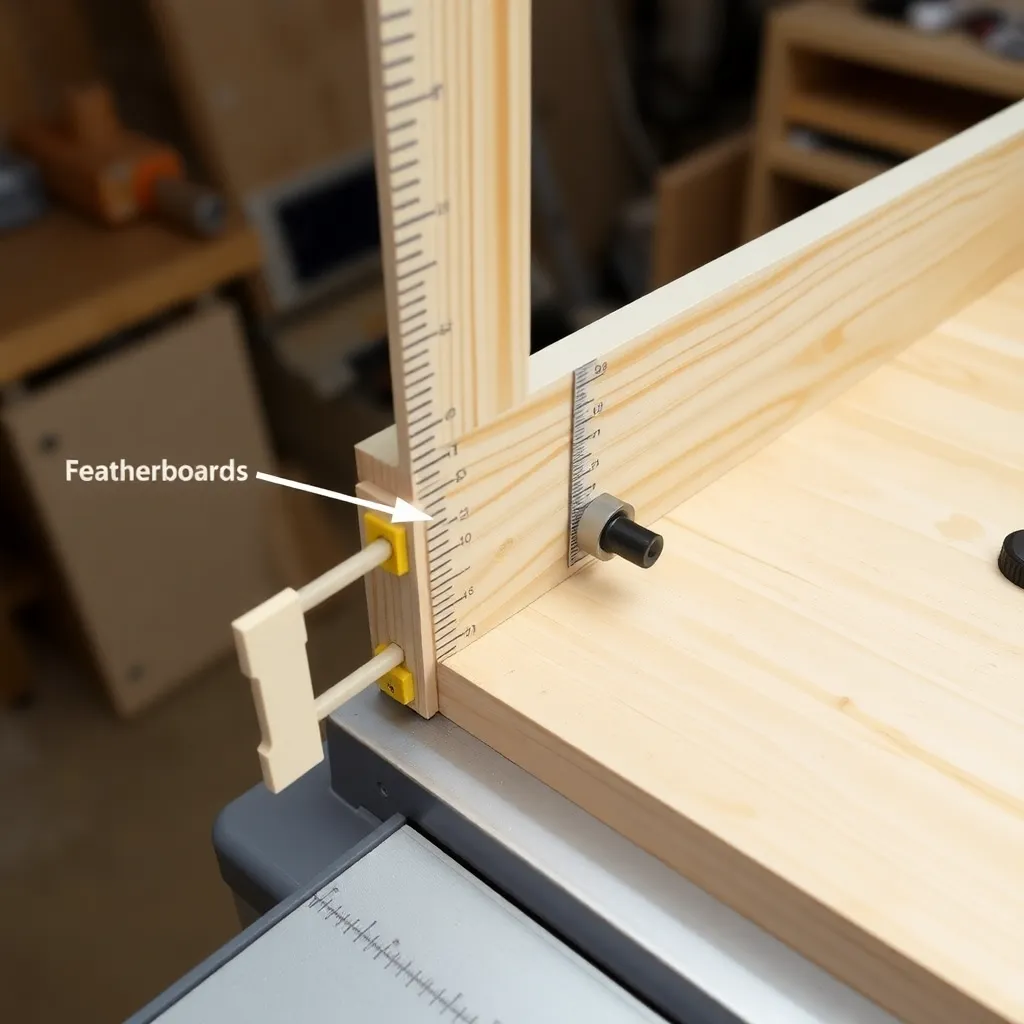
Featherboards:
Featherboards clamp to the table or fence and press the workpiece against the fence with spring pressure — keeping the workpiece in consistent contact with the fence throughout the cut. A featherboard on the infeed side (before the bit) holds the workpiece against the fence; one on the outfeed side (after the bit) holds it down. Use at least one featherboard for any edge profiling operation.
Opening in the fence:
The fence has a cutout around the bit to allow the bit to protrude. Size this opening as small as practical — a large opening allows the workpiece to tip into the gap, causing a catch. Router table fences with adjustable opening halves allow the opening to be sized to the bit in use.
Milestone: After setting the fence, take a test pass on scrap material identical to the workpiece. Check the profile: is the depth correct? Is the fence holding the workpiece flat? Adjust before cutting the actual workpiece.
Step 3: Common Router Table Operations
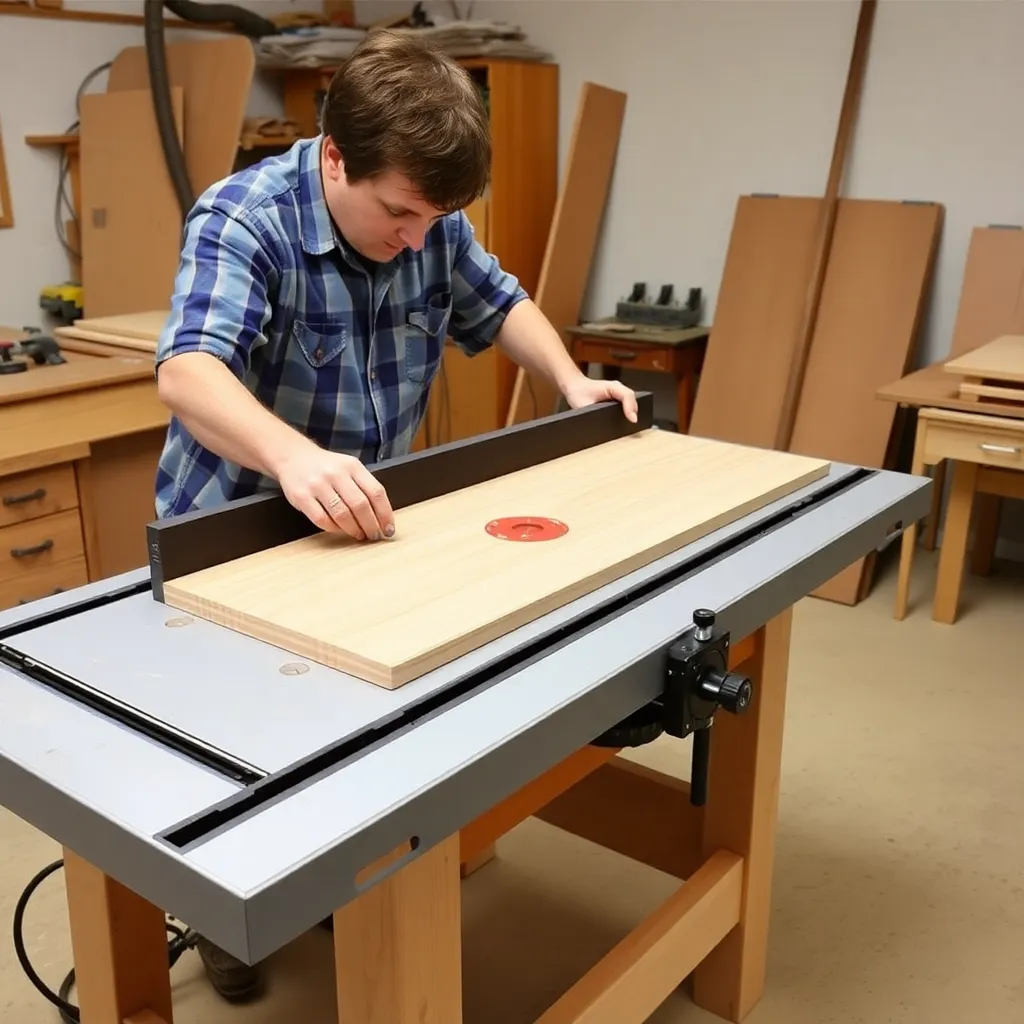
Goal: Execute the most useful router table operations correctly.
Edge profiling:
Edge profiling (running a roundover, chamfer, cove, ogee, or other profile along the edge of a board) is the most common router table operation. The bit runs with its bearing against the workpiece edge; the fence provides additional support.
Technique: set the bit height so the bearing contacts the board edge and the profile cuts into the face or edge as needed. Feed direction: always feed right to left (looking at the fence from the front) — this feeds the workpiece into the bit’s rotation, preventing climb cutting. Move the workpiece at a steady pace, neither so fast that the motor bogs nor so slow that the bit burns the wood.
Raised panel doors:
A raised panel bit cuts the field and shoulder of a raised panel for frame-and-panel cabinet doors. The bit is large (3″-4″ diameter) and must be run at reduced speed (10,000-16,000 RPM). Take the raised panel profile in multiple passes: first pass at half depth, second pass at full depth. Always use the fence (not the bearing alone) for raised panel cuts.
Cope-and-stick joinery:
Cope-and-stick joinery (also called rail-and-stile) creates the interlocking profile used in cabinet door frames. Two matched bits (or one reversible bit set) cut: the “stick” profile along the inner edge of all frame pieces, and the “cope” cut on the ends of the rails that fits the stick profile on the stiles. The result is a door frame with interlocking profiles that align the face and provide long-grain glue surface.
Dadoes and grooves:
A straight bit in the router table cuts dadoes (across grain) and grooves (with grain) with precision. The fence controls position; multiple passes with a narrower bit widen the dado if needed. Router table dadoes are cleaner than table saw dado sets on many materials and don’t require a dado stack.
Box joints:
Box joints (finger joints) are cut on the router table using a jig that indexes each successive cut one finger-width from the previous. The router table’s precision and the jig’s indexing produce consistent finger joints across the full joint length.
Milestone: For every router table operation: make the first pass on scrap. Verify the profile, fit, and surface quality before cutting the actual workpiece. Router bits remove material permanently — there’s no going back from a wrong cut.
Step 4: Router Table Safety and Bit Selection
Goal: Use the router table safely and choose bits correctly.
Feed direction:
Always feed right to left at the fence (conventional feed direction). Feeding in the wrong direction (left to right) creates a climb cut — the bit grabs and pulls the workpiece rather than cutting it, causing a sudden, violent catch. The one exception: climb cutting is occasionally used deliberately on the first light pass to reduce tear-out, but only with very light depth of cut and firm workpiece control.
Bit speed:
Router bit speed (RPM) should be matched to bit diameter. Manufacturers publish recommended RPM ranges:
- Under 1″ diameter: full speed (22,000-25,000 RPM)
- 1″-2″ diameter: 18,000-22,000 RPM
- 2″-3″ diameter: 12,000-16,000 RPM
- Over 3″ (raised panel bits): 8,000-12,000 RPM
Overspeeding large bits creates dangerous vibration and heat. Most variable-speed routers (required for router table use) have a speed dial calibrated in RPM.
Bit quality:
Use carbide-tipped bits (not HSS). Carbide stays sharp 10-20x longer than high-speed steel and produces better surface finish. For router table use: buy individual quality bits as needed rather than cheap bit sets — one good carbide bit outlasts and outperforms a full set of cheap bits.
Push sticks and starting pins:
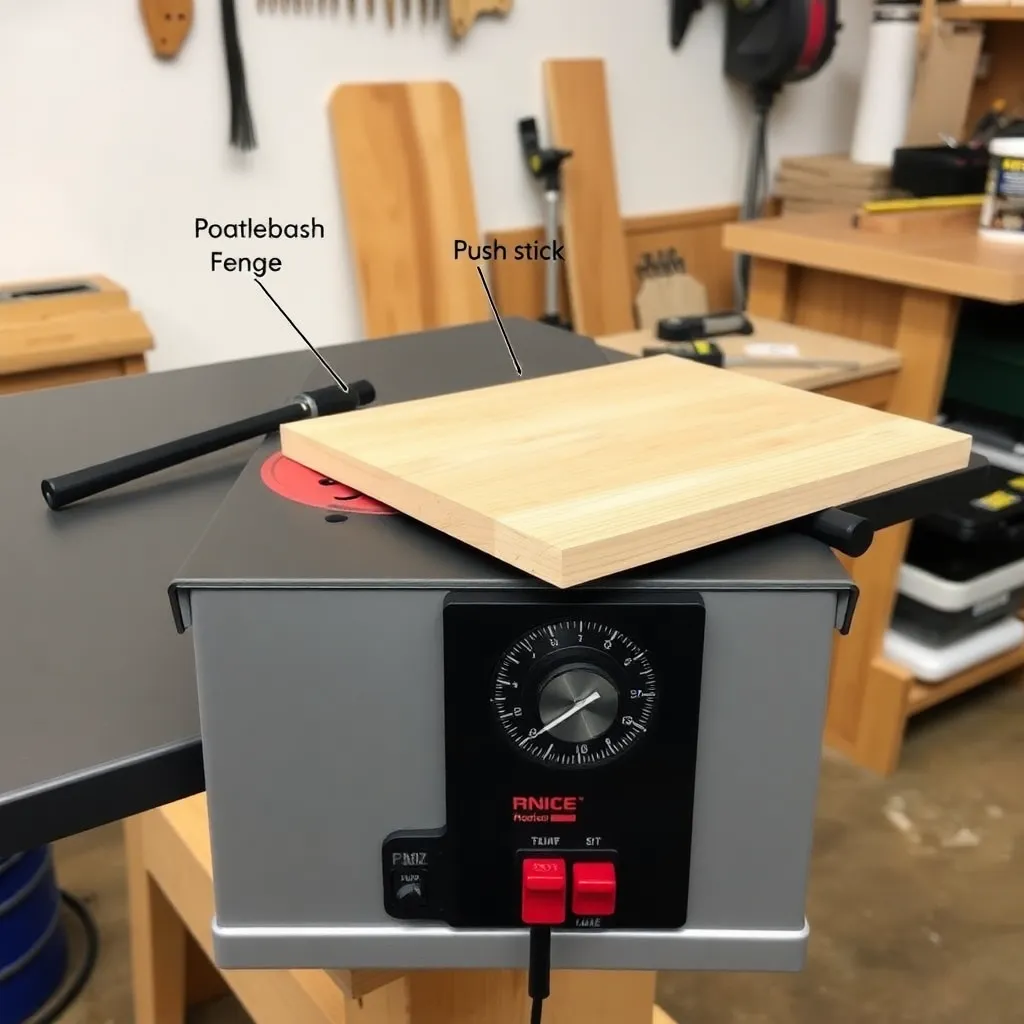
Use a push stick to move the workpiece past the bit — keeping fingers away from the bit at all times. For starting a cut on the end of a narrow workpiece: a starting pin (a metal pin set in the table in front of the bit) provides a pivot point to control the workpiece as it contacts the bit.
Depth of cut:
Take no more than 3/8″ of depth per pass in hardwood. For large profiles: make multiple progressive passes, raising the bit incrementally until the full profile is achieved. A heavy single pass causes chatter, burning, and dangerous bit loading.
Milestone: Before any router table operation: bit is fully seated and collet is tightened; fence is locked at both ends; featherboard is in position; push stick is within reach; router is at the correct RPM for the bit size. Run through this checklist before every session.
Router Table FAQ
What can you do with a router table?
A router table handles: edge profiling (roundovers, chamfers, coves, ogees, Roman ogees, and any other edge profile); raised panel doors for cabinet face frames; cope-and-stick joinery for door frames; dadoes and grooves for drawer bottoms, shelf standards, and panel grooves; box joints and finger joints; pattern routing (using a template with a flush-trim bit); and decorative beading on panels and drawer faces. Any operation where controlling a handheld router is difficult becomes safer and more precise on a router table — the workpiece moves over the stationary bit rather than the router moving over the workpiece.
What router do I need for a router table?
For router table use, you need a fixed-base or combination router (not a plunge router) with a 1/2″ collet (not just 1/4″). Minimum: 2.0 HP motor — for raised panels and large bits, 2.25-3.5 HP is better. Variable speed control is essential for matching RPM to bit size. Router table-compatible routers have fixed bases that mount to the table insert plate and are accessible from above for bit changes. Popular choices: Bosch 1617EVSPK (2.25 HP), DeWalt DW618PK (2.25 HP), Triton TRA001 (3.25 HP, above-table adjustment).
How do I prevent burning on router table cuts?
Burning on router table cuts has three causes: (1) feed rate too slow — move the workpiece faster; a slow feed rate keeps the bit in contact with the wood longer, generating heat; (2) bit is dull — a sharp carbide bit cuts cleanly; a dull bit rubs rather than cuts and generates friction heat; (3) depth of cut too heavy — reduce to a maximum of 3/8″ per pass and make multiple light passes to reach full profile depth. For hardwoods (maple, cherry, walnut): faster feed rate and lighter passes prevent burning regardless of bit sharpness.
Should I use the fence or the bearing when routing?
Use the fence whenever possible — the fence provides more control and a safer cut than bearing-only routing. Use the bearing alone (no fence) only when: routing an irregular edge where the fence can’t follow (a curved workpiece); using a flush-trim bit to follow a template; or routing the interior of a shape. For all straight-edge profiling, the fence is the better choice — it allows the opening around the bit to be minimized, prevents the workpiece from tipping into the bit, and provides consistent support along the full cut length.

“DIY woodworking enthusiast who started with zero experience and a YouTube tutorial.
I build simple, practical projects for my home and share free plans
so other beginners can skip the guesswork.If I can build it, you can too.”