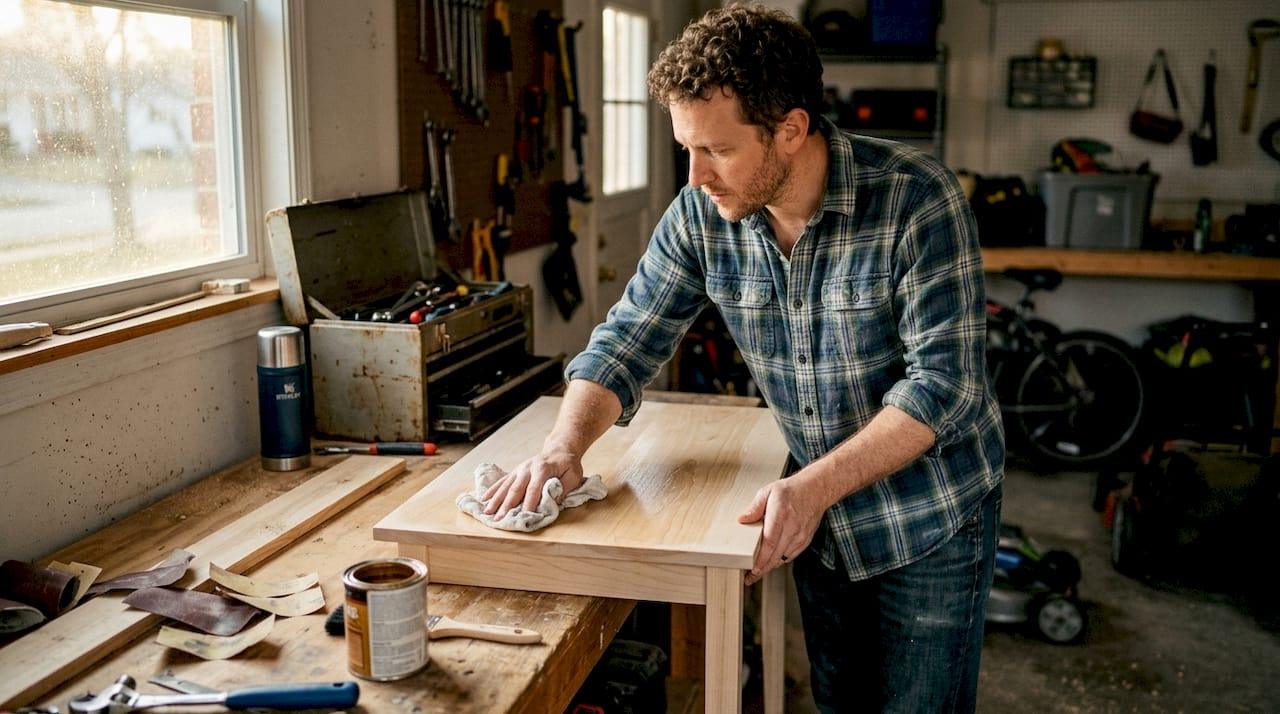
Most woodworkers spend hours cutting, joining, and shaping their projects, then rush through the finish like it’s an afterthought. That’s a mistake. The finish you choose and how you apply it determines whether your project survives daily use for decades or starts looking worn within a year. Finishing wood is not just about making it look pretty. It’s a functional layer that blocks moisture, resists scratches, and brings out the natural beauty of the grain. This guide walks you through every key technique, finish type, and decision point so you can approach your next project with real confidence.
Table of Contents
- What is finishing wood?
- Why finish wood? Core benefits for every project
- Types of wood finishes: Comparing methods and results
- How to choose the right finish for your project
- Techniques: Essential finishing steps every DIYer should know
- Maintenance and troubleshooting: Keeping your finish looking great
- Next steps: Level up your woodworking projects
- Frequently asked questions
Key Takeaways
| Point | Details |
|---|---|
| Finish for protection | Proper wood finishing prevents damage and extends your project’s life. |
| Know your options | Different finishes offer varying protection, repairability, and looks. |
| Preparation is critical | Sanding and cleaning are as important as the finish type chosen. |
| Choose by project use | Match your finish to the wear, traffic, and wood species for best results. |
| Maintenance matters | Regular care and timely touch-ups keep finished wood looking great. |
What is finishing wood?
Finishing wood means applying a protective or decorative coating to the surface of a completed woodworking project. Think of it as the final layer of defense between your hard work and the real world. Without it, wood absorbs moisture, swells, cracks, and stains easily.
The finishing benefits go well beyond looks. A good finish protects against water damage, everyday scratches, heat rings from cups, and even UV fading from sunlight. It also changes how the wood feels under your hand, from silky smooth to slightly textured, depending on the product you use.
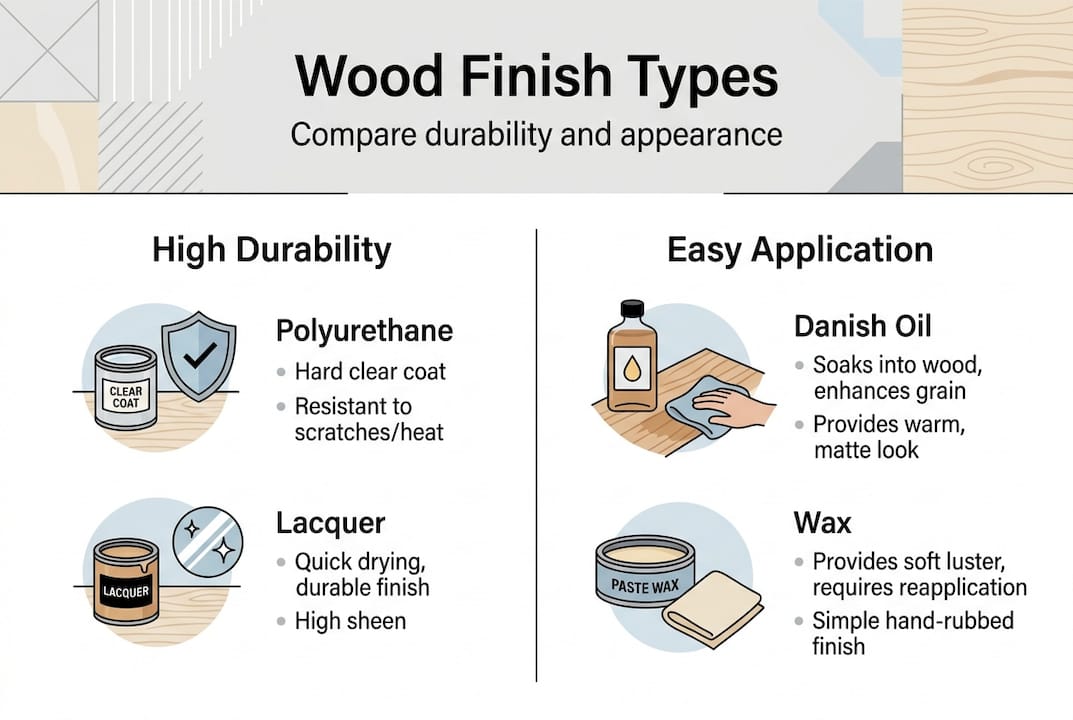
The main finish categories you’ll encounter include:
- Polyurethane and varnish: Hard film finishes with strong protection
- Oils (tung, linseed, danish): Penetrate the wood for a natural look and feel
- Shellac: Fast drying, great for sealing and touch-ups
- Wax: Adds sheen and minor protection, often used over other finishes
- Lacquer: Quick drying, popular in furniture manufacturing
The wood types for DIY you work with also influence which finish performs best, since different species absorb coatings at different rates. As the experts at Hardwood Info explain, finishing creates a protective surface, blocking moisture and wear from reaching the raw wood beneath.
“The finish you choose impacts your project’s success just as much as the species of wood you build with.”
Why finish wood? Core benefits for every project
Now with an understanding of what finishing wood means, let’s look at the real-world benefits you gain from doing it right. A finish is not decoration. It’s protection, and skipping it or rushing it costs you in the long run.
Here’s what a proper finish actually does for your project:
- Moisture resistance: Prevents warping, swelling, and cracking in humid environments
- Scratch and stain protection: Keeps surfaces looking clean even with daily use
- UV protection: Slows the graying and fading that sunlight causes over time
- Easier cleaning: Sealed surfaces wipe clean without absorbing spills
- Enhanced grain and color: Brings out the natural depth and warmth of the wood
One common misconception is that a shiny finish is always better. Matte and satin finishes offer the same protection as gloss, just with a different look. The wood durability guide at Real Woodwork Plans breaks down how species and finish work together to determine longevity.
According to HowStuffWorks, wiping varnishes are beginner-friendly and still deliver strong, durable results, which makes them a smart starting point for new woodworkers.
Pro Tip: Surface prep matters more than the finish itself. Sand thoroughly, remove all dust, and fix any gaps or dents before you open a single can. Skipping wood sanding prep is the number one reason DIY finishes look amateur.
Types of wood finishes: Comparing methods and results
With the why explored, we move to which finishes best suit different DIY projects, so you can choose with confidence. Not every finish works for every situation, and understanding the tradeoffs saves you time and money.
| Finish type | Durability | Appearance | Reapplication | Difficulty |
|---|---|---|---|---|
| Oil-based polyurethane | Very high | Warm, amber tone | Rarely needed | Moderate |
| Water-based polyurethane | High | Clear, stays neutral | Rarely needed | Easy to moderate |
| Tung or danish oil | Moderate | Natural, matte | Every 1-2 years | Easy |
| Shellac | Low to moderate | Warm, vintage look | As needed | Moderate |
| Wax | Low | Soft sheen | Every 6-12 months | Easy |
| Varnish | High | Glossy or satin | Rarely needed | Moderate |
Film finishes like polyurethane sit on top of the wood and create a hard barrier. They offer maximum protection but can look more plastic-like if over-applied. Penetrating finishes like oils soak into the wood fibers, giving a more natural look and feel that’s easier to spot repair.
Water-based finishes stay clear over time, which is ideal for light-colored woods like maple or ash. Oil-based finishes add a warm amber tone that looks beautiful on walnut or cherry. As Rothko and Frost explain, film finishes are most durable while oils support a natural feel with less barrier protection, and water-based finishes resist yellowing over time.
“For a dining table that takes daily abuse, polyurethane wins. For a decorative picture frame, a simple wax or oil finish is more than enough.”
Knowing what the piece will be used for is the fastest way to narrow your finish choice. Check out the guide on furniture grade wood to understand how wood quality also plays into your finish decision.
How to choose the right finish for your project
You’ve seen the main finish types. Now here’s how to match them to your next project for the best result. The right finish depends on four things: what the piece is, how it will be used, what wood you’re working with, and your skill level.
Work through these questions before you buy anything:
- What is the project? Furniture, flooring, outdoor pieces, and decorative items all have different needs.
- How much traffic or use will it get? A kitchen table needs more protection than a wall shelf.
- What wood species are you using? Porous woods like oak absorb more finish and may need a sealer coat first.
- What look do you want? Natural and matte, or rich and glossy?
- What’s your experience level? Some finishes are far more forgiving than others.
| Project type | Recommended finish | Durability | Maintenance |
|---|---|---|---|
| Dining table | Oil-based polyurethane | Very high | Low |
| Decorative shelf | Wax or danish oil | Moderate | Moderate |
| Outdoor furniture | Exterior varnish or teak oil | High | Seasonal |
| Hardwood floors | Water-based polyurethane | High | Low |
| Picture frame | Shellac or wax | Low | Low |
For high-traffic pieces, research confirms that polyurethane outperforms others in scratch and heat resistance, though proper prep still makes the biggest impact on final results. If you’re working on home decor woodworking projects, matching the finish to the room’s style and the wood’s character makes a huge difference visually.
Pro Tip: For floors specifically, making wood floors shine requires a different approach than furniture. Use products designed for floors and always follow the grain direction when applying.
The strength of your joinery and durability also affects how well a finish holds up. Tight, well-fitted joints don’t flex and crack the finish the way loose joints do.
Techniques: Essential finishing steps every DIYer should know
Selecting a finish is half the battle. Here’s how to apply it so you get pro-grade results every time. The process is straightforward, but each step matters.
- Sand and prep the surface. Start with 120-grit sandpaper to remove mill marks and imperfections. Work up to 180 or 220-grit for a smooth base. Always sand with the grain, never against it.
- Clean thoroughly. Wipe down the entire surface with a tack cloth or a lint-free rag lightly dampened with mineral spirits. Even invisible dust ruins a finish.
- Apply the first coat. Follow the product directions exactly. Brush, wipe, or spray depending on the finish type. Thin, even coats beat thick, heavy ones every time.
- Let it dry and cure fully. Dry time and cure time are different. A finish may feel dry to the touch in an hour but take days to fully harden. Rushing this step causes fingerprints and dust nibs to get locked in.
- Rub out the final coat (optional but worth it). Use 0000 steel wool or a fine abrasive pad to knock down any surface texture and create a silky, professional feel.
As the research at Finding Dulcinea confirms, proper prep is more important than the finish itself for real durability and appearance. Mastering sanding techniques is the single best investment you can make in your finishing results.
Pro Tip: Always test your finish on a scrap piece of the same wood before touching your actual project. Colors shift, grain pops differently, and some finishes react unexpectedly with certain species. This one habit saves projects.
Solid DIY joinery basics also set you up for better finishing results, since a well-built piece holds finish more evenly than one with gaps or rough transitions.
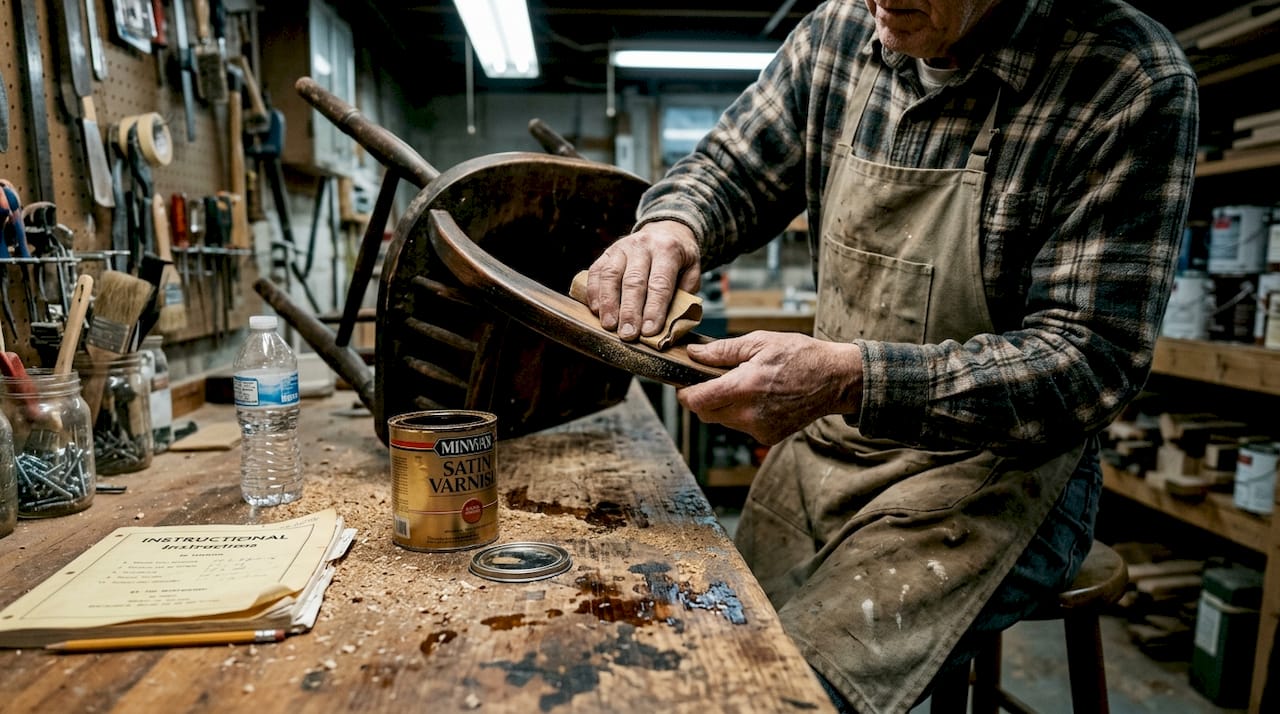
Maintenance and troubleshooting: Keeping your finish looking great
After perfecting your finish, keep it protected and beautiful with smart, simple maintenance strategies. A great finish can last decades with minimal effort if you treat it right.
Here’s what routine care looks like:
- Dust regularly with a soft, dry cloth to prevent micro-scratches from grit buildup
- Wipe spills immediately before they have a chance to penetrate or stain
- Avoid harsh cleaners like bleach or ammonia-based sprays, which break down film finishes over time
- Use mild soap and water or a specialty wood cleaner for deeper cleaning
- Watch for dull spots and worn areas as early signs that reapplication is needed
For spot repairs on oil or penetrating finishes, lightly sand the damaged area and reapply the finish. Film finishes like polyurethane are harder to spot repair cleanly, so prevention matters more. The custom furniture care guide covers specific strategies for keeping handcrafted pieces in top shape.
For floors, wood floor shine tips from cleaning professionals offer practical advice on maintaining high-traffic surfaces without damaging the finish.
As Hardwood Info notes, thicker builds of 3 to 5 coats increase moisture resistance significantly, but the type of finish you use determines how often and how easily you can maintain it over time.
“Frequent, light maintenance beats infrequent heavy refinishing every time. Catch problems early and your finish will outlast the furniture trend cycle.”
Next steps: Level up your woodworking projects
You now have a solid foundation in wood finishing, from choosing the right product to applying it like a pro and keeping it looking great for years. The next step is putting that knowledge to work on a real project.

At Real Woodwork Plans, we make that next step easy. Our DIY project success tips show you how detailed plans take the guesswork out of every stage, including finishing. Whether you’re building your first coffee table or tackling a more advanced piece, our custom furniture woodworking guides walk you through material selection, joinery, and finishing in one place. Browse our project library and find your next build today.
Frequently asked questions
Is finishing wood always necessary for DIY projects?
While not mandatory, finishing wood dramatically increases durability and protects from moisture. Unfinished wood is vulnerable to water, wear, and stains that shorten the life of your project significantly.
What’s the easiest wood finish for beginners?
Wiping varnish or water-based polyurethane is the best starting point for most beginners. Wiping varnish is praised as a beginner-friendly hybrid that combines easy application with solid protection.
How many coats of finish should I apply?
Three to five coats of a film finish give the best moisture protection for most projects. Research confirms that thicker builds of 3 to 5 coats increase moisture resistance significantly compared to one or two coats.
Can I mix different wood finishes for better results?
Yes, layering an oil base under a film finish adds depth and protection. Always combine oil and film on scrap wood first to confirm compatibility before applying to your actual project.
How do I fix a scratched or dull wood finish?
For light scratches, buff the surface and spot apply fresh finish. For more serious wear, light sanding followed by refinishing works best, and repairs are easier with oil or penetrating finishes than with hard film coatings.
DIY projects:
DIY Wooden Coffee Table
DIY Shoe Rack
Recommended
- Why Finish Wood: Protecting and Enhancing Projects
- Wood Types Explained: Choosing for DIY Projects
- Role of Wood Selection in DIY Woodworking Projects
- How to Design Wood Projects for Stunning DIY Results
- How to Make Wood Floors Shine – Royal Carpet Cleaning

“DIY woodworking enthusiast who started with zero experience and a YouTube tutorial.
I build simple, practical projects for my home and share free plans
so other beginners can skip the guesswork.If I can build it, you can too.”