Woodworking Tools: Complete Guide

A comprehensive overview of every tool category in the woodworking shop — what each tool does, when to use it, and how to prioritize purchases as your shop grows. Covers hand tools, power tools, measuring and marking tools, and how the categories work together across a project from rough lumber to finished piece.
Part of: Woodworking Tools Guide →
Every woodworker starts with the same question: which tools do I actually need? The answer depends on what you want to build — but the tools that handle 90% of beginner and intermediate woodworking projects fit in a reasonable budget and a single-car garage. This guide covers the essential woodworking tools for beginners: what they do, what to buy first, and what to add as your projects grow. It also covers the concepts behind each tool category so you understand not just which tool to use, but why.
Ted’s Woodworking has 16,000+ plans that list exactly which tools each project requires. Browse Ted’s plans →
Woodworking Tools
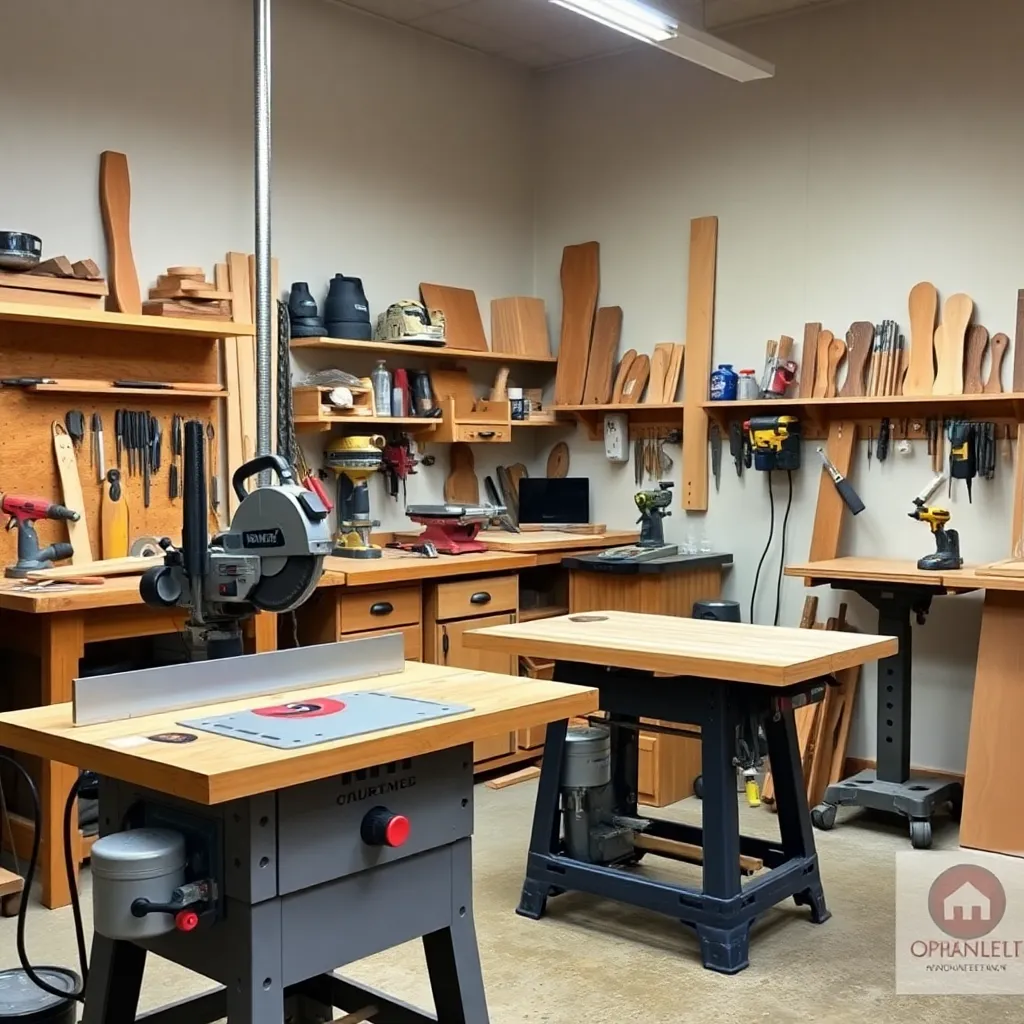
Every major woodworking tool category — measuring and marking, saws (miter saw, table saw, jigsaw, hand saws), drilling and driving (cordless drill, impact driver, drill press, Forstner bits), shaping (router, block plane, chisels, card scraper), and finishing and assembly (random orbit sander, clamps, finish nailer) — has a specific role in the shop. Understanding what each tool does, when it’s the right tool for the job, and what to look for when buying separates a functional shop from a cluttered one.
What’s covered in detail: the complete tool reference for every category. Miter saw for crosscuts, table saw for rips, router for profiles and dadoes, cordless drill for pilot holes and driving, clamps for glue-ups. What to look for in each tool, budget ranges, and how each tool fits into the woodworking workflow from raw lumber to finished project.
The buying sequence: miter saw first (crosscuts are needed in every project), then a way to rip boards to width (table saw or circular saw with guide), then a cordless drill, then a random orbit sander, then clamps. Everything else is added as specific projects require it.
The First Tools Every Woodworker Needs
1. Miter saw ($200–350):
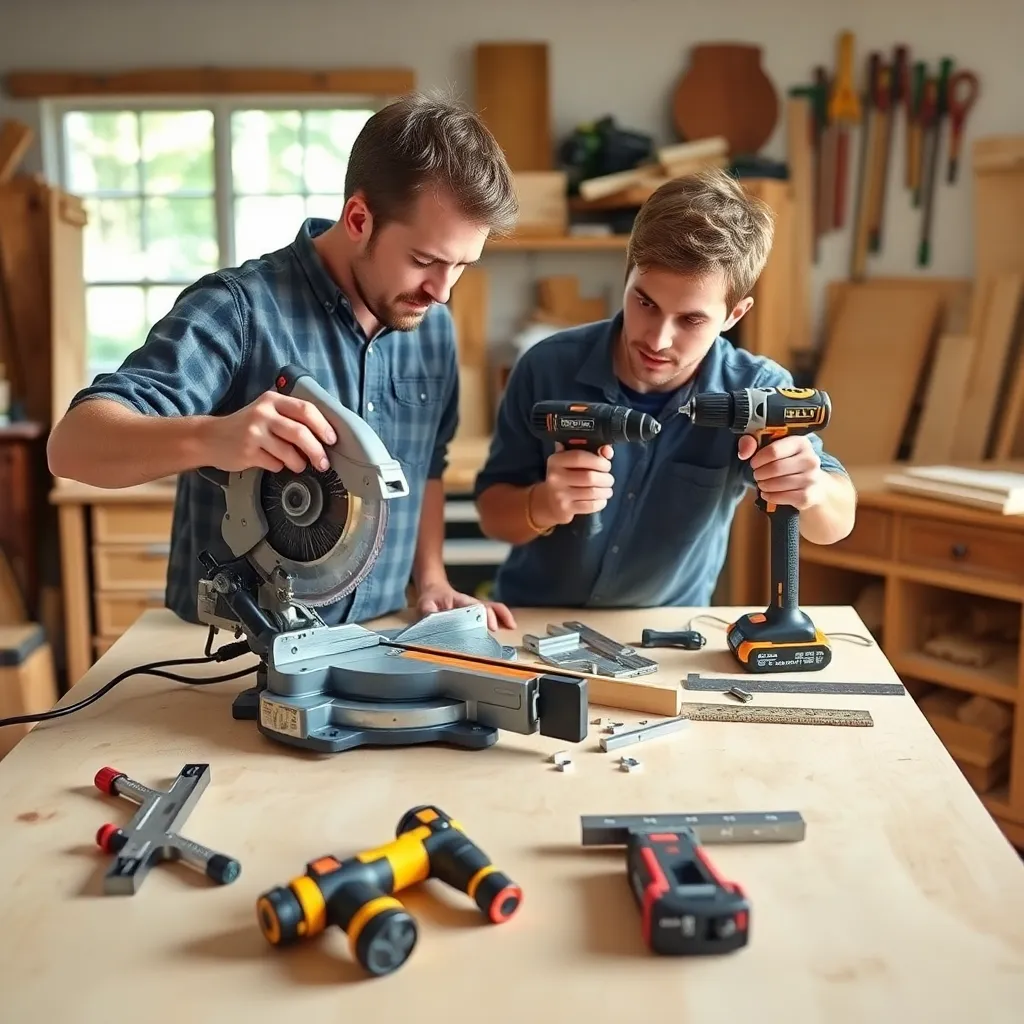
The miter saw makes accurate crosscuts at any angle. It’s used in every project — cutting boards to length, mitering trim corners, cutting molding. A 10″ sliding compound miter saw is the right starting point: the sliding feature allows cutting boards wider than the blade diameter, and the compound feature allows crown molding cuts. This is the most important first power tool purchase for a woodworker.
2. Cordless drill/driver ($100–200):
Used constantly: drilling pilot holes before driving screws, driving screws during assembly, boring holes with Forstner bits for hardware and hinges. Buy a 20V drill from a major brand (DeWalt, Milwaukee, Makita, Ridgid) with two batteries. The two-battery kit costs only slightly more than a single-battery kit and means the drill is always available even if one battery is charging.
3. Random orbit sander ($60–100):
Prepares surfaces for finish. The random orbit motion eliminates the circular scratch patterns left by older-style orbital sanders. A 5″ sander with hook-and-loop pads accepts the full range of sanding discs from 60-grit (material removal) to 220-grit (final prep). Used in every project before any finish is applied.
4. Combination square ($30–60):
The most important layout tool. Checks pieces for square, marks lines at consistent distances from edges, checks 45-degree angles. A quality combination square (not a cheap plastic one) holds its calibration and introduces no error into layout. Buy once; this tool lasts a lifetime.
5. Clamps ($150–300 for a starting set):
Holds glue joints during cure time. Start with: four 24″ bar clamps, four 12″ bar clamps, and a set of spring clamps. You will always need more clamps than you expect. Add as projects require.
Adding Tools as Projects Grow
Table saw (when: ripping boards to width is needed regularly):
The table saw rips lumber to width along the grain — the fundamental operation in furniture making and cabinet making. A job-site saw (DeWalt, Bosch, Ridgid) fits in a small shop and handles most needs at $400-600. Add a quality aftermarket fence if the included fence is poor. The table saw is the second most important shop machine after the miter saw for most woodworkers.
Router (when: dadoes, profiles, and edge treatments are needed):
A 2.25-HP router with both 1/4″ and 1/2″ collets handles dadoes (for shelf pins and cabinet backs), rabbets, roundovers and chamfers, flush trimming, and profile molding. In a router table: the router becomes a small shaper that handles repetitive production work. Budget: $100-200 for the router; $150-300 for a quality router table fence and table.
Drill press (when: holes must be perfectly vertical and repeatable):
The drill press holds the drill perfectly perpendicular to the work surface, allowing precise, repeatable hole placement for dowels, hardware, and mortises. Essential for production joinery; useful for any work where hole alignment matters. A benchtop drill press at $150-250 handles most hobby woodworking needs.
Jointer and planer (when: milling rough lumber):
A jointer flattens one face and one edge of a board; a planer brings the board to consistent thickness parallel to the flat face. Together they convert rough-sawn lumber (the cheapest form of wood) into flat, square, consistent stock. These are significant investments ($400-800 each) that make sense when you’re buying rough lumber regularly. If you buy pre-surfaced lumber: you don’t need these yet.
Bandsaw (when: resawing thick stock or cutting curves):
The bandsaw recuts thick boards into thinner slabs (resawing) and cuts gentle curves that the jigsaw can’t handle cleanly. A 14″ bandsaw with a quality resaw fence is the furniture maker’s tool for book-matching panels, cutting thin veneers, and producing curved components. Budget: $400-700.
Tool Safety Fundamentals
Eye and ear protection:
Wear safety glasses whenever a saw is running — wood chips and sawdust travel fast and far. Wear hearing protection for any sustained power tool use; miter saws and table saws produce noise levels that cause hearing damage over time. Keep both within reach at the saw.
Blade guards and riving knives:
The table saw’s blade guard and riving knife are safety features — don’t remove them except when operations genuinely require it (some jigs and operations require removing the guard; restore it immediately after). The riving knife, which travels with the blade, prevents the kerf from closing on the blade and causing kickback. Never disable the riving knife.
Push sticks and featherboards:
When ripping narrow stock on the table saw (anything narrower than 4″), use a push stick to move the stock past the blade — never let your fingers get within 4″ of the spinning blade. A featherboard (a spring-loaded guide clamped to the table or fence) holds stock against the fence consistently and prevents kickback. Buy or make both before your first rip cut.
Sharp tools are safer:
A sharp chisel, plane, and saw require less force. Less force means more control. Dull tools require you to push harder, and harder pushing means less control when the tool slips — which it will. Keep chisels sharp (a 1000-grit, 4000-grit, and 8000-grit waterstone set is the standard sharpening system), sharpen hand plane blades regularly, and replace saw blades when they start requiring more effort.
Milestone: Before using any new power tool: read the manual, watch a video of the tool in use, understand the safety features, and make several practice cuts in scrap wood before cutting project material.
Building a Woodworking Shop on a Budget
Year one ($800–1,200):
Miter saw + cordless drill + random orbit sander + combination square + tape measure + clamp set. These tools handle: cutting lumber to length, drilling pilot holes, driving screws, assembling with glue and clamps, sanding for finish. Builds: simple boxes, picture frames, basic furniture from pre-dimensioned lumber, shelving.
Year two (add $600–1,000):
Table saw or circular saw + router + jigsaw + additional clamps. Now you can: rip lumber to width, cut profiles and dadoes, cut curves, build cabinetry and face frames. Builds: cabinets, bed frames, tables, built-in shelving.
Year three (add $800–1,500):
Drill press + bandsaw OR jointer + planer (choose based on whether you’re buying rough lumber). Now you can: mill rough lumber, cut precise joinery, resaw for book-matched panels. Builds: furniture from rough lumber, drawers with fitted joints, more complex case pieces.
Woodworking Tools Basics FAQ
What is the best first woodworking tool to buy?
The miter saw is the single best first purchase for a beginning woodworker. It crosscuts boards to length accurately, cuts angles for trim work, and is used in virtually every woodworking project from a simple box to complex furniture. A 10″ sliding compound miter saw at $200-350 from DeWalt, Ridgid, or Bosch handles everything from framing to finish trim. Buy it first; everything else follows based on what you want to build.
Can I start woodworking with just hand tools?
Yes — and for many traditional joints and fine furniture work, hand tools produce results that power tools can’t easily replicate. A starting hand tool kit (hand saw, block plane, set of chisels, marking gauge, mallet) costs $150-250 and handles an enormous range of work. Hand tools are quieter, require no electricity, and force a precision in technique that makes you a better woodworker when you transition to power tools. Many experienced woodworkers deliberately work exclusively with hand tools for the quality of the experience and the result.
How much does a complete beginner woodworking shop cost?
A functional beginner shop that can produce real furniture and cabinetry costs $800-1,500 in tools at new prices — less with used tools and sales. This covers: miter saw ($250), cordless drill kit ($150), random orbit sander ($80), circular saw ($100), clamp set ($200), and basic hand tools and measuring equipment ($100-200). A more complete shop with a table saw, router, and jigsaw runs $1,500-2,500. You don’t need everything at once — buy tools as specific projects require them.
What woodworking tools should I avoid buying as a beginner?
Avoid: combo machines (tools that combine a table saw, jointer, and planer in one unit — they compromise all three functions), import-brand bench tools with no track record, benchtop jointers under 6″ (they’re too narrow to be useful), and drill press attachments for your cordless drill (they don’t provide the rigidity that makes a drill press valuable). Also avoid: buying the cheapest versions of precision tools (squares, marking gauges) — precision tools that aren’t precise are worse than useless. Invest in quality measuring tools and save money on large machines, where the value difference between brands is smaller.

“DIY woodworking enthusiast who started with zero experience and a YouTube tutorial.
I build simple, practical projects for my home and share free plans
so other beginners can skip the guesswork.If I can build it, you can too.”