Part of: Woodworking Tools Basics →
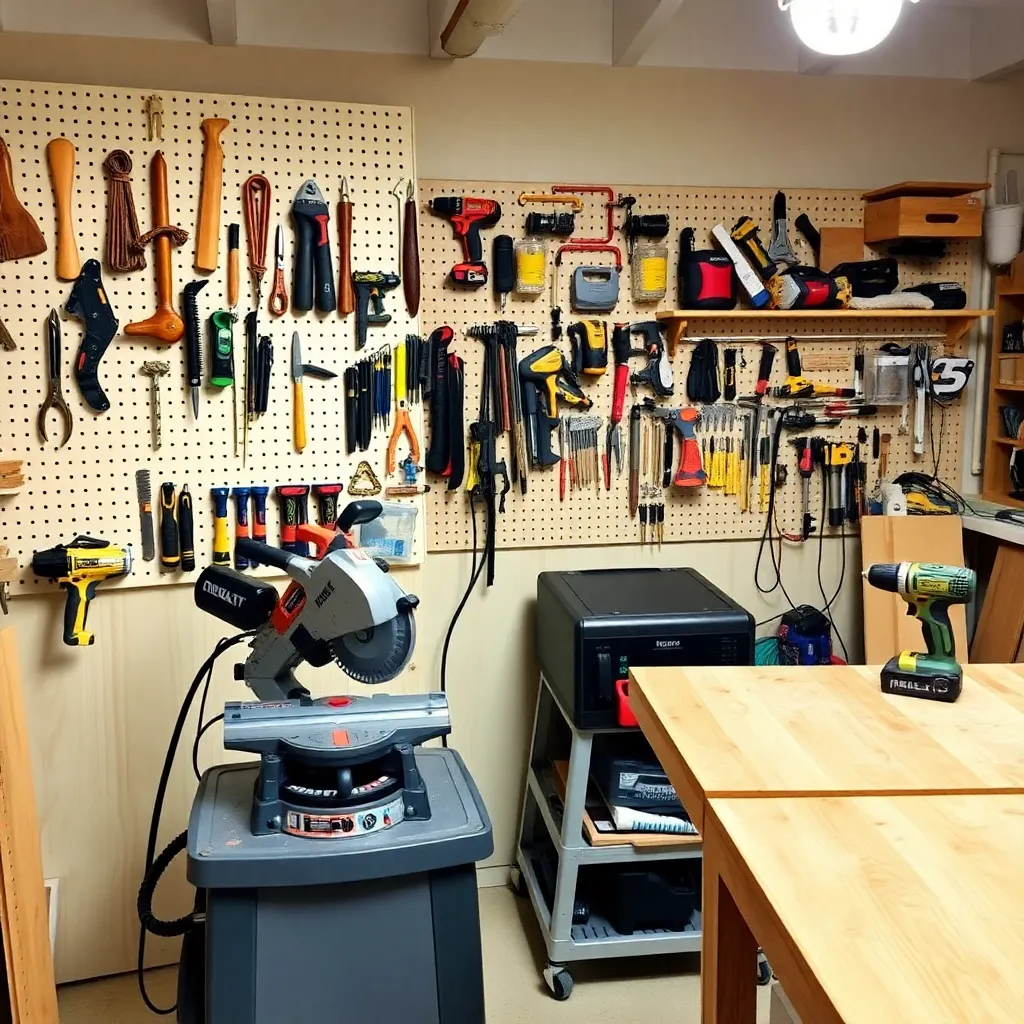
Woodworking tools fall into categories based on what they do: tools that cut wood, tools that shape it, tools that join it, and tools that finish it. Every woodworker starts somewhere — usually with a miter saw and a drill — and adds tools as projects demand them. Buying the right tools in the right order, understanding what each tool actually does, and knowing how to use each one correctly is the difference between a shop that produces good work and an expensive collection of equipment that gets in the way. This guide covers every major woodworking tool category: what each tool does, when you need it, what to look for when buying, and how to use it safely.
Ted’s Woodworking has 16,000+ plans with complete tool requirements listed for every project. Browse Ted’s plans →
Stocking your shop? See our picks for the top woodcraft supplies to get started.
Step 1: Start With Measuring and Marking Tools
Goal: Understand the foundation of all woodworking — accurate layout.
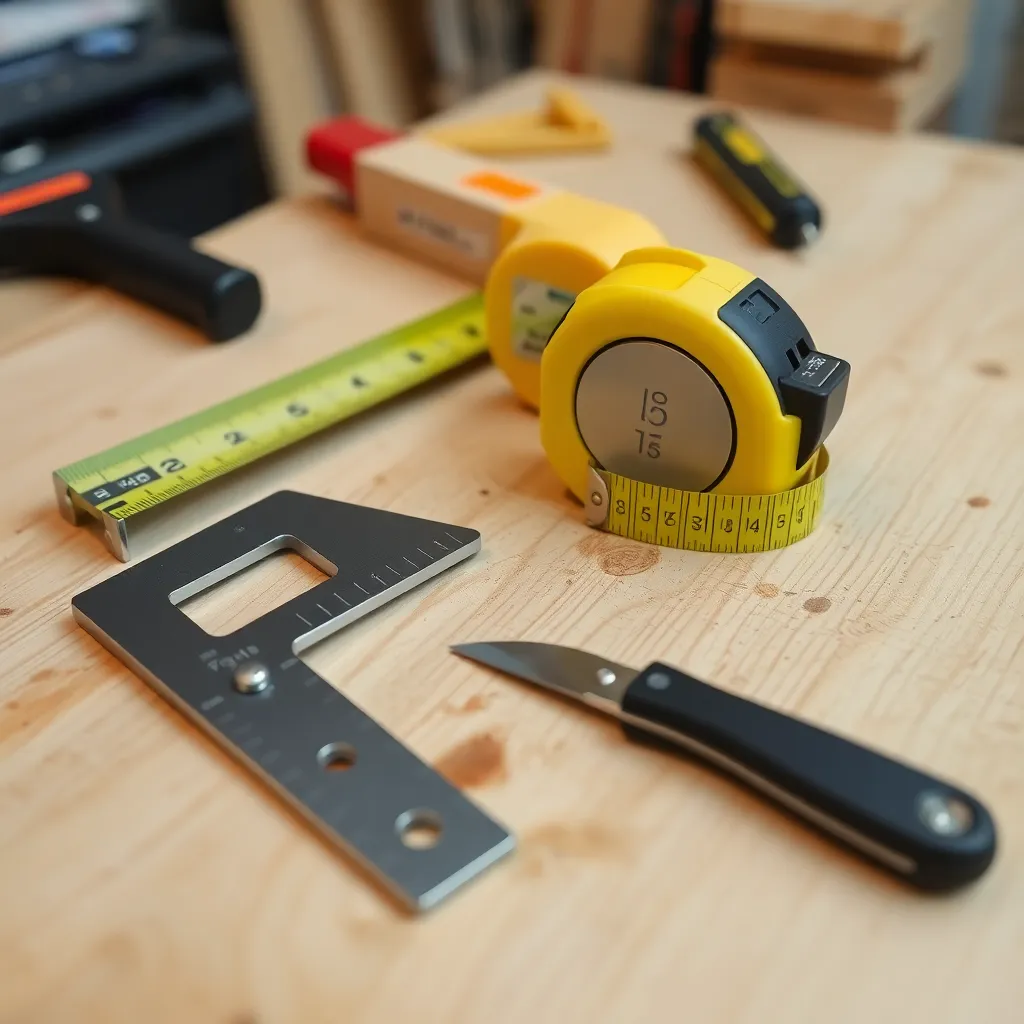
Tape measure:
The most-used tool in any shop. For woodworking: a 25′ tape with a wide (1-1/4″) blade that stands out rigidly for 8-10 feet is ideal — it allows measuring long boards alone without the tape collapsing. Look for a tape with both imperial and metric markings and clear 1/16″ graduations. A good tape measure costs $15-25; cheap tapes have loose hooks and inaccurate markings that introduce cumulative error across a project.
Combination square:
A combination square (a metal head on a sliding steel blade) is the most versatile layout tool in the shop. Uses: checking pieces for square (90 degrees), marking parallel lines at consistent distance from an edge (reveals, rabbet depths, tenon shoulders), checking for 45 degrees, and measuring depth. A quality combination square (Starrett, Woodpeckers, or Empire) holds its angle accurately; a cheap one drifts and introduces errors. Budget: $30-60 for a reliable square.
Marking gauge:
A marking gauge scribes a line parallel to an edge at a precise distance — used to lay out mortise cheeks, tenon shoulders, rabbet depths, and reveal lines. The wheel-type marking gauge (a small wheel cutter instead of a pin) is the modern standard: it scores cleanly across grain without tearing fibers. Budget: $20-40.
Pencil and marking knife:
Pencil lines are sufficient for rough layout; a marking knife is used for precision cuts (dovetails, mortise-and-tenon, miters that must be exact). The knife scores a thin, precise line and severs the wood fibers at the cut line, which allows a chisel or saw to register exactly at the line.
Milestone: Before any tool cuts wood, the layout is complete and verified. Measuring twice before cutting once isn’t a cliché — it’s the difference between a project that fits together and one that doesn’t.
Step 2: Cutting Tools — Saws
Goal: Know which saw does which job and when each is needed.
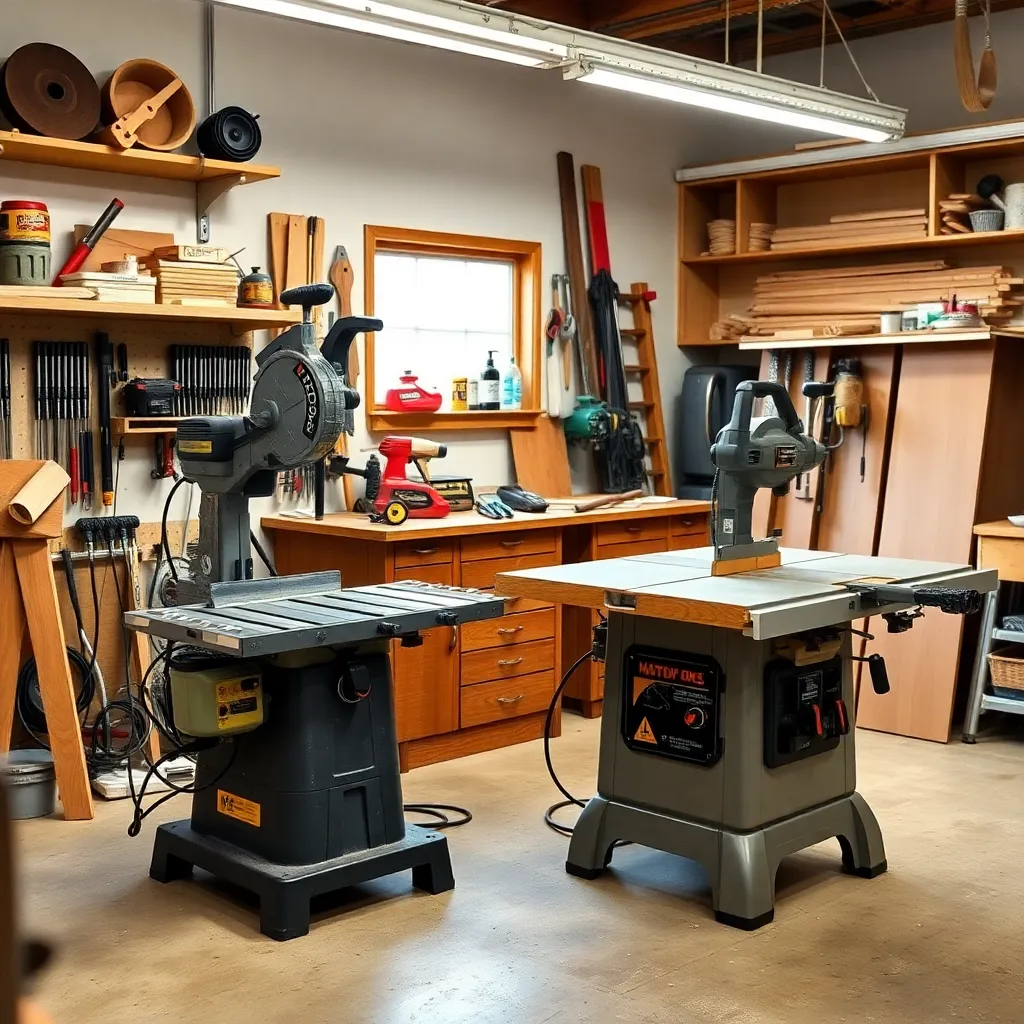
Miter saw (chop saw):
The miter saw is the most essential power saw for woodworking. It makes fast, accurate crosscuts (cuts across the grain) at any angle from 45 degrees left to 45 degrees right. A 10″ sliding compound miter saw covers 99% of crosscutting needs in a hobby or professional shop. The sliding feature extends the cut capacity beyond the blade diameter — a 10″ sliding saw can crosscut boards up to 12″ wide. What to look for: positive detent stops at common angles (0, 15, 22.5, 30, 45 degrees), a good fence, and a dust port for shop vac connection. Budget: $200-350 for a reliable 10″ sliding compound saw.
Table saw:
The table saw is the workhorse of furniture and cabinet making — it rips boards to width (cuts along the grain) with precision and speed that no other tool matches. A cabinet saw or contractor saw with a solid fence is the core of a production woodworking shop. For a hobby shop: a quality job-site saw (DeWalt DW745, Bosch 4100XC) provides most of the table saw’s capability at lower cost and smaller footprint. What to look for: a quality fence (the Biesemeyer-style T-square fence is the standard), a flat table, and a riving knife (safety feature that prevents kickback). Budget: $400-600 for a job-site saw; $800-2000 for a contractor saw; $2000+ for a cabinet saw.
Circular saw:
A circular saw with a good blade and a straightedge guide breaks down sheet goods (plywood, MDF) faster than a table saw for large panels. A 7-1/4″ circular saw is the standard. Used primarily for rough sizing — cutting plywood sheets down to manageable sizes before final dimensioning on the table saw. Budget: $80-150.
Jigsaw:
The jigsaw cuts curves — it’s the only portable saw that follows a curved layout line. Used for: curved cabinet doors, rounded table corners, cutting sink holes in countertops, freeform shapes. A good jigsaw with an orbital cutting action cuts much faster than a basic jigsaw. Budget: $80-150.
Hand saw:
Every woodworker should own at least one quality hand saw: a crosscut saw for cutting without power, a Japanese pull saw (cuts on the pull stroke, producing a thin, precise kerf) for joinery work, and optionally a coping saw or fret saw for scrollwork and coping molding profiles. Hand saws are quieter, require no electricity, and are often faster than setting up a power saw for a single cut.
Milestone: With a miter saw (crosscuts) and a table saw or circular saw (rips), a woodworker can dimension lumber for any project. Add a jigsaw for curved work.
Step 3: Drilling and Driving Tools
Goal: Know the drill, impact driver, and drill press and when each is appropriate.
Cordless drill/driver:
The most-used power tool in any woodworker’s shop. Uses: drilling pilot holes before driving screws (prevents splitting), driving screws, boring holes with spade bits or Forstner bits, mixing finish. A 20V cordless drill from any major brand (DeWalt, Milwaukee, Makita, Ridgid) is adequate. What to look for: variable speed trigger, two-speed gearbox (low speed for driving, high speed for drilling), a quality keyless chuck, and at least two batteries. Budget: $100-200 with two batteries.
Impact driver:
An impact driver drives screws and bolts faster and with more torque than a drill. It delivers rotational impacts rather than continuous torque, which prevents cam-out (the bit slipping out of the screw head) in long screws. The impact driver is not a drill — don’t use it for boring holes or for delicate driving where you need fine control. Use it for assembly: driving pocket hole screws, lag screws, and long decking screws. Budget: $80-150 (often sold in a drill/driver + impact driver combo kit).
Drill press:
A benchtop or floor drill press drills perfectly vertical holes — the drill is fixed in a quill that travels straight down, so the hole goes exactly where you set it and at exactly 90 degrees to the surface (or at any other angle set on the tilt table). Uses: drilling mortises, Forstner bit holes for hardware installation, dowel holes that must align precisely. A drill press with a quality fence and a depth stop is essential for production joinery. Budget: $150-300 for a benchtop press; $400+ for a floor model.
Forstner bits:
Forstner bits drill flat-bottomed holes — they don’t punch through like a twist bit, they excavate a cylinder of wood. Used for: hinge mortises, plug holes, hardware recesses, and decorative holes. Available from 1/4″ to 3″ diameter. A set of Forstner bits (1/4″ through 1-1/2″) covers most woodworking needs. Budget: $30-60 for a quality set.
Milestone: With a cordless drill and a set of Forstner bits, a woodworker can install hinges, drill pilot holes for all screws, and bore holes for dowels and plugs.
Step 4: Shaping Tools — Routers and Planes
Goal: Understand tools for refining edges, cutting profiles, and shaping wood surfaces.
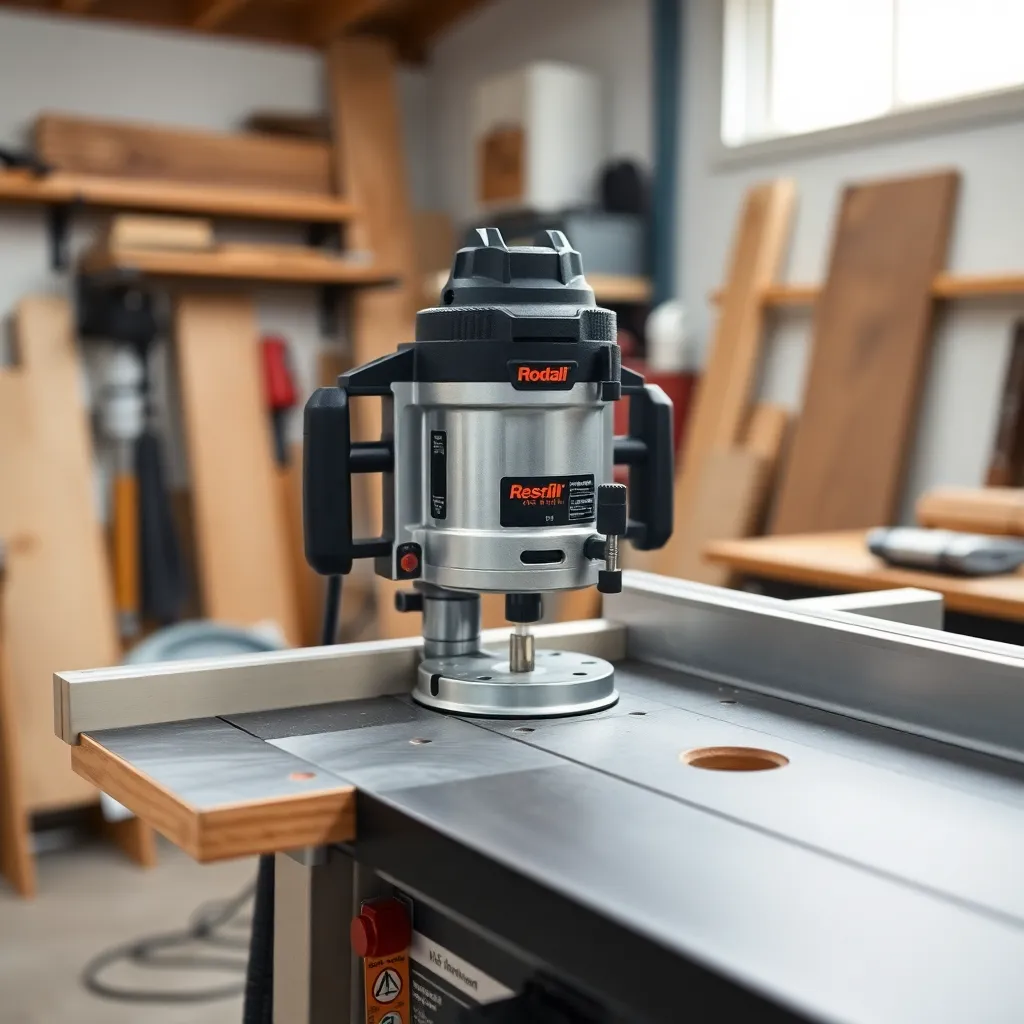
Router:
The router is the most versatile shaping tool in the shop. A rotating bit cuts profiles, dadoes, rabbets, mortises, and edge treatments. With the right bit, a router can duplicate any molding profile, cut perfect dadoes for shelf pins, flush-trim veneers and edging, and cut mortises for hinges or hardware. A 2.25-HP router with both 1/4″ and 1/2″ collets covers most needs. Use it in a router table for repetitive production work; use it handheld with a fence or template for one-off cuts. Budget: $100-200 for a quality fixed-base router; $150-250 for a plunge router.
Block plane:
A well-tuned block plane is the most useful hand tool after a chisel. Uses: fitting joints (planing a door or drawer to fit), trimming end grain (block planes are designed for end grain), chamfering edges, removing mill marks from boards. A quality block plane (Stanley 60-1/2, Lie-Nielsen 60-1/2, Veritas) holds a sharp edge and adjusts precisely. Cheaper block planes are frustrating to use because their adjustments are imprecise and they don’t hold an edge. Budget: $40-60 for a quality mass-market plane; $150-250 for a premium plane.
Card scraper:
A card scraper is a thin rectangle of spring steel that, when properly sharpened (a turned hook on the edge), produces fine shavings from wood surfaces. It removes mill marks and plane tracks without leaving sanding scratches. Used before final finishing on cabinet sides, tabletops, and any surface where scratch-free appearance matters. One of the most underused tools in hobby shops and one of the most used in professional cabinet shops. Budget: $10-20 for a quality scraper; $5-10 for a burnisher to sharpen it.
Chisels:
A set of bench chisels (1/4″, 1/2″, 3/4″, 1″) handles mortise cleaning, hinge mortising, paring joints to fit, and general hand work. Buy quality chisels that hold an edge — Narex, Two Cherries, or Ashley Iles at the mid-range; Lie-Nielsen or Blue Spruce for premium. Keep them sharp — a dull chisel is dangerous because it requires force that causes it to slip. Budget: $60-120 for a quality 4-piece set.
Milestone: A router handles the majority of shaping needs in a modern shop. Add a block plane and a set of chisels for hand-fitting joints and trimming.
Step 5: Finishing and Assembly Tools
Goal: Know the tools for sanding, finishing, and clamping.
Random orbit sander:
The random orbit sander is the standard power sanding tool. The disc moves in random orbits rather than circles, which eliminates the circular scratch patterns left by disc sanders and orbital finishing sanders. Used for: removing mill marks from boards, sanding between finish coats, final surface preparation before finishing. A 5″ random orbit sander with 8-hole hook-and-loop pads accepts standard sanding discs. Budget: $60-100.
Clamps:
Clamps are the hands that hold glue joints while they cure. You can never have enough clamps. Start with: four 24″ bar clamps or pipe clamps (for panel glue-ups), four 12″ bar clamps (for smaller assemblies), and eight spring clamps (for trim and edging). Add F-clamps, parallel jaw clamps, and band clamps as projects require. Budget: $150-300 for a starting set.
Finish nailer:
A finish nailer (15-gauge or 16-gauge) drives finish nails for trim installation, cabinet face frames, and light assembly. It’s faster than hand-nailing and the nail heads are small enough to fill and paint invisibly. A pneumatic nailer requires a compressor; a cordless battery nailer (DeWalt, Milwaukee, Ridgid) is more convenient and adequate for trim work. Budget: $150-250 for a cordless finish nailer.
Orbital detail sander:
For getting into corners, profiles, and curved areas where a random orbit sander won’t reach: a detail sander (triangular pad) handles tight areas. Less important than a random orbit sander but useful for finishing trim and detailed work. Budget: $30-60.
Milestone: With clamps, a random orbit sander, and a finish nailer, a woodworker can glue up panels, prepare surfaces for finish, and install trim professionally.
How to evaluate woodworking tools: criteria for your checklist
Before filling your workshop, understand what makes a tool worth buying. Smart tool selection starts with clear criteria that match your skill level and project goals.
Assess versatility first. A cordless drill that handles drilling, driving screws, and mixing finishes delivers more value than a single-purpose tool. Beginner woodworking focuses on versatile tools that offer the most bang for your buck. Multipurpose equipment reduces clutter and simplifies your learning curve.
Quality trumps quantity every time. Cheap tools fail faster, deliver inconsistent results, and create safety hazards. Invest in solid core tools like a reliable tape measure, quality drill bits, and sharp chisels. You can upgrade specialty items later as your skills develop.
Consider ease of use and maintenance needs. Complex tools with finicky adjustments frustrate beginners and slow progress. Look for intuitive controls, clear markings, and straightforward cleaning procedures. Check compatibility with accessories you already own to avoid buying duplicate battery systems or incompatible blades.
Start with multipurpose tools before specialized equipment. A circular saw handles most cutting tasks before you need a miter saw or table saw. This approach lets you build essential woodworking skills without overwhelming your budget or workspace.
Proper tool classification helps you organize your toolkit:
- Measuring and layout tools ensure accuracy
- Cutting tools shape wood to size
- Shaping tools refine edges and surfaces
- Fastening tools join pieces securely
- Finishing tools smooth and polish surfaces
Pro Tip: Create a priority list ranking tools by how often you’ll use them. Buy your top five first, then add tools as specific projects demand them. This prevents impulse purchases and keeps your workshop focused on what you actually need.
Understanding these criteria transforms shopping from guesswork into strategic planning. You’ll build a workshop that grows with your abilities while avoiding expensive mistakes that collect dust. For more guidance on getting started, explore woodworking tips for beginners to complement your tool selection.
Troubleshooting and maintenance: keep your tools performing at their best
Even the best tools fail without proper care. Understanding common problems and preventive maintenance saves money while ensuring consistent results.
Common planer issues plague woodworkers who skip routine upkeep. Dull blades tear fibers instead of slicing cleanly, leaving fuzzy surfaces that require extensive sanding. Uneven cutting produces boards with tapered thickness, ruining projects that demand precision. Snipe creates deeper cuts at board ends, wasting material and forcing creative workarounds. Burn marks appear when blades spin too fast for feed rate, while tearout shreds figured grain that should showcase natural beauty.
Dull blades cause 70% of planer issues, and 60% link to preventable maintenance or incorrect operation. These statistics reveal how simple care prevents most problems. Regular blade sharpening and correct usage eliminate the majority of frustrations.
Maintenance steps for reliable performance:
- Clean sawdust and resin buildup after every session using compressed air and solvent
- Lubricate moving parts monthly with appropriate oils to prevent binding
- Inspect blades weekly for nicks, checking sharpness with a thumbnail test
- Adjust tables and fences quarterly to maintain square alignments
- Replace worn drive belts annually before they slip or break
- Store tools in dry locations with silica packets to control moisture
Power tool maintenance requires attention to electrical components. Check cords for fraying, test switches for positive engagement, and verify that safety guards move freely. Carbon brushes in motors wear over time, so replace them when sparking increases or power drops noticeably.
Hand tool upkeep focuses on edge retention and rust prevention:
- Sharpen chisels and plane irons when they no longer slice paper cleanly
- Oil saw blades after use to prevent corrosion
- Tighten loose handles before they separate completely
- Flatten plane soles on sandpaper adhered to glass for true surfaces
- Clean tape measure cases to ensure smooth extension and retraction
Proper operation prevents damage before it starts. Feed wood through planers at consistent speeds, avoiding sudden stops that gouge surfaces. Support long boards on both sides of table saws to prevent binding and kickback. Use appropriate blade speeds for different materials, slowing down for dense hardwoods and speeding up for softwoods.
“An ounce of prevention truly equals a pound of cure in woodworking. Fifteen minutes of weekly maintenance prevents hours of troubleshooting and eliminates the expense of premature tool replacement.”
Pro Tip: Schedule routine maintenance after every few projects rather than waiting for problems to appear. Mark your calendar for monthly deep cleans and quarterly adjustments. This proactive approach keeps tools performing reliably when you need them most.
Documenting maintenance creates accountability and reveals patterns. Note blade sharpening dates, part replacements, and any unusual behavior in a simple logbook. This history helps diagnose recurring issues and proves invaluable when seeking warranty service or selling used equipment.
Consistent care transforms tools from disposable commodities into lifelong companions. Well-maintained equipment delivers professional results that elevate every project, building your reputation and satisfaction. Apply these lessons across your beginner woodworking projects to develop habits that serve you for decades.
Woodworking Tools FAQ
What tools do I need to start woodworking?
A practical starter set for a beginning woodworker: miter saw (crosscuts), circular saw or table saw (rips), cordless drill/driver, random orbit sander, combination square, tape measure, and a basic set of clamps. This kit handles 80% of all woodworking projects and costs $600-900 new (less with sales or used tools). The miter saw is the most important first purchase — it’s used in virtually every project.
What is the most important woodworking tool?
For a furniture-making or cabinet-making shop: the table saw. For a trim carpentry or project woodworking shop: the miter saw. For hand tool woodworking: a well-tuned hand plane. The “most important” tool depends on the work — but the miter saw is the one tool present in virtually every shop at every level, because crosscutting accurately is needed in every project. If forced to choose one: buy the miter saw first.
How do I know which woodworking tools are worth the money?
Buy quality where precision matters and where the tool is used constantly: combination squares, chisels, and hand planes are worth spending money on because their accuracy directly affects work quality. Save money where precision matters less: clamps, workbenches, basic storage. For power tools: the major brands (DeWalt, Milwaukee, Makita, Bosch, Festool) make quality tools at different price points — their mid-range products are reliable; their entry-level tools are often adequate for hobby use; their premium tools are for production use. Avoid the cheapest tools for anything critical — a $20 chisel that can’t hold an edge is a false economy.
Should I buy used woodworking tools?
Yes — for most tools, buying used is excellent value. Hand tools (hand planes, chisels, hand saws, squares) from vintage American and British manufacturers (Stanley, Record, Disston) often outperform modern import tools at a fraction of the cost. Power tools: buy used from major brands with a visual and functional inspection. Avoid used tools with safety-critical wear (damaged guards, cracked blade guards, bent table saw fences) or from unknown brands. The best sources: estate sales (often pristine tools from non-woodworkers who bought equipment), Craigslist, Facebook Marketplace, and dedicated tool resale sites like Mechanicsburg Tool Auction and eBay.

“DIY woodworking enthusiast who started with zero experience and a YouTube tutorial.
I build simple, practical projects for my home and share free plans
so other beginners can skip the guesswork.If I can build it, you can too.”