Part of: Power Tools and Saws →
A miter saw is the required tool for crown molding installation — no other saw produces the accurate, repeatable angle cuts that crown corners demand. But crown molding is not a straightforward miter saw operation: the molding’s spring angle means that cutting it correctly requires either the nested method (crown held at its spring angle against the fence) or compound angle settings (miter and bevel angles set simultaneously). Get the setup right and every corner cuts accurately; get it wrong and every corner has a gap.
Ted’s Woodworking has 16,000+ plans with complete molding and trim specifications. Browse Ted’s plans →
Step 1: Understand Why Crown Molding Cuts Are Different
Goal: Understand the spring angle and how it affects miter saw setup.
The spring angle:
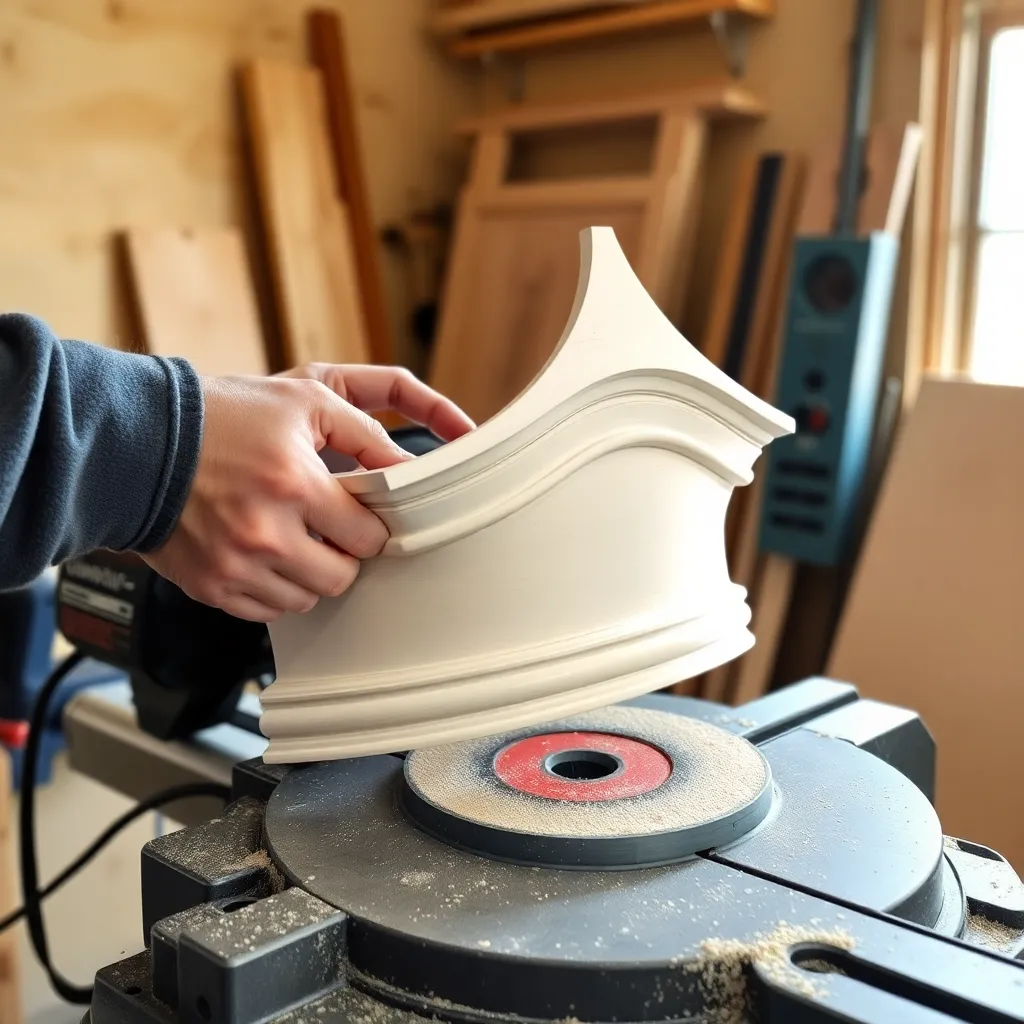
Crown molding doesn’t sit flat — it bridges the inside corner between wall and ceiling at an angle. The angle between the back of the molding and the wall is the spring angle. Standard residential crown has a 38-degree spring angle (the back makes a 38-degree angle with the wall and a 52-degree angle with the ceiling). This compound position means any miter cut at a corner involves both the horizontal angle (the corner angle) and the vertical tilt (the spring angle) simultaneously.
Why a simple 45-degree cut doesn’t work:
If you cut crown molding lying flat on the miter saw table at 45 degrees, the cut angle doesn’t match the installed position. The molding installs at the spring angle, but was cut flat — the miter faces don’t align when the molding is held at the spring angle, producing a gap at the joint. This is the most common crown molding mistake.
Two cutting methods:
1. Nested method: The crown is held upside down on the saw at its spring angle (top edge flat on the table, bottom edge against the fence). The saw is set to a simple 45-degree miter with no bevel. The spring angle is built into the setup.
2. Compound/flat method: The crown lays flat on the table. The saw is set to both a miter angle (31.6° for 38° spring crown) and a bevel angle (33.9°) simultaneously. More complex setup but works for wide crown that can’t be nested.
Milestone: Before setting up the saw, identify the spring angle of your crown (check the back — it’s often stamped, or measure with a digital angle finder against a flat surface).
Step 2: Set Up the Miter Saw for the Nested Method
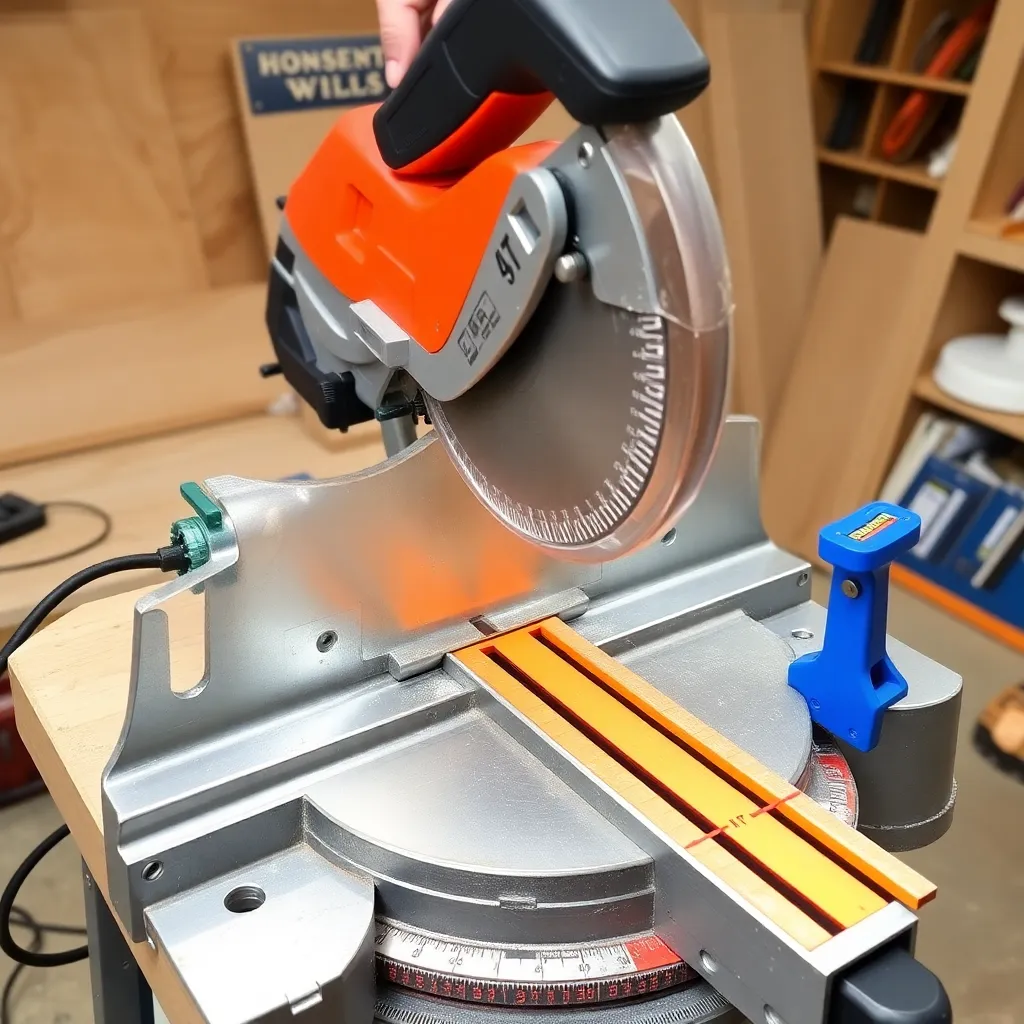
Goal: Configure the saw and build a consistent setup for the nested cutting method.
Miter saw requirements:
Any miter saw handles the nested method — it only requires a 45-degree miter setting (no bevel needed). A 10″ single-bevel or double-bevel miter saw works equally well for nested cuts. The saw must cut precisely at 45 degrees — test with two scrap cuts and verify the corner is exactly 90 degrees before cutting project material.
Building a crown stop:
The crown stop is the key to consistent nested cuts. It’s a strip of wood clamped to the saw table that holds the crown at the exact spring angle for every cut — without it, the molding can shift slightly between cuts.
To build the stop:
1. Hold a scrap of crown in the nested position (upside down, top edge on table, bottom edge against fence at spring angle).
2. Mark where the bottom edge of the crown contacts the saw table.
3. Clamp or tape a thin strip of wood to the table at this mark.
4. Every subsequent piece of crown rests against this strip — the spring angle is automatically reproduced.
Verifying the setup:
With the stop in place, make two test cuts in scrap crown — one left-miter, one right-miter — and hold them together as an inside corner. The corner should be exactly 90 degrees with no gap. If the corner is open: adjust the miter angle slightly (0.5-1 degree) and retest. Make all adjustments before cutting project material.
Milestone: The nested setup with crown stop produces perfectly consistent spring angles on every cut. If every test piece produces the same spring angle, the stop is correct.
Step 3: Cut Inside Corners (Nested Method)
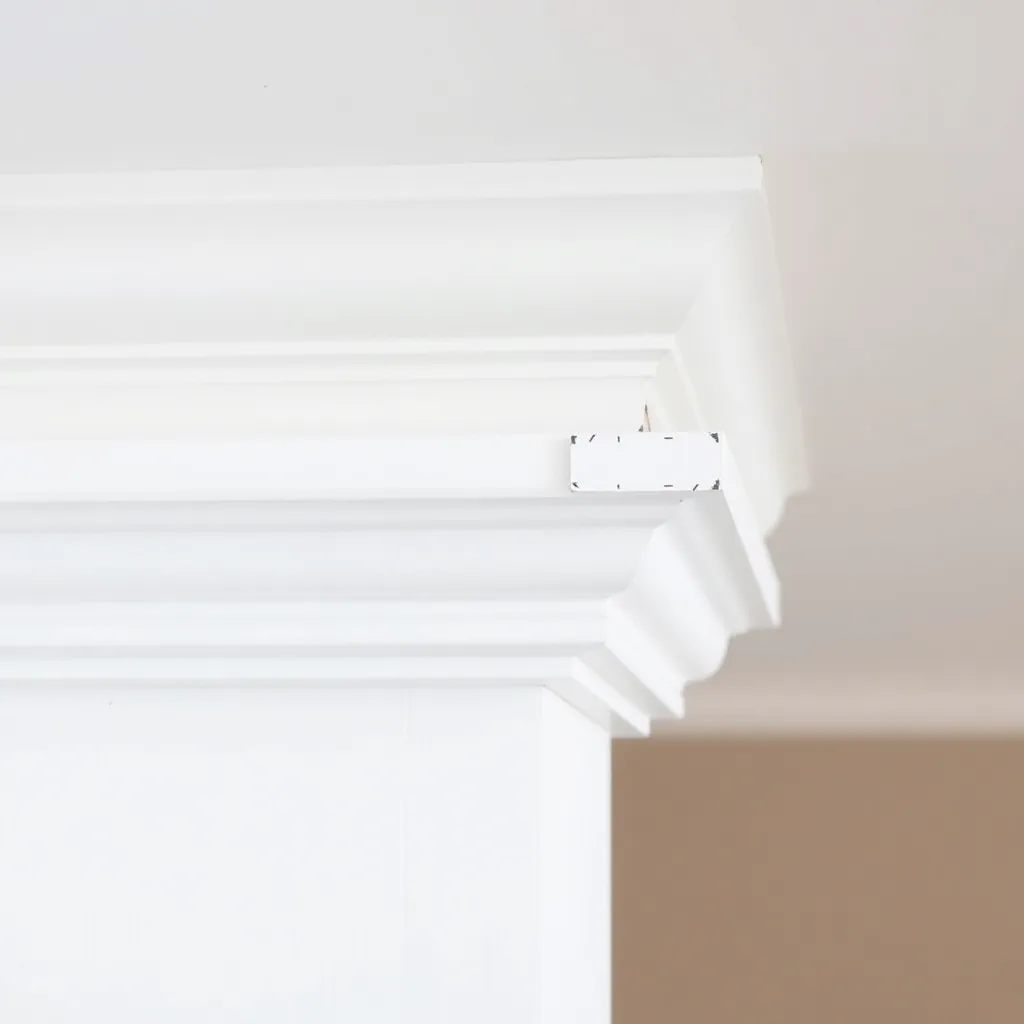
Goal: Cut both pieces of an inside corner accurately.
Inside corner orientation:
At an inside corner (the standard room corner where two walls meet inward), both pieces of crown lean toward each other. The cut on each piece is a mirror image of the other.
Left piece (going to the left of the corner):
- Crown is upside down on the saw, top edge on table, bottom edge against fence
- Saw mitered to the LEFT at 45 degrees
- The right end of this piece gets the miter cut
- The left end gets a square cut (it butts into the adjacent wall or meets another miter)
Right piece (going to the right of the corner):
- Same nested position
- Saw mitered to the RIGHT at 45 degrees
- The left end of this piece gets the miter cut
Memory trick: For inside corners — the miter on each piece points toward the corner. Hold the cut piece in position (still not installed) and verify: the miter face points into the corner where the two walls meet.
Coped alternative:
For inside corners in rooms that will be painted: a coped joint is more durable than a miter. One piece runs square into the corner; the second piece is coped (cut to follow the profile of the first). Coped joints don’t open up seasonally. To cope: make the 45-degree cut to reveal the profile, then use a coping saw to follow the revealed profile line.
Milestone: After cutting both inside corner pieces, hold them together (without installing) and check the joint. The miter faces should close together with no gap when the pieces are held at the spring angle.
Step 4: Cut Outside Corners

Goal: Cut crown for outside corners where the molding wraps around a projecting corner.
Outside corner orientation:
At an outside corner (a projecting wall, bay window, or soffit corner), the two pieces of crown lean away from each other. The miter direction is the opposite of inside corners.
Left piece at an outside corner:
- Nested position (upside down, same as inside corners)
- Saw mitered to the RIGHT at 45 degrees (opposite of inside corner left piece)
- The right end gets the miter cut
Right piece at an outside corner:
- Saw mitered to the LEFT at 45 degrees
- The left end gets the miter cut
Gluing outside corners:
Outside corners are exposed and visible from two sides — glue both miter faces before final installation. Apply wood glue to both faces, press together, and hold with a few pin nails while the glue cures. The glued joint stays tight through seasonal movement; an unglued outside corner will eventually open.
Milestone: After cutting both outside corner pieces: dry-fit them in position (uninstalled) and check the joint from multiple angles. The miter should be tight on both the front face and the top edge.
Step 5: Compound Miter Settings for Crown Molding
Goal: Know the compound angle settings for the flat/horizontal cutting method.
When to use compound settings:
Use the compound method when: the crown is too wide to nest (large architectural crown, 6″ and above), or when the miter saw can’t hold the nested position due to fence height limitations.
Settings for 38-degree spring angle, 90-degree corners:
- Miter angle: 31.6 degrees
- Bevel angle: 33.9 degrees
- These apply to both inside and outside corners; the miter direction reverses for outside corners
Settings for 45-degree spring angle, 90-degree corners:
- Miter angle: 35.3 degrees
- Bevel angle: 30 degrees
For non-90-degree corners:
Use a crown molding angle chart (available from miter saw manufacturers) with inputs: actual corner angle + spring angle → miter setting + bevel setting. Or use a digital crown molding calculator app — input the spring angle and corner angle, get the exact miter and bevel settings.
Direction in the flat method:
In the flat method, determining which direction to miter each piece is less intuitive than in the nested method. Mark each piece clearly (Left Inside, Right Inside, Left Outside, Right Outside) before cutting. A mistake in the flat method wastes a full piece of crown.
Milestone: Before using compound settings on project material: make test cuts in scrap, verify the corner fits with no gap, and verify the spring angle is correct. The compound method has more variables than the nested method and errors are less obvious until the pieces are held in position.
Miter Saw for Crown Molding FAQ
What miter saw is best for cutting crown molding?
A 12″ sliding compound miter saw handles the widest range of crown molding profiles, including large architectural crown up to 6-7″ wide in the nested position. A 10″ sliding compound miter saw handles standard 3-1/2″ to 5-1/2″ crown adequately. For the nested method: a single-bevel saw is sufficient (no bevel required). For the compound method: a compound (dual-bevel) saw is needed. Any quality miter saw from DeWalt, Ridgid, Bosch, or Makita in the 10-12″ class produces accurate cuts for crown molding installation.
Why does my crown molding have a gap at the inside corner?
Three causes: (1) the spring angle wasn’t consistent between pieces — one piece wasn’t held at the correct angle during the cut; (2) the corner isn’t exactly 90 degrees — measure the actual corner angle and adjust the miter accordingly; (3) the wood moved after installation due to moisture change. Fix small gaps with paintable caulk. Fix larger gaps by removing the head casing piece, adjusting the miter angle, recutting, and reinstalling. For long-term gap prevention: cope inside corners rather than mitering them.
How do I remember which direction to cut crown molding?
For the nested method (most common): hold the crown in the nested position (upside down on saw, top edge on table, bottom edge against fence). For a left inside corner piece: miter left. For a right inside corner piece: miter right. Outside corners reverse the direction. A practical memory aid: cut two scrap pieces at left-miter and right-miter, label them “Left Inside” and “Right Inside,” and keep them at the saw as references. Before every cut, check the reference piece to confirm direction.
Can I cut crown molding with a standard (non-compound) miter saw?
Yes — using the nested method. The nested method requires only a simple miter angle (45 degrees for 90-degree corners), no bevel setting. A standard single-bevel miter saw produces perfect crown molding cuts when the nested method is used correctly. The compound method requires a compound (dual-bevel) saw. For most homeowners and trim carpenters: the nested method on any quality miter saw is the right approach.

“DIY woodworking enthusiast who started with zero experience and a YouTube tutorial.
I build simple, practical projects for my home and share free plans
so other beginners can skip the guesswork.If I can build it, you can too.”