Part of: Power Tools and Saws →
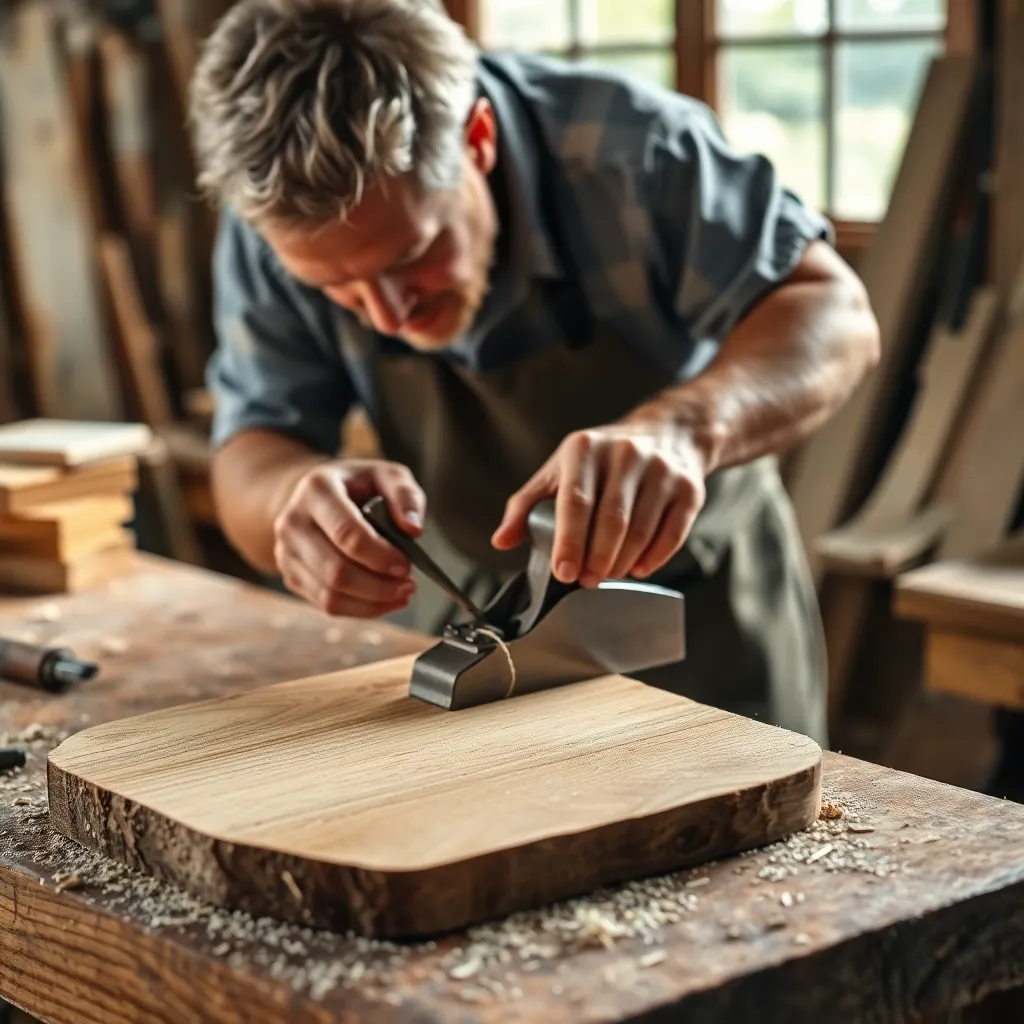
A hand planer — whether a power hand planer (electric, handheld) or a traditional bench plane (hand-powered) — removes thin shavings of wood to flatten surfaces, reduce thickness, and fit joints. The power hand planer is the fastest tool for removing significant material from a board’s face; the bench plane (block plane, smoothing plane, jack plane) is the precision tool for final fitting of joints, smoothing surfaces, and preparing wood for finish without sanding. Both tools produce results that power sanders and routers can’t replicate.
Ted’s Woodworking has 16,000+ plans with complete tool and technique specifications. Browse Ted’s plans →
Step 1: Understand the Two Types of Hand Planers
Goal: Know the difference between power hand planers and traditional hand planes and when each is appropriate.
Power hand planer (electric):
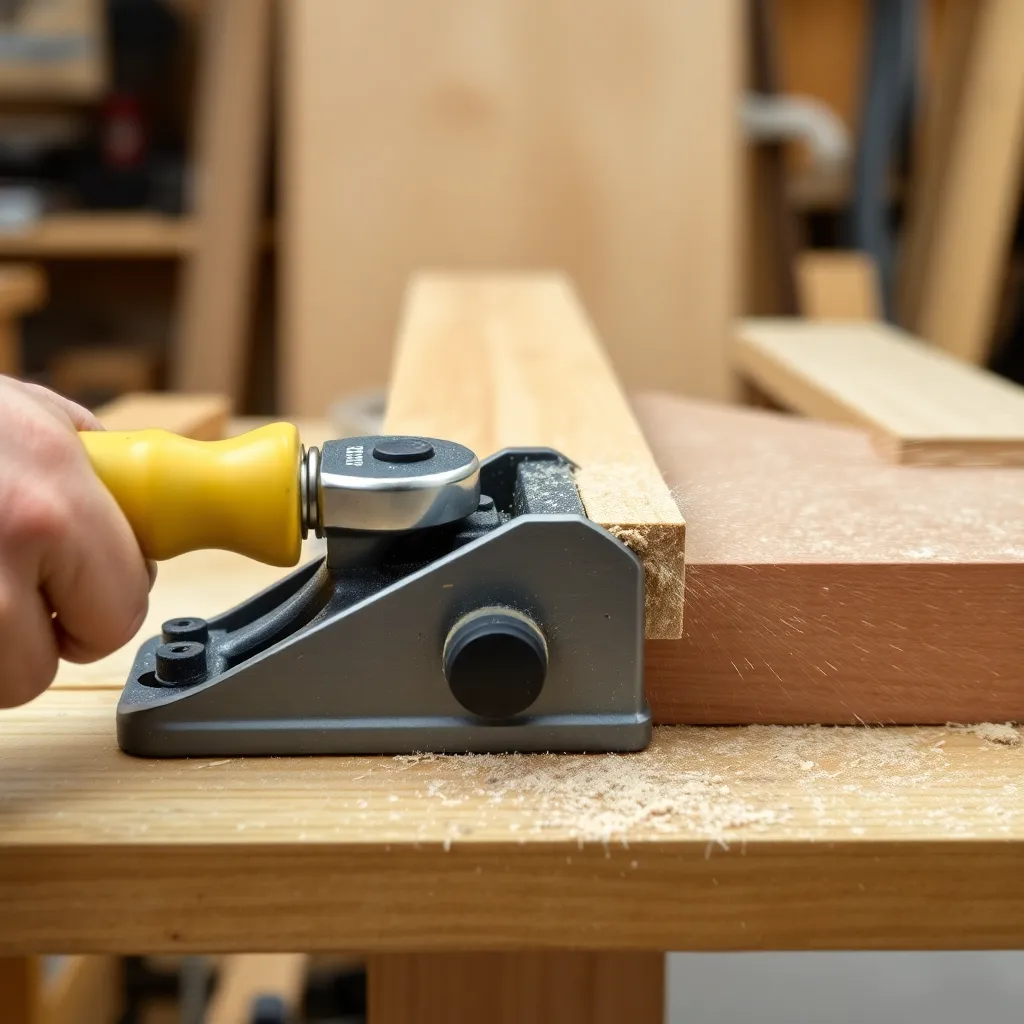
A power hand planer is a handheld power tool with two carbide-tipped blades on a rotating drum. It removes material quickly — typically 1/32″ to 1/8″ per pass depending on depth setting. Uses: reducing a door or drawer that’s too wide or too tall to fit its opening; flattening a glued-up panel before running it through a thickness planer; removing high spots from rough-sawn lumber; fitting structural members in framing. The power hand planer is a fast, aggressive tool — it’s not a precision finishing tool.
Traditional bench planes:
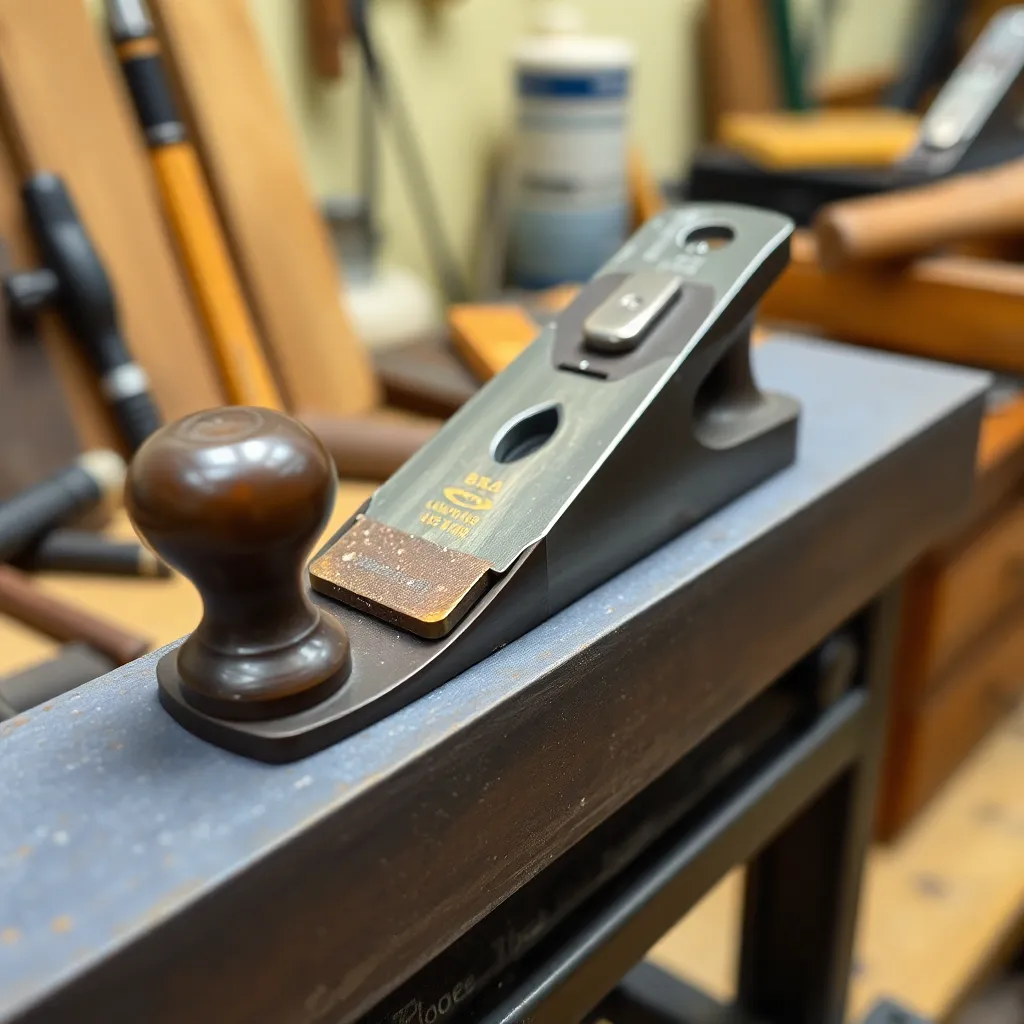
Hand planes (also called bench planes) are human-powered tools with a single iron (blade) bedded at an angle in a cast-iron or wooden body. They produce extremely thin shavings (0.001″ to 0.005″) and leave surfaces that are smooth enough to go directly to finish without sanding. Types:
- Jack plane (No. 5): The general-purpose bench plane — used for removing mill marks and initial flattening.
- Jointer plane (No. 7 or 8): Long-bodied plane for flattening long boards and shooting edges straight and square. The length bridges low spots and registers on the high points, creating a flat reference surface.
- Smoothing plane (No. 4): Short-bodied plane for final surface preparation before finish. Produces the smoothest possible surface — smoother than 220-grit sandpaper.
- Block plane: Small, single-handed plane for end grain, small fitting tasks, and trimming. The go-to plane for fitting joints, chamfering edges, and trimming plugs flush.
- Router plane: Cuts dadoes and mortises to precise, consistent depth. Essential for hand-cut joinery.
Milestone: For reducing a door that’s too wide: use a power hand planer. For final preparation of a furniture surface for finish: use a smoothing plane. For fitting a joint: use a block plane. The tool choice depends on how much material to remove and what surface quality is needed.
Step 2: Use a Power Hand Planer
Goal: Operate a power hand planer safely and accurately.
Setup:
Set the depth of cut by adjusting the front shoe (the infeed table) relative to the rear shoe. Start at 1/32″ (0.8mm) for controlled material removal. For fast rough work: up to 1/8″ (3mm) per pass. Deeper cuts are harder to control and leave rougher surfaces.
Technique:
1. Secure the workpiece firmly — in a vise or with clamps. The power planer requires two hands and significant pressure.
2. Start the planer before contacting the wood.
3. Begin the pass with the front shoe flat on the wood surface, rear shoe raised slightly. Lower the rear shoe as you advance.
4. Keep both shoes flat on the surface throughout the pass — lifting either end creates a low spot.
5. End the pass with the front shoe clearing the end of the board — don’t tip the planer down at the end.
6. Work with the grain. Planing against the grain tears the surface.
Fitting a door:
Mark the high spots on the door edge (the edge that’s rubbing). Set the planer to 1/32″ and take one pass along the full edge. Check fit. Repeat until the door closes with the correct gap (typically 1/8″ clearance all around). For final fitting: switch to a hand plane or a block plane for the last 1/64″ of removal — power planers are difficult to control for very small amounts.
Safety:
Keep both hands on the planer handles during operation. Never set the planer down with blades running. The drum continues spinning briefly after the trigger is released — set the planer on its side (on the drum guard, not the blades) between passes. Wear eye protection — the planer ejects chips forcefully.
Milestone: After planing, check the surface with a straightedge — it should show no high or low spots along its length. Any significant hollow or crown indicates uneven pressure during planing.
Step 3: Tune and Use Traditional Hand Planes
Goal: Sharpen, set up, and use a bench plane to produce a finish-ready surface.
Sharpening the plane iron:
A hand plane only works if the iron is sharp. “Sharp” means a mirror-polished cutting edge that shaves arm hair effortlessly and produces translucent shavings. Sharpening sequence:
1. Flatten the back of the iron on a 1000-grit waterstone until the back is fully flat and polished.
2. Hone the bevel at 25-30 degrees on 1000-grit until a burr forms on the back.
3. Move to 4000-grit, then 8000-grit, polishing both bevel and back.
4. Strop on leather to remove the final burr.
A sharp iron glides through wood; a dull iron requires force and tears the grain.
Setting the iron depth:
Sight down the sole of the plane from the front (as if sighting down a gun barrel). The iron should project barely below the sole — 0.001″ to 0.003″ for smoothing work. Advance the depth adjuster one click at a time and test on scrap. If the shaving is thick and the plane is hard to push: the iron is too deep. If no shaving forms: the iron is retracted too far.
Setting the cap iron (chip breaker):
The cap iron sits on the flat back of the iron and breaks chips to prevent tear-out. Set it 1/32″ back from the cutting edge for soft woods; 1/64″ for hardwoods or highly figured grain. Closer cap iron = less tear-out but harder to push.
Planing technique:
Stand to the side of the plane’s travel path (not directly behind it). Apply downward pressure on the front knob at the start of the stroke; shift pressure to the rear tote at the end — this prevents rocking at the start and end of the stroke, which creates low spots. Work with the grain: move the plane in the direction where the grain slopes away from the blade (the wood feels smooth when planed in the correct direction; it tears if planed against the grain).
Milestone: A properly tuned hand plane produces long, translucent shavings that curl tightly. The planed surface reflects light uniformly with no torn fibers, mill marks, or scratch patterns.
Step 4: Use a Block Plane for Fitting and Trimming
Goal: Use a block plane for end grain work and precise joint fitting.
Block plane orientation:
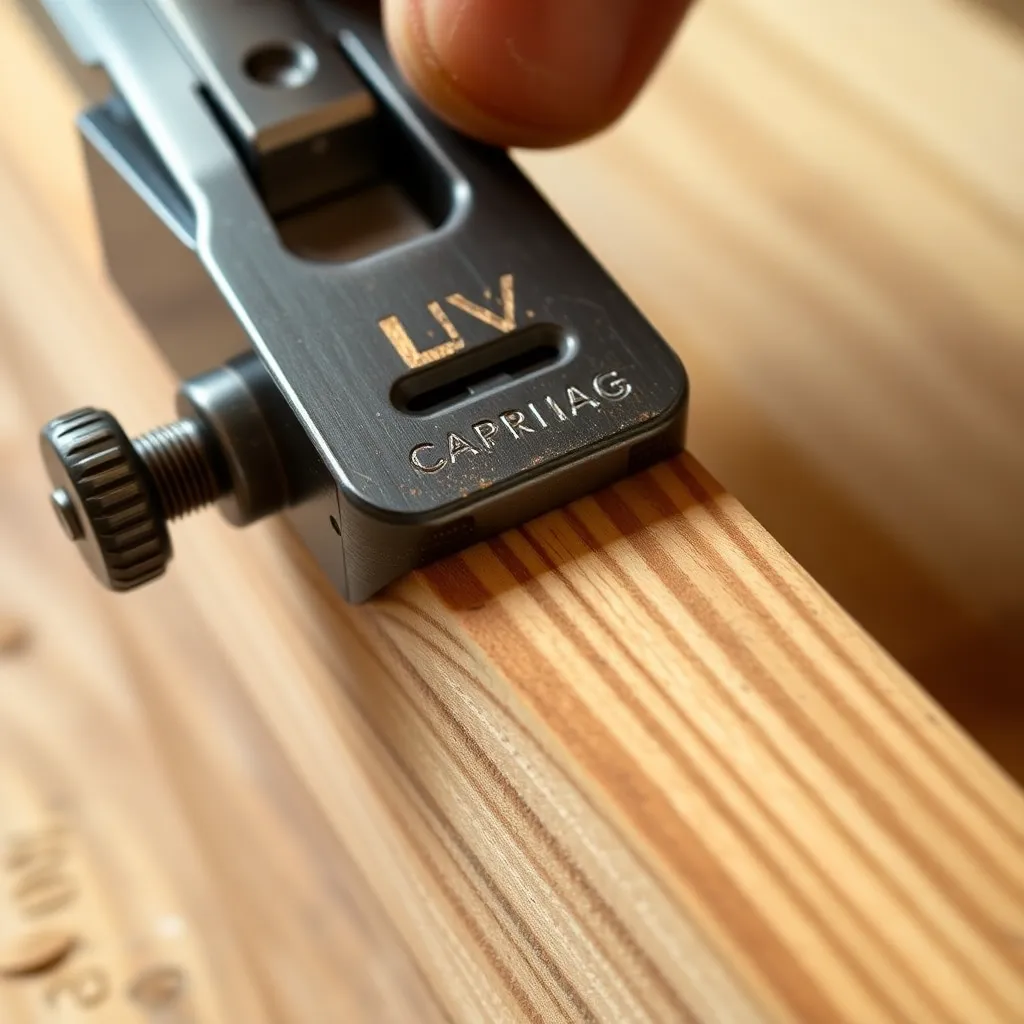
The block plane’s iron is bedded at 12-20 degrees (much lower than a bench plane’s 45 degrees), which makes it effective on end grain — the low angle slices end grain fibers cleanly rather than crushing them. The block plane is a one-handed tool, held with the thumb over the back and fingers wrapping around the sides.
End grain trimming:
Use a block plane to trim end grain flush, chamfer edges, and fit joints. For end grain: plane from each edge toward the center — never plane off the edge (the iron will split the far corner as it exits). Alternatively: clamp a scrap piece flush with the far edge so the plane exits onto the scrap rather than splitting the workpiece corner.
Fitting joints:
When a joint is tight (mortise-and-tenon, drawer fitting, door fitting): take one or two light passes with the block plane on the high spots. Check fit after each pass. This iterative fitting — plane, check, plane, check — produces joints that fit with the correct resistance. For drawer fitting: the drawer should slide smoothly with no side play and no binding; a well-fitted drawer requires no hardware beyond the wood-to-wood contact.
Trimming wood plugs:
Wood plugs (used to cover screws) are trimmed flush with a block plane: set the iron very fine (paper-thin shavings), position the plane at an angle to the plug (not square-on), and take one or two passes. The plug comes flush without tearout. Don’t use a chisel for this — chisels crush the grain around the plug.
Milestone: A well-tuned block plane fits joints in a few strokes without over-removing material. The fitting process is controlled and precise; the fitted joint is smooth and matches the surrounding surface.
Hand Planer FAQ
What is a hand planer used for in woodworking?
A power hand planer is used for rapid material removal: trimming a door to fit, reducing lumber thickness, flattening glued panels before final dimensioning. A traditional hand plane (bench plane, block plane) is used for precision surface work: final smoothing before finish (smoother than 220-grit sandpaper), fitting joints precisely, trimming end grain, chamfering edges. The two tools share the “plane” name but serve different purposes — one removes material quickly; the other removes material precisely.
How do I keep a hand plane from leaving tracks?
Plane tracks (ridges left by the corners of the iron) are caused by a square-edged iron that’s set too deep. Fix: (1) crown the iron slightly — sharpen the edge so the corners are 0.003-0.005″ higher than the center, creating a very slight arc. The corners no longer dig in. (2) Set the iron shallower. (3) Overlap each pass by 50% so no single pass boundary shows. A smoothing plane iron should be cambered (crowned) specifically to eliminate track marks on final surfaces.
Should I buy a power hand planer or a bench plane?
They’re not substitutes — they serve different purposes. If your primary need is fitting doors, trimming framing, and quick thickness reduction: buy a power hand planer ($80-150). If your primary need is surface quality, joint fitting, and precision work in furniture making: invest in a bench plane set ($100-300 for quality used or new planes). Most woodshops eventually have both: the power planer for rough work and the bench planes for precision and finishing. Start with whichever matches your current project needs.
How do I sharpen a hand plane iron?
The standard sharpening system: flatten the iron’s back on a 1000-grit waterstone (one-time task, takes 5-15 minutes on a new iron), then hone the bevel at 25-30 degrees on 1000-grit until a burr forms, move to 4000-grit, then 8000-grit for the final polish. Strop on leather charged with honing compound. The whole process takes 3-5 minutes once the back is flat. Maintain sharpness by stropping before each use and re-honing when the plane starts requiring more effort or producing torn shavings. A leather strop and honing compound ($15-20) keep a plane iron sharp between full sharpening sessions.

“DIY woodworking enthusiast who started with zero experience and a YouTube tutorial.
I build simple, practical projects for my home and share free plans
so other beginners can skip the guesswork.If I can build it, you can too.”