Part of: Power Tools and Saws →
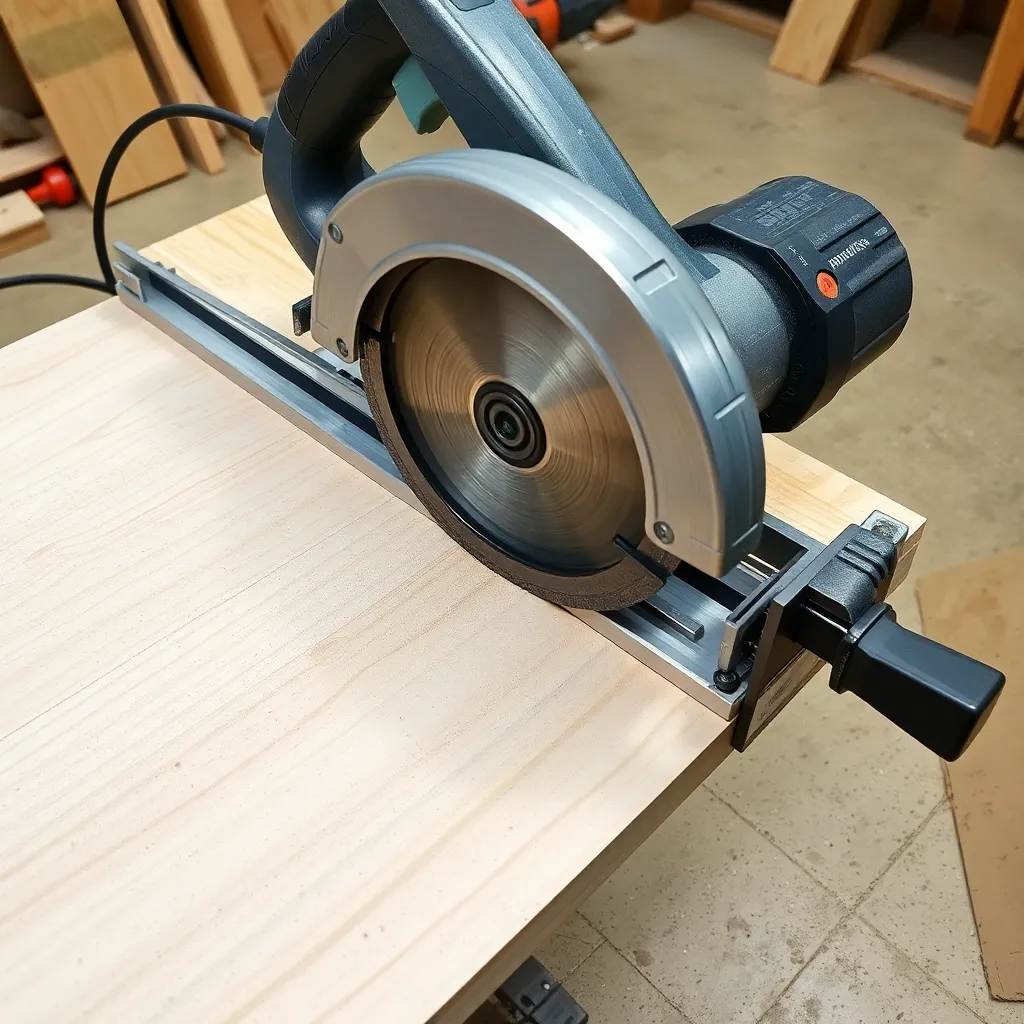
A circular saw is the most portable and versatile cutting saw in woodworking — it breaks down full sheets of plywood, crosscuts lumber to length, and rips boards to width anywhere on the job site or in the shop without the footprint of a table saw or the reach limitations of a miter saw. Getting accurate results from a circular saw requires a sharp blade, correct technique, and — most importantly — a guide to control the cut. A freehand circular saw cut is never as accurate as a guided one; guides transform an imprecise portable tool into one that rivals stationary saws for straight cuts.
Ted’s Woodworking has 16,000+ plans covering every skill level from first-time builders to experienced woodworkers. Browse Ted’s plans →
Step 1: Understand Circular Saw Basics and Setup
Goal: Know the saw’s components, set blade depth correctly, and choose the right blade.
Circular saw components:
- Base plate (shoe): The flat metal plate that rests on the workpiece. It must be flat and perpendicular to the blade for accurate cuts.
- Blade guard: Retracts automatically during the cut and returns when the saw exits the wood. Never disable or tie back the blade guard.
- Depth adjustment: Controls how far the blade extends below the base plate. Correct depth is critical for safety and cut quality.
- Bevel adjustment: Tilts the base plate for angled (bevel) cuts — 0 to 45 degrees on most saws.
- Trigger and safety: The trigger must be pressed to run; the safety button must be pressed before the trigger engages. Release the trigger to stop.
Setting blade depth:
The blade should extend approximately 1/4″ to 3/8″ below the bottom of the workpiece — just enough for the teeth to clear the material. Deeper blade depth increases kickback risk and forces more blade into the cut. Shallower blade depth (closer to correct) is safer and produces cleaner cuts. Set depth by loosening the depth adjustment lever, holding the saw against the workpiece edge, and adjusting until the blade tip is 1/4″ below the material bottom.
Blade selection:
- 24-tooth combination blade: General purpose — crosscuts and rips. Rough cut, fast material removal. Good for framing and rough carpentry.
- 40-tooth finish blade: Cleaner cut for both crosscuts and rips. The right choice for plywood and finish carpentry where cut quality matters.
- 60-80 tooth finish blade: Very clean crosscuts in solid wood and hardwood plywood. Slow feed rate required.
- Carbide-tipped blades: Standard for all woodworking. Replace or sharpen when the saw requires more effort or produces burning and tear-out.
Milestone: Before any cut, verify: blade depth is set correctly, blade is sharp and fully tightened, base plate is flat on the workpiece, and the cut line is clearly marked.
Step 2: Crosscutting with a Circular Saw
Goal: Cut boards to length accurately using a speed square or crosscut guide.
The speed square method:
A speed square (a triangular metal square) is the fastest guide for 90-degree crosscuts. Hold the square’s flange against the board edge with one hand; run the saw’s base plate against the square’s body with the other. The saw follows the square and the cut is exactly perpendicular to the board edge. Accurate to 1/16″ for most uses — adequate for framing and rough carpentry.
Marking and lining up:
Mark the cut line with a sharp pencil and a square. Note which side of the line is waste — the blade kerf removes approximately 1/8″ of material. Cut on the waste side of the line, letting the blade kerf fall in the waste. If you cut on the finished side of the line: the piece comes out 1/8″ short.
Crosscut sled / clamped guide:
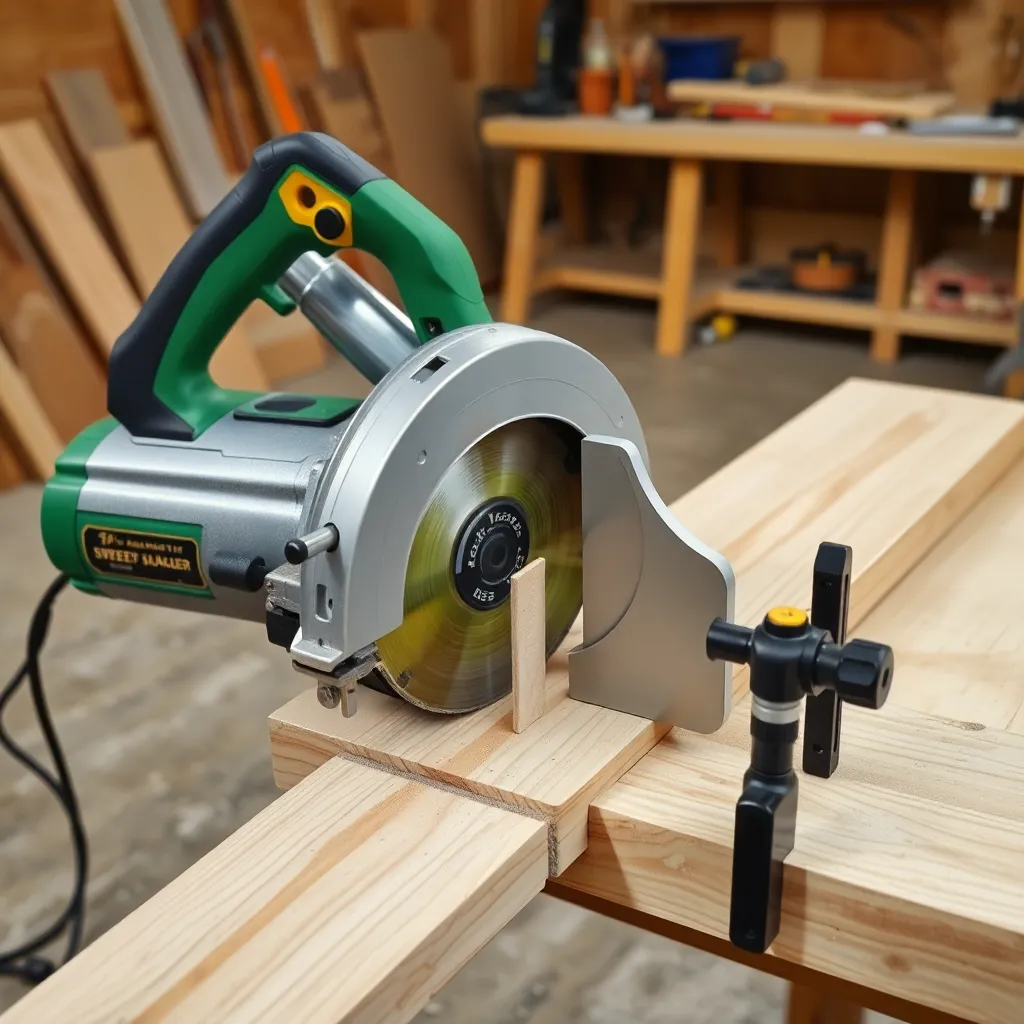
For repeatable, precise crosscuts: clamp a straight board (a factory-edge piece of 3/4″ plywood or a manufactured guide) across the workpiece at 90 degrees to the edge. Run the saw’s base plate against this guide. This method produces cuts accurate to 1/32″ — equivalent to a miter saw for most purposes.
Supporting the workpiece:
A circular saw cut severs the workpiece — one side falls away. Support both sides of the cut so neither side drops before the cut completes (a falling piece can bind the blade or pull the saw off line). Sawhorses with sacrificial support boards work well: lay the workpiece across two sawhorses, cut through the workpiece and into the sawhorse support, and both pieces remain supported.
Milestone: After a crosscut, check the cut end with a combination square — it should be exactly 90 degrees to the board face and edge. Any deviation indicates the guide wasn’t properly positioned or the base plate shifted during the cut.
Step 3: Ripping with a Circular Saw
Goal: Cut boards to width along the grain using a fence or clamped straightedge.
The rip fence:
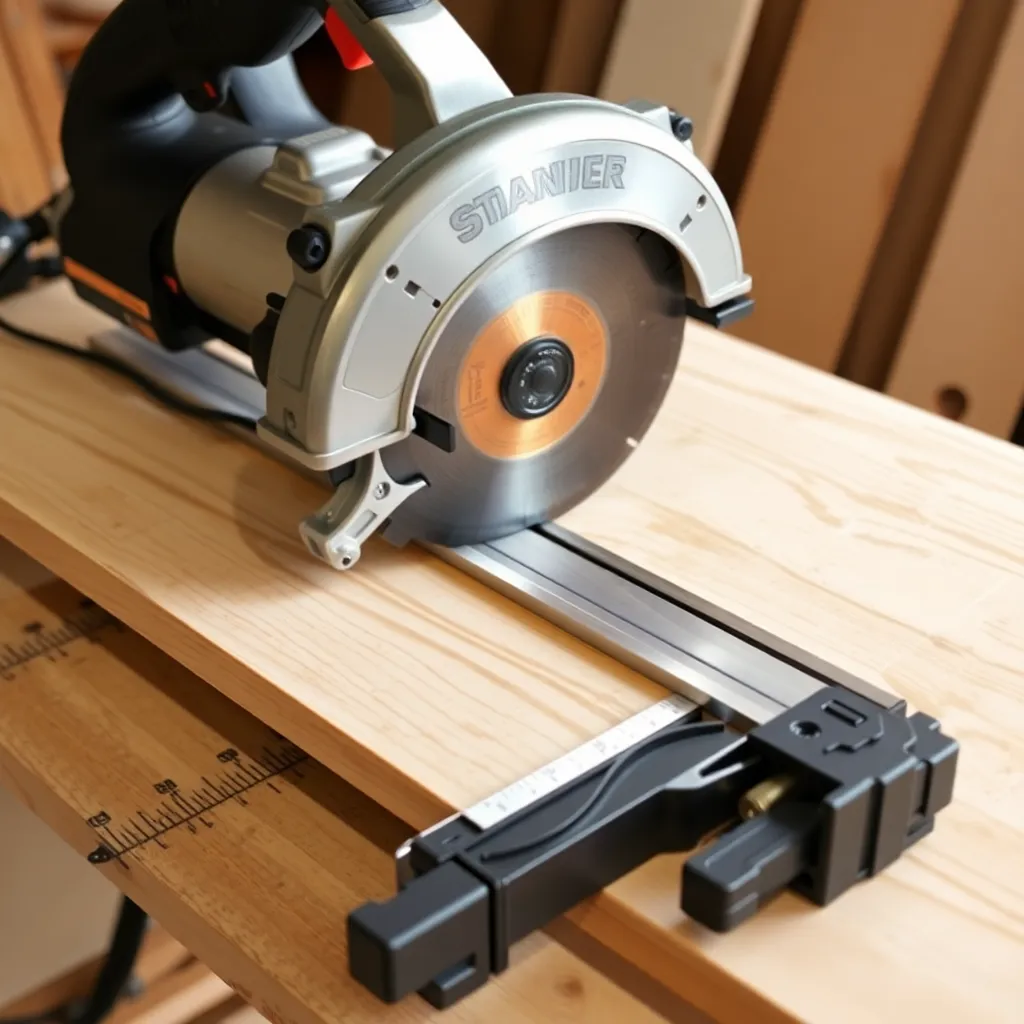
Most circular saws include a rip fence — a metal bar that slides through the base plate and is set at a fixed distance from the blade. The fence rides against the board edge and keeps the blade at a consistent distance from the edge for the full length of the cut. Use it for ripping boards to width when the rip distance is within the fence’s adjustment range (typically 0-6″ from the blade).
The clamped straightedge method:
For long rips or rips wider than the included fence allows: clamp a straight board (a 4′ or 8′ aluminum level, a manufactured track guide, or a factory-edge plywood strip) to the workpiece at the correct distance from the cut line. The saw’s base plate runs against this guide for the full length of the cut.
Calculating guide offset:
The distance from the saw blade to the edge of the base plate determines where to position the guide. Measure from the blade to the near edge of the base plate — this is the offset. Position the guide at: cut line measurement + offset. Example: if the blade-to-base-plate edge is 1-1/2″ and you want to rip at 4″, clamp the guide 5-1/2″ from the edge of the workpiece (the guide runs against the base plate and the blade cuts 1-1/2″ away from the guide).
Feed rate and technique:
Keep the feed rate steady — too slow causes burning; too fast causes the motor to bog down and the blade to wander. Let the saw find its own pace through the material. Keep the base plate flat on the workpiece for the full length of the cut — lifting either the front or rear produces a bevel cut rather than a square rip.
Milestone: After a guided rip cut, check straightness by holding a long straightedge against the ripped edge. The edge should be straight within 1/16″ over 8 feet — equivalent to a table saw rip for most woodworking purposes.
Step 4: Cutting Sheet Goods (Plywood and MDF)
Goal: Break down full sheets of plywood and MDF safely and accurately.
The challenge with full sheets:
A full 4×8 sheet of 3/4″ plywood is heavy (approximately 60-80 lbs), unwieldy, and too large to safely feed through a table saw without a helper. The circular saw excels at sheet good breakdown: the saw comes to the material rather than the material going to the saw.
Support setup:
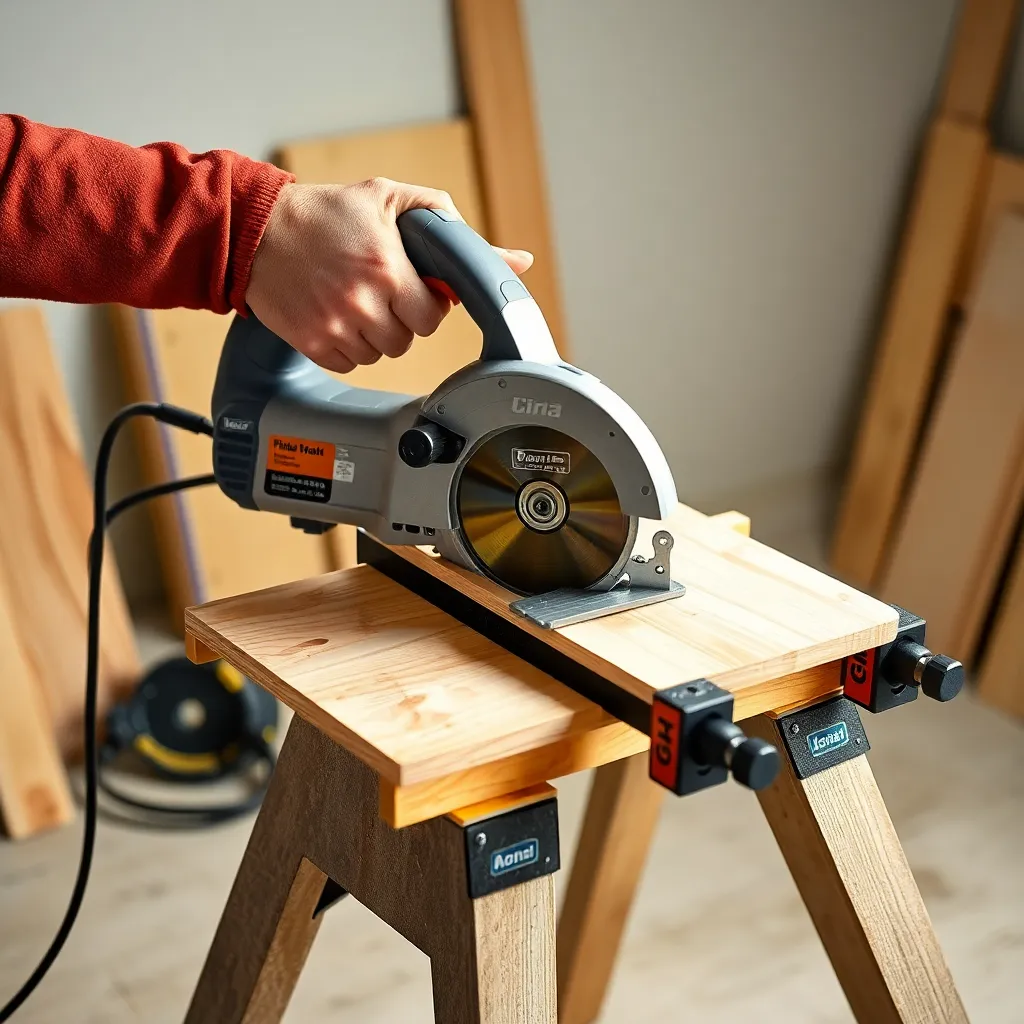
Lay the sheet on four sawhorses or on 2×4 sacrificial support boards on the floor. The sheet must be supported close to the cut line on both sides — if the sheet flexes during the cut, it binds the blade. Cut slightly into the supports: this is expected and keeps the sheet fully supported.
Breaking down plywood:
Step 1: rough cut the sheet into manageable pieces (2×4 or 2×8 sections) with a 24-tooth blade using a clamped straightedge guide. Step 2: cut those pieces to final dimension either with the circular saw (clamped guide for precision) or on the table saw. This two-step process keeps material sizes manageable and reduces the risk of the full sheet shifting during precise cuts.
Tear-out on plywood:
Circular saw blades cut on the upstroke — the teeth exit through the top face of the material. This means tear-out appears on the top face. To minimize tear-out: (1) cut with the good face down (tear-out appears on the face that will be less visible); (2) use a 60-tooth finish blade; (3) score the cut line with a utility knife before cutting (severs the top veneer fibers and eliminates tear-out).
Milestone: A full sheet of 3/4″ plywood should be breakable into manageable pieces in under 10 minutes with a circular saw, two clamps, and a straight guide. Any cut that takes longer indicates a setup problem — usually the guide slipping or the sheet not being properly supported.
Circular Saw FAQ
What is the best way to cut wood with a circular saw?
The best method depends on cut type: for crosscuts (cutting to length), use a speed square for quick cuts or a clamped straight board for precision. For rips (cutting to width), use the included rip fence for narrow rips or a clamped straightedge guide for wide rips. For sheet goods, use a clamped 8′ straightedge or an aftermarket track guide system (Festool TS 55, Makita SP6000). In all cases: use a sharp blade, set correct depth (1/4″ below the material), support both sides of the cut, and let the saw feed at its natural pace.
What blade should I use to cut wood with a circular saw?
For general woodworking: a 40-tooth carbide-tipped combination blade handles both crosscuts and rips cleanly in solid wood and plywood. For plywood and finish carpentry where cut quality matters: a 60-tooth finish blade produces cleaner edges with less tear-out. For rough framing and construction: a 24-tooth framing blade removes material fast with minimal concern for surface quality. Replace the blade when you notice burning, increased feed resistance, or rough cut surfaces — dull blades are a safety hazard because they require more force and cause more kickback.
How do I keep a circular saw from binding?
Circular saw binding is caused by the kerf closing on the blade as the cut progresses. Prevention: (1) use a sharp blade — dull blades generate heat that causes wood to swell and close on the blade; (2) support both sides of the cut so neither side sags and pinches the blade; (3) don’t force the saw — if it’s struggling, the blade is dull or the feed rate is too fast; (4) use a splitter or riving knife if your saw has one (many modern circular saws have a small kerf keeper behind the blade). If the saw does bind mid-cut: release the trigger immediately, back the saw out of the cut, and identify the cause before resuming.
How accurate can a circular saw cut be?
With proper guides: a circular saw can cut to within 1/32″ of the target dimension over 8 feet — equivalent to a table saw or sliding miter saw for straight cuts. Freehand: the cut is rarely better than 1/4″ accuracy and is unsuitable for any joinery or precision woodworking. The key is the guide: a clamped straightedge, a manufactured track system, or a quality rip fence constrains the saw to a straight path. The quality of the guide determines the quality of the cut — a warped guide produces a wavy cut regardless of technique.

“DIY woodworking enthusiast who started with zero experience and a YouTube tutorial.
I build simple, practical projects for my home and share free plans
so other beginners can skip the guesswork.If I can build it, you can too.”